Blending Modes Are Doing Half Your Compositing Work — You're Just Not Using Them

Blending Modes Are Doing Half Your Compositing Work — You're Just Not Using Them

A few years back, I spent the better part of three days building a composite that a photographer friend of mine looked at, sat down, and rebuilt in about twenty minutes using techniques I had genuinely never considered. That moment broke something loose in my brain. I had been doing things the hard way, masking and erasing and cutting, when blending modes were sitting right there in the Layers panel like a cheat code I’d never bothered to read.
Stop Painting Every Pixel: Photoshop's Focus Area Selection Does the Heavy Lifting

Stop Painting Every Pixel: Photoshop's Focus Area Selection Does the Heavy Lifting

There’s a specific kind of Tuesday afternoon misery that comes from manually painting a selection around a subject with a detailed, wispy, complicated edge. Hair. Fur. Wedding veils. If you’ve spent forty-five minutes with the Quick Selection tool only to end up with a result that looks like your subject was cut out with safety scissors, you know exactly what I’m talking about. The good news is that if your source photo has a blurred background, caused by shallow depth of field, you’re sitting on a selection shortcut that most people scroll right past in the Select menu.

AI Dust Removal Is Here and It'll Save You Hours of Clone Stamp Hell

AI Dust Removal Is Here and It'll Save You Hours of Clone Stamp Hell

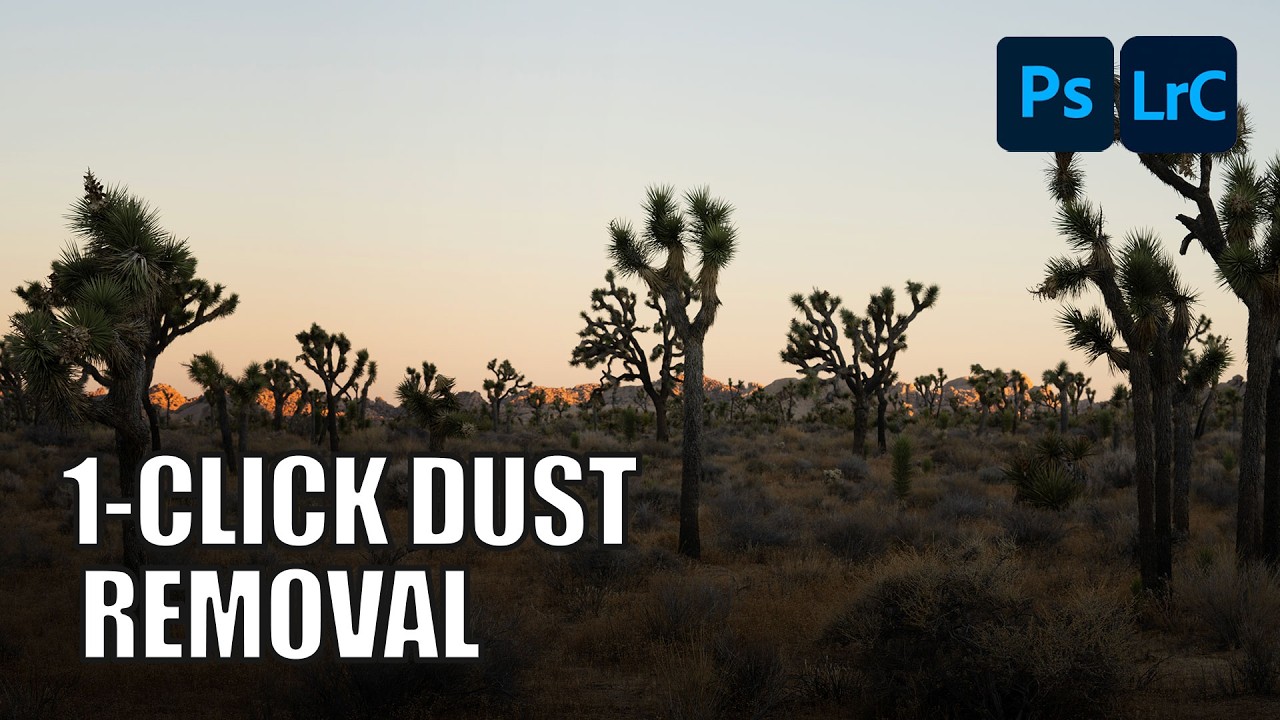
There’s a specific kind of freelance photographer pain that I only discovered after delivering a batch of landscape shots to a client and getting an email back asking about “all the little circles.” I had no idea what they were talking about. Zoomed in. Dust spots. Everywhere. On every single image. From a dirty sensor I hadn’t thought to clean. I spent the better part of an afternoon cloning them out one by one like some kind of medieval monk illuminating a manuscript, except less dignified and with more swearing.

Sky Replacement + Auto Reflection: The Photoshop Combo That Saves My Composite Workflow

Sky Replacement + Auto Reflection: The Photoshop Combo That Saves My Composite Workflow

There’s a specific kind of frustration that comes from spending an hour manually painting a water reflection, only to realize the perspective is slightly off and the whole thing looks like a puddle on Mars. I’ve been there more times than I’d like to admit. Water reflections are one of those things that look simple until you’re actually doing them, and then suddenly you’re watching clock minutes disappear while you nudge opacity sliders and question your life choices.

Make Your Mountains Look Massive: The Landscape Resize Trick I Wish I'd Known Years Ago

Make Your Mountains Look Massive: The Landscape Resize Trick I Wish I'd Known Years Ago

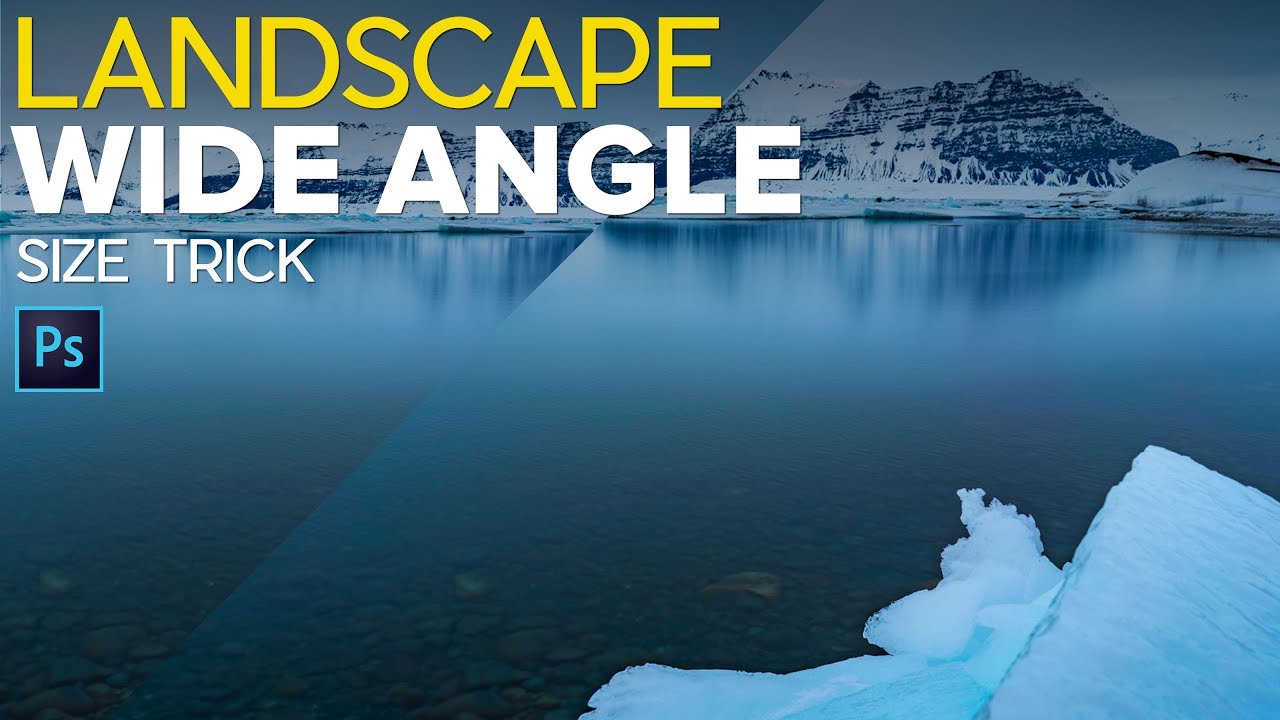
There’s a specific kind of disappointment that hits when you get home from a hike, pull up your photos, and realize that incredible mountain you were staring at all day looks like a small grey smudge in the background. You were right there. It was massive. And yet your wide-angle lens decided to shove it into the corner of the frame and make the dirt in the foreground the star of the show.

Can Fiverr Photoshop Pros Out-Edit a YouTube Legend? Here's What Actually Happened

Can Fiverr Photoshop Pros Out-Edit a YouTube Legend? Here's What Actually Happened

There’s a special kind of humbling that comes from looking at your own Photoshop work and realizing it’s just… not good. I know that feeling well. I spent three days on a composite once - mountain, moody sky, the whole thing - only to have a friend casually recreate something better in twenty minutes using a blending technique I’d never even heard of. So when Peter McKinnon put his own work on the chopping block and paid strangers to improve it, I was immediately invested.

Stop Slapping Lens Flares on Everything: Here's the Right Way to Do It in Photoshop

Stop Slapping Lens Flares on Everything: Here's the Right Way to Do It in Photoshop

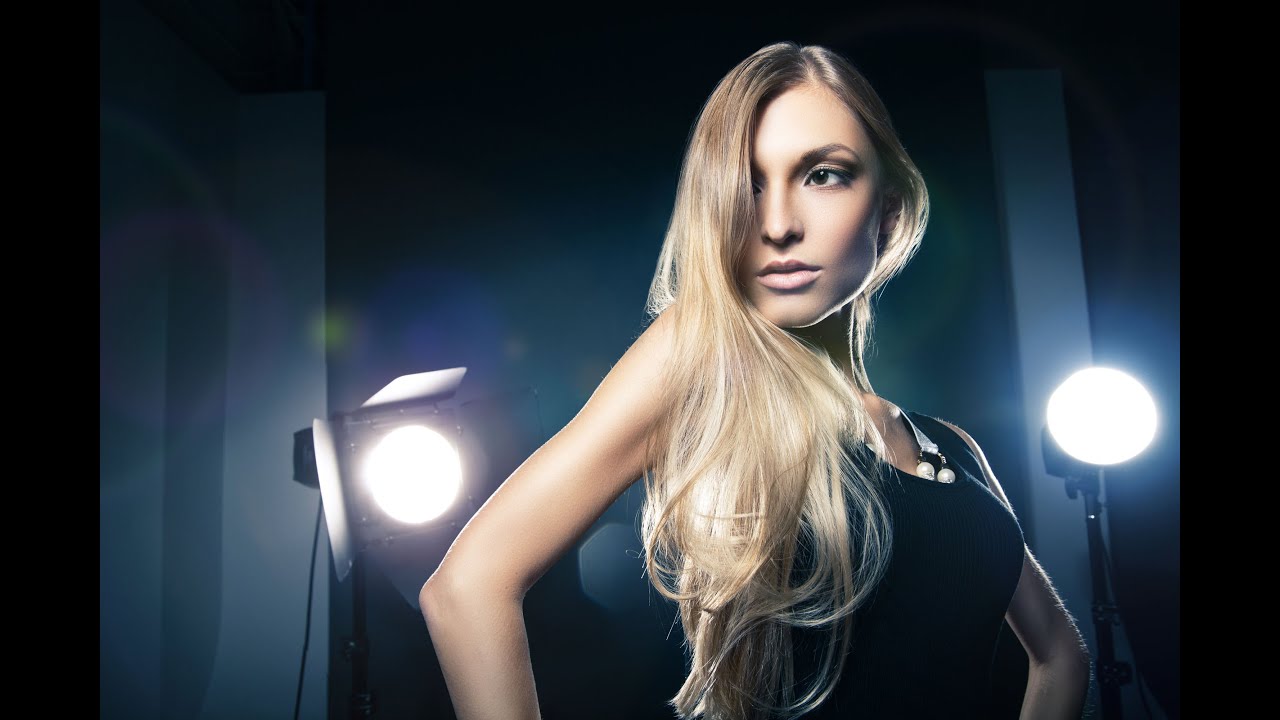
There’s a specific kind of embarrassment that comes from sending a client a composite, feeling pretty good about yourself, and then getting back a response that says “cool… but what’s that weird light blob?” I’ve been there. For a long time, lens flares were something I’d throw into a photo the way a 15-year-old throws hot sauce on everything - liberally and without much thought. It took me an embarrassingly long time to understand that a lens flare isn’t decoration.

Stop Guessing at Color Grades: How Gradient Maps Give You Actual Control

Stop Guessing at Color Grades: How Gradient Maps Give You Actual Control

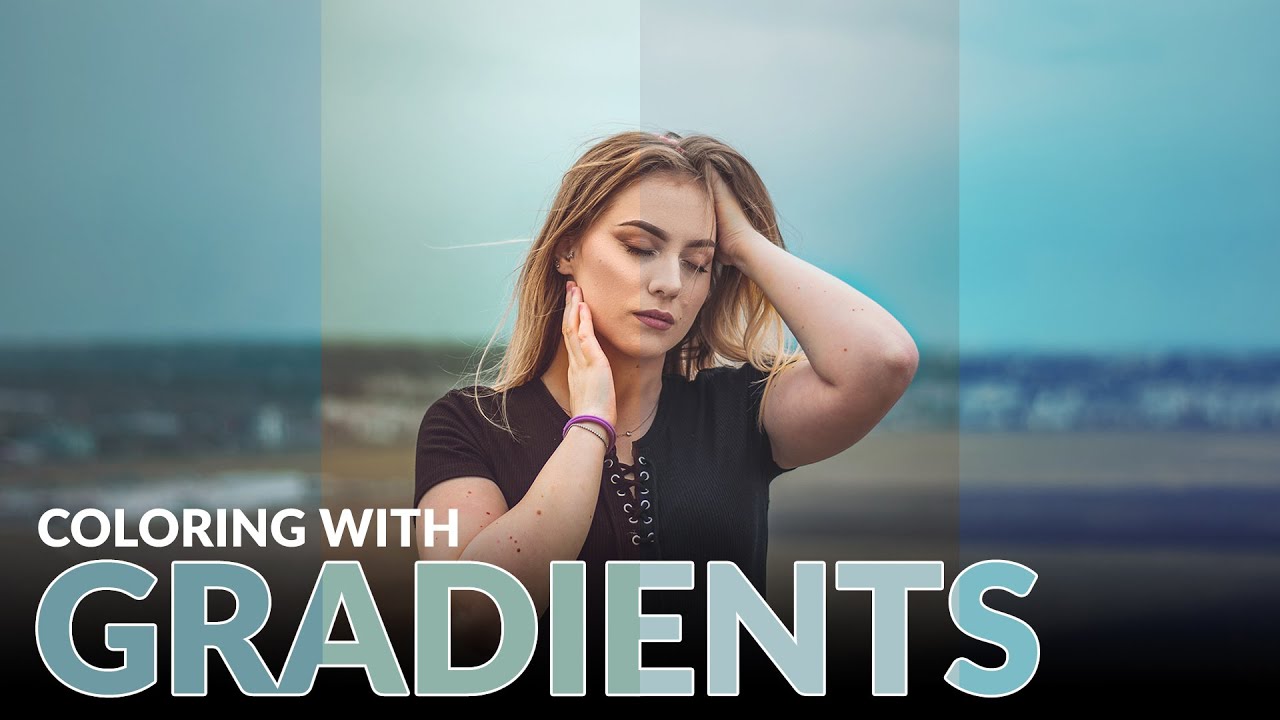
Color grading used to be the part of my workflow where I’d just… vibe and hope for the best. I’d push a Curves layer around, add some Color Balance on top of that, and then wonder why everything looked like a bruised peach. It worked out maybe half the time, and the other half I’d just tell the client “it’s a stylistic choice” and pray they didn’t push back. The real problem was I had no meaningful control over shadows, midtones, and highlights independently, at least not in any way that felt intuitive.

Ditch the Saturation Slider: A Better Way to Color Grade Your Landscape Photos in Lightroom

Ditch the Saturation Slider: A Better Way to Color Grade Your Landscape Photos in Lightroom

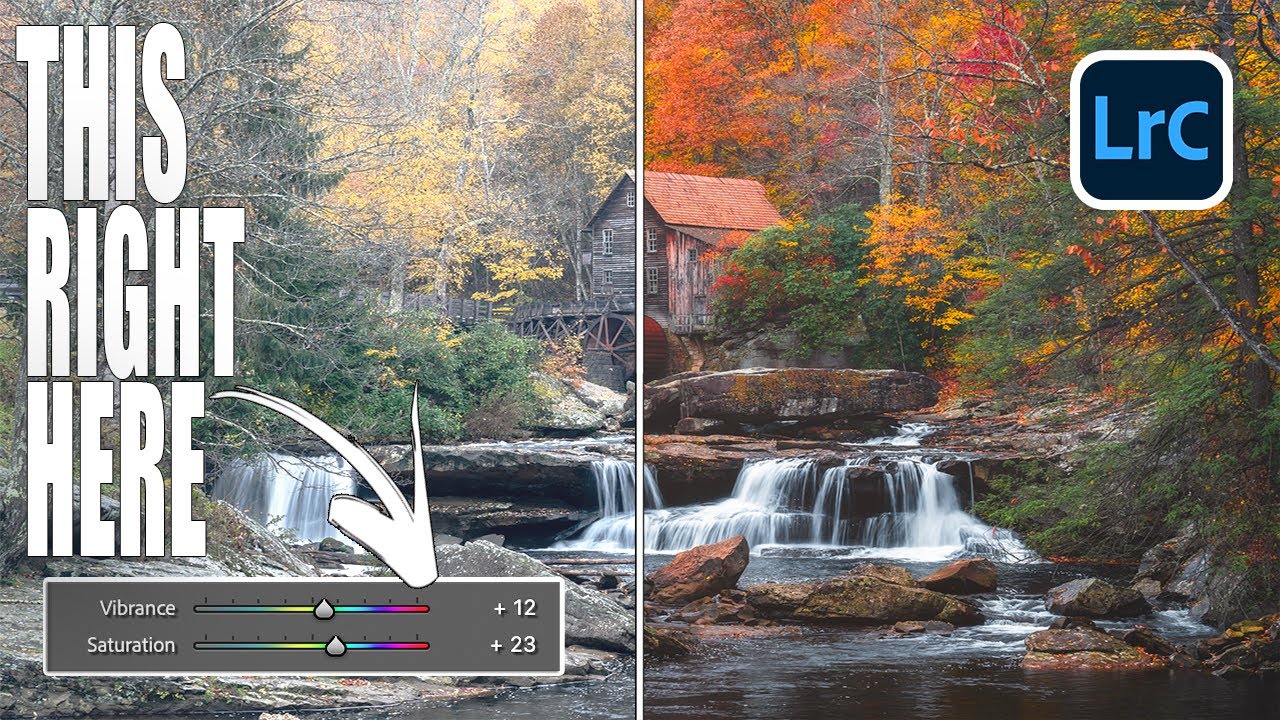
I’ll be honest - for the longest time, my color editing workflow was embarrassingly simple. Photo comes in flat? Drag Saturation up. Still looks dull? Nudge Vibrance. Call it done, collect the paycheck. It worked well enough that I never questioned it, which is exactly the kind of comfortable laziness that keeps you from getting better. Then I watched Mark Denney’s tutorial where he edits the same fall landscape photo twice - once using every color tool in Lightroom except Saturation and Vibrance, and once using only those two sliders - and the results genuinely stopped me mid-sip of my oat milk latte.

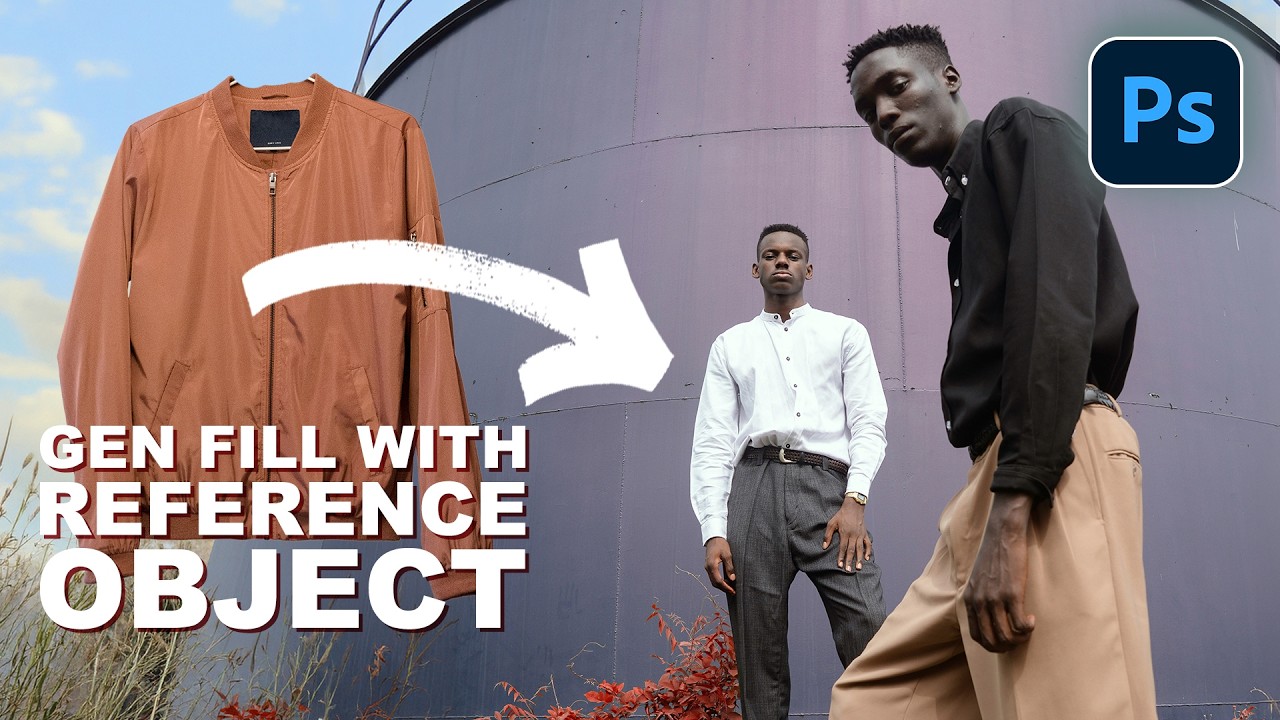
Photoshop 2026's Reference Image Feature Is the Wardrobe Swap Tool I Didn't Know I Needed

Photoshop 2026's Reference Image Feature Is the Wardrobe Swap Tool I Didn't Know I Needed

I do a decent amount of editorial and product-adjacent work, and one of the most tedious parts of that job has always been wardrobe. A client wants to see how a jacket looks on a model, or they need three versions of the same shot with different shirt colors, and suddenly what should be a quick edit turns into a multi-layer compositing nightmare. You’re cutting, masking, warping fabric, and praying the lighting doesn’t blow the whole illusion.

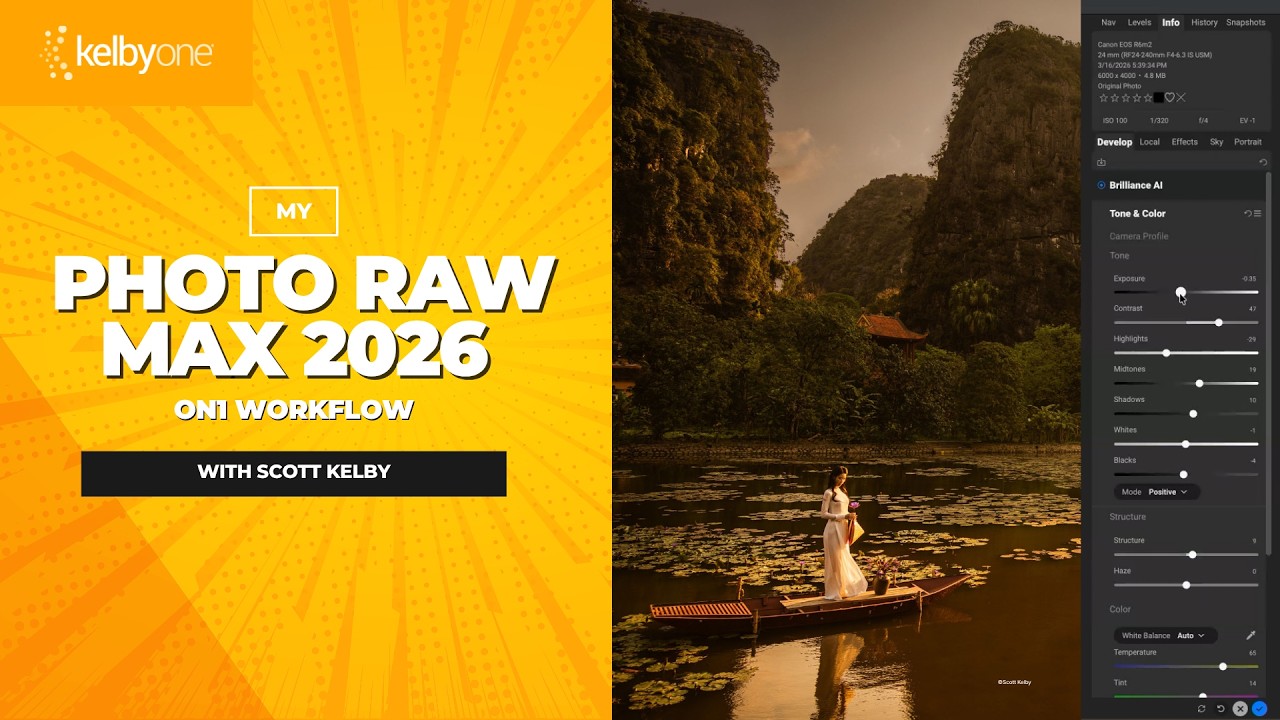
Scott Kelby's ON1 Photo RAW Max Workflow: The Order That Actually Makes Sense

Scott Kelby's ON1 Photo RAW Max Workflow: The Order That Actually Makes Sense

There’s a particular kind of creative paralysis that hits when you open a new piece of software and stare at seventeen panels you don’t understand. I’ve been there with ON1 Photo RAW more than once. I knew it could do impressive things. I’d seen the demo videos. But every time I launched it alongside my usual Lightroom and Photoshop setup, I’d poke around for twenty minutes, feel mildly confused, and go back to what I knew.

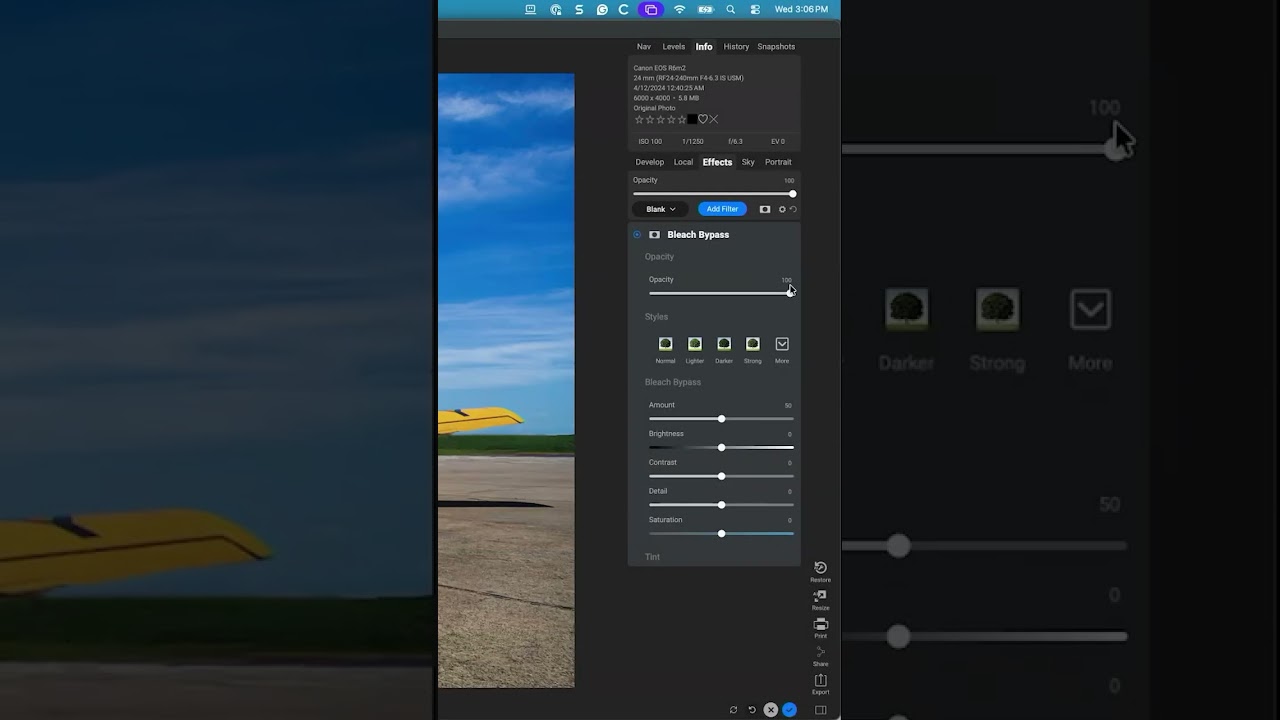
The Bleach Bypass Filter is Still in ON1 Photo RAW MAX — You Just Have to Know Where to Look

The Bleach Bypass Filter is Still in ON1 Photo RAW MAX — You Just Have to Know Where to Look

I have a complicated relationship with software updates. Half the time they add something genuinely useful. The other half, they quietly bury a tool I relied on and replace it with nothing, leaving me clicking around menus like I’m searching for my keys at 2am. That’s exactly what happened to me recently with ON1 Photo RAW MAX and the Bleach Bypass filter. I knew it existed. I’d used it before. And then one day it just… wasn’t in the filter list anymore.