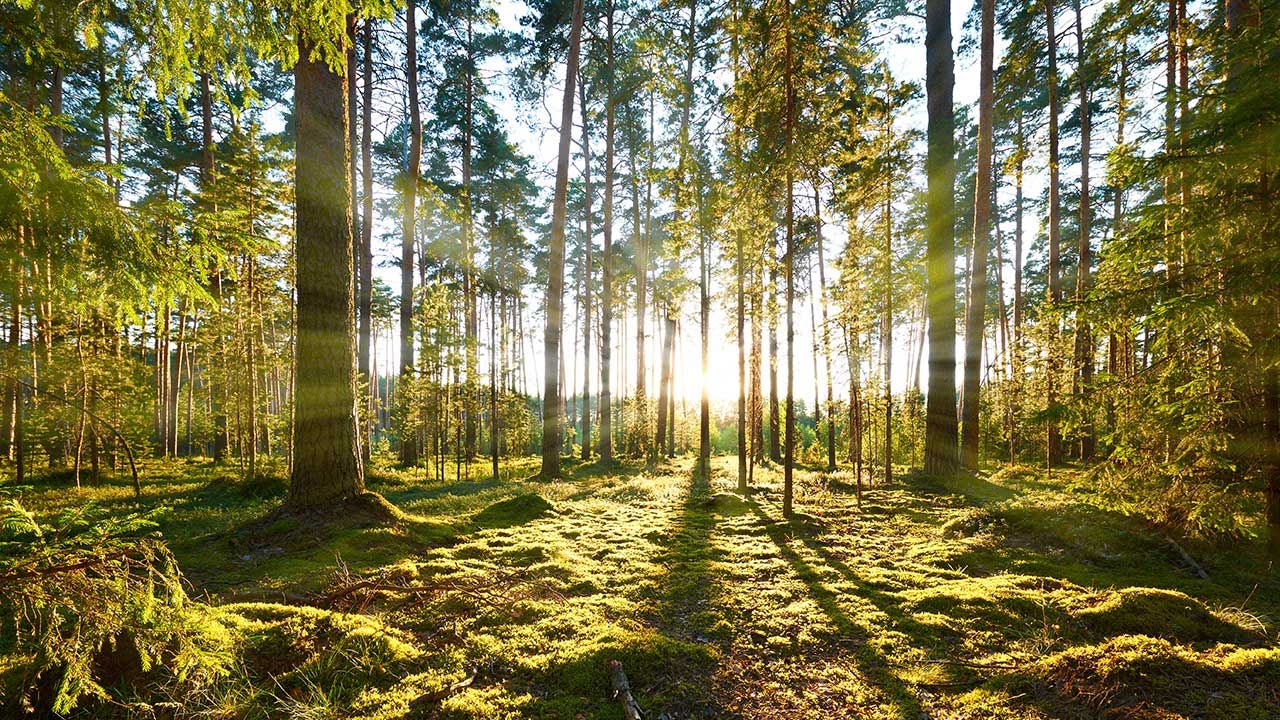
There’s a specific kind of frustration that comes from knowing a photo is almost great. You’ve got the composition, the moment, the light is doing something interesting in the background, and then you look closer and realize the sun is just sitting there like a flat white circle, not actually contributing anything. I’ve been in that situation with client work more times than I want to admit, staring at a landscape shot and wishing I could pull just a little more drama out of it. Light rays are one of those effects that, done right, take a photo from “nice” to “okay I actually feel something.” Done wrong, they look like a screensaver from 2003.
This is where Aaron Nace’s tutorial for PHLEARN comes in. Watch the full tutorial on YouTube – it’s one of those techniques that sounds like it should require a plugin or a lot of manual masking, but the whole thing is built from two things Photoshop already has: brush scattering and radial blur. The method is clever because it generates randomness procedurally instead of you having to fake it by hand. Random is exactly what makes light rays read as believable, and this workflow gives you that almost automatically.
I’ve used variations of this on landscape composites, real estate shots with blown-out windows, and even some moody portrait work. Every time, it adds that little bit of atmospheric weight that makes the light feel like it’s actually doing something in the scene.
Step 1: Pick the Right Image and Sample Your Color
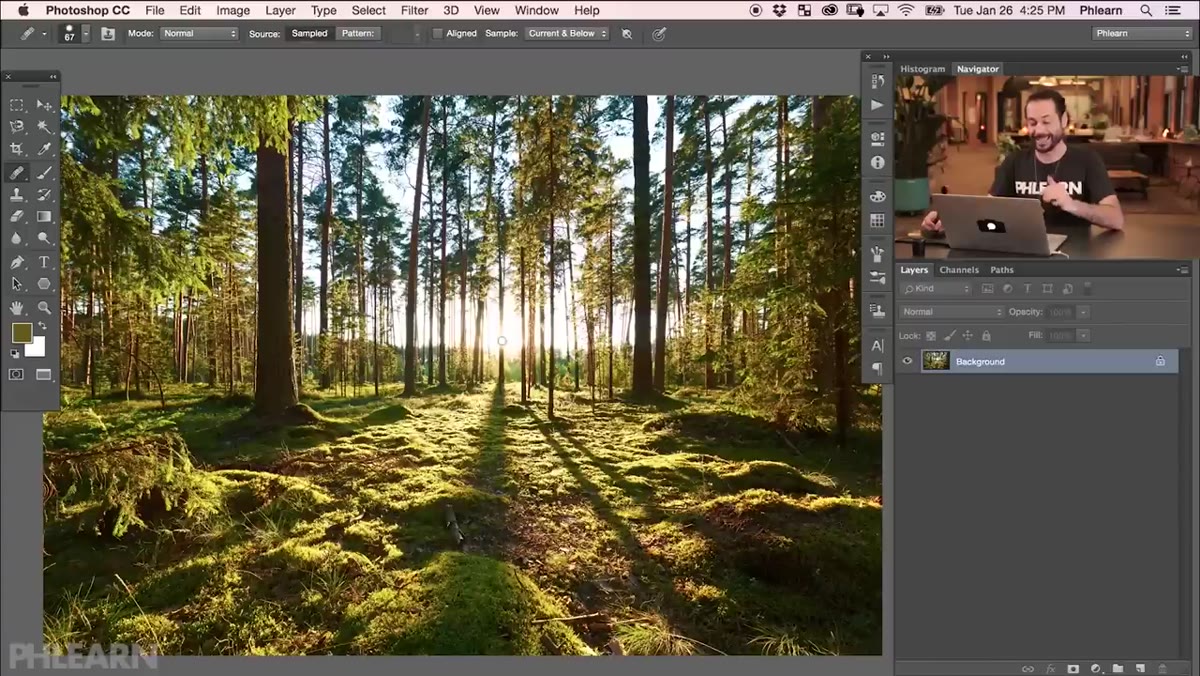 Sun visible through trees in source photo
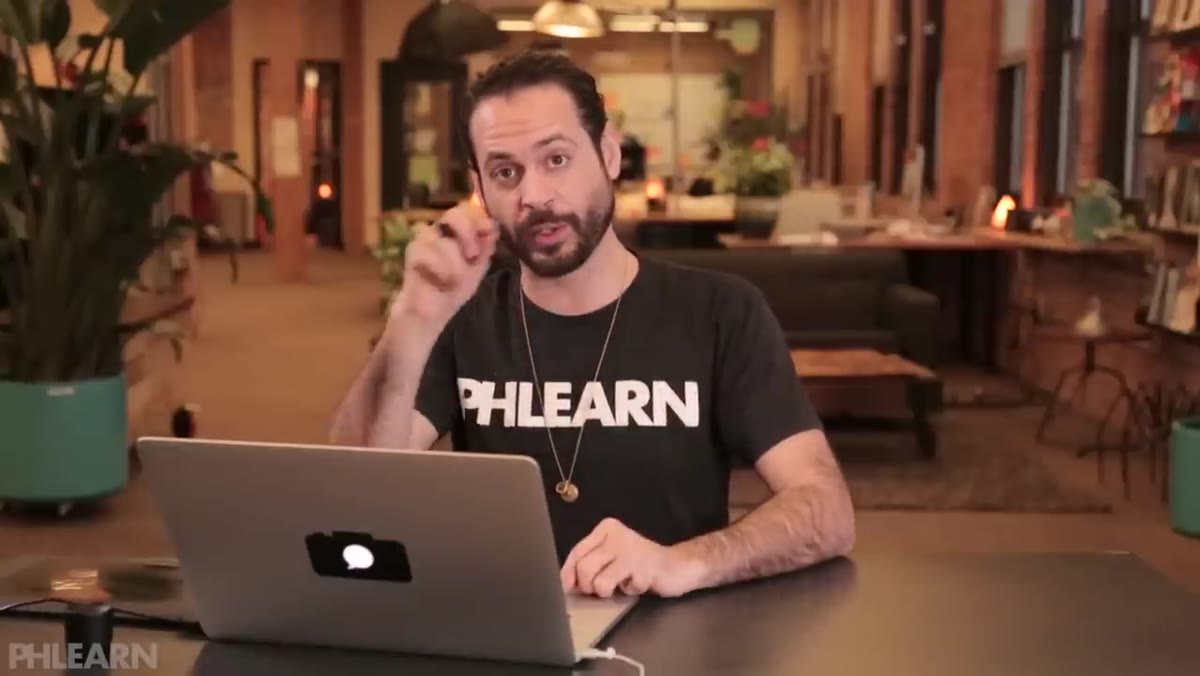
Not every photo is a good candidate for this. You want an image where the light source is visible or strongly implied, ideally with some foreground elements like trees, fog, or a window frame that give the rays something to interact with. Aaron works with a shot of a sun coming through a canopy of trees, which is basically the ideal setup.
Sun visible through trees in source photo
Not every photo is a good candidate for this. You want an image where the light source is visible or strongly implied, ideally with some foreground elements like trees, fog, or a window frame that give the rays something to interact with. Aaron works with a shot of a sun coming through a canopy of trees, which is basically the ideal setup.
Before you paint anything, grab your brush tool (B), hold Alt on Windows or Option on Mac, and click directly on the brightest warm area near your light source. You’re not sampling pure white here. You want that warm yellow-orange glow that usually lives right at the edge of the sun. This is a detail that matters more than it seems – white rays look like Photoshop, warm rays look like light.
Step 2: Create a New Layer
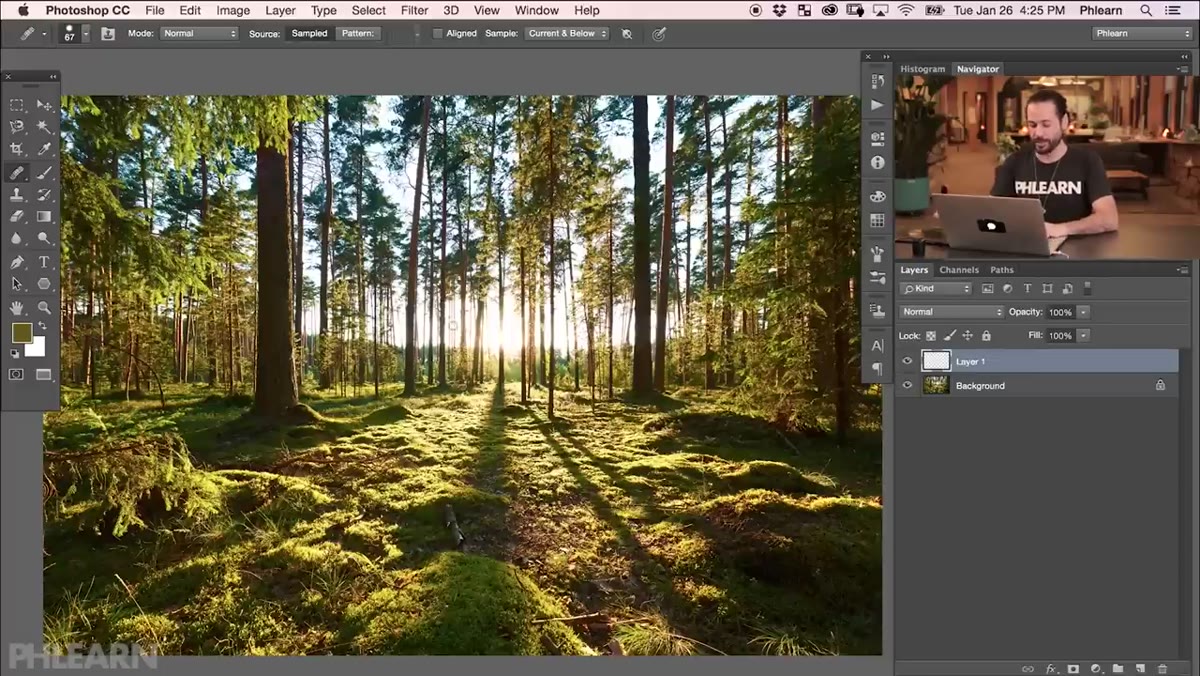 New empty layer added above photo layer
Everything you’re about to do goes on a fresh layer above your photo. This is non-negotiable. Painting directly on your image gives you no flexibility later, and you’ll absolutely want to adjust opacity, blending mode, and masking after the fact. New layer, name it something like “rays” so you’re not hunting for it later.
New empty layer added above photo layer
Everything you’re about to do goes on a fresh layer above your photo. This is non-negotiable. Painting directly on your image gives you no flexibility later, and you’ll absolutely want to adjust opacity, blending mode, and masking after the fact. New layer, name it something like “rays” so you’re not hunting for it later.
Step 3: Configure Shape Dynamics in the Brush Panel
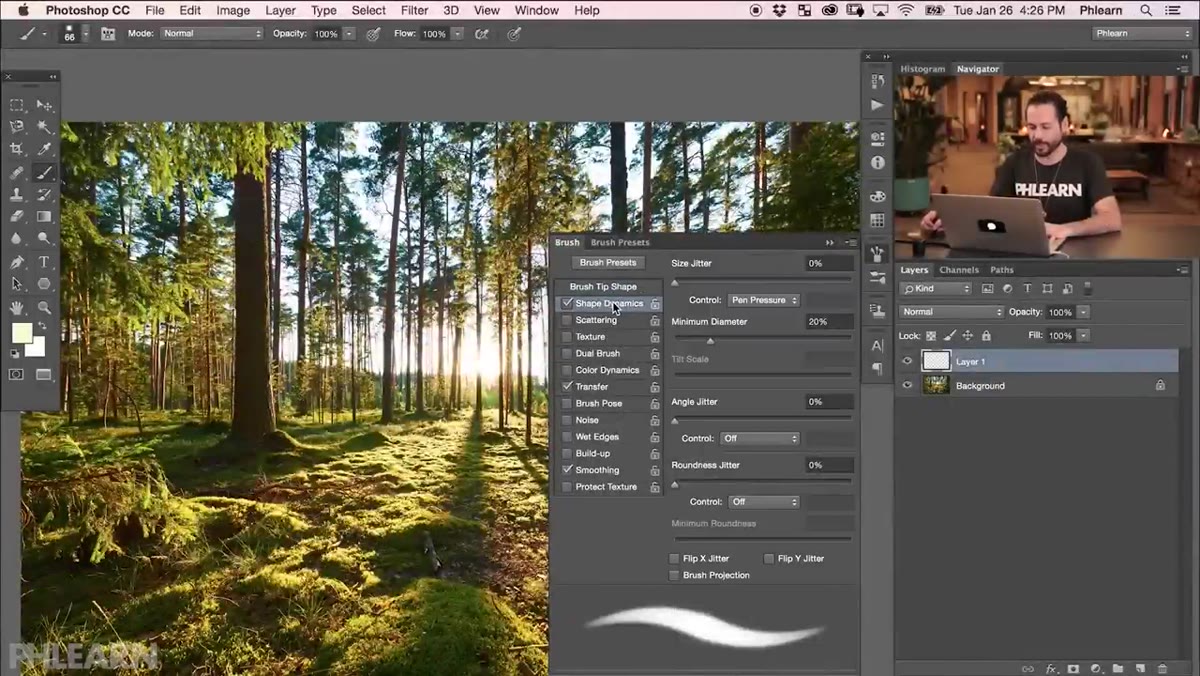 Brush panel open with Shape Dynamics settings visible
Open the Brush panel under the Window menu and navigate to Shape Dynamics. Turn it on and drag Size Jitter all the way up. Then drag Minimum Diameter down toward zero. What you’re doing is telling Photoshop to vary the size of each brush mark randomly, from tiny specks to whatever your maximum brush size is. This variation is the first ingredient in making the effect feel organic rather than mechanical.
Brush panel open with Shape Dynamics settings visible
Open the Brush panel under the Window menu and navigate to Shape Dynamics. Turn it on and drag Size Jitter all the way up. Then drag Minimum Diameter down toward zero. What you’re doing is telling Photoshop to vary the size of each brush mark randomly, from tiny specks to whatever your maximum brush size is. This variation is the first ingredient in making the effect feel organic rather than mechanical.
Step 4: Enable Scattering on Both Axes
 Scattering panel with Both Axes checked, scatter value high
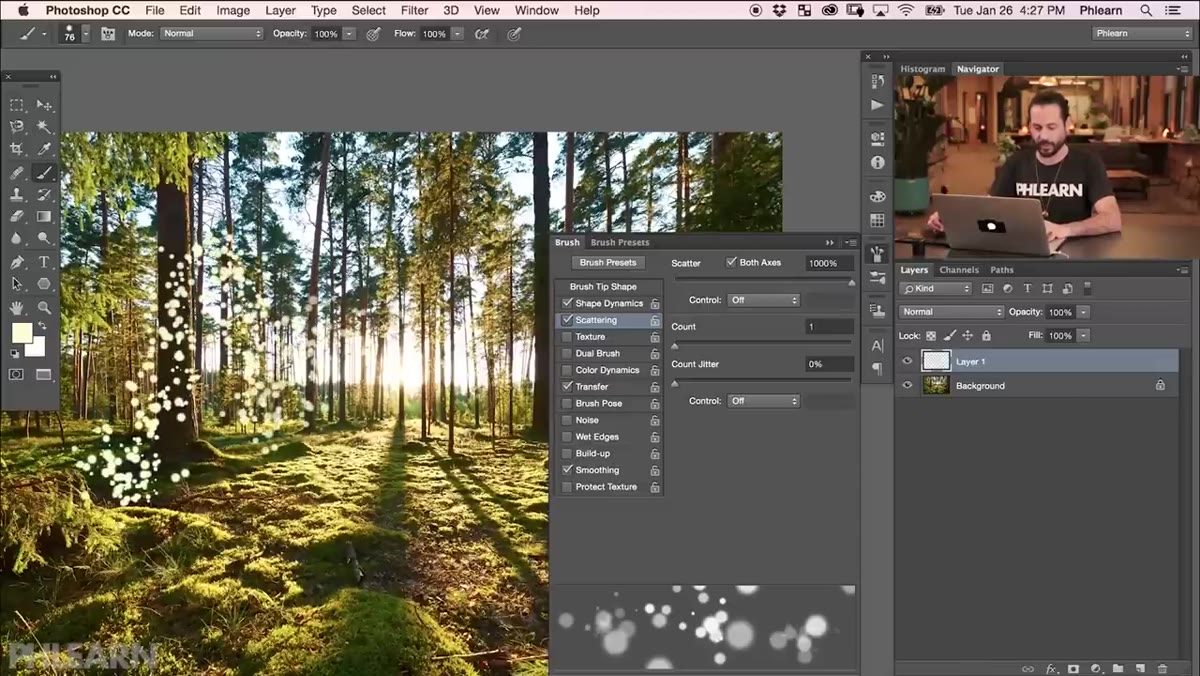
Still in the Brush panel, click on Scattering. Check the “Both Axes” box and push the Scatter slider up high. Watch the preview at the bottom of the panel – the brush marks spread out from a center line in all directions instead of following your stroke like a normal brush. You’ve basically turned your brush into a particle emitter. This is the core of the whole technique.
Scattering panel with Both Axes checked, scatter value high
Still in the Brush panel, click on Scattering. Check the “Both Axes” box and push the Scatter slider up high. Watch the preview at the bottom of the panel – the brush marks spread out from a center line in all directions instead of following your stroke like a normal brush. You’ve basically turned your brush into a particle emitter. This is the core of the whole technique.
While you’re here, go back to Brush Tip Shape and nudge the Spacing slider up a bit. This puts a little breathing room between each dot. Too tight and the dots cluster into blobs, too spread and you get a sparse, unconvincing result. Somewhere around 50-100% is a reasonable starting point, but eyeball it in the preview.
Step 5: Paint Your Dots Around the Light Source
 Scattered brush dots painted around sun in image
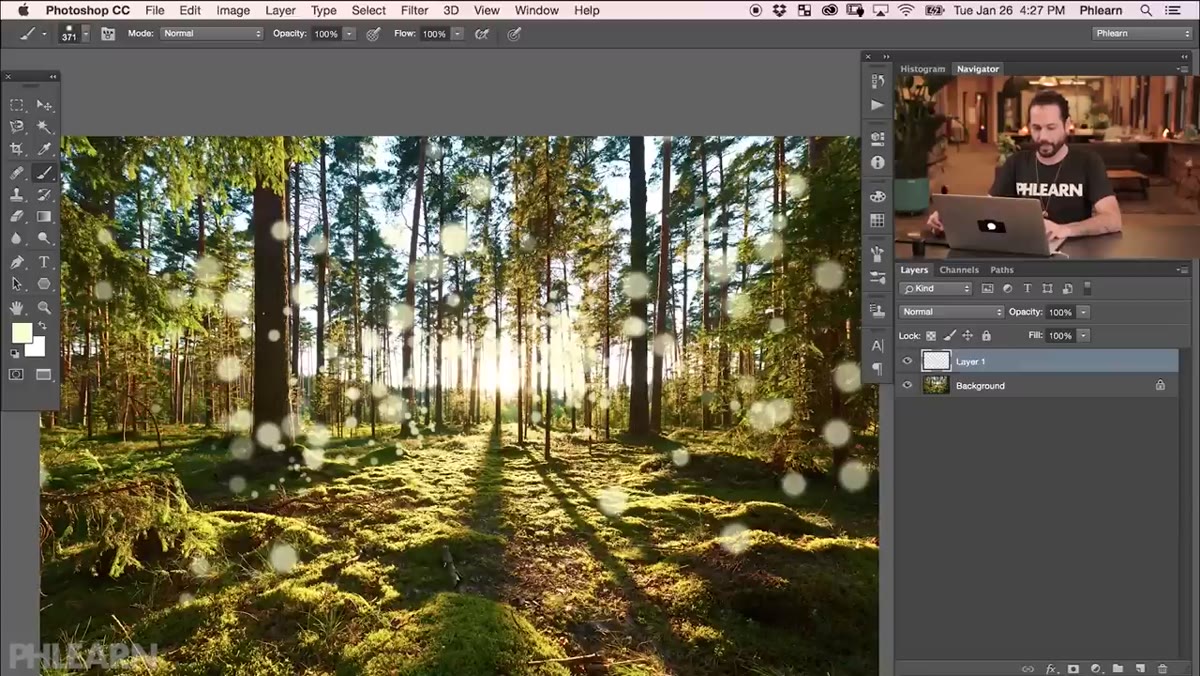
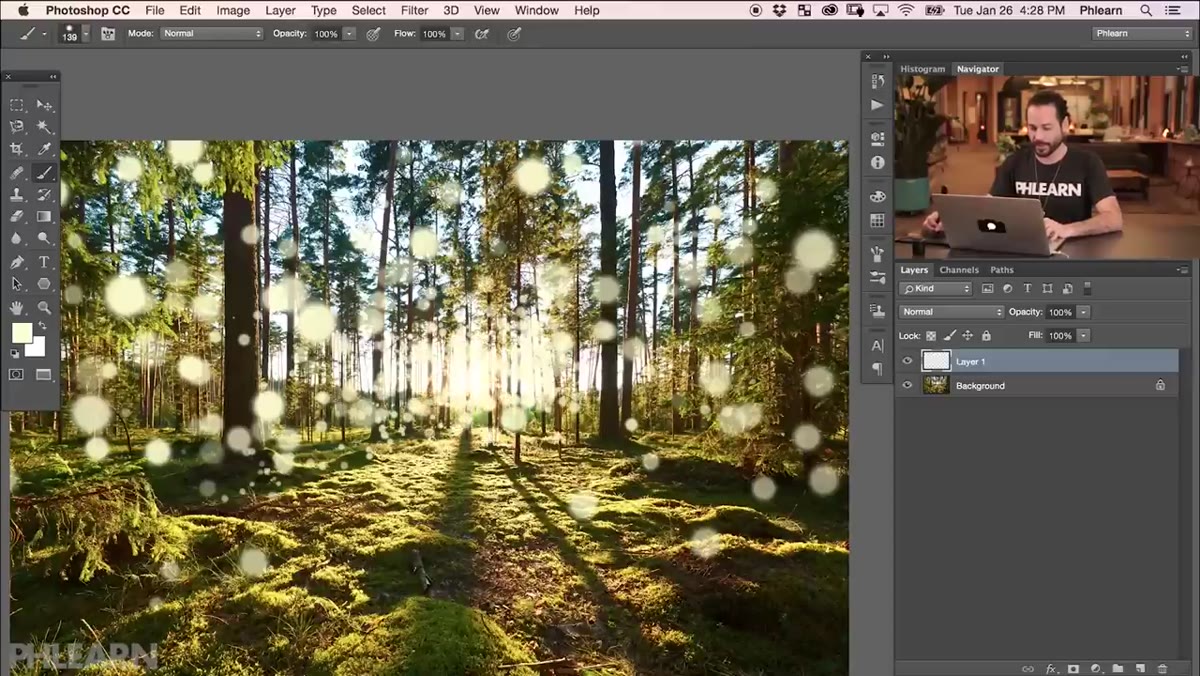
Now paint. Keep your strokes centered around the light source and work outward. Vary your brush size as you go – bigger marks closer to the sun, smaller ones further out. Don’t overthink the placement. The whole point of the scattering setup is that the randomness does the work for you. A few loose, sweeping strokes should fill the area with a cloud of irregular dots. It doesn’t need to look good yet. It just needs to have enough dots that the next step has material to work with.
Scattered brush dots painted around sun in image
Now paint. Keep your strokes centered around the light source and work outward. Vary your brush size as you go – bigger marks closer to the sun, smaller ones further out. Don’t overthink the placement. The whole point of the scattering setup is that the randomness does the work for you. A few loose, sweeping strokes should fill the area with a cloud of irregular dots. It doesn’t need to look good yet. It just needs to have enough dots that the next step has material to work with.
Step 6: Apply Radial Blur Centered on the Light Source
 Radial Blur dialog with Zoom method selected
This is where the dots become rays. Go to Filter, Blur, Radial Blur. Set the method to Zoom (not Spin). Crank the Amount up – somewhere between 80 and 100 gives you long, dramatic rays. The most important part of this dialog is the blur center grid in the bottom-left corner. Click and drag that center point to match where your light source sits in the composition. If you skip this step, your rays will zoom outward from the middle of the canvas instead of from the sun, and the whole thing falls apart.
Radial Blur dialog with Zoom method selected
This is where the dots become rays. Go to Filter, Blur, Radial Blur. Set the method to Zoom (not Spin). Crank the Amount up – somewhere between 80 and 100 gives you long, dramatic rays. The most important part of this dialog is the blur center grid in the bottom-left corner. Click and drag that center point to match where your light source sits in the composition. If you skip this step, your rays will zoom outward from the middle of the canvas instead of from the sun, and the whole thing falls apart.
Hit OK. Photoshop will chew on it for a second. When it comes back, you should have something that looks like rays of light streaking outward from the source.
Step 7: Set the Blending Mode and Dial In Opacity
 Layers panel showing Screen blending mode applied to rays layer
Set the rays layer blending mode to Screen. This drops all the dark areas of the layer and only keeps the light – which is exactly what you want. The black background you were painting on disappears, and only the glowing streaks remain. Adjust opacity to taste. Usually somewhere between 40-70% keeps it from looking overdone. If the edges feel harsh, a layer mask with a soft black brush can help fade the rays where they shouldn’t exist.
Layers panel showing Screen blending mode applied to rays layer
Set the rays layer blending mode to Screen. This drops all the dark areas of the layer and only keeps the light – which is exactly what you want. The black background you were painting on disappears, and only the glowing streaks remain. Adjust opacity to taste. Usually somewhere between 40-70% keeps it from looking overdone. If the edges feel harsh, a layer mask with a soft black brush can help fade the rays where they shouldn’t exist.
My Addition: Stack Two Passes for More Depth
One thing I’ve started doing that Aaron doesn’t cover in this particular tutorial is running the process twice on separate layers. The first pass uses a large brush with high scatter for the broad, dramatic rays. The second pass uses a much smaller brush size for a finer scatter of subtle streaks. Stack them both on Screen mode and the combination reads as more dimensional – you get the big atmospheric beams plus that fine particulate haze you see in real backlit photography. It adds maybe three minutes to the workflow and the result feels significantly more convincing.
If you want to push it further, try a very slight Gaussian Blur on one of the layers after the radial blur step. It softens the individual streaks so they blend more naturally with the existing light in the photo.
The single most important thing to take from this technique is the logic behind it: use Photoshop’s randomness tools to do what randomness does in nature. Fighting the computer to manually place rays is the hard way. Let the scatter do the work, then blur it into something that looks physically plausible. That’s good technique in general, not just here.
Watch the full tutorial on YouTube to see Aaron walk through it with his source image – seeing the before and after on a real photo makes the whole thing click faster than any written breakdown can.
Comments (2)
The before and after really sells it. Incredible difference.
Clear and practical. No fluff. Appreciate that.
Leave a Comment