There’s a specific kind of frustration that hits when someone shows you a technique in Photoshop that takes them 10 seconds to do something you’ve been spending 10 minutes on. I’ve been using this software long enough to feel embarrassed by how many of these moments I’ve had. Scrubbing handles around a giant image because I forgot I could just type a number. Burning generative credits on tools that apparently don’t even charge for them. You know the feeling.
I came across this Aaron Nace (PHLEARN) tutorial covering 10 essential tips for Photoshop 2026, and it’s the kind of video that earns its runtime. Some of these tips are brand new to 2026. Some have been sitting in the software for years and somehow never made it into anyone’s workflow. A few of them will genuinely change how fast you work. Watch the full tutorial on YouTube if you want to see Aaron demo all ten. What follows is my breakdown of the ones that hit hardest.
Step 1: The Remove Tool Is Free (Yes, Even With AI On)
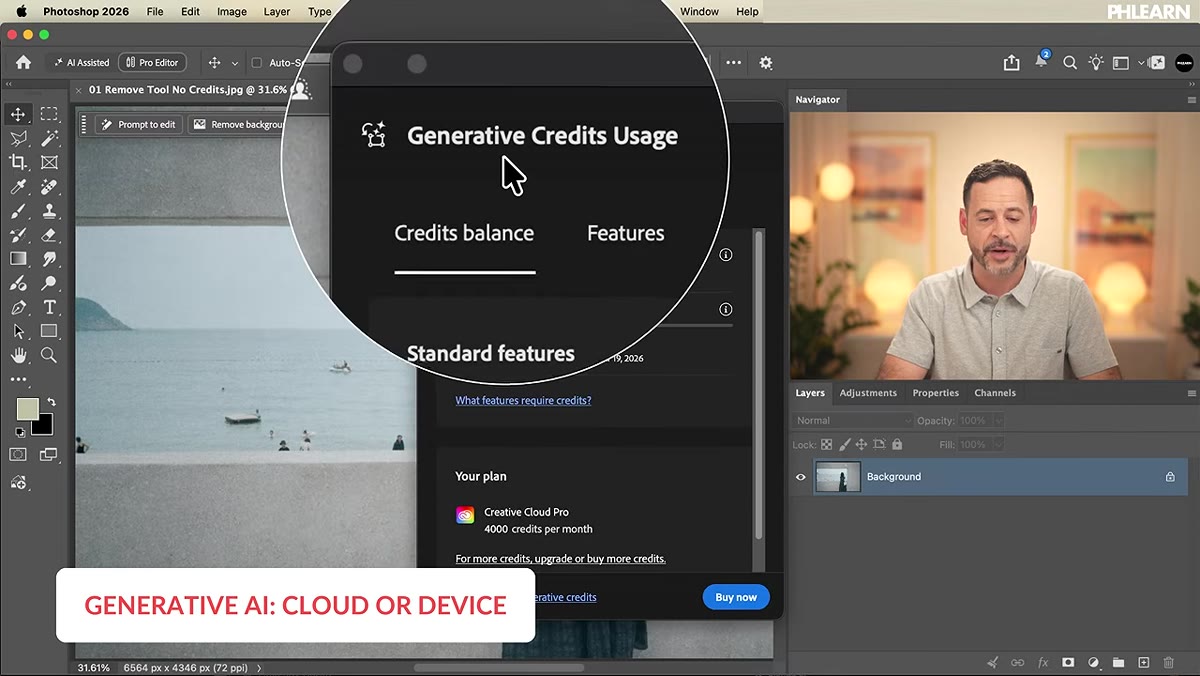 Credit balance showing 2870 generative credits before removal
This one genuinely annoyed me to learn about, because I’ve been rationing my generative credits like they’re the last of something. Turns out the Remove tool, even with Generative AI switched on in the options bar, does not touch your monthly credit balance. Aaron literally shows his credit count before and after removing multiple objects from a photo, and the number doesn’t move.
Credit balance showing 2870 generative credits before removal
This one genuinely annoyed me to learn about, because I’ve been rationing my generative credits like they’re the last of something. Turns out the Remove tool, even with Generative AI switched on in the options bar, does not touch your monthly credit balance. Aaron literally shows his credit count before and after removing multiple objects from a photo, and the number doesn’t move.
To use it: grab the Remove tool from the toolbar (it looks like a band-aid with a sparkle), make sure Generative AI is toggled on in the options bar, and paint over whatever you want gone. Turn off “remove after each stroke” so you can paint multiple areas before committing. Hit Remove when you’re done. If you’re offline or prefer local processing, you can switch to device processing, though you’ll need to download the AI model first, so do that while you still have internet.
Step 2: Scrubby Sliders Will Save Your Wrists
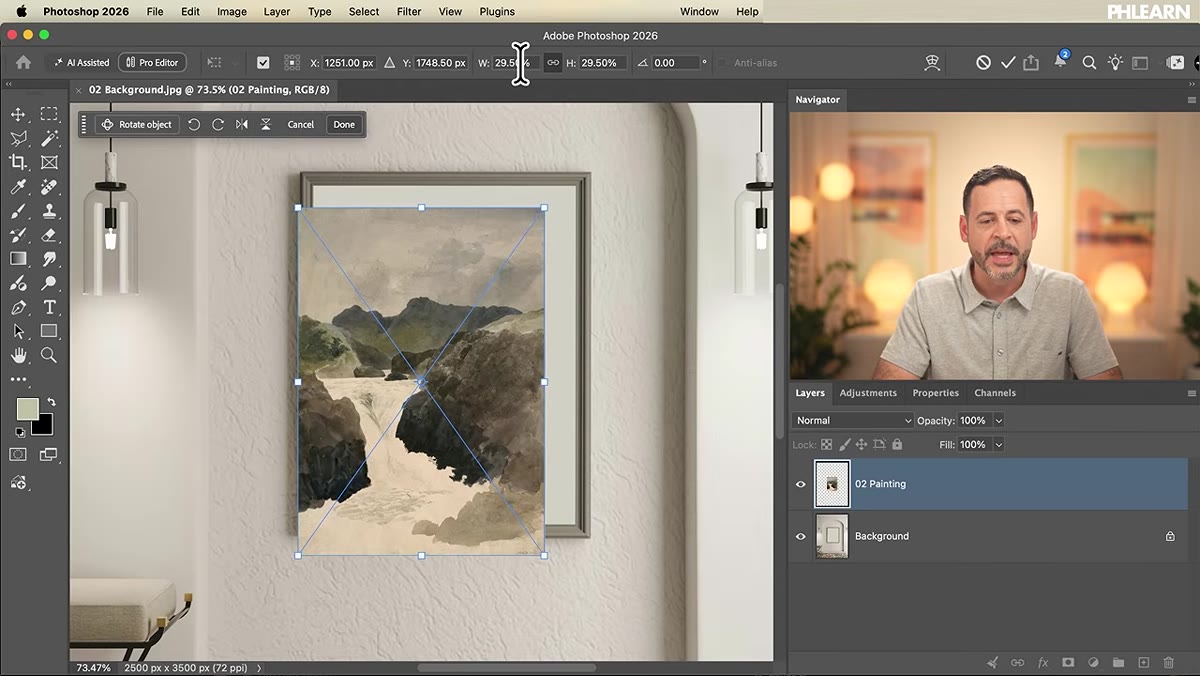
 Cursor hovering over the “H” label in the transform options bar
I used to resize placed images by zooming way out, dragging corner handles around while squinting at a tiny thumbnail, and hoping I landed somewhere close to the right size. There’s a better way, and it’s been in Photoshop this whole time.
Cursor hovering over the “H” label in the transform options bar
I used to resize placed images by zooming way out, dragging corner handles around while squinting at a tiny thumbnail, and hoping I landed somewhere close to the right size. There’s a better way, and it’s been in Photoshop this whole time.
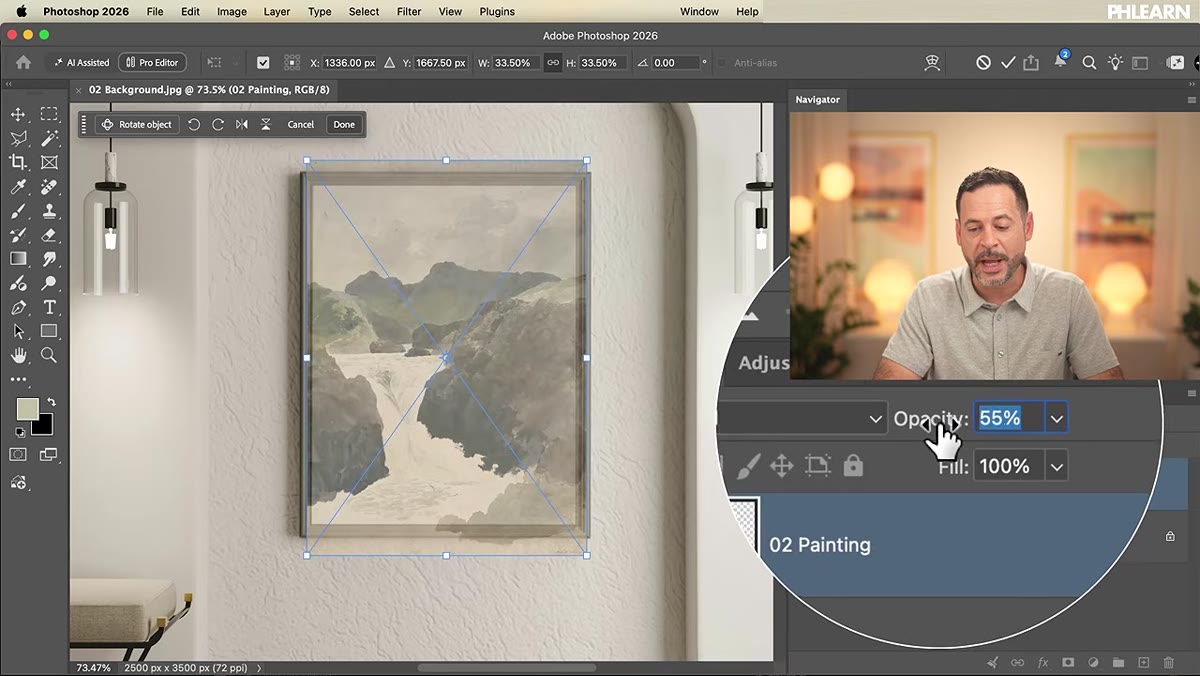
When you place an image and the transform controls are active, hover your cursor directly over any label in the options bar, like “W” for width, “H” for height, “X” for horizontal position, “Y” for vertical. Click and drag left or right on the label itself, not a field or a handle, and the value scrubs smoothly. This works all over Photoshop, including the Opacity label in the Layers panel. Hold Shift while dragging to jump in increments of 10 instead of 1, which is a serious time-saver when you need to get somewhere fast. Double-clicking a slider label resets it to its default value, which is handy when you’ve nudged something and lost track of where it started.
Step 3: Clip Adjustment Layers and Reset Sliders Without the Menu
 Adjustment layer clipped to single layer in Layers panel
Adjustment layers are one of Photoshop’s best features, but they apply to everything below them by default. If you only want to affect one layer, you need to clip the adjustment layer to it. Click the clipping icon at the bottom of the Properties panel (it looks like a square with a downward arrow) and the adjustment will only affect the layer directly beneath it in the stack.
Adjustment layer clipped to single layer in Layers panel
Adjustment layers are one of Photoshop’s best features, but they apply to everything below them by default. If you only want to affect one layer, you need to clip the adjustment layer to it. Click the clipping icon at the bottom of the Properties panel (it looks like a square with a downward arrow) and the adjustment will only affect the layer directly beneath it in the stack.
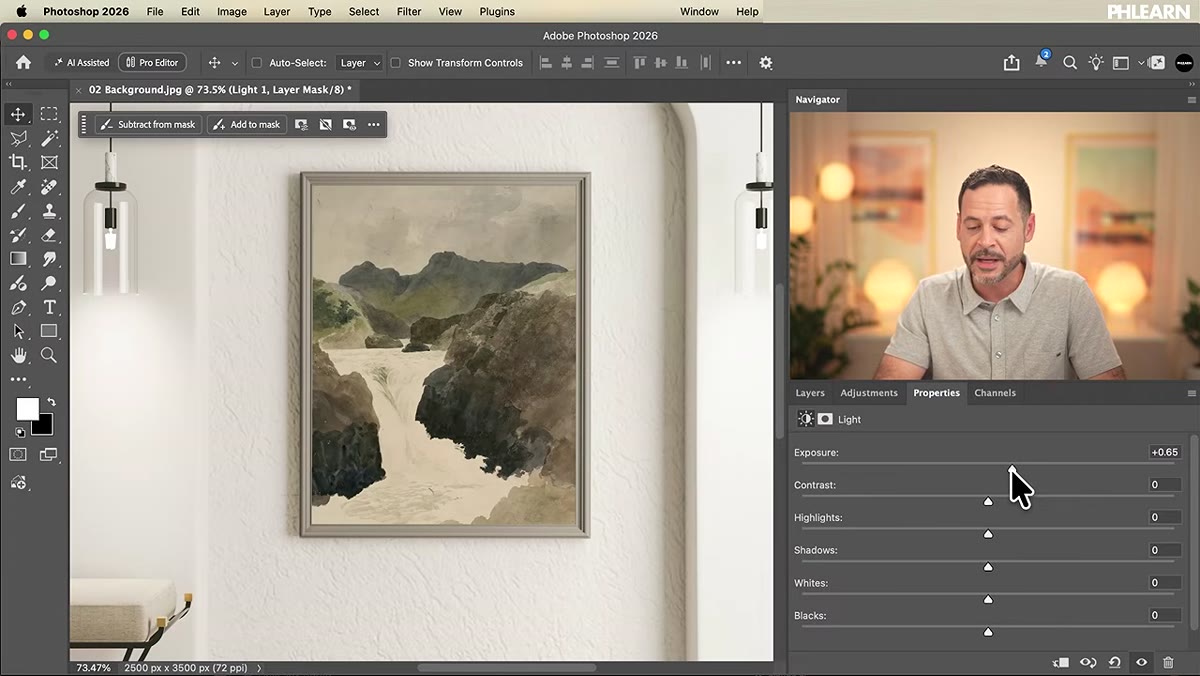
While you’re in any adjustment layer’s Properties panel, double-clicking on a slider resets it to its default value. This sounds tiny, but when you’ve been pushing a Hue/Saturation slider around and want to get back to zero without dragging and guessing, it’s genuinely useful.
Step 4: Drag Directly on the Photo With the Targeted Adjustment Tool
 Targeted Adjustment Tool active over a photo inside Curves panel
Inside Curves and Hue/Saturation, there’s a small icon in the top left of the Properties panel that looks like a hand with arrows. That’s the Targeted Adjustment Tool (TAT), and it’s one of the most underused tools in Photoshop. Click it, then click and drag directly on your photo. Dragging up or down adjusts the tonal range or hue that’s under your cursor, without you having to figure out which part of the curve to grab.
Targeted Adjustment Tool active over a photo inside Curves panel
Inside Curves and Hue/Saturation, there’s a small icon in the top left of the Properties panel that looks like a hand with arrows. That’s the Targeted Adjustment Tool (TAT), and it’s one of the most underused tools in Photoshop. Click it, then click and drag directly on your photo. Dragging up or down adjusts the tonal range or hue that’s under your cursor, without you having to figure out which part of the curve to grab.
In Hue/Saturation, this means you can drag on a specific color in the image to shift its hue or dial back its saturation, and Photoshop automatically isolates that color range. In Curves, dragging up or down on a midtone area pushes that part of the curve without you needing to identify the exact point on the graph. It’s the kind of tool that makes corrections feel intuitive instead of technical.
Step 5: Bird’s Eye View for Zoomed-In Navigation
 Bird’s Eye View zoom-out overlay while image is zoomed in close
When you’re zoomed in tight on an image, getting around it is annoying. You can hold the spacebar to pan, but jumping to a completely different area means a lot of dragging. Hold H (as in the keyboard letter H) and click-hold with your mouse, and Photoshop instantly zooms out to show the full image with a rectangle showing your current view. Drag that rectangle to a new area and let go, and you snap right back to your zoomed-in view in the new spot. It’s fast and weirdly satisfying.
Bird’s Eye View zoom-out overlay while image is zoomed in close
When you’re zoomed in tight on an image, getting around it is annoying. You can hold the spacebar to pan, but jumping to a completely different area means a lot of dragging. Hold H (as in the keyboard letter H) and click-hold with your mouse, and Photoshop instantly zooms out to show the full image with a rectangle showing your current view. Drag that rectangle to a new area and let go, and you snap right back to your zoomed-in view in the new spot. It’s fast and weirdly satisfying.
Aaron also uses this section to show a Content-Aware Crop trick where extending the canvas and filling the new area uses no generative credits. It relies on the Content-Aware checkbox in the crop tool options, not Generative Expand, which is what actually costs credits.
Step 6: Use Cloud Processing for Select Subject
 Select Subject dropdown showing Cloud and Device options
When you run Select Subject, there’s a small dropdown in the options bar that lets you choose between Device and Cloud processing. The cloud option sends your image to Adobe’s servers and returns a noticeably cleaner selection, especially around complex edges like hair or fur. It takes a few extra seconds, but for any work where the selection actually matters, it’s worth it. And yes, this does not cost generative credits either.
Select Subject dropdown showing Cloud and Device options
When you run Select Subject, there’s a small dropdown in the options bar that lets you choose between Device and Cloud processing. The cloud option sends your image to Adobe’s servers and returns a noticeably cleaner selection, especially around complex edges like hair or fur. It takes a few extra seconds, but for any work where the selection actually matters, it’s worth it. And yes, this does not cost generative credits either.
A Note From My Own Workflow
The Blend If technique Aaron covers later in the video is worth spending real time on. It’s been in Photoshop forever, and it’s one of those features that looks intimidating in the Layer Style dialog until someone explains that you hold Alt/Option to split the sliders into feathered halves. Once you get that, sky compositing and texture blending stop feeling like hacks and start feeling like actual control. I spent an embarrassing amount of time using masks for things Blend If could have handled in thirty seconds.
The other one that I think people skip too fast is Apply Image. It lets you merge everything visible into a new layer without flattening your document, which is huge when you want to run a sharpening pass or frequency separation on the full composite without losing your layer structure underneath.
These tips range from “I can’t believe I didn’t know this” to “I knew this existed but never actually used it,” which is honestly the most useful kind of tutorial. The common thread is that Photoshop keeps doing more than most people ask of it, and the gap between what you know and what’s actually there is worth closing.
Watch the full tutorial on YouTube to see all 10 tips demonstrated, including Blend If, Stamp Visible, and the Solo layer shortcut that I now use constantly.
Comments
Leave a Comment