10 Photoshop Tips I Wish I'd Known Before I Wasted Years Doing Things the Hard Way

10 Photoshop Tips I Wish I'd Known Before I Wasted Years Doing Things the Hard Way

There’s a specific kind of pain that comes from watching someone else work in Photoshop and realizing they’re doing in three clicks what takes you fifteen. I’ve been there more times than I’d like to admit. Back when I was just starting to take freelance work seriously, a friend watched me edit over my shoulder for about two minutes before quietly asking if I’d ever heard of layer masks. Reader, I had not.

Stop Adjusting Black & White Sliders Blindly — Camera Raw Has a Better Way

Stop Adjusting Black & White Sliders Blindly — Camera Raw Has a Better Way

I used to convert images to black and white the same way I did everything else when I was starting out: wrong, but confidently. Desaturate the layer, maybe drag a few sliders around in Hue/Saturation, call it a day. The results looked flat, the contrast was muddy, and I had no way to go back and fix anything without starting over. I learned about non-destructive editing the hard way – the very hard way, involving a client project and a save that couldn’t be undone – and it changed how I approach basically everything in Photoshop now.

Photoshop Selections Explained: The One Skill That Makes Everything Else Click

Photoshop Selections Explained: The One Skill That Makes Everything Else Click

Here’s a confession: for an embarrassingly long time, I was just painting over things I didn’t want in my images. Like, literally using a brush and hoping for the best. My early freelance work looked fine on screen and absolutely fell apart the second a client zoomed in. The problem wasn’t my eye for design. It was that I had no real grip on selections, which meant every edit I made was either global (affecting the whole image) or a crime scene.

Flow vs. Opacity: The Brush Setting You're Probably Ignoring (And Why It's Costing You)

Flow vs. Opacity: The Brush Setting You're Probably Ignoring (And Why It's Costing You)

I spent an embarrassing amount of time early in my freelance career fighting with Photoshop’s brush tool. I’d lower the opacity to build up a soft mask, then wonder why my strokes looked choppy and inconsistent. I’d click, release, click again, and end up with these weird hard rings of buildup that looked nothing like the smooth, natural blending I was going for. Turns out I was using the wrong setting entirely, and nobody had ever taken five minutes to explain the difference.

Stop Hibernating: A Working Photographer's Guide to Night Street Photography Settings

Stop Hibernating: A Working Photographer's Guide to Night Street Photography Settings

Winter used to wreck my shooting schedule. Not because I got lazy (okay, sometimes because I got lazy), but because the light disappeared before I even finished my second coffee. By the time I’d pack up my gear and head outside, the sun was already halfway into the ground and everything looked like a gray soup. I assumed good photography was a daylight-only activity, which meant I spent a lot of winters doing absolutely nothing useful with a camera.

Double Exposure in Photoshop: How to Blend a Portrait and a Landscape Into One Striking Image

Double Exposure in Photoshop: How to Blend a Portrait and a Landscape Into One Striking Image

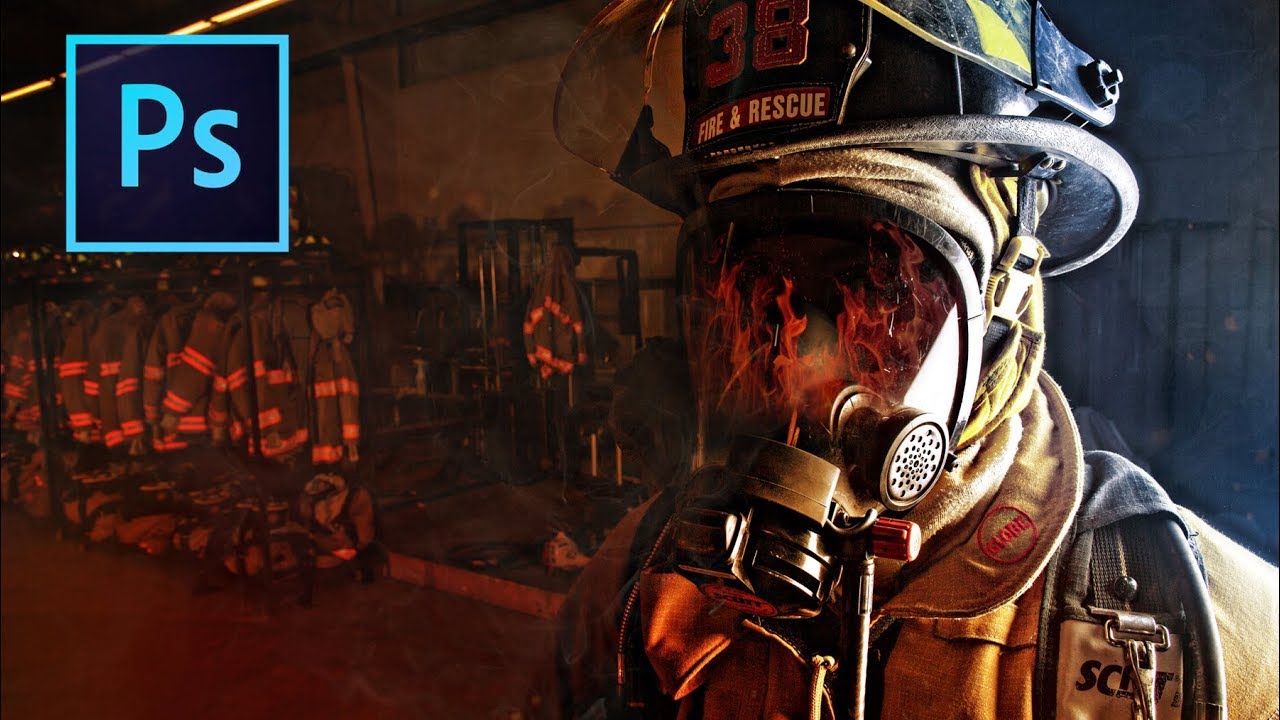
There’s a specific kind of client brief that used to make me freeze up: “Make it look artistic. You know, like a double exposure thing.” Vague enough to mean anything, specific enough that they definitely had a Pinterest reference they weren’t showing me. I’d cobble something together using Screen mode and hope for the best, and it would look… fine. Not great. The kind of result that gets approved but doesn’t end up in anyone’s portfolio.

The Photoshop Shortcuts That Actually Save Time (And the Ones You're Probably Ignoring)

The Photoshop Shortcuts That Actually Save Time (And the Ones You're Probably Ignoring)

I timed myself last Tuesday. Open file, adjust curves, mask the subject, flatten, export. Doing it the long way, clicking through menus like it was 2009, took me four minutes and eighteen seconds. Doing it with shortcuts took fifty-three seconds. That gap, multiplied across a full freelance workload, is the difference between finishing at 6pm or finishing at midnight, hunched over a laptop at a coffee shop while the barista gives you the “we’re closing soon” eyes.

Stop Repainting Objects by Hand — Use Photoshop's Hue/Saturation to Color Match in Minutes

Stop Repainting Objects by Hand — Use Photoshop's Hue/Saturation to Color Match in Minutes

Client sends you a product photo. The widget is blue. They want it pink. You open Photoshop, grab the Brush tool, and spend forty minutes hand-painting over it like some kind of digital house painter. The result looks okay at 50% zoom and terrible at 100%. I’ve been there more times than I’d like to admit, and for a while I thought that was just the job. Turns out there’s a smarter way, and it takes about five minutes once you know the workflow.

What Photoshop World Actually Looks Like When You Show Up for the First Time (And Why You Should Go)

What Photoshop World Actually Looks Like When You Show Up for the First Time (And Why You Should Go)

There’s a specific kind of overwhelm that hits you when you walk into a room full of people who are all dramatically better at your craft than you are. It’s equal parts terrifying and addictive. I felt it the first time I stumbled into a design meetup in Austin, surrounded by people casually discussing techniques I’d never heard of, and I’ve been chasing that feeling ever since. That’s exactly what comes through in Watch the full tutorial on YouTube - a short but genuinely compelling interview from KelbyOne featuring Kim Roy White, a freelance photographer who showed up to Photoshop World for the first time and somehow left with a Canon 5D Mark III.

Blend If Is the Photoshop Feature I Wish I'd Found Three Years Earlier

Blend If Is the Photoshop Feature I Wish I'd Found Three Years Earlier

There’s a specific kind of frustration I know really well. You shoot a photo, or a client sends you one, and the sky is gorgeous but the foreground looks like it was taken inside a coal mine. Or the opposite: the subject is perfectly lit and the background is a blown-out white void. I spent an embarrassing amount of time masking around these problems by hand, painting on layer masks pixel by pixel like some kind of digital monk.

Stop Staring at a Blank Shoot Plan — Try Photography Mind Mapping Instead

Stop Staring at a Blank Shoot Plan — Try Photography Mind Mapping Instead

There’s a specific flavor of creative paralysis I run into constantly. I’ve got a project in front of me, a concept I’m actually excited about, and absolutely zero idea how to start shooting it. The idea just sits there, bloated and shapeless, like I need to photograph “culture” or “community” and someone forgot to give me a map. That’s exactly the problem that got me watching this CreativeLive tutorial on photography mind mapping, and honestly, it fixed something I didn’t even realize was a workflow problem.

Steal the Highlights: How to Build a Cinematic Vintage Glow in Photoshop From Scratch

Steal the Highlights: How to Build a Cinematic Vintage Glow in Photoshop From Scratch

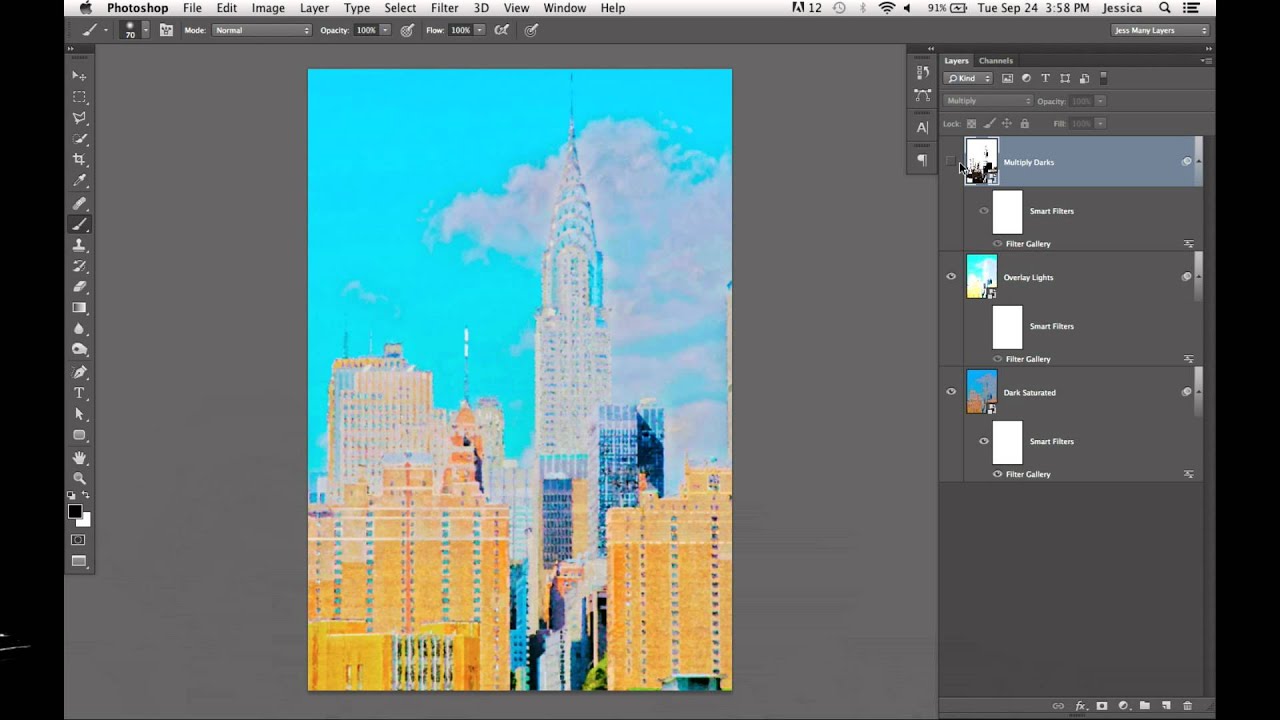
There’s a particular flavor of client request that shows up in my inbox every few weeks: “Can you make it look more… cinematic? Like old film?” And for a long time, I’d reach for the same handful of tired presets, cross my fingers, and deliver something that looked okay but felt hollow. Presets are fast, sure, but you’re basically just renting someone else’s creative decisions. The moment a client asks you to tweak it, you’re stuck staring at sliders you don’t fully understand.