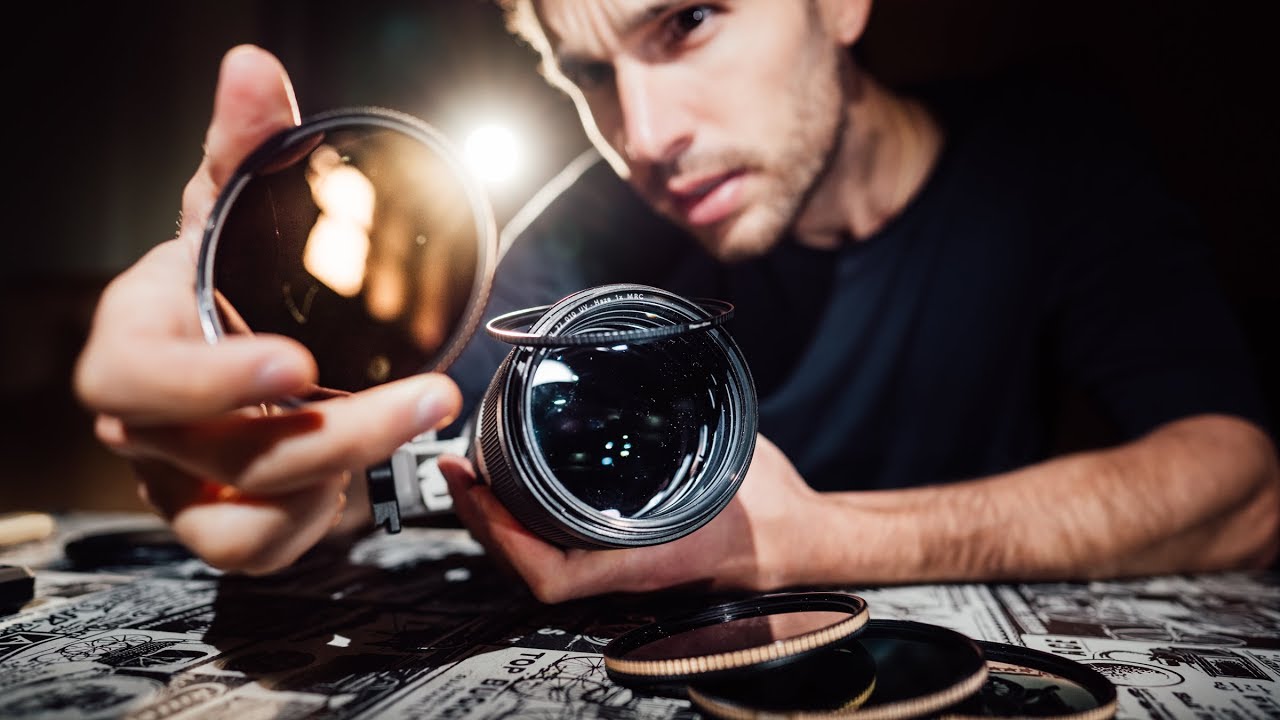
I shoot a lot of reference photography for compositing work. Stock images are fine until they’re not, and when a client wants something specific, I’m the one dragging a camera somewhere inconvenient and hoping for the best. Filters have always felt like the “serious photographer” move to me, the kind of gear that signals you know what you’re doing. Turns out, slapping a filter on your lens without understanding its quirks is a great way to hand yourself a problem you’ll spend an hour trying to fix in Lightroom later.
That’s exactly what Pierre T. Lambert digs into in this tutorial, and it’s the kind of video I wish I’d watched before I started using a polarizer on everything wide-angle. Rather than selling you on why filters are incredible (they can be), he goes straight for the problems. Two filters, two specific failure modes, and concrete situations where you should just… not use them. Watch the full tutorial on YouTube if you want to see the visual examples, but here’s a breakdown you can actually follow.
Step 1: Understand What a Polarizing Filter Actually Does to Light
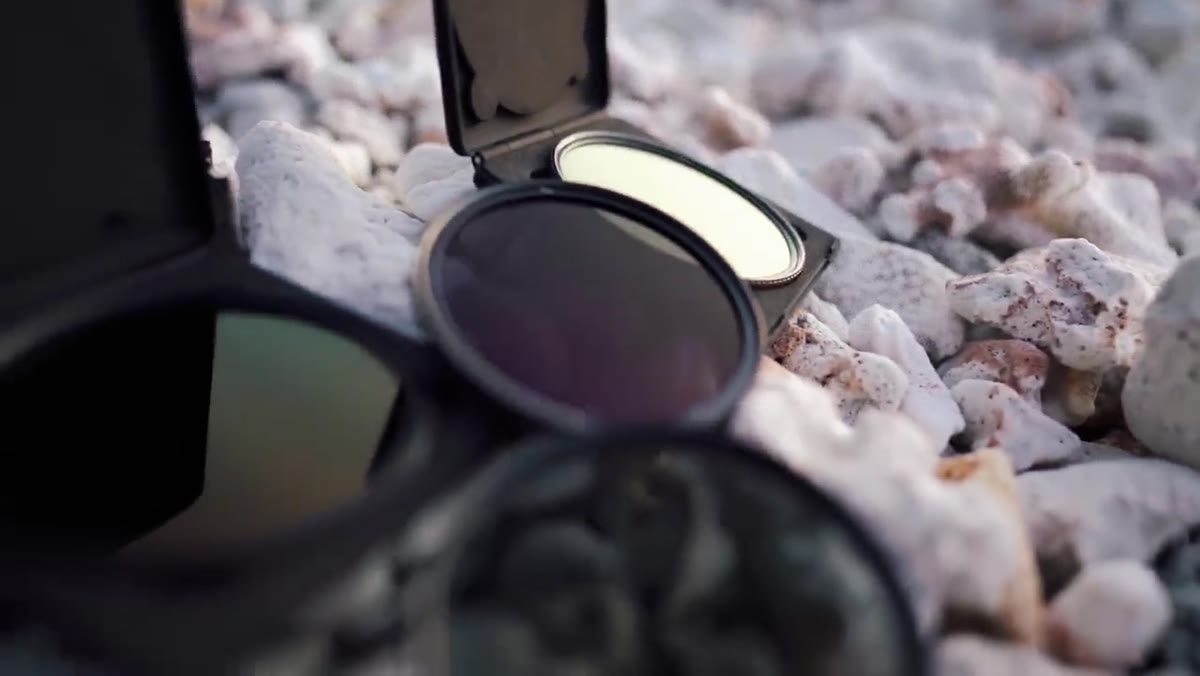 Polarizing filter shown being discussed against sky
Before you can understand what goes wrong, you need a clear picture of the mechanism. A polarizing filter works by cutting out reflected light, but only at specific angles. The filter doesn’t affect all light equally across your frame. Rotate it one way and you’re killing reflections and deepening blues; rotate it another and you’re barely doing anything. That selectivity is the whole point of the filter, but it’s also the source of the problem.
Polarizing filter shown being discussed against sky
Before you can understand what goes wrong, you need a clear picture of the mechanism. A polarizing filter works by cutting out reflected light, but only at specific angles. The filter doesn’t affect all light equally across your frame. Rotate it one way and you’re killing reflections and deepening blues; rotate it another and you’re barely doing anything. That selectivity is the whole point of the filter, but it’s also the source of the problem.
The key word here is “angle.” The filter responds to light based on the direction it’s traveling when it hits the lens. That works beautifully in controlled conditions. It gets messy fast when light is hitting different parts of your frame from different angles simultaneously, which is almost always happening outdoors.
Step 2: Spot the Uneven Sky Problem Before You Shoot
 Wide-angle sky showing uneven polarization across the frame
This is the big one for polarizing filters. When you’re shooting wide-angle, your lens is capturing a large arc of sky. The polarizing effect is strongest perpendicular to the sun, and weakest when you’re pointing toward or directly away from it. Since your wide-angle frame contains sky at multiple angles relative to the sun at once, the filter darkens some parts of the sky significantly while leaving other parts nearly untouched.
Wide-angle sky showing uneven polarization across the frame
This is the big one for polarizing filters. When you’re shooting wide-angle, your lens is capturing a large arc of sky. The polarizing effect is strongest perpendicular to the sun, and weakest when you’re pointing toward or directly away from it. Since your wide-angle frame contains sky at multiple angles relative to the sun at once, the filter darkens some parts of the sky significantly while leaving other parts nearly untouched.
The result is a sky that graduates from deep, saturated blue on one side to washed-out, pale blue on the other. It doesn’t look like a natural atmospheric transition. It looks like a mistake. This effect gets worse around sunrise and sunset when the light is lower and the contrast between the polarized and non-polarized areas of sky becomes even more dramatic. If you’re shooting a landscape at golden hour with a wide-angle and a polarizer and wondering why your sky looks patchy, this is why.
Step 3: Know When to Swap to a Telephoto to Save the Shot
 Telephoto lens discussed as solution to uneven polarization
The practical fix Pierre recommends is elegant: if you’re in a situation where uneven sky is a real risk, reach for a longer focal length instead. A telephoto lens captures a much narrower slice of sky. That narrower slice means you’re pulling from a tighter angular range, so the polarizing effect is more consistent across the frame. Less variation in angle equals less variation in effect equals a sky that actually looks even.
Telephoto lens discussed as solution to uneven polarization
The practical fix Pierre recommends is elegant: if you’re in a situation where uneven sky is a real risk, reach for a longer focal length instead. A telephoto lens captures a much narrower slice of sky. That narrower slice means you’re pulling from a tighter angular range, so the polarizing effect is more consistent across the frame. Less variation in angle equals less variation in effect equals a sky that actually looks even.
This isn’t always possible depending on the scene, but it’s worth building into your planning. If you know you want to use a polarizer for a landscape shot, think about whether you can achieve a similar composition with a longer lens. Sometimes the answer is yes and you get a cleaner result. Sometimes it means recomposing, which isn’t the end of the world.
Step 4: Understand the ND Filter Color Cast Problem
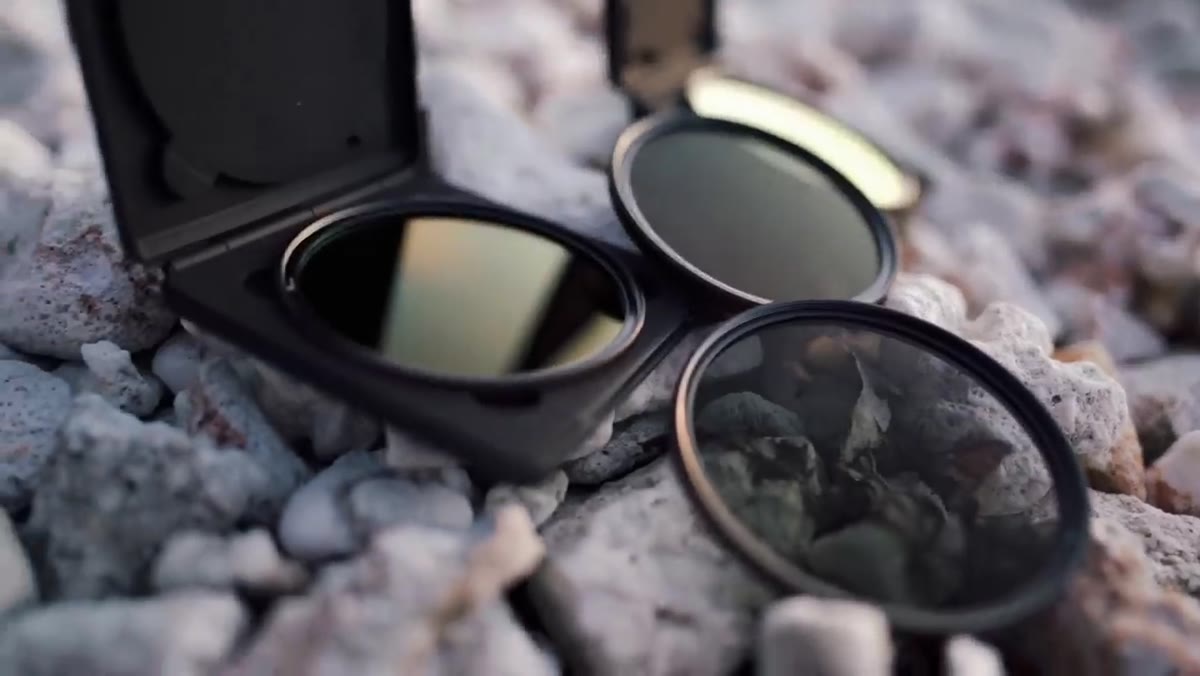 ND filter being introduced as second danger topic
ND filters are in a different category of problem. Their whole job is to reduce the amount of light entering the lens, letting you use slower shutter speeds in bright conditions, either for long exposure work or for keeping your shutter speed in a useful range for video. The issue has nothing to do with angle or light direction. It’s about manufacturing.
ND filter being introduced as second danger topic
ND filters are in a different category of problem. Their whole job is to reduce the amount of light entering the lens, letting you use slower shutter speeds in bright conditions, either for long exposure work or for keeping your shutter speed in a useful range for video. The issue has nothing to do with angle or light direction. It’s about manufacturing.
To make a piece of glass darker, manufacturers have to add some kind of coating or tinting material. The cheaper the filter, the more likely that material introduces a color bias into your image. The most common offender is a magenta tint, though other color shifts are possible depending on the filter. You might not notice it on a quick glance at your screen, but it shows up clearly when you look at a neutral area of the image or try to match shots taken with and without the filter.
Step 5: Recognize That Stronger ND Filters Have Stronger Color Cast
 Stronger ND filters discussed in relation to increased color cast
The color cast problem compounds with filter strength. A mild ND filter might have a barely perceptible shift. A strong ND, the kind you’d use for a really dramatic long exposure in daylight, is much darker glass and therefore has a lot more potential for color problems. Pierre specifically calls out the heavy ND filters he used earlier in his career and the persistent color tint he couldn’t shake.
Stronger ND filters discussed in relation to increased color cast
The color cast problem compounds with filter strength. A mild ND filter might have a barely perceptible shift. A strong ND, the kind you’d use for a really dramatic long exposure in daylight, is much darker glass and therefore has a lot more potential for color problems. Pierre specifically calls out the heavy ND filters he used earlier in his career and the persistent color tint he couldn’t shake.
The practical implication: if you’re testing a new ND filter, shoot something with a clear white or grey area in the frame and check the color balance before you commit to a full shoot. If you’re seeing a magenta or green shift in what should be neutral tones, you have two options. Either correct for it in post (which works, but means every shot from that filter needs the same correction baked in), or invest in a higher-quality filter with better color neutrality from the start.
My Experience: Post-Correction Is a Band-Aid, Not a Fix
I’ve gone the “just fix it in Lightroom” route with a color-casting filter. It’s annoying but doable when you’re shooting a consistent scene. Where it gets genuinely painful is in compositing work. When I’m blending a photograph into a Photoshop composite, any unexpected color tint in my source image is another thing I have to account for when matching tones across layers. I once spent way too long wondering why a sky replacement looked slightly off before realizing the background photo had a subtle blue-green cast from a cheap ND filter I’d borrowed. A preset correction would have caught it. Matching it to another photo by eye, layer by layer, did not.
If you’re using filters for work you’re going to composite later, test them thoroughly in advance and save a correction preset you can apply consistently. Don’t assume you’ll deal with it later, because “later” is always when you’re already under deadline.
The single most important thing this tutorial hammers home is that filters are not passive accessories. Every filter you add to your lens is making an active intervention in how your image looks, and each one comes with specific conditions where that intervention creates problems rather than solving them. Know what your filter does mechanically, know the scenarios where that mechanism misfires, and you’ll avoid the kind of shots that look great on the back of the camera and terrible once you’re back at your desk.
Watch the full tutorial on YouTube to see Pierre’s actual visual examples, which make the uneven sky issue in particular much easier to recognize at a glance.
Comments
Leave a Comment