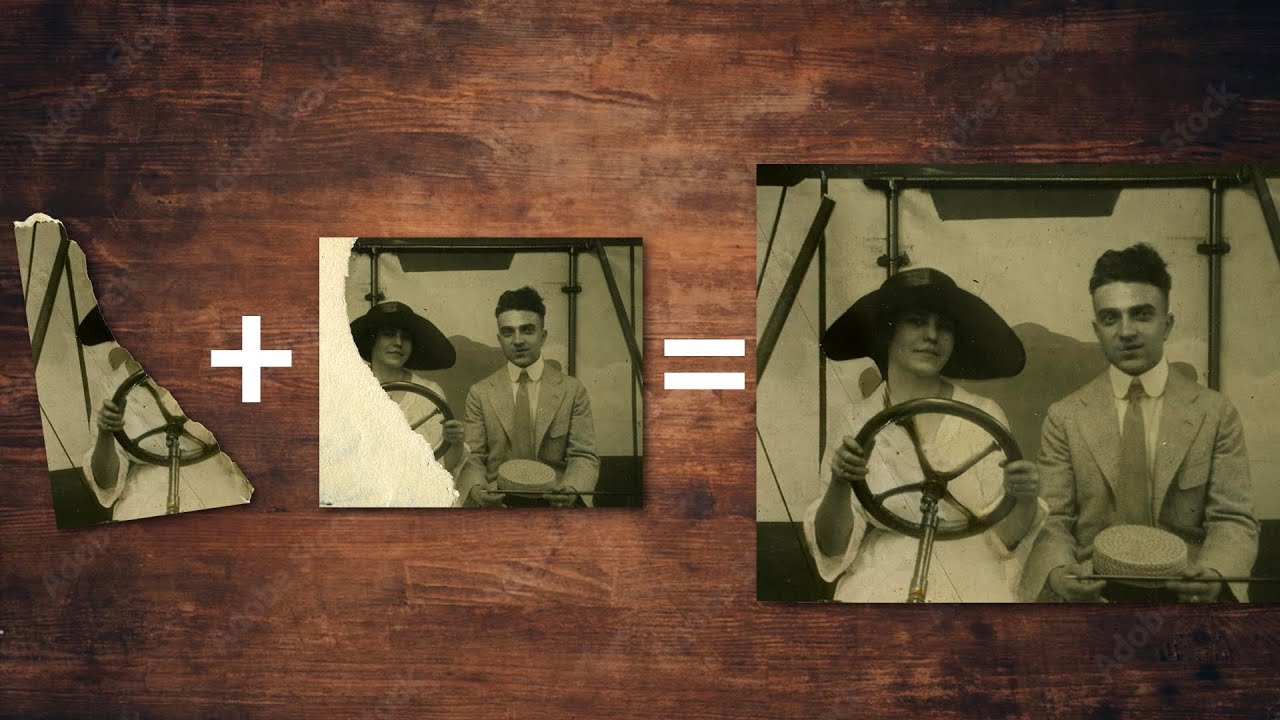
Photo restoration used to be the kind of job I’d quietly dread. A client would email asking if I could “fix up” an old photo, and I’d spend an entire afternoon cloning out scratches pixel by pixel while questioning my life choices. I got decent at it, but decent felt like a lot of suffering for mediocre results.
That’s why this tutorial from Matt Kloskowski landed so well for me. In it, he walks through restoring a physically torn, water-damaged photograph using tools that honestly didn’t exist in a useful state until the last couple of years. His context for the video makes it hit harder too: he was helping a family member clean up after a Florida storm and noticed that some of the photos scattered around could actually be saved. Not perfectly. But enough. Watch the full tutorial on YouTube
That framing matters, because it shapes the entire philosophy of the workflow. This isn’t about making a flawless archival print. It’s about making something recognizable to the people it belongs to. Keep that in mind as you work through these steps, because it’ll save you hours of unnecessary tweaking.
Step 1: Get Your Pieces Into Photoshop
 Two torn photo pieces visible in Photoshop workspace
If you’re working with a torn photo (which is exactly what Matt is dealing with here), your first job is getting both pieces digitized. Scan them, photograph them on a flat surface in good light, whatever works. Matt doesn’t dwell on this part and neither will I. Just get them into Photoshop as separate files.
Two torn photo pieces visible in Photoshop workspace
If you’re working with a torn photo (which is exactly what Matt is dealing with here), your first job is getting both pieces digitized. Scan them, photograph them on a flat surface in good light, whatever works. Matt doesn’t dwell on this part and neither will I. Just get them into Photoshop as separate files.
In his example, one piece has a white background, which means a bit of extraction work is needed before compositing. Open both images and keep them in separate document tabs for now.
Step 2: Select and Extract the Torn Piece
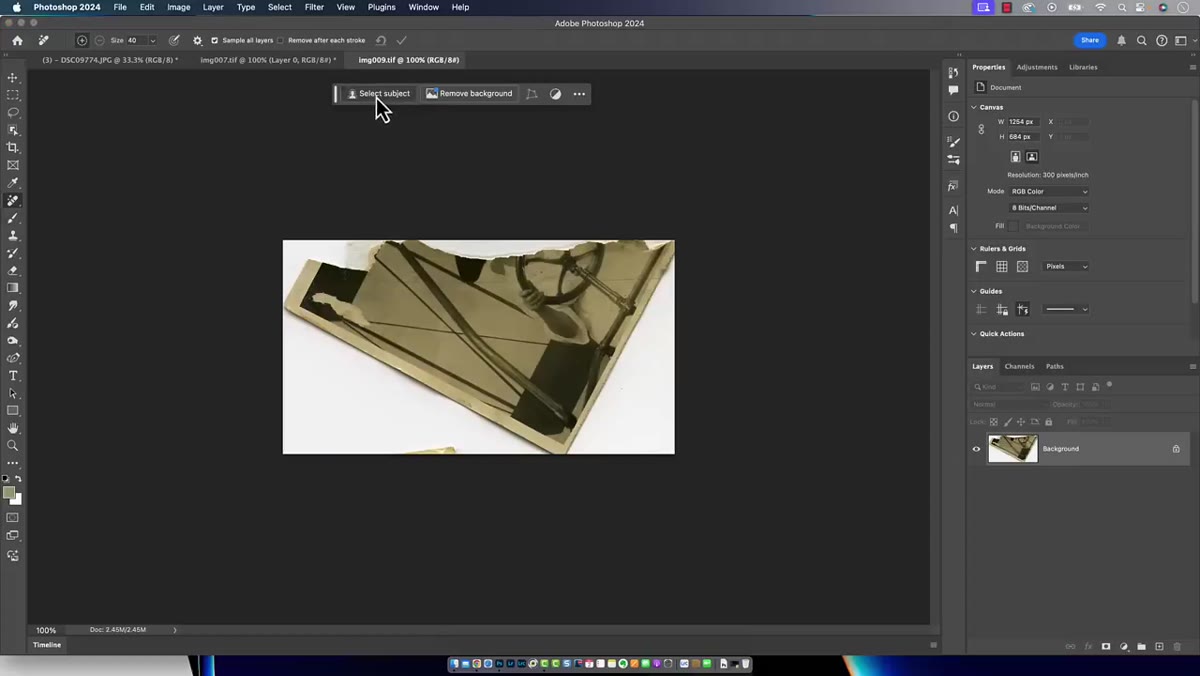 Select Subject active on torn photo piece with white background
With the piece that has the white background active, go to Select > Subject. Photoshop’s AI-powered subject selection has gotten genuinely good over the last couple of years, and for a torn photograph on a plain white background it’s going to do most of the heavy lifting for you.
Select Subject active on torn photo piece with white background
With the piece that has the white background active, go to Select > Subject. Photoshop’s AI-powered subject selection has gotten genuinely good over the last couple of years, and for a torn photograph on a plain white background it’s going to do most of the heavy lifting for you.
Once you have that selection, copy it (Command/Ctrl + C), switch over to your base photo document, and paste it in (Command/Ctrl + V). It’ll land as a new layer sitting above your base image, which is exactly where you want it.
Step 3: Align the Two Pieces with Free Transform
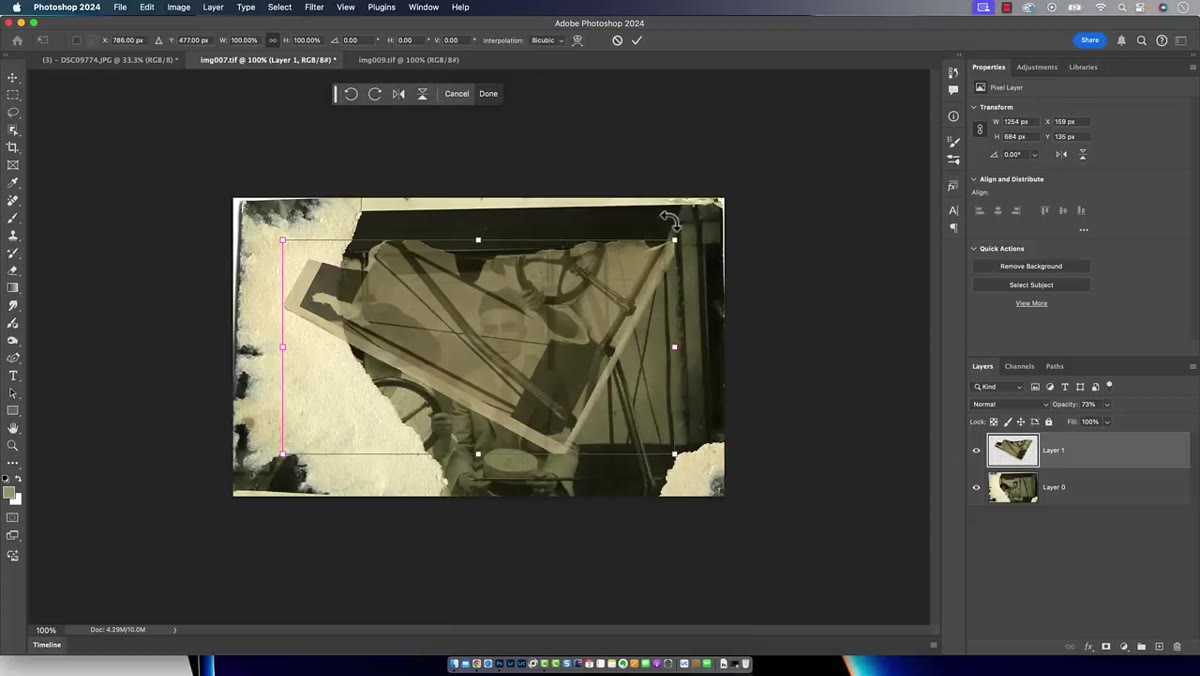 Free Transform handles visible while aligning torn photo layers
Here’s where patience matters more than precision. Drop the opacity of your pasted layer down to around 50-60% so you can see both pieces simultaneously. Then hit Command/Ctrl + T to enter Free Transform.
Free Transform handles visible while aligning torn photo layers
Here’s where patience matters more than precision. Drop the opacity of your pasted layer down to around 50-60% so you can see both pieces simultaneously. Then hit Command/Ctrl + T to enter Free Transform.
Use a strong edge in the photo, a hairline, a shoulder, a table edge, whatever gives you a clear reference point, and drag the top layer until it lines up reasonably well with the base. Matt uses the upper edge of the photo as his anchor. Once it looks right, hit Enter or click the checkmark to commit the transform, then bring that opacity back to 100%. It won’t be pixel-perfect. It doesn’t need to be.
Step 4: Match the Color Between the Two Pieces
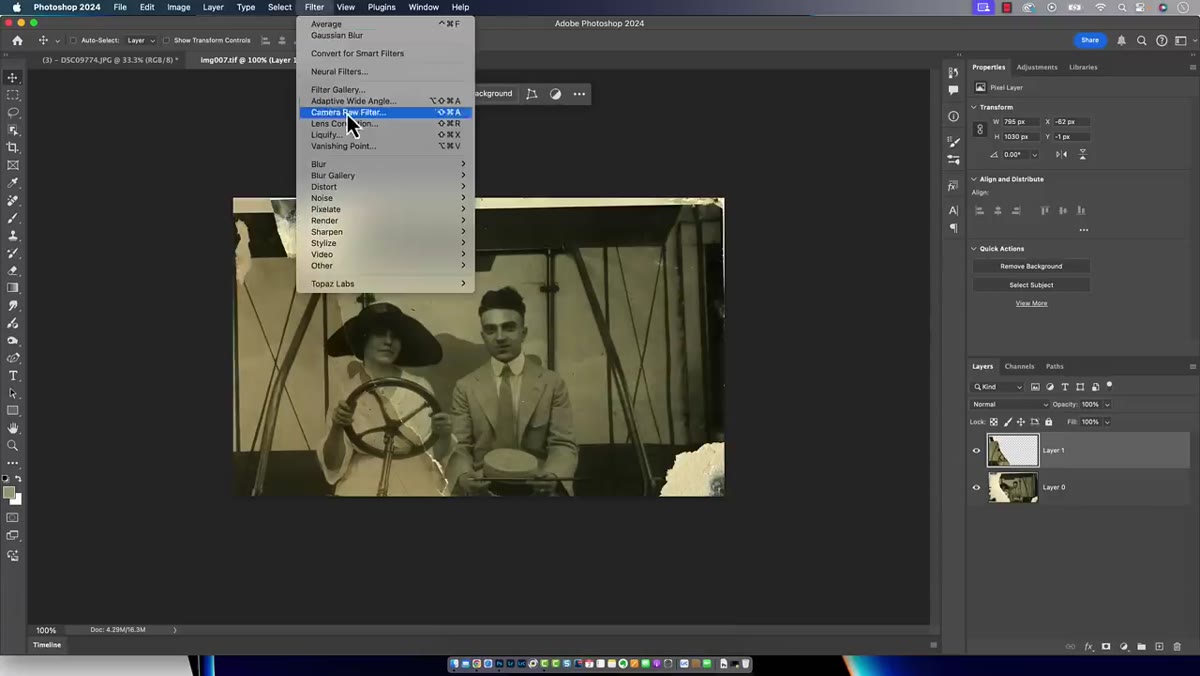 Image Adjustments Color Match dialog open with layer source selected
This is the step that used to eat my lunch. Two scanned pieces of the same photo almost never come out with identical color, even under identical scanning conditions. Fading, storage conditions, and light exposure all create subtle differences that look terrible when you try to composite them.
Image Adjustments Color Match dialog open with layer source selected
This is the step that used to eat my lunch. Two scanned pieces of the same photo almost never come out with identical color, even under identical scanning conditions. Fading, storage conditions, and light exposure all create subtle differences that look terrible when you try to composite them.
Matt tries two approaches here. First, he tests the Neural Filters > Harmonization filter, which is designed exactly for this kind of problem. For his image, it didn’t perform as well as he hoped. His second approach works better: target the top layer, go to Image > Adjustments > Match Color, set the Source to the current document, and then select the base layer from the Layer dropdown. This tells Photoshop to shift the color of your top piece to match the bottom one. You can use the Fade, Color Intensity, and Luminance sliders to dial it in. Don’t chase perfection here either. Close enough is the goal.
Step 5: Merge to a Composite Layer
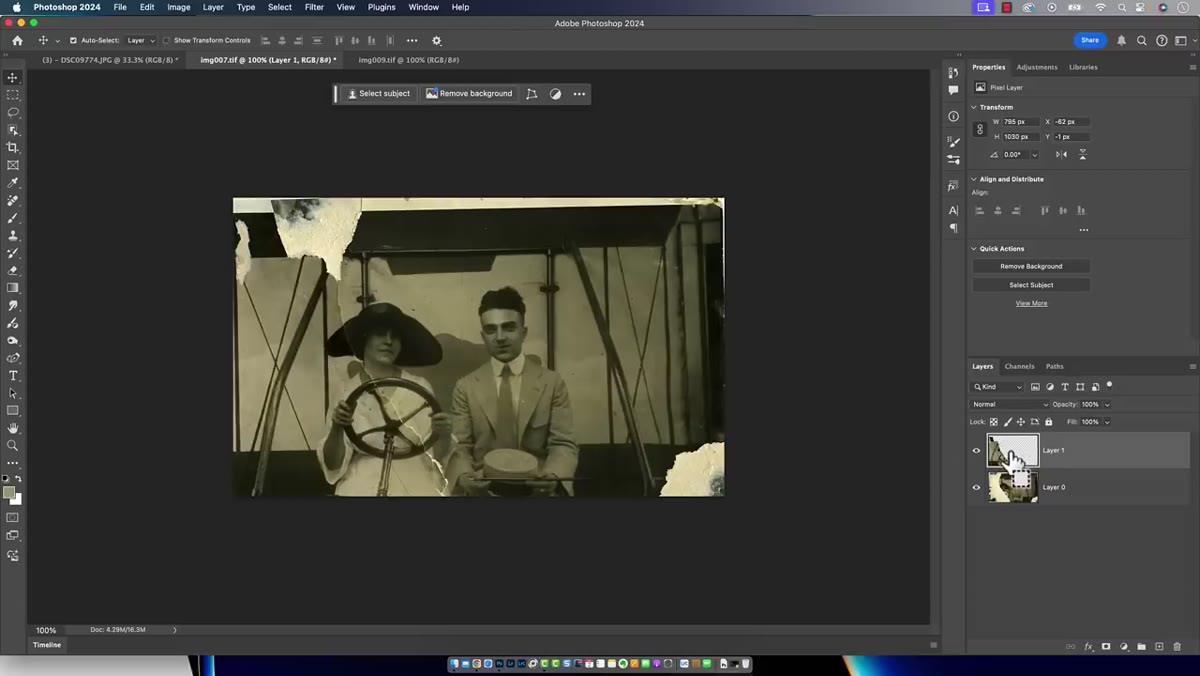 Layers panel showing stamped composite layer above originals
Before you move into the actual restoration work, you want to flatten your two pieces into a single working layer without destroying your originals. The shortcut for this is Command + Option + Shift + E on Mac or Control + Alt + Shift + E on PC. This “stamps” all visible layers into a brand new merged layer at the top of your stack while leaving everything underneath untouched.
Layers panel showing stamped composite layer above originals
Before you move into the actual restoration work, you want to flatten your two pieces into a single working layer without destroying your originals. The shortcut for this is Command + Option + Shift + E on Mac or Control + Alt + Shift + E on PC. This “stamps” all visible layers into a brand new merged layer at the top of your stack while leaving everything underneath untouched.
This is one of those shortcuts I have genuinely strong feelings about. It’s been in Photoshop forever and is wildly underused. Work on the stamped layer from here. If something goes sideways, your original pieces are still sitting safely below.
A Note on Knowing When to Stop
This is the part no tutorial can really teach you, and it’s the thing Matt keeps coming back to throughout the video: perfectionism is the enemy of photo restoration.
I’ve burned entire afternoons chasing invisible seams on jobs where the client just wanted something they could frame and put on a shelf. The people these photos belong to aren’t going to zoom in at 400% and critique your clone stamp work. They’re going to see their grandmother’s face looking back at them again. That’s the whole point.
Set a time budget before you start. Decide what “done” looks like before you open the file. Restoration work has a way of expanding to fill whatever time you give it, and diminishing returns kick in fast. The difference between 45 minutes and 4 hours of work is often invisible to everyone except you.
The single most important thing I took from this Matt Kloskowski tutorial is the mindset shift, not the tools. The tools are great, and Photoshop’s AI features have made this kind of work dramatically faster than it was even a few years ago. But the real unlock is letting go of the idea that restored means perfect. It means recovered. It means someone gets to keep a memory they thought was gone. That’s more than enough.
Watch the full tutorial on YouTube to see the full workflow in action, including the restoration steps that follow the compositing work shown here.
Comments
Leave a Comment