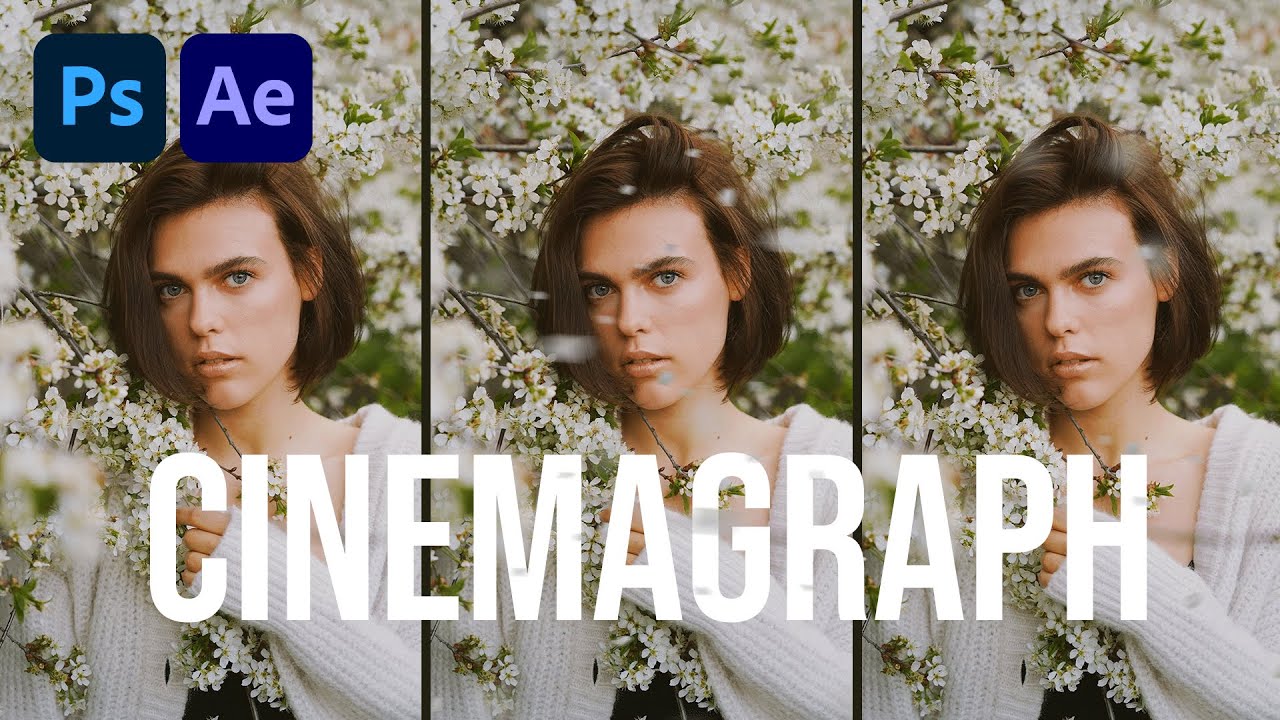
Client work has a funny way of making you learn things you’ve been putting off. I’d been dodging cinemagraphs for years, nodding along whenever someone mentioned them like I totally knew what I was doing, then quietly changing the subject. The format kept showing up on mood boards and in briefs, and I kept delivering static images with a confident expression on my face. That ended when I finally sat down with Watch the full tutorial on YouTube - Aaron Nace’s PHLEARN walkthrough on animating a photograph using Photoshop and After Effects.
The concept is simpler than it sounds. You take a still photo, isolate elements within it, and animate just those elements while everything else stays frozen. The result looks cinematic in a way that stops people mid-scroll. In this tutorial, Aaron uses a portrait with flower petals in the scene and animates them to fall naturally through the frame, some passing in front of the subject, some behind. It’s a two-part workflow: prep work in Photoshop, then animation in After Effects. This breakdown focuses on the Photoshop side, which is where most of the compositional thinking happens.
The good news is that if you’re already comfortable with selections and layers, you’re 80% of the way there. The After Effects part is more about timing and movement, but none of it requires you to be a motion graphics person. Let’s get into it.
Step 1: Select Your Subject and Isolate Them to Their Own Layer
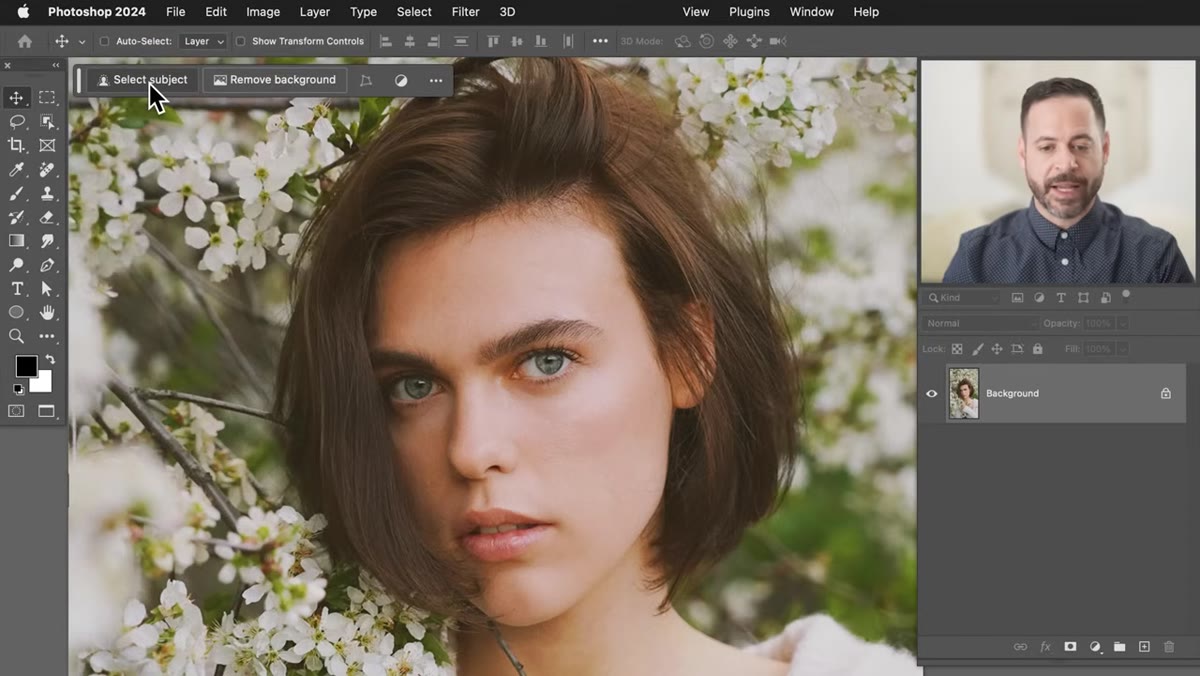 Contextual taskbar showing Select Subject button in Photoshop
Start with your background layer selected. Go to the contextual taskbar at the bottom of the canvas and hit “Select Subject.” Photoshop’s AI selection will do a solid first pass. From there, grab the Lasso tool (press L) and hold Shift to add any areas it missed, like the top of a head or a shoulder that got clipped. You don’t need a pixel-perfect selection here, just clean enough around the main subject silhouette. Once you’re happy with it, make sure your background layer is active and hit Ctrl/Cmd + J to copy the selection to a new layer. Double-click that layer name and rename it “subject.”
Contextual taskbar showing Select Subject button in Photoshop
Start with your background layer selected. Go to the contextual taskbar at the bottom of the canvas and hit “Select Subject.” Photoshop’s AI selection will do a solid first pass. From there, grab the Lasso tool (press L) and hold Shift to add any areas it missed, like the top of a head or a shoulder that got clipped. You don’t need a pixel-perfect selection here, just clean enough around the main subject silhouette. Once you’re happy with it, make sure your background layer is active and hit Ctrl/Cmd + J to copy the selection to a new layer. Double-click that layer name and rename it “subject.”
This step exists because you need depth. Petals falling in front of your subject sit above this layer. Petals falling behind sit below it. Without this separation, everything ends up on the same plane and the animation looks flat and fake.
Step 2: Select Individual Flower Petals Using the Lasso Tool
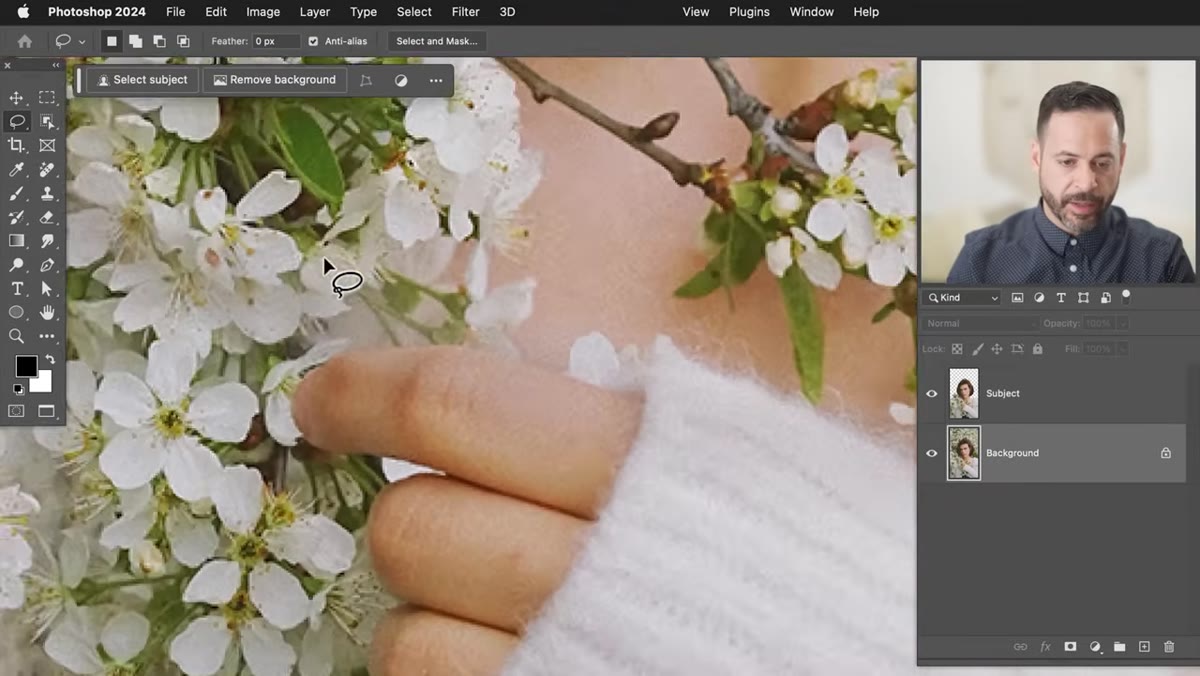 Lasso tool tracing around a flower petal on the background layer
Go back to your background layer. Now you’re going to hand-select individual petals using the Lasso tool. Trace closely around the inside edge of each petal, being careful not to grab chunks of the background behind it. Aaron’s honest about this in the tutorial: his selections aren’t perfect, and yours don’t need to be either. Petal edges are irregular enough that a slightly loose selection reads as natural.
Lasso tool tracing around a flower petal on the background layer
Go back to your background layer. Now you’re going to hand-select individual petals using the Lasso tool. Trace closely around the inside edge of each petal, being careful not to grab chunks of the background behind it. Aaron’s honest about this in the tutorial: his selections aren’t perfect, and yours don’t need to be either. Petal edges are irregular enough that a slightly loose selection reads as natural.
Once you’ve traced a petal, hit Ctrl/Cmd + J to copy it to its own layer. Then go back to the background layer and repeat for three or four more petals. You want variety in size and shape so the final animation doesn’t look like clones bouncing around the frame. Four to five petals is plenty to work with.
Step 3: Arrange the Petals Across the Canvas
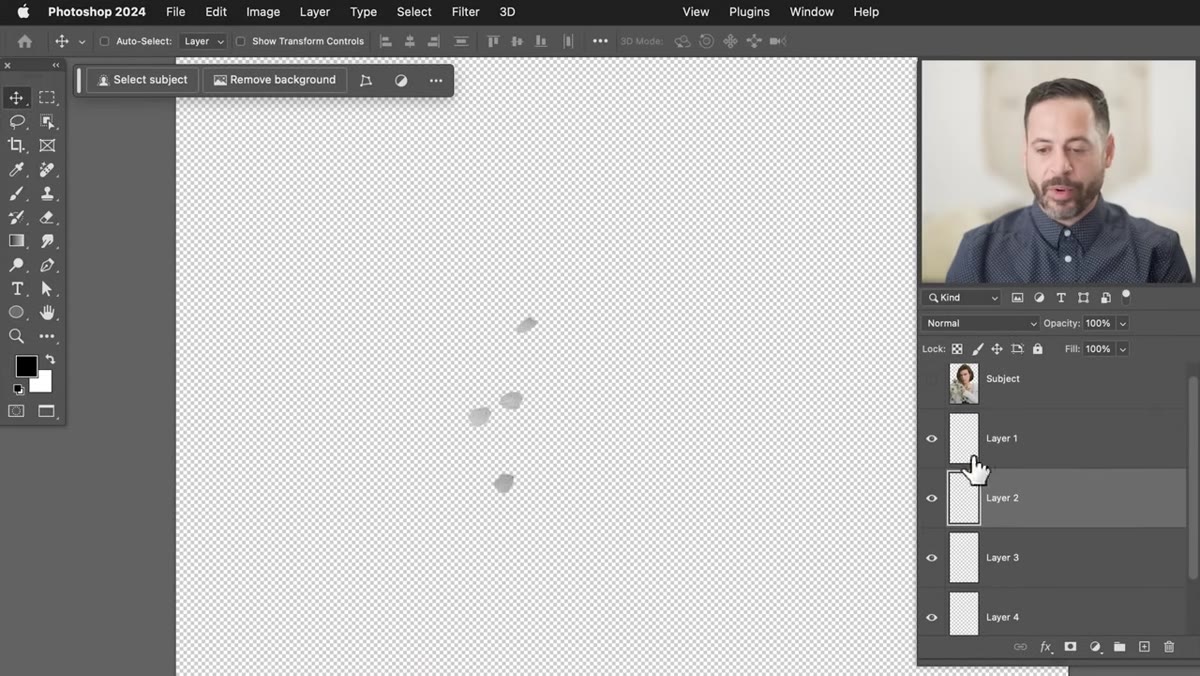 Multiple petal layers scattered across the Photoshop canvas
With your petal layers selected, use the Move tool to scatter them around the canvas. You’re essentially doing a rough pre-visualization of where they’ll start before the animation loop begins. Spread them out so they’re not stacked on top of each other. Think about the natural arc of something falling: they should feel like they’re at different points in a descent, not hovering in a cluster.
Multiple petal layers scattered across the Photoshop canvas
With your petal layers selected, use the Move tool to scatter them around the canvas. You’re essentially doing a rough pre-visualization of where they’ll start before the animation loop begins. Spread them out so they’re not stacked on top of each other. Think about the natural arc of something falling: they should feel like they’re at different points in a descent, not hovering in a cluster.
At this stage you’re not worrying about where they’ll end up, just making sure they’re distributed enough that the starting positions look believable. Some near the top of the frame, some mid-frame, varying horizontal positions.
Step 4: Group and Merge the Petal Layers Into One
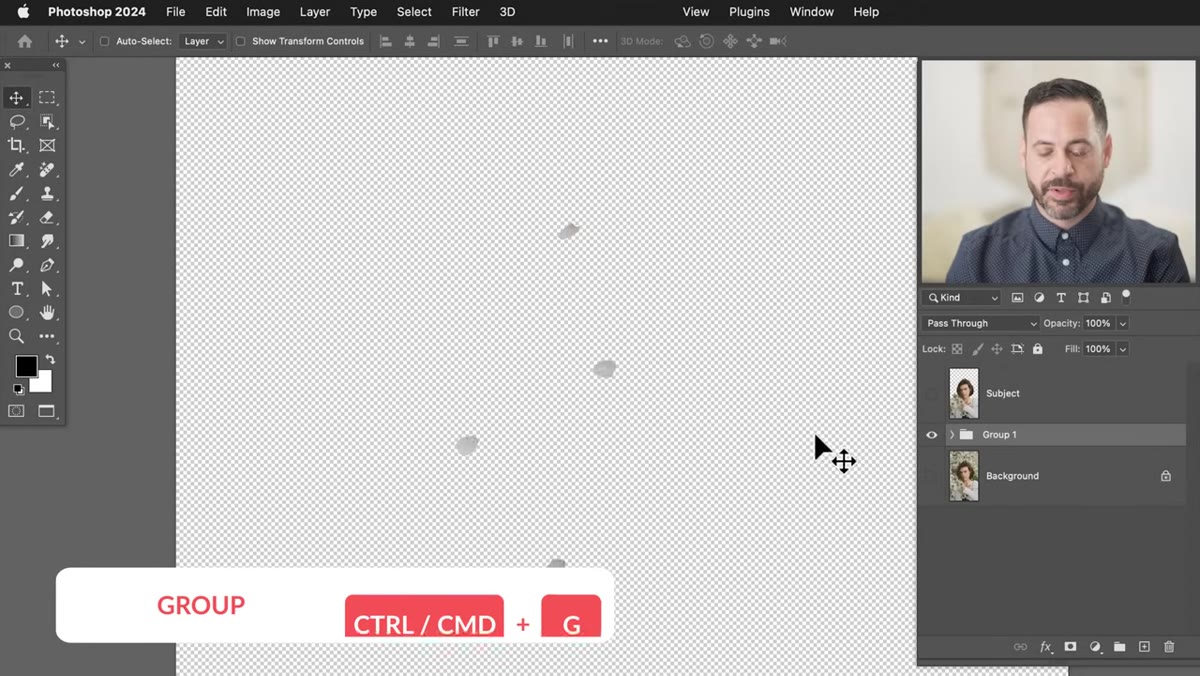 Layer panel showing petal layers being grouped with Ctrl+G
Select all your petal layers in the Layers panel. Hit Ctrl/Cmd + G to group them. Then immediately hit Ctrl/Cmd + E to merge that group down into a single flat layer. Double-click the resulting layer and name it “flower petals.” This might feel counterintuitive if you’re used to keeping everything editable, but for the animation workflow in After Effects, having these petals on a single layer keeps things manageable. You’re going to be animating the whole set moving together, not each petal individually.
Layer panel showing petal layers being grouped with Ctrl+G
Select all your petal layers in the Layers panel. Hit Ctrl/Cmd + G to group them. Then immediately hit Ctrl/Cmd + E to merge that group down into a single flat layer. Double-click the resulting layer and name it “flower petals.” This might feel counterintuitive if you’re used to keeping everything editable, but for the animation workflow in After Effects, having these petals on a single layer keeps things manageable. You’re going to be animating the whole set moving together, not each petal individually.
This is the part where Aaron’s experience shows. A less efficient approach would be animating each petal separately, which multiplies your work in After Effects for minimal visual gain. One merged layer, animated well, looks just as convincing.
Step 5: Stack Your Layers in the Right Order for Depth
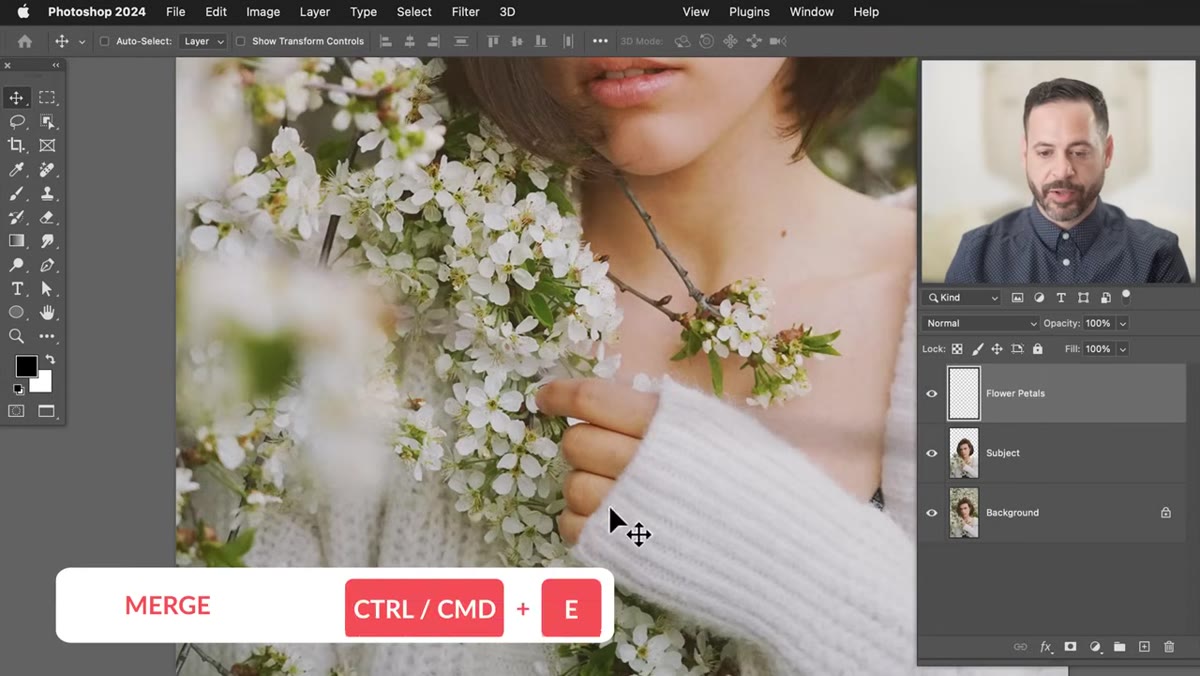 Layer panel showing background, subject, and flower petals in correct order
Your final layer order should be: background at the bottom, subject layer in the middle, and flower petals at the top. With this setup, when you animate the petals layer in After Effects, petals will appear to pass in front of the subject. If you want some petals to fall behind the subject too, you’d duplicate the petals layer and place one copy above the subject layer and one below it, then mask accordingly. Aaron’s setup uses the top position to get petals crossing the subject’s face, which is where the depth really reads.
Layer panel showing background, subject, and flower petals in correct order
Your final layer order should be: background at the bottom, subject layer in the middle, and flower petals at the top. With this setup, when you animate the petals layer in After Effects, petals will appear to pass in front of the subject. If you want some petals to fall behind the subject too, you’d duplicate the petals layer and place one copy above the subject layer and one below it, then mask accordingly. Aaron’s setup uses the top position to get petals crossing the subject’s face, which is where the depth really reads.
Before you export, do a quick sanity check by nudging the flower petals layer around with the Move tool. You should see the petals sliding over the subject. If they disappear behind the subject, your layer order is wrong.
Step 6: Export Each Layer as a PNG for After Effects
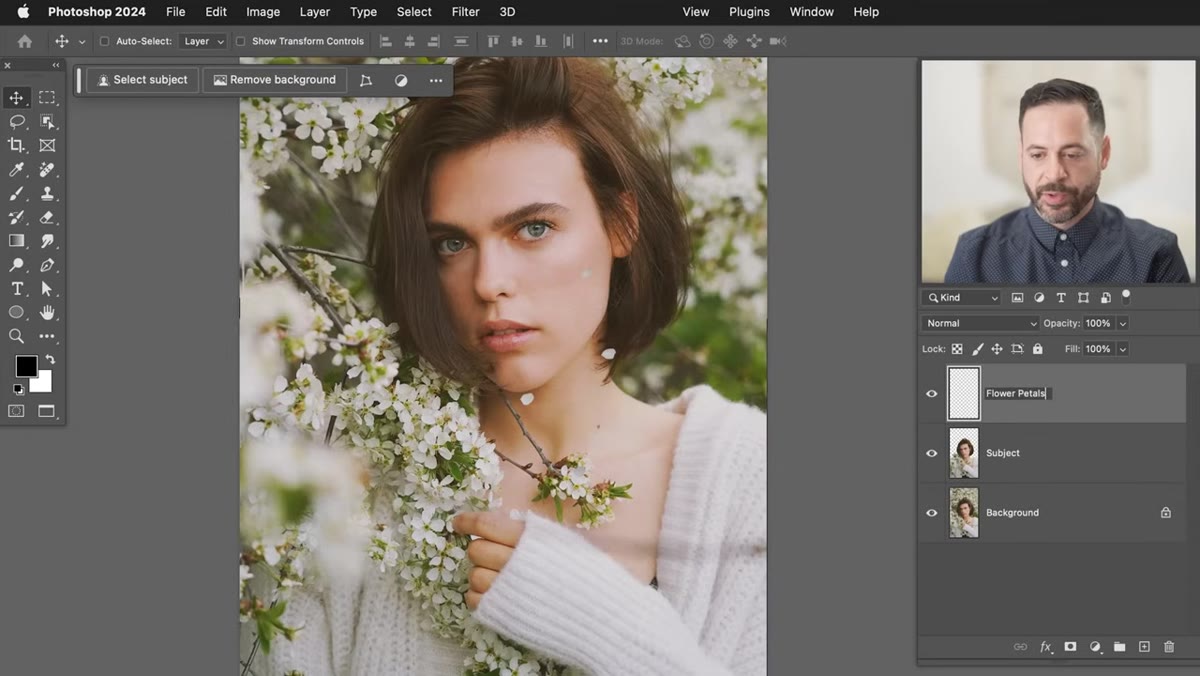 Photoshop canvas showing background and subject layers with petals above
Once your layers are organized, you’ll export them individually as PNG files so After Effects can composite them. Go to File, then Export, then use “Export As” for each layer, saving them with transparent backgrounds where needed (the subject and petal layers). Keeping the naming consistent matters here because After Effects will pull these in as separate assets and you don’t want to be hunting for “layer copy 3 final FINAL.”
Photoshop canvas showing background and subject layers with petals above
Once your layers are organized, you’ll export them individually as PNG files so After Effects can composite them. Go to File, then Export, then use “Export As” for each layer, saving them with transparent backgrounds where needed (the subject and petal layers). Keeping the naming consistent matters here because After Effects will pull these in as separate assets and you don’t want to be hunting for “layer copy 3 final FINAL.”
Organized files save you from a particular kind of frustration that no keyboard shortcut can fix.
A Note From Someone Who Overthought This Initially
My first attempt at this technique stalled because I tried to cut out too many petals and keep them all on separate layers all the way through the workflow. I had eleven petal layers going into After Effects and immediately regretted every decision I’d made. The merge-before-export step that Aaron demonstrates is not a shortcut, it’s the correct approach. More layers is not more control, it’s more overhead.
If you’re working with a photo that doesn’t have obvious floating elements like petals or leaves, the same technique works with dust particles, hair strands, fabric movement, even smoke, anything in the scene that could plausibly drift. You select it, isolate it, and let the physics of the animation do the storytelling.
The core insight here is that cinemagraphs work because stillness and movement in the same frame create tension. Your brain knows photos don’t move, so when something does, it catches. The Photoshop prep is just making sure the layers are set up so After Effects can tell that story cleanly.
Watch the full tutorial on YouTube to see the After Effects animation stage, which is where the loop timing and movement paths come together. Aaron walks through it with the same no-nonsense clarity as the Photoshop section, and it’s worth watching in full before you jump in.
Comments (1)
This should be required reading for anyone starting out.
Leave a Comment