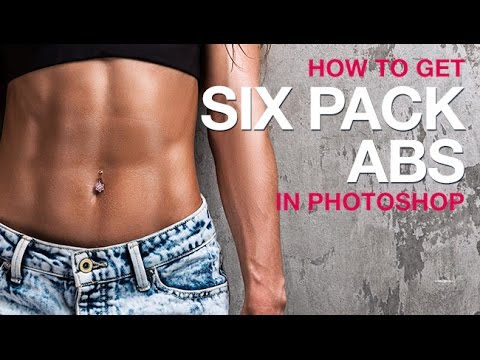
Body retouching gets a bad reputation, and honestly, some of it is deserved. But there’s a category of techniques that sit more in the “photo illustration” or “creative enhancement” space, and understanding how light and shadow sculpt the human form is genuinely useful knowledge, whether you’re touching up a fitness brand’s campaign, mocking up a magazine cover concept, or just trying to understand why certain retouching looks convincing and other retouching looks like someone melted a wax figure. In this Aaron Nace (PHLEARN) tutorial on creating six-pack abs in Photoshop, the core lesson isn’t really about abs at all. It’s about how highlight and shadow create the illusion of three-dimensional form on a flat surface.
I’ve spent a lot of time in coffee shops staring at retouching that looks off and not being able to immediately put my finger on why. The answer, almost every time, is that someone edited the color or the contrast without thinking about where the light is coming from. What Aaron demonstrates here is the reverse-engineered version of that problem: build the light and shadow intentionally, match it to the existing skin tone, and the brain fills in the rest. That’s a transferable skill. The abs are just the memorable demo vehicle.
Step 1: Set Up Your Shape Layer with the Rounded Rectangle Tool
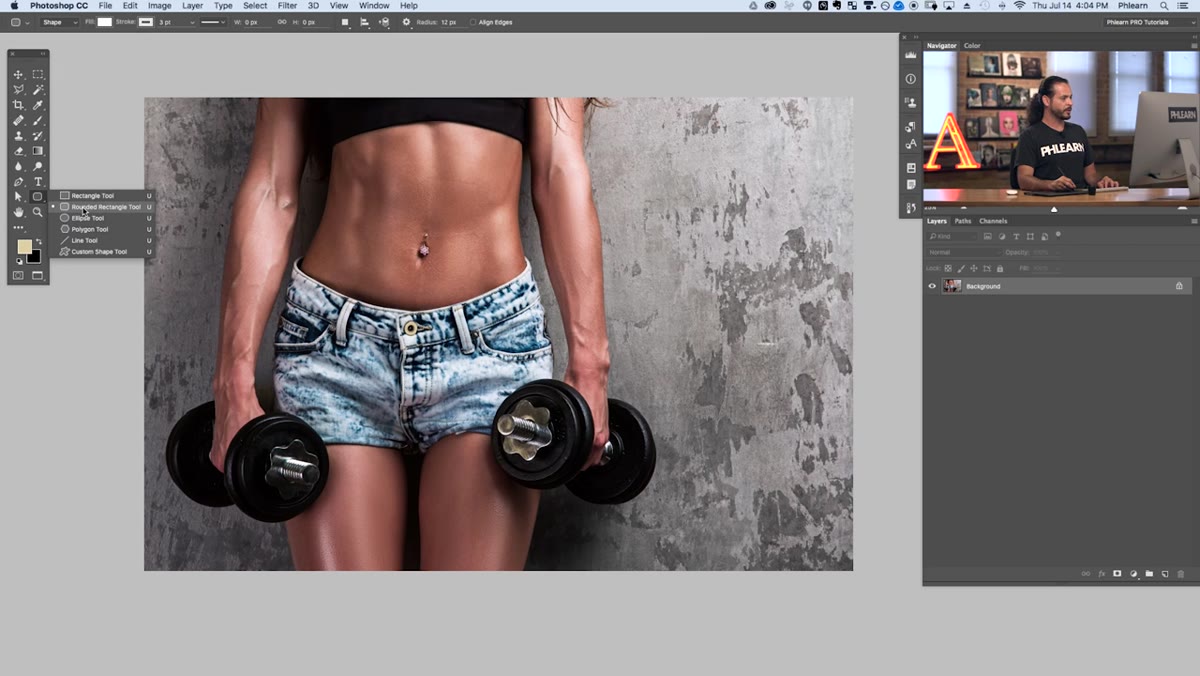 Rounded Rectangle tool selected in the Photoshop toolbar
Start with your background layer locked and untouched. In the toolbar, grab the Rounded Rectangle Tool, which lives in the same flyout menu as the standard Rectangle Tool. Draw out the shape of a single ab muscle on your subject’s torso. The size will depend on your image, but aim for a shape that’s roughly proportional to the natural muscle definition already visible. In the options bar at the top, remove the stroke entirely by clicking the stroke dropdown and selecting the diagonal slash (no stroke). You only need a solid fill for this to work.
Rounded Rectangle tool selected in the Photoshop toolbar
Start with your background layer locked and untouched. In the toolbar, grab the Rounded Rectangle Tool, which lives in the same flyout menu as the standard Rectangle Tool. Draw out the shape of a single ab muscle on your subject’s torso. The size will depend on your image, but aim for a shape that’s roughly proportional to the natural muscle definition already visible. In the options bar at the top, remove the stroke entirely by clicking the stroke dropdown and selecting the diagonal slash (no stroke). You only need a solid fill for this to work.
The fill color doesn’t matter much at this stage since you’ll be overriding the visual appearance with a layer effect shortly. Pick something visible so you can see what you’re doing.
Step 2: Dial In the Corner Radius in the Properties Panel
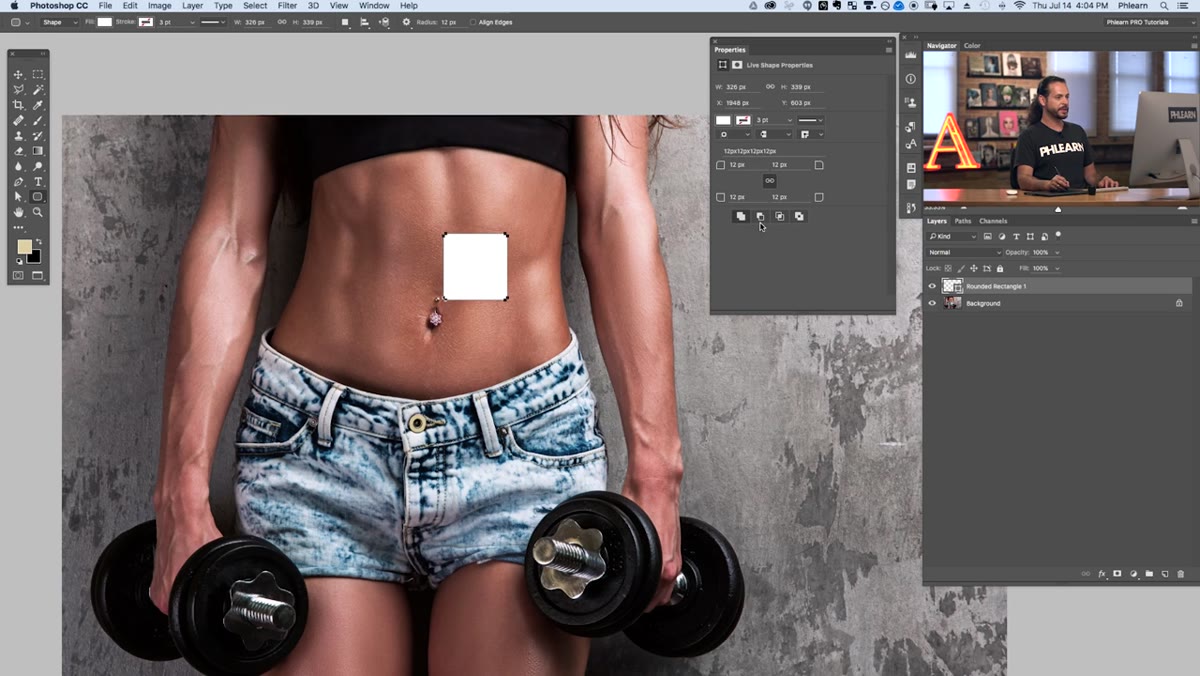 Properties panel showing corner radius controls for the rounded rectangle
With your shape layer selected, open the Properties panel (Window > Properties if it’s not already visible). You’ll see individual radius controls for each corner of the rectangle. Click the link icon to adjust all four corners simultaneously, then drag the radius value to the right until the shape starts looking like a soft, organic muscle form rather than a generic UI button. Aaron lands at around 90 pixels for his image, but calibrate to yours. If the shape looks too pill-like, bring the radius back down. If it still looks like a door sign, push it further.
Properties panel showing corner radius controls for the rounded rectangle
With your shape layer selected, open the Properties panel (Window > Properties if it’s not already visible). You’ll see individual radius controls for each corner of the rectangle. Click the link icon to adjust all four corners simultaneously, then drag the radius value to the right until the shape starts looking like a soft, organic muscle form rather than a generic UI button. Aaron lands at around 90 pixels for his image, but calibrate to yours. If the shape looks too pill-like, bring the radius back down. If it still looks like a door sign, push it further.
You can also break the corner link and customize each corner individually if you want more anatomical variation between the top and bottom of the shape. For a first pass, keeping them uniform is fine.
Step 3: Duplicate and Position the Shape to Build the Full Grid
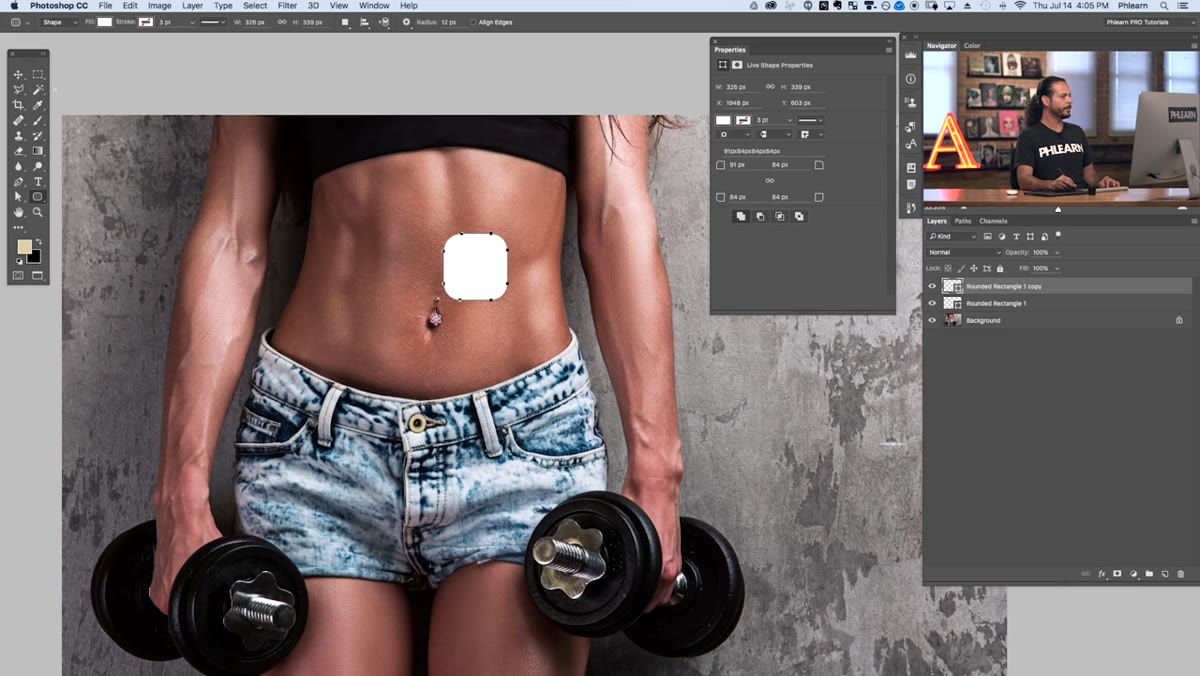 Two rounded rectangle shapes positioned side by side on the torso
Once you have one shape you’re happy with, drag that layer down to the New Layer icon to duplicate it. Grab the Move Tool, hold Shift (to constrain to horizontal movement), and drag the copy to the opposite side of the torso. You now have your first pair. Select both layers, hit Command/Ctrl + G to group them, then duplicate that group twice more, positioning one group above and one below the original pair. That gives you the classic three-row, two-column grid of six shapes.
Two rounded rectangle shapes positioned side by side on the torso
Once you have one shape you’re happy with, drag that layer down to the New Layer icon to duplicate it. Grab the Move Tool, hold Shift (to constrain to horizontal movement), and drag the copy to the opposite side of the torso. You now have your first pair. Select both layers, hit Command/Ctrl + G to group them, then duplicate that group twice more, positioning one group above and one below the original pair. That gives you the classic three-row, two-column grid of six shapes.
Take your time with the alignment here. Nothing breaks the illusion faster than abs that are unevenly spaced or drifting off-center. Use Photoshop’s alignment tools (Layer > Align Layers to Selection) to keep things tidy.
Step 4: Add Bevel and Emboss as a Layer Effect
 Layer Style dialog open with Bevel and Emboss settings visible
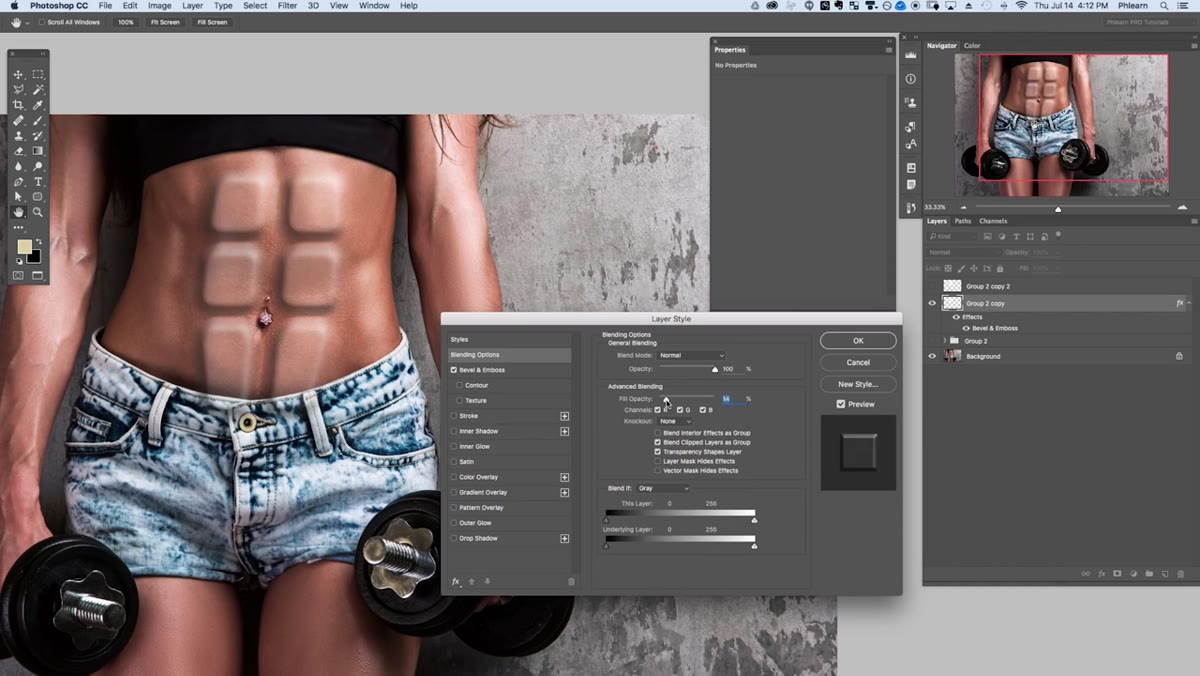
This is where the actual magic happens. With one of your shape layers selected (or the group), go to Layer > Layer Style > Bevel and Emboss. The Bevel and Emboss effect creates an automatic highlight on one edge and a shadow on the opposite edge, simulating a raised or recessed surface. This is the engine behind the whole technique. Adjust the angle to match the direction of the light source in your original photo. Get this wrong and the muscles will look like they’re lit from a completely different scene than the rest of the image.
Layer Style dialog open with Bevel and Emboss settings visible
This is where the actual magic happens. With one of your shape layers selected (or the group), go to Layer > Layer Style > Bevel and Emboss. The Bevel and Emboss effect creates an automatic highlight on one edge and a shadow on the opposite edge, simulating a raised or recessed surface. This is the engine behind the whole technique. Adjust the angle to match the direction of the light source in your original photo. Get this wrong and the muscles will look like they’re lit from a completely different scene than the rest of the image.
Play with the size and soften values to control how gradual the transition between highlight and shadow is. Muscle definition in real skin is soft, not sharp, so err on the side of more softness rather than less.
Step 5: Match the Highlight and Shadow Colors to the Actual Skin Tone
 Bevel and Emboss color pickers being sampled from the subject’s skin
Inside the Bevel and Emboss dialog, click the highlight color swatch and use the eyedropper to sample a bright highlight tone directly from the subject’s skin. Do the same for the shadow color, sampling from a naturally shadowed area on the skin. This is the step most tutorials either rush or skip entirely, and it’s the one that determines whether your result reads as real or reads as “someone Photoshopped that.”
Bevel and Emboss color pickers being sampled from the subject’s skin
Inside the Bevel and Emboss dialog, click the highlight color swatch and use the eyedropper to sample a bright highlight tone directly from the subject’s skin. Do the same for the shadow color, sampling from a naturally shadowed area on the skin. This is the step most tutorials either rush or skip entirely, and it’s the one that determines whether your result reads as real or reads as “someone Photoshopped that.”
Generic white highlights and pure black shadows will immediately look fake against warm skin tones. Getting the actual hue from the photo and just pushing it lighter or darker keeps everything in the same color universe.
Where This Technique Goes Beyond Abs
I’ve used a version of this approach for things that have nothing to do with fitness photography. Bevel and Emboss with skin-matched colors is quietly one of the better tools for adding subtle facial contouring, enhancing cheekbone definition, or even adding light-catching texture to fabric in product shots. The underlying logic, that our eyes interpret highlight-to-shadow gradients as three-dimensional form, applies anywhere you need to fake depth on a flat surface.
The main thing to watch is subtlety. The temptation is always to push the effect until it’s obvious, but the sweet spot is usually about 40% of what looks right at 100% zoom. Zoom out, half your effect strength, zoom out again. That’s where “convincing” lives.
The single most important idea in this tutorial is that you’re not painting abs, you’re painting light. The shapes are just containers. Once I started thinking about Photoshop retouching through the lens of “where is the light source and what would it do to this surface,” my work got noticeably better and noticeably faster. That reframe alone is worth the watch time.
Watch the full tutorial on YouTube to see Aaron walk through the complete technique, including the final skin-matching steps that tie the whole thing together.
Comments
Leave a Comment