Photoshop tips, tricks & tutorials for the rest of us

By Dave Barker

Subscribe for Free Tips

Latest Articles

Levels vs. Curves in Photoshop: When to Use Each (And Why You've Probably Been Guessing)

Levels vs. Curves in Photoshop: When to Use Each (And Why You've Probably Been Guessing)

For an embarrassingly long time, I picked between Levels and Curves the same way I pick a parking spot — just grabbed whatever felt right and hoped for the best. Both tools live in the same neighborhood, both mess with tonal values, and neither one comes with a sign that says “use me for THIS.” So I’d open Curves when I felt fancy, open Levels when I felt lazy, and pretend I had a system.

Lightroom's Curves-in-Masks Combo Is the Local Adjustment I Didn't Know I Was Missing

Lightroom's Curves-in-Masks Combo Is the Local Adjustment I Didn't Know I Was Missing

I’ll be honest. For the longest time I treated Lightroom like a place where I did the boring stuff before bringing an image into Photoshop to do anything actually interesting. Rough global adjustments, maybe a quick crop, then over to the real tool. That workflow made sense until I started watching what photographers like Nigel Danson were pulling off without ever touching Photoshop. Watch the full tutorial on YouTube In this Nigel Danson tutorial, the focus is on a relatively recent Lightroom update that most people glossed over in the release notes: you can now use the Curves tool inside masks.

Bringing the Dead Back to Life: How to Restore a Torn Photo in Photoshop

Bringing the Dead Back to Life: How to Restore a Torn Photo in Photoshop

Old photos are brutal. Not emotionally (okay, sometimes emotionally) but technically. Torn edges, yellowed paper, creases running straight through someone’s face. If a client or a family member ever slides one of these across a table at you, the gut reaction is to smile and nod while internally spiraling. I’ve been there. The good news is that Photoshop has everything you need to bring these things back from the brink. The bad news is that the workflow isn’t obvious if you’ve never done it before.

The Photoshop 2026 August Update Just Changed My Workflow (And Probably Yours Too)

The Photoshop 2026 August Update Just Changed My Workflow (And Probably Yours Too)

The Photoshop 2026 August Update Just Changed My Workflow (And Probably Yours Too) Adobe just rolled out the August 2026 update for Photoshop, and I’m not gonna lie—there are some genuinely game-changing additions buried in here. Not everything is revolutionary, but a few of these features are legitimately solving problems I’ve been wrestling with for years. The Feature That Actually Made Me Say “Oh, Hell Yeah” Let’s get straight to it: Adobe finally nailed something I do on literally every single image—recovering detail in the highlights and shadows while keeping the overall dynamic range intact.

How to Fake a VSCO Film Look in Photoshop Without Actually Using VSCO

How to Fake a VSCO Film Look in Photoshop Without Actually Using VSCO

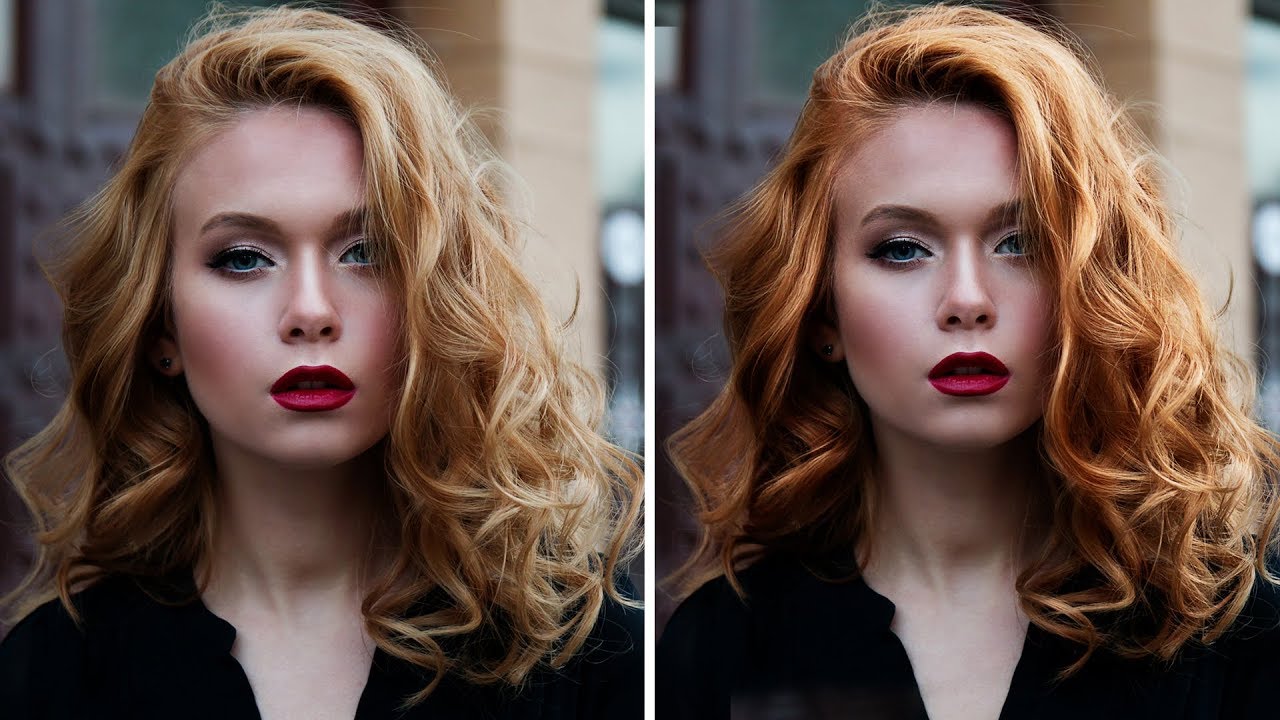
Client work has a funny way of humbling you. I spent the better part of an afternoon once trying to reverse-engineer that warm, slightly faded, film-ish look that’s all over Instagram and Lightroom preset packs, and I kept overshooting it. Everything either looked like a sepia disaster from a 2008 photo booth or a blown-out mess with a yellow tint that made the subject look unwell. The problem wasn’t my eye for color.

Why Your Drum Mix Sounds Weak (And How Sample Layering Fixes It)

Why Your Drum Mix Sounds Weak (And How Sample Layering Fixes It)

I’ll be straight with you: I came to this tutorial as someone who spends most of his life in Photoshop, not Pro Tools. But the core problem Eyal Levi is solving here is one I recognize immediately from visual work. You’ve got something that looks (or sounds) fine in isolation, and then it gets completely swallowed the moment it sits next to everything else. For drums in a heavy mix, that’s a death sentence.

Fake Bokeh That Actually Looks Real: A Photoshop Trick You'll Use On Every Portrait

Fake Bokeh That Actually Looks Real: A Photoshop Trick You'll Use On Every Portrait

There’s a specific kind of client feedback that haunts me. The photo is sharp, the subject is well-lit, the composition is solid, and then: “Can you make it look more… dreamy?” Dreamy. Great. Super specific. What they almost always mean, even if they don’t know the word, is bokeh. Those soft, glowing orbs of out-of-focus light that make a photo feel expensive and editorial. The problem is you can’t go back and reshoot with a wider aperture, and generating fake depth of field that looks convincing is a whole other ordeal.

Why Your Photoshop Text Effects Look Cheap (And the Layer Stack Fixes That Actually Work)

Why Your Photoshop Text Effects Look Cheap (And the Layer Stack Fixes That Actually Work)

A client once sent me a logo file to “just punch up the text a little.” Simple job. Forty-five minutes, maybe. I opened it up and found a single flattened JPEG with the text baked directly into the background at 72 DPI. The “text layer” was just pixels. No editability, no flexibility, no hope. I spent two hours redrawing letters by hand before I finally handed it back, charged double, and wrote a very passive-aggressive note in my invoice about working with original files.

Holiday Gear Guide for Photographers and Designers: What the Photoshop Guys Actually Use

Holiday Gear Guide for Photographers and Designers: What the Photoshop Guys Actually Use

Every November I do something dangerous. I start browsing gear lists. It usually costs me money I didn’t plan to spend and earns me a look from everyone in whatever coffee shop I’m camped in. This particular rabbit hole started when I stumbled onto a holiday episode of Photoshop User TV from the KelbyOne crew, where hosts Corey Barker, RC Concepción, and Pete Collins sat down to share the tools and gadgets they actually reach for as working photographers and designers.

Stop the Fringe: Three Ways to Clean Up Messy Selection Edges in Photoshop

Stop the Fringe: Three Ways to Clean Up Messy Selection Edges in Photoshop

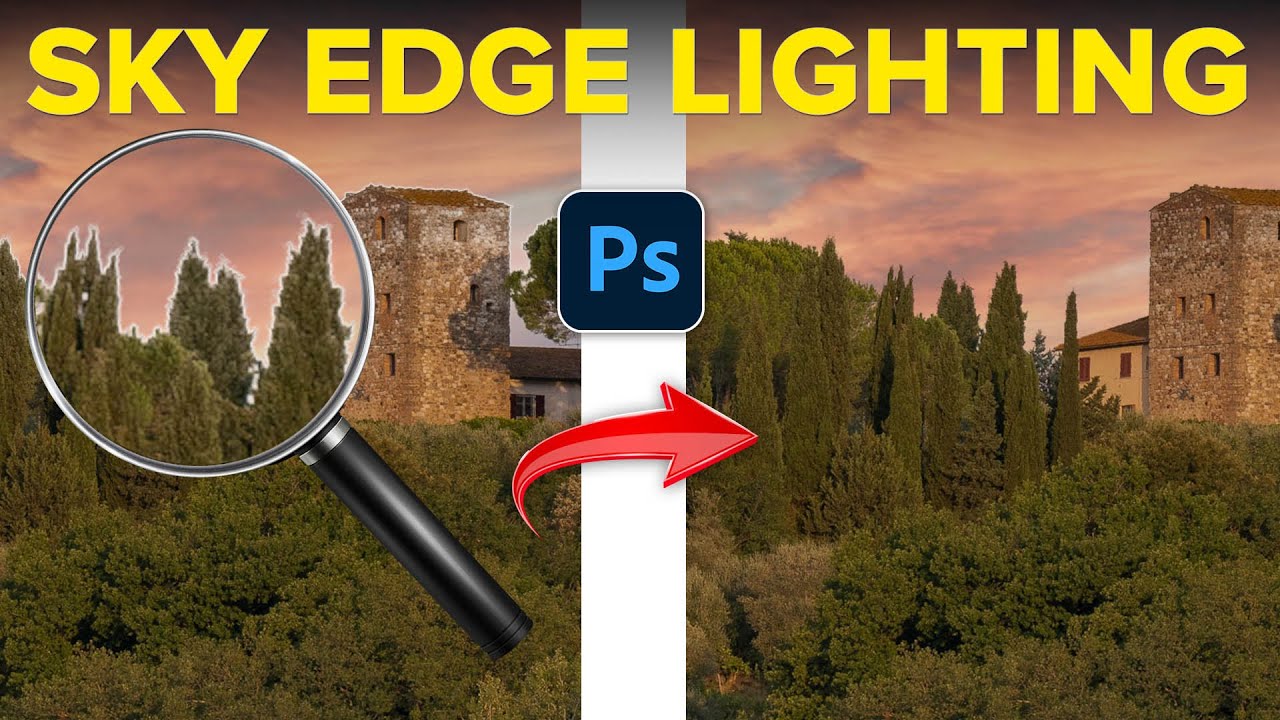
Fringe is the enemy. That gross little halo of color that clings to your subject after you’ve cut them out - the ghost of the background they came from - has killed more composites than any other single thing in my workflow. I’ve been there a dozen times: I spend an hour on a careful selection, drop the subject onto a new background, zoom out to admire my work, and there it is.

Steal Light From Your Own Image: Aaron Nace's Channel-Based Lighting Trick

Steal Light From Your Own Image: Aaron Nace's Channel-Based Lighting Trick

There’s a specific kind of frustration that comes from staring at a photo that’s almost great. The composition is solid, the subject is sharp, but the light feels flat and lifeless, like the scene was lit by a dentist’s office. I’ve been there more times than I’d like to admit, and my usual fix was to slap a Color Balance adjustment layer on it and hope for the best. Spoiler: it never looked great.

Rough, Fast, and Good Enough: How to Composite in Photoshop Without Losing Your Mind

Rough, Fast, and Good Enough: How to Composite in Photoshop Without Losing Your Mind

A few years back, I spent three full days on a composite. Three days of careful pen tool paths, obsessive masking, color matching that made my eyes water. A friend looked at it, nodded, then sat down and knocked out something that looked equally convincing in about twenty minutes using a workflow I’d never even considered. I wanted to flip my desk. Instead, I went home, opened YouTube, and started paying closer attention to how people who actually move fast think about this stuff.

Never Miss a Tutorial

Join our newsletter and get weekly tips, tutorials, and exclusive content.

Subscribe Now