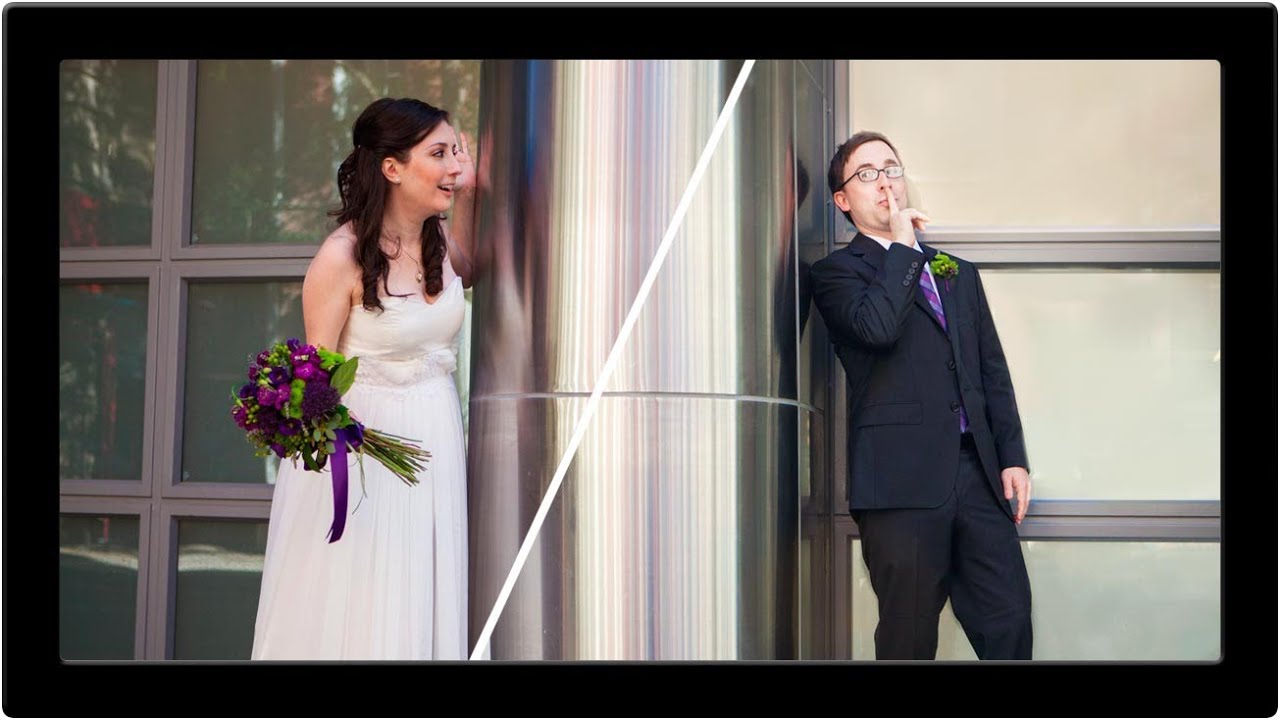
Wedding photography editing is one of those things that looks approachable until you’re actually staring at a raw file at midnight, a client deadline looming, and your go-to adjustments making the whole thing look like a stock photo from 2009. I’ve been there more times than I want to admit. The problem isn’t usually the big stuff. It’s the pile of small decisions — how to handle mixed lighting, how to make the image feel cinematic without killing the skin tones, how to deal with architectural distortion when you shot in a venue with beautiful straight lines and a lens that gently lied to you about all of them.
This is exactly why I keep coming back to Aaron Nace’s work over at PHLEARN. In this Aaron Nace (PHLEARN) tutorial on editing wedding photos in Photoshop CS6, he works through a real contest-winning submission from a photographer named Joel, which means the starting image isn’t perfect. It’s a genuine working file, not a cherry-picked hero shot. That’s rare, and it’s what makes the walkthrough actually useful. Watch the full tutorial on YouTube if you want to follow along directly, or use this breakdown to pull out the techniques on their own.
The photo itself is a wedding couple doing something playful — a little hide-and-seek energy rather than the standard “smile at the camera” pose. Aaron makes a point of calling this out as intentional and smart, and he’s right. Great editing starts with a photo that has something worth preserving, and personality in the shot gives you a target to enhance rather than invent.
Step 1: Create a New Layer Before You Do Anything
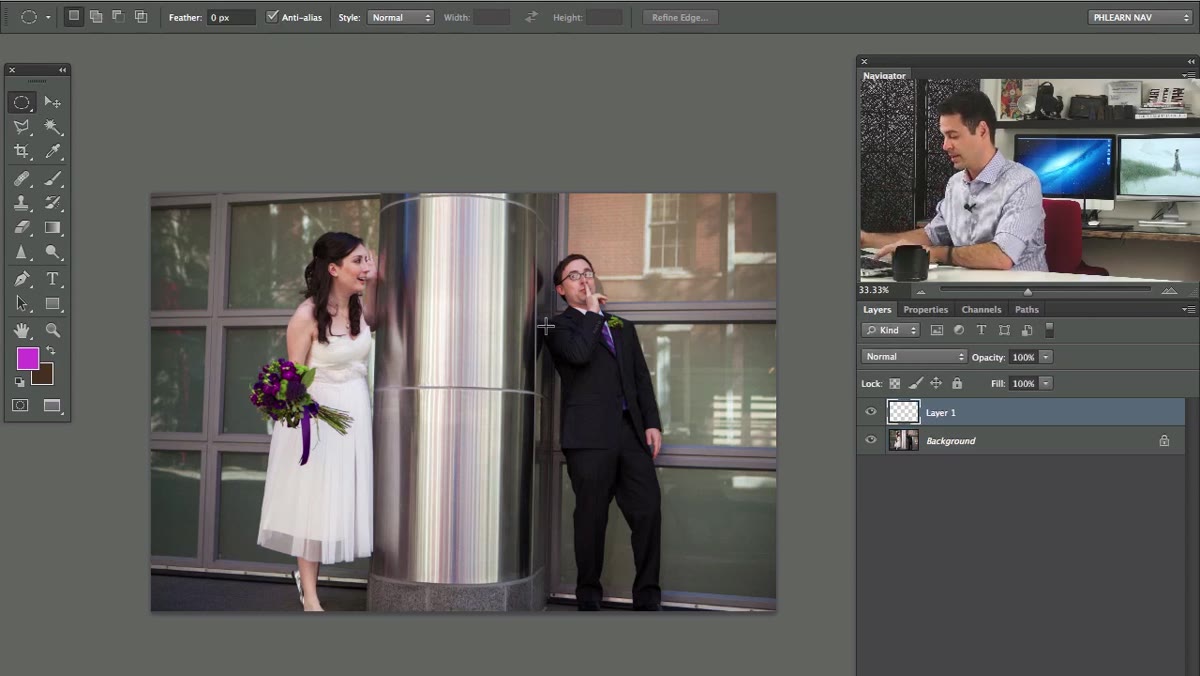 Aaron creating a new blank layer above the base image
Before touching any adjustments, Aaron’s first move is creating a new layer. This is the kind of habit that sounds obvious until you’ve spent an afternoon trying to undo something you painted directly onto a background layer (I’ll just say the words “smart objects” carry a lot of emotional weight for me personally). Working non-destructively from the jump means every decision you make stays editable. New layer, every time, before you start.
Aaron creating a new blank layer above the base image
Before touching any adjustments, Aaron’s first move is creating a new layer. This is the kind of habit that sounds obvious until you’ve spent an afternoon trying to undo something you painted directly onto a background layer (I’ll just say the words “smart objects” carry a lot of emotional weight for me personally). Working non-destructively from the jump means every decision you make stays editable. New layer, every time, before you start.
This isn’t glamorous advice but it’s the foundation that makes everything else in the tutorial possible. If you’re working on client images, this is non-negotiable.
Step 2: Identify and Annotate Problem Areas First
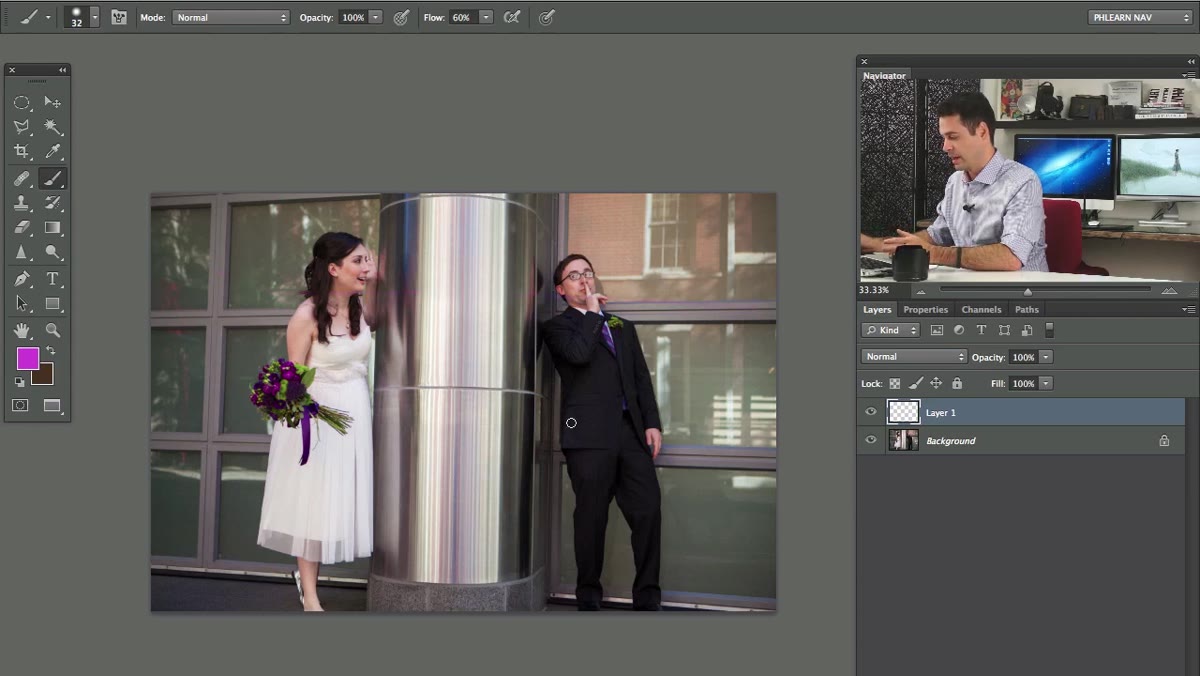 Aaron sketching over the image on a new layer to mark correction zones
Aaron’s approach here is smart: he uses the new layer to actually mark up the image before editing, noting the specific issues that need addressing. For this particular shot, the main concerns are architectural distortion from the shooting angle, areas where the lighting needs balancing, and any tonal issues in the couple’s faces and clothing. Treating the image like a brief you’re responding to rather than a canvas you’re painting blind saves a lot of wandering.
Aaron sketching over the image on a new layer to mark correction zones
Aaron’s approach here is smart: he uses the new layer to actually mark up the image before editing, noting the specific issues that need addressing. For this particular shot, the main concerns are architectural distortion from the shooting angle, areas where the lighting needs balancing, and any tonal issues in the couple’s faces and clothing. Treating the image like a brief you’re responding to rather than a canvas you’re painting blind saves a lot of wandering.
If you’re working with venues that have strong geometric elements, columns, doorways, tiled floors, you’ll almost always have some lens distortion to deal with. Flagging it first means you don’t accidentally spend 45 minutes on skin tones only to realize the walls are leaning at a 5-degree angle.
Step 3: Address Geometric and Lens Distortion
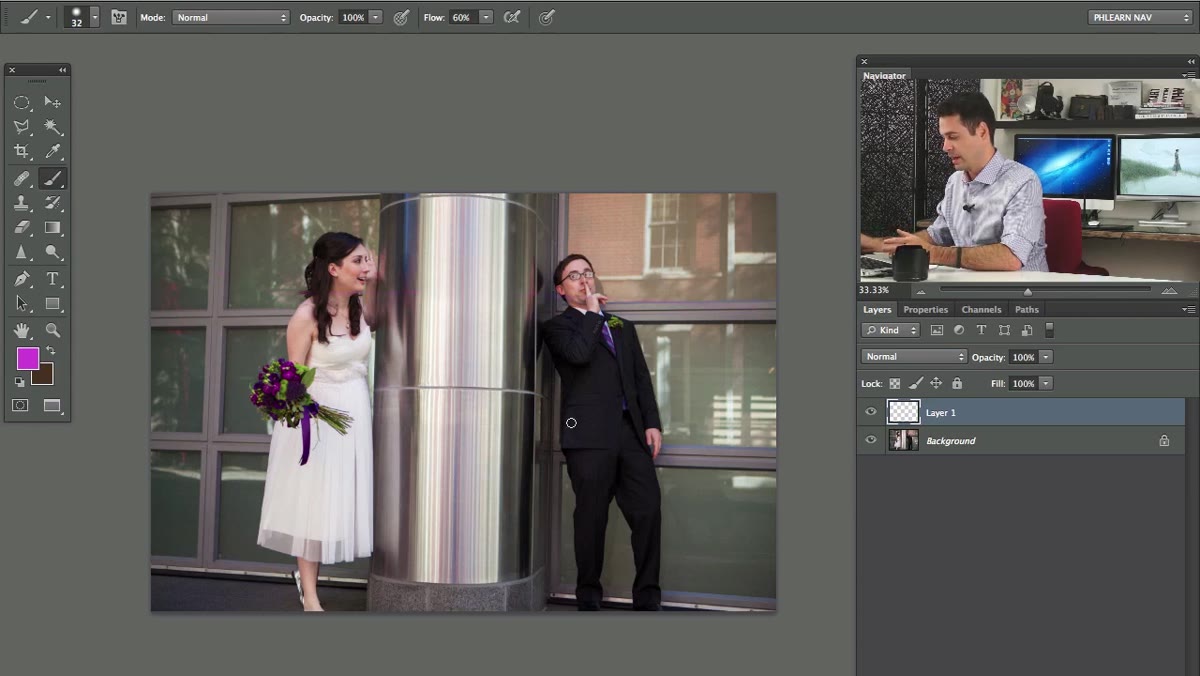 Straight architectural lines in the wedding venue image showing distortion
When you’re shooting in a space with strong vertical and horizontal lines, like a chapel, a ballroom, or any venue with architecture that clearly knows where “straight” is, distortion becomes visible fast. Aaron specifically calls out this challenge in the tutorial. In Photoshop, your main tools for this are the Lens Correction filter (Filter > Lens Correction) and the Transform tools, particularly Warp and Perspective.
Straight architectural lines in the wedding venue image showing distortion
When you’re shooting in a space with strong vertical and horizontal lines, like a chapel, a ballroom, or any venue with architecture that clearly knows where “straight” is, distortion becomes visible fast. Aaron specifically calls out this challenge in the tutorial. In Photoshop, your main tools for this are the Lens Correction filter (Filter > Lens Correction) and the Transform tools, particularly Warp and Perspective.
For quick fixes, Lens Correction’s Auto Correction tab will handle a lot if you shot with a recognizable lens profile. For manual work, the Custom tab lets you dial in vertical and horizontal perspective corrections with sliders. If you need surgical precision on a specific element, Edit > Transform > Perspective gives you corner handles to pull individually. The rule of thumb: fix the architecture first, before you do anything to the people, because cropping or transforming after you’ve done detailed retouching means redoing that work.
Step 4: Work the Tonal Balance Between Subjects and Background
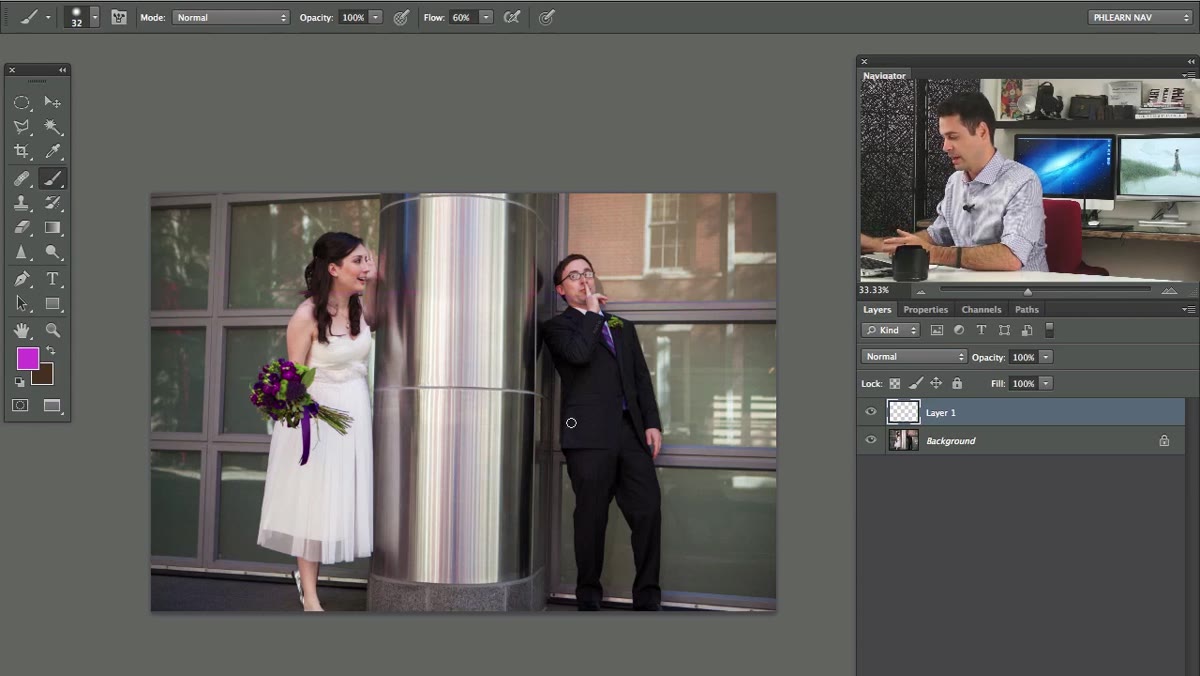 Joel’s wedding image open with couple positioned against a bright background
One of the trickiest parts of wedding photography editing is that you often have a bright background, a window, a doorway, an open venue space, competing with the subjects in the foreground. Aaron addresses this by working on tonal balance to make the couple the clear visual priority without blowing out the environment entirely.
Joel’s wedding image open with couple positioned against a bright background
One of the trickiest parts of wedding photography editing is that you often have a bright background, a window, a doorway, an open venue space, competing with the subjects in the foreground. Aaron addresses this by working on tonal balance to make the couple the clear visual priority without blowing out the environment entirely.
In practice, this means using a Curves adjustment layer with a mask painted to affect only the background, pulling the highlights down slightly to reduce the competition for the viewer’s eye. On the subjects themselves, a separate Curves layer bumped slightly to lift the midtones keeps skin looking natural and lit rather than flat. The key is keeping these as separate masked layers so you can dial each one independently without touching the other.
Step 5: Refine Skin Tones Without Killing the Color
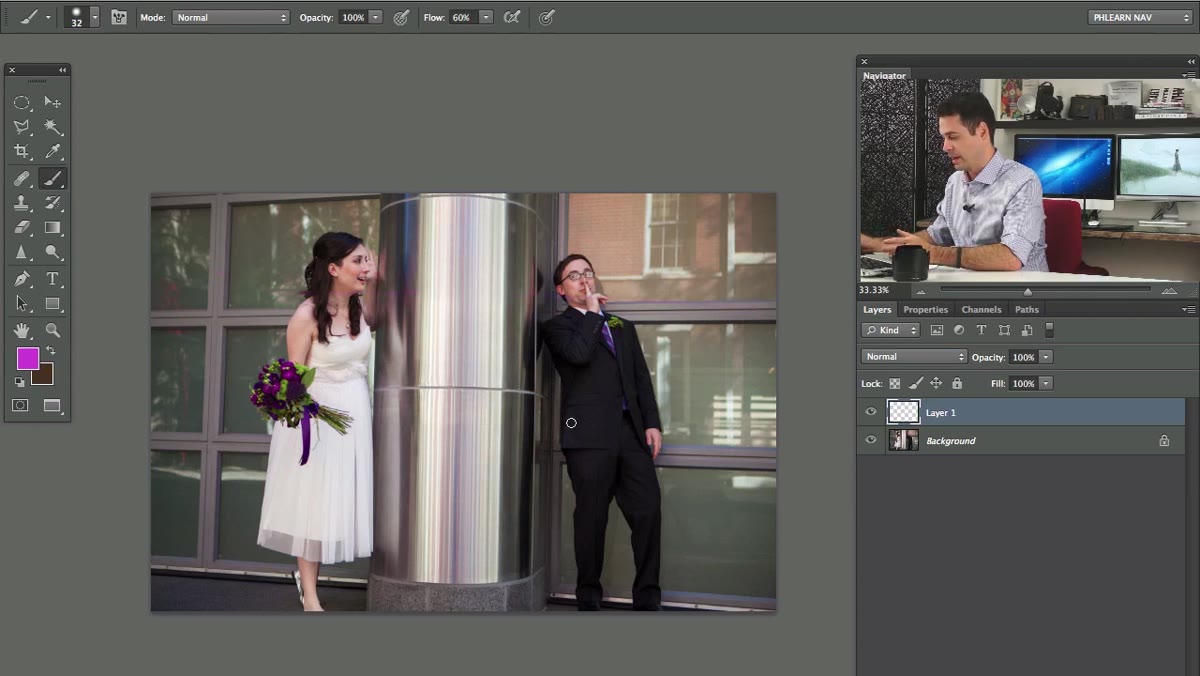 Close-up of the couple’s faces showing skin tone areas to be adjusted
Skin tone is where a lot of wedding edits go wrong. The temptation to push warmth until the image feels romantic can tip over into making everyone look like they edited their photo in a tanning salon. Aaron’s approach is measured: adjust hue and saturation selectively, and use the Hue/Saturation adjustment layer with the “Reds” and “Yellows” channels targeted specifically rather than touching the master.
Close-up of the couple’s faces showing skin tone areas to be adjusted
Skin tone is where a lot of wedding edits go wrong. The temptation to push warmth until the image feels romantic can tip over into making everyone look like they edited their photo in a tanning salon. Aaron’s approach is measured: adjust hue and saturation selectively, and use the Hue/Saturation adjustment layer with the “Reds” and “Yellows” channels targeted specifically rather than touching the master.
For most caucasian or warm-toned skin, pulling the Yellows saturation down slightly and nudging the Hue a degree or two toward red gives you cleaner, more accurate skin without the orange cast that over-warming creates. For darker skin tones, be more conservative with saturation changes and focus instead on luminosity and contrast using Curves. Always check your adjustments by zooming out to 50% or full view. Pixel-level decisions that look great at 200% zoom can look completely different at print scale.
Step 6: Make Final Compositional Crops and Output Check
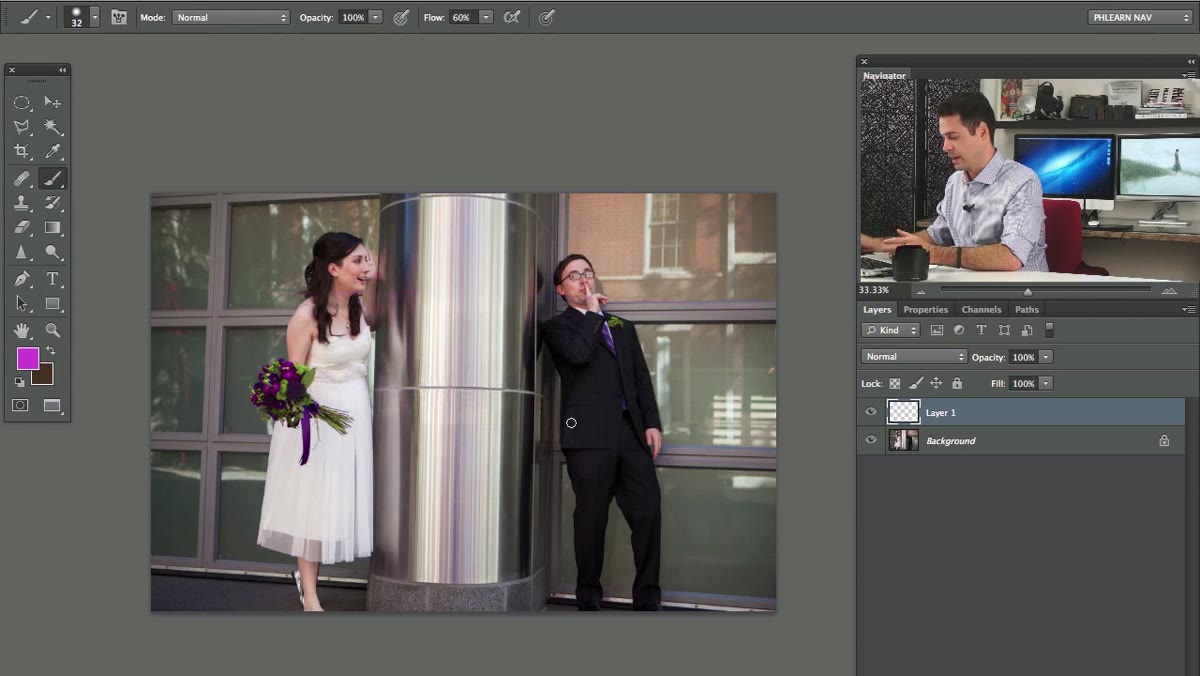 Full image view showing final composition and crop adjustments
Aaron wraps the edit with a final look at composition and crop. This is the step most people treat as an afterthought, but cropping after all your tonal and retouching work is actually smarter than cropping first, because you sometimes find that fixing distortion or adjusting the tone changes what the “right” crop is anyway.
Full image view showing final composition and crop adjustments
Aaron wraps the edit with a final look at composition and crop. This is the step most people treat as an afterthought, but cropping after all your tonal and retouching work is actually smarter than cropping first, because you sometimes find that fixing distortion or adjusting the tone changes what the “right” crop is anyway.
For wedding work going to print, make sure your crop respects the aspect ratio the client actually ordered. A 4x6 and a 10x8 have very different ratios and what looks perfectly composed for one can chop off a key element in the other. Do this check before you call it done.
What I’d Add: The Power of Personality as an Editing Target
Aaron makes a passing comment that stuck with me, that Joel’s image works because the couple has a playful, slightly silly energy visible in the pose, and the edit should serve that rather than override it. That’s a principle, not just a compliment. When I’m editing client photos now, I try to identify the emotional register of the shot first. Is it tender and quiet? Joyful and chaotic? A little irreverent? The answer changes which direction I push the color grade, how much contrast I add, even how much sharpening I apply. Editing toward a feeling rather than toward a technical standard is what separates images that land from images that are merely correct.
The single most valuable thing this tutorial demonstrates is the workflow of building up edits in discrete, masked layers rather than making global adjustments and hoping for the best. That structure gives you flexibility you’ll absolutely need when a client asks you to “just change one little thing” three days after delivery.
Watch the full tutorial on YouTube to see Aaron walk through each of these decisions in real time on Joel’s actual image. Seeing the before-and-after in motion clarifies a lot of the subtler judgment calls that are hard to fully convey in text.
Comments
Leave a Comment