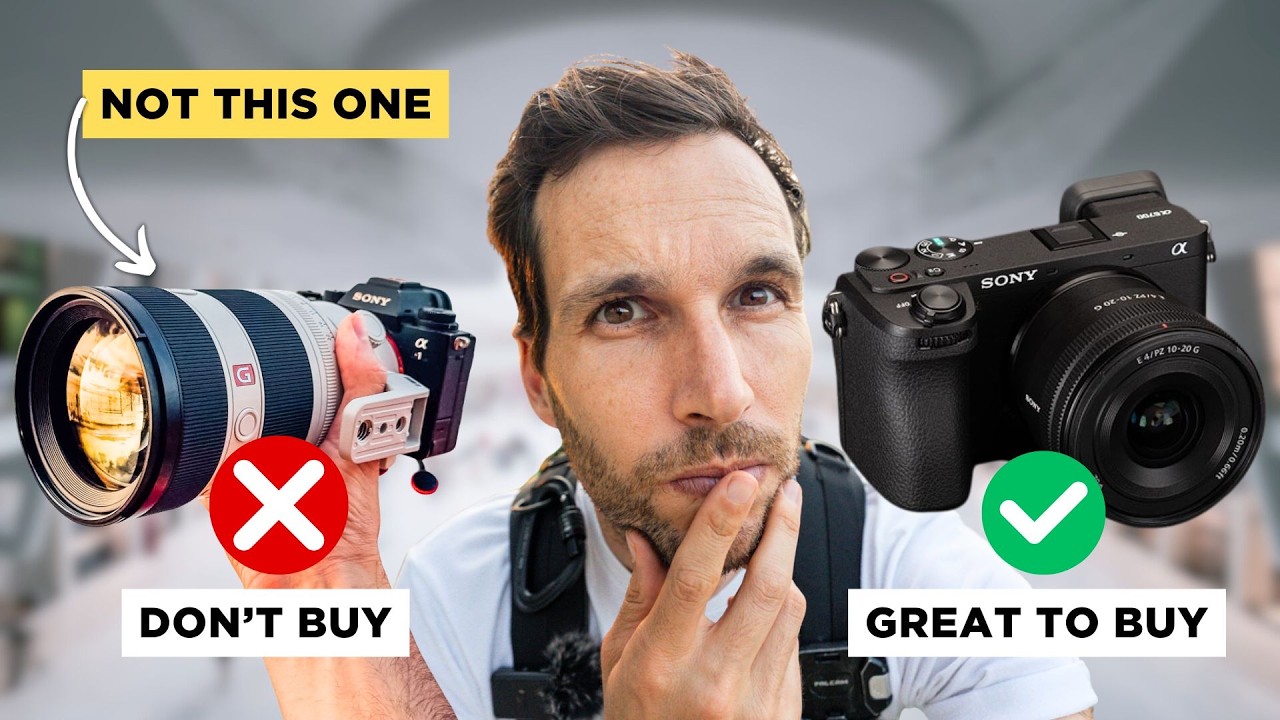
There’s a specific kind of dread that hits when you realize something expensive and irreplaceable is gone. I know it from the creative side – I once came into a coffee shop, opened my laptop, and found an entire client project folder somehow corrupted beyond recovery. Pierre T. Lambert apparently had a rougher version of that morning when someone broke into his place and walked off with a chunk of his camera gear. Most people in that situation spiral. Pierre turned it into one of the more useful “what would I actually buy today” breakdowns I’ve seen in a while.
In this Pierre T. Lambert tutorial, he uses the theft as a forcing function to think clearly about what a minimal, pocketable, capable camera kit actually looks like in 2024 – no nostalgia, no brand loyalty tax, no “well I already own this so I might as well.” He walks through sensor choice, two specific body recommendations, a dream lens lineup, a budget fallback, and a single-lens option for people who want to stop overthinking it. I cover photography workflows here occasionally because a huge chunk of Photoshop work starts with raw files, and the camera decisions you make upstream affect everything downstream. So this one’s worth breaking down properly.
Watch the full tutorial on YouTube
Step 1: Choose Your Sensor Size Before You Touch Anything Else
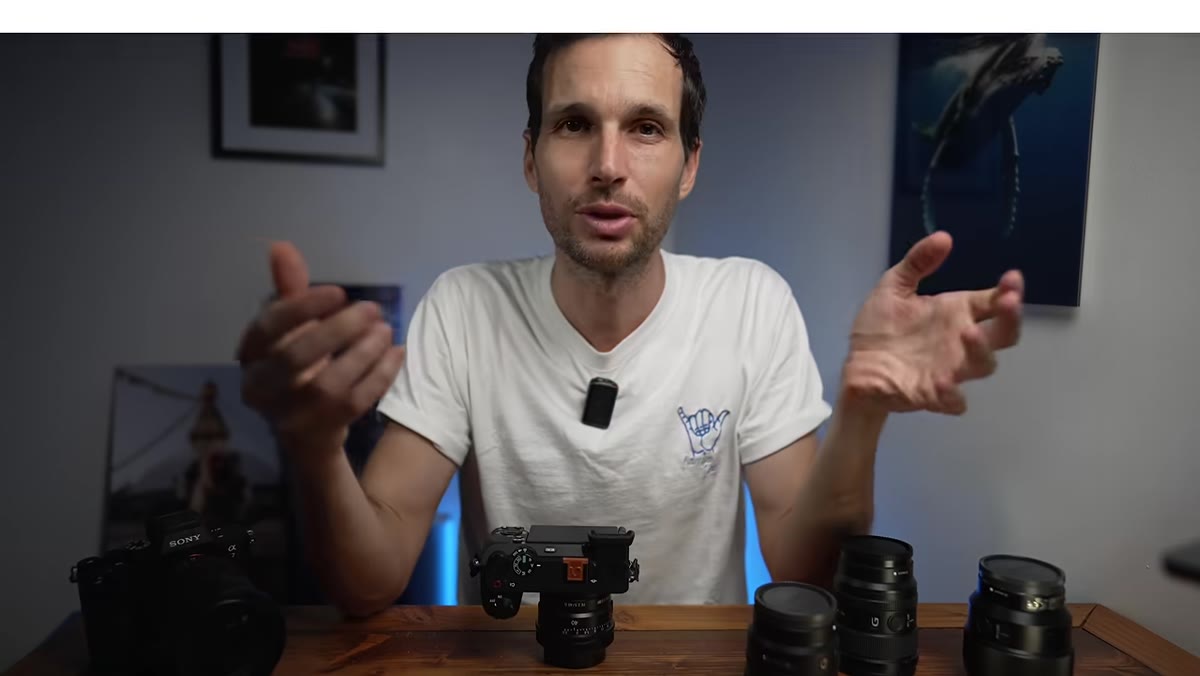 Pierre explaining APS-C vs full frame sensor size comparison
The entire kit philosophy hangs on this decision, so Pierre doesn’t rush past it. He makes the case for APS-C, and it’s a genuinely good argument that doesn’t rely on “well it’s cheaper so just deal with it.” A full frame sensor is a bigger window – more light, cleaner high-ISO performance, wider dynamic range. Beautiful. Also heavier, more expensive, and the lenses around it cost more too. APS-C is a smaller window, but the quality gap has mostly closed for everyday shooting, and the crop factor (1.5x on Sony) actually extends your reach, which wildlife and travel shooters love.
Pierre explaining APS-C vs full frame sensor size comparison
The entire kit philosophy hangs on this decision, so Pierre doesn’t rush past it. He makes the case for APS-C, and it’s a genuinely good argument that doesn’t rely on “well it’s cheaper so just deal with it.” A full frame sensor is a bigger window – more light, cleaner high-ISO performance, wider dynamic range. Beautiful. Also heavier, more expensive, and the lenses around it cost more too. APS-C is a smaller window, but the quality gap has mostly closed for everyday shooting, and the crop factor (1.5x on Sony) actually extends your reach, which wildlife and travel shooters love.
The practical implication Pierre hammers home: the body savings alone – often $800 or more compared to entry full frame – gets redirected into glass, which is where image quality actually lives long-term. Same autofocus brain as Sony’s full frame lineup. More of the frame in focus while you’re learning. Lighter in your bag. He’s not telling you APS-C is better than full frame, he’s telling you it’s better for where most people actually are right now.
Step 2: Pick the Right APS-C Body – Used or New
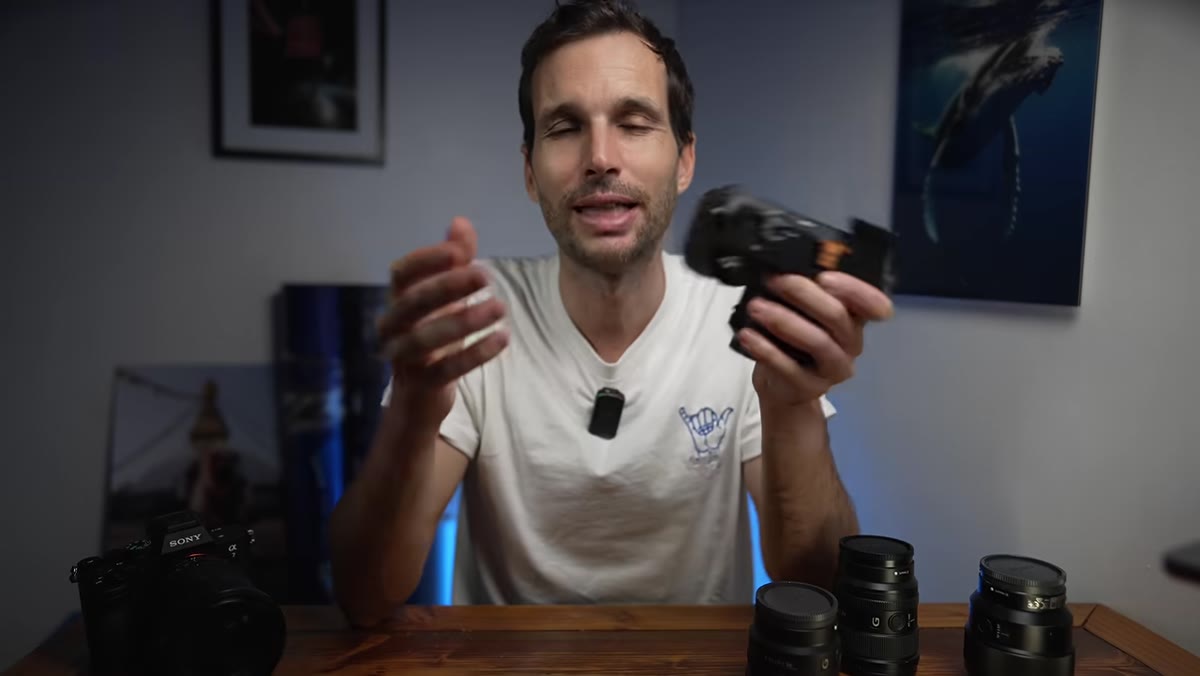 Sony a6600 and a6700 side by side on screen
Pierre narrows the body choice to two Sony options. The first is the a6600 – 24 megapixels, in-body image stabilization, a battery that will genuinely last a full day of shooting, available used for around $700. Under a thousand dollars for a capable, stabilized body is a real number, not a fantasy.
Sony a6600 and a6700 side by side on screen
Pierre narrows the body choice to two Sony options. The first is the a6600 – 24 megapixels, in-body image stabilization, a battery that will genuinely last a full day of shooting, available used for around $700. Under a thousand dollars for a capable, stabilized body is a real number, not a fantasy.
The second option is the a6700, which he’d buy new at around $1,500. It carries Sony’s latest AI-powered autofocus, a newer 26-megapixel sensor, and that same big battery. His reason for skipping the used market on this one is refreshingly practical: when he checked, the used discount was only about $100 to $150. That’s not enough savings to justify buying someone else’s problem on a newer body. If you’re buying used, the a6600 is the move. If you’re buying new, step up to the a6700 and get the current tech.
Step 3: Understand the Bokeh Trade-Off So It Doesn’t Surprise You
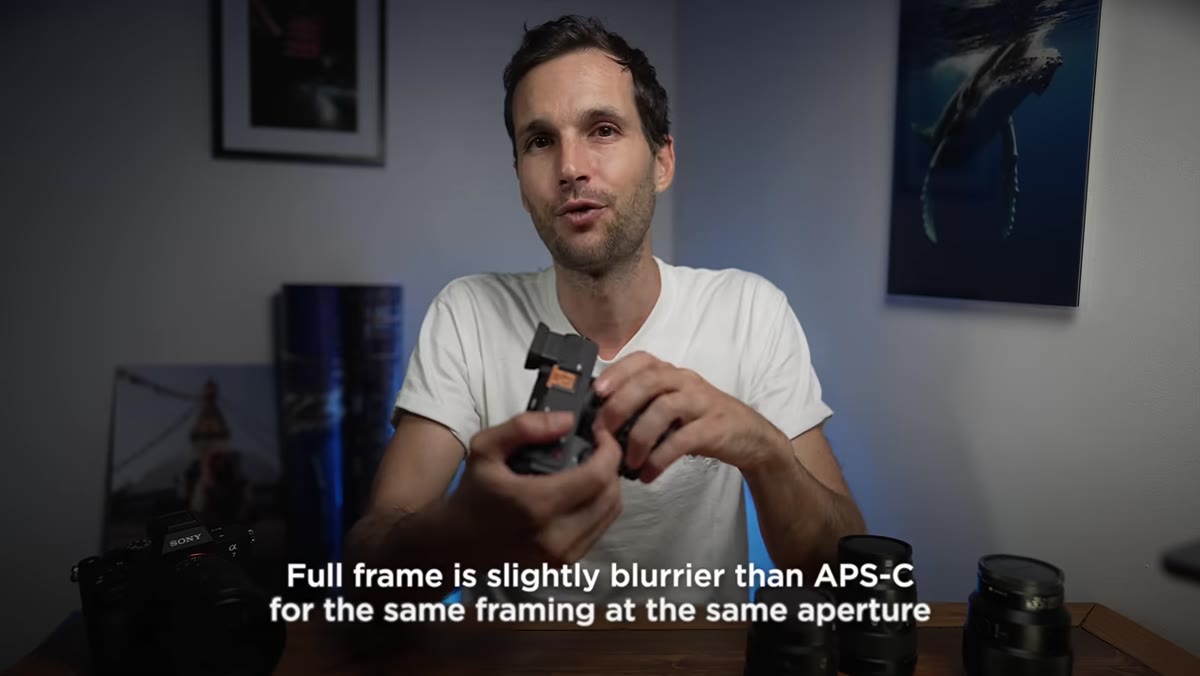 Pierre demonstrating background blur difference between sensor sizes
This is the part where people get nervous about APS-C, so Pierre addresses it directly. Full frame at a given aperture produces slightly more background blur than APS-C at the same aperture and focal length. That creamy, subject-separated look everyone wants – you can absolutely get it on APS-C, you just need to open up roughly one stop wider to match it. Shooting at f/1.8 on APS-C gets you roughly what f/2.8 might on full frame for background separation purposes.
Pierre demonstrating background blur difference between sensor sizes
This is the part where people get nervous about APS-C, so Pierre addresses it directly. Full frame at a given aperture produces slightly more background blur than APS-C at the same aperture and focal length. That creamy, subject-separated look everyone wants – you can absolutely get it on APS-C, you just need to open up roughly one stop wider to match it. Shooting at f/1.8 on APS-C gets you roughly what f/2.8 might on full frame for background separation purposes.
The takeaway here isn’t that APS-C is inferior, it’s that you need to know the system you’re working in. If you’re coming from full frame and expecting identical results at identical settings, you’ll be confused. If you start on APS-C and learn its characteristics from day one, it becomes second nature fast.
Step 4: Build the Lens Kit Around Primes, Not Zooms
 Pierre laying out lens options for the compact kit
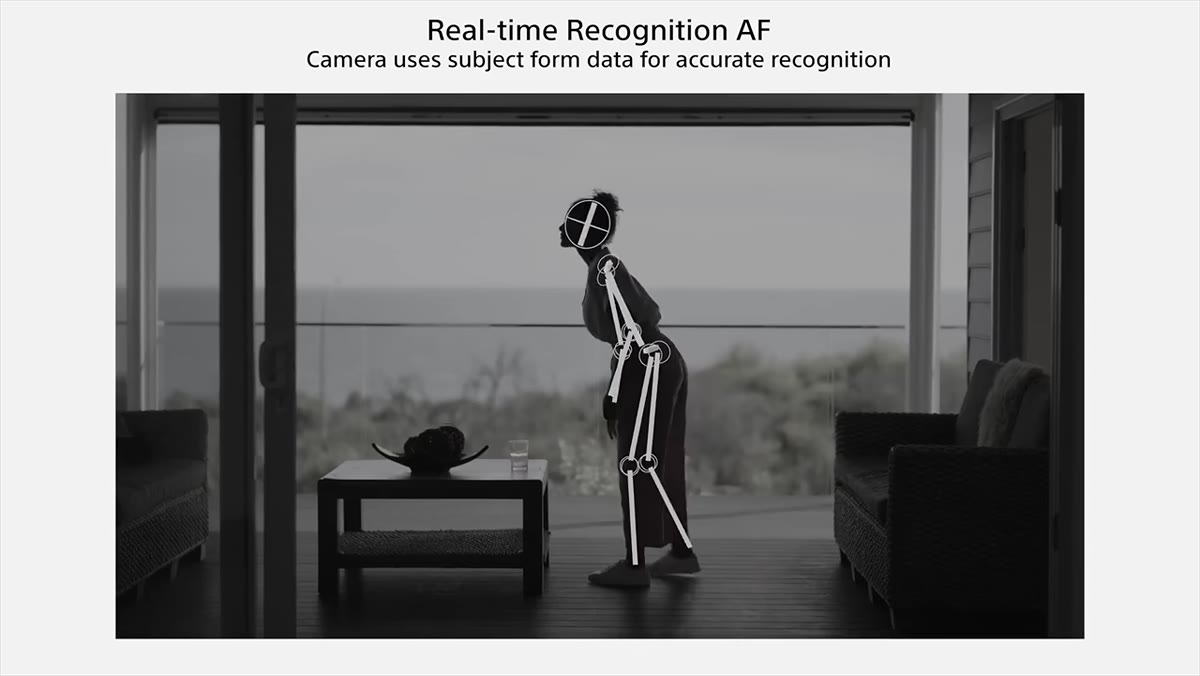
Pierre’s lens thinking is where the kit really takes shape. For the dream version of this compact setup, he focuses on fast primes that stay small – the kind of glass that doesn’t make your jacket pocket hate you. A wide prime and a short telephoto prime together cover the vast majority of travel, street, portrait, and everyday shooting without turning into a gear backpack situation.
Pierre laying out lens options for the compact kit
Pierre’s lens thinking is where the kit really takes shape. For the dream version of this compact setup, he focuses on fast primes that stay small – the kind of glass that doesn’t make your jacket pocket hate you. A wide prime and a short telephoto prime together cover the vast majority of travel, street, portrait, and everyday shooting without turning into a gear backpack situation.
The single-lens option he offers is for people who want decision paralysis removed entirely: one versatile prime that forces you to move your feet and actually learn composition instead of zooming your way through a scene. This is genuinely good advice for beginners. The constraint of one focal length accelerates your eye faster than any tutorial can.
Step 5: Protect the Kit Before Something Goes Wrong
 Pierre describing the break-in that prompted this video
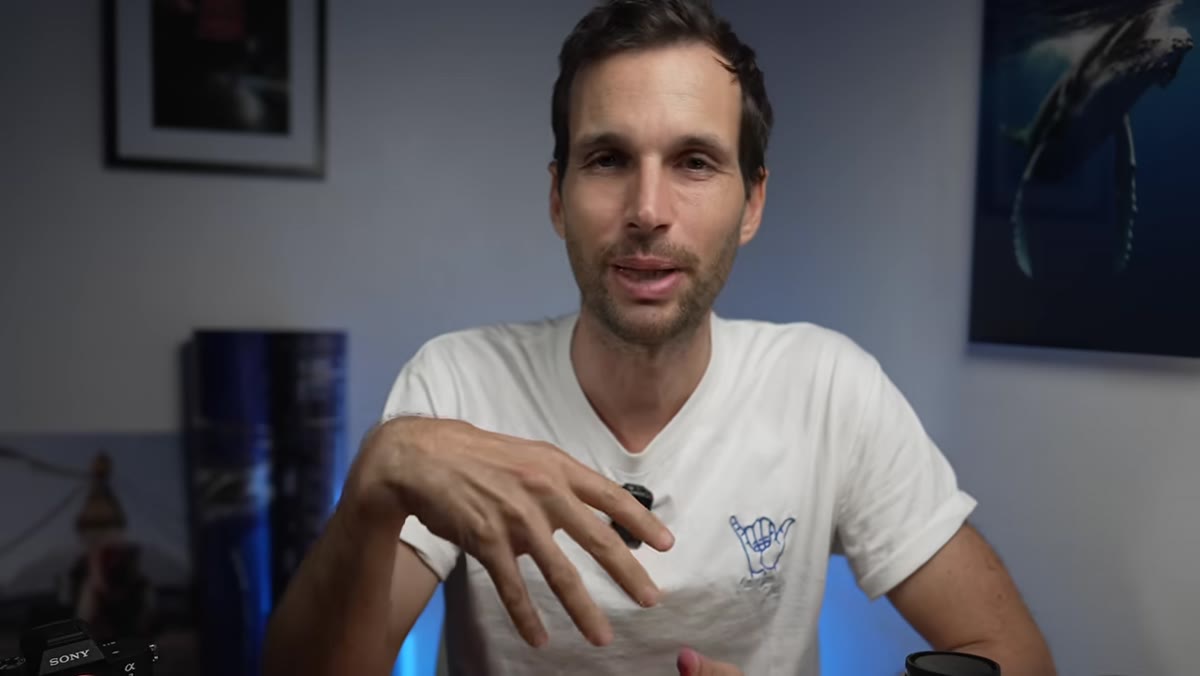
This is the part of the video that clearly comes from fresh personal pain. Pierre’s gear got stolen, and he’s partnered with PPA (Professional Photographers of America) specifically because of it. His point is simple: gear insurance is cheap relative to replacement costs, and most people skip it until exactly the moment they desperately wish they hadn’t.
Pierre describing the break-in that prompted this video
This is the part of the video that clearly comes from fresh personal pain. Pierre’s gear got stolen, and he’s partnered with PPA (Professional Photographers of America) specifically because of it. His point is simple: gear insurance is cheap relative to replacement costs, and most people skip it until exactly the moment they desperately wish they hadn’t.
For anyone building a kit worth $1,500 to $2,500+ once you add glass, a few dollars a month in coverage is not an optional luxury. It’s part of the kit cost. Check what your homeowner’s or renter’s insurance actually covers for camera gear before assuming you’re protected – most policies have sub-limits that won’t cover a full setup replacement.
What I’d Add From Working With Files Downstream
Here’s the thing nobody mentions in kit-building videos: your camera choice affects your Photoshop workflow in real, non-trivial ways. Sony’s compressed RAW files handle noise reduction differently in Camera Raw than Canon or Nikon files do, and APS-C files at high ISO need different masking strategies when you’re doing composites. The a6700’s newer sensor produces noticeably cleaner shadows when you’re lifting exposure in post, which matters a lot if you’re doing any kind of HDR blending or luminosity masking work.
If you’re an APS-C shooter doing serious composite work in Photoshop, learn your sensor’s noise floor early. Shoot some test frames at ISO 1600, 3200, and 6400, open them in Camera Raw, and see exactly how far you can push luminance noise reduction before you lose detail. That muscle memory will save you hours on actual projects.
The single best insight from this whole video is that the camera you’ll actually carry beats the camera that’s theoretically superior but lives in your bag. Pierre’s compact APS-C logic applies equally to your Photoshop toolkit – the technique you’ll actually use consistently is worth more than the one that’s impressive in theory. Start with what you can carry, learn it properly, and scale up when you’ve genuinely outgrown it.
Watch the full tutorial on YouTube to see the exact lens recommendations, the budget breakdown, and the expanded kit Pierre shows for when you’re ready to move beyond the minimal setup.
Comments
Leave a Comment