Stop Choking Your Hard Drive: The Lightroom External Drive Workflow That Keeps Your System Fast

Stop Choking Your Hard Drive: The Lightroom External Drive Workflow That Keeps Your System Fast

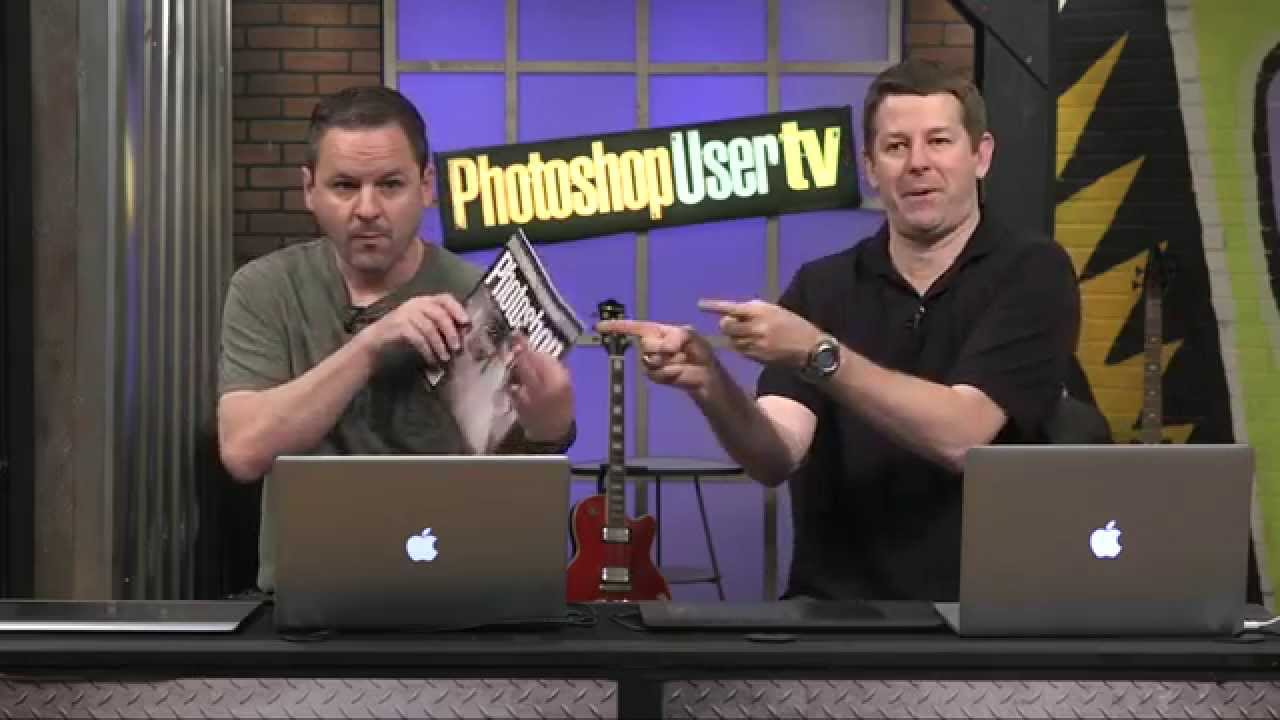
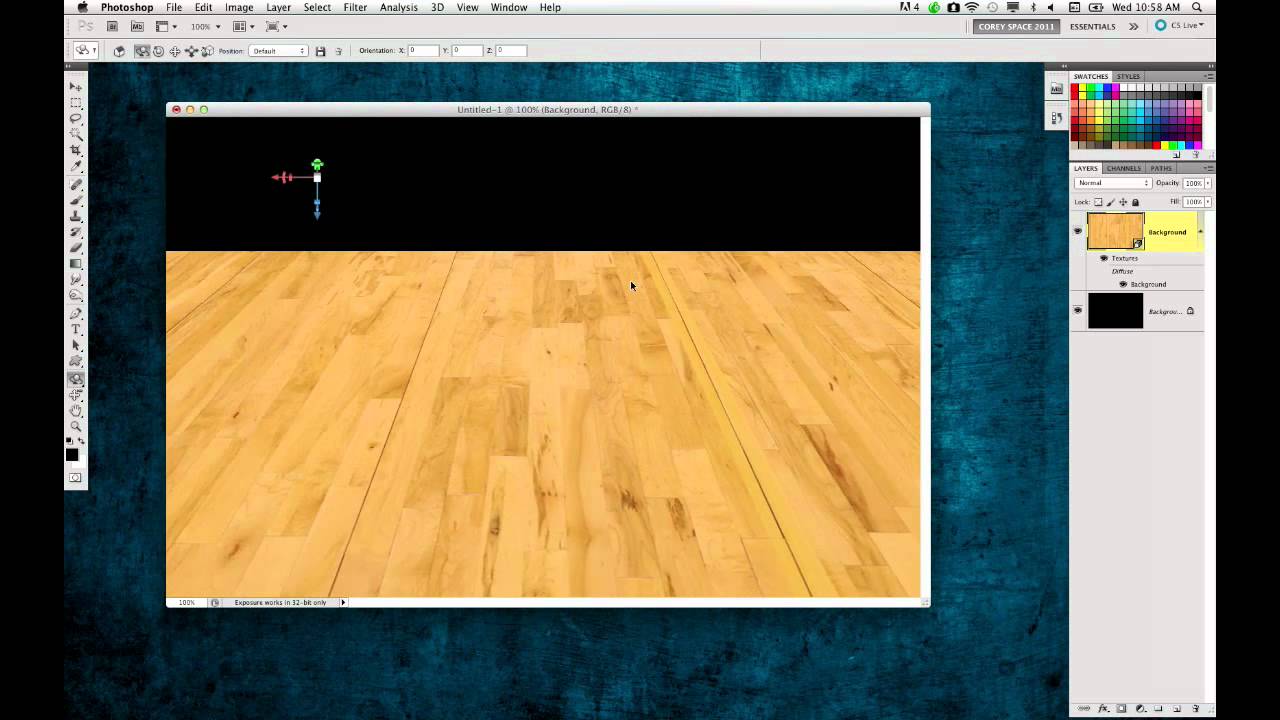
I run Photoshop from a coffee shop table most days, which means my laptop is doing a lot of heavy lifting on not a lot of real estate. For a long time I treated my internal drive like a junk drawer, just dumping everything on it and wondering why things got sluggish around deadline. It wasn’t until I watched this older KelbyOne tutorial, PhotoshopUser TV Episode 293{target="_blank"}, that I realized my file management habits were basically sabotaging my own machine.

How to Remove Tan Lines in Photoshop (Without Making It Obvious You Did)

How to Remove Tan Lines in Photoshop (Without Making It Obvious You Did)

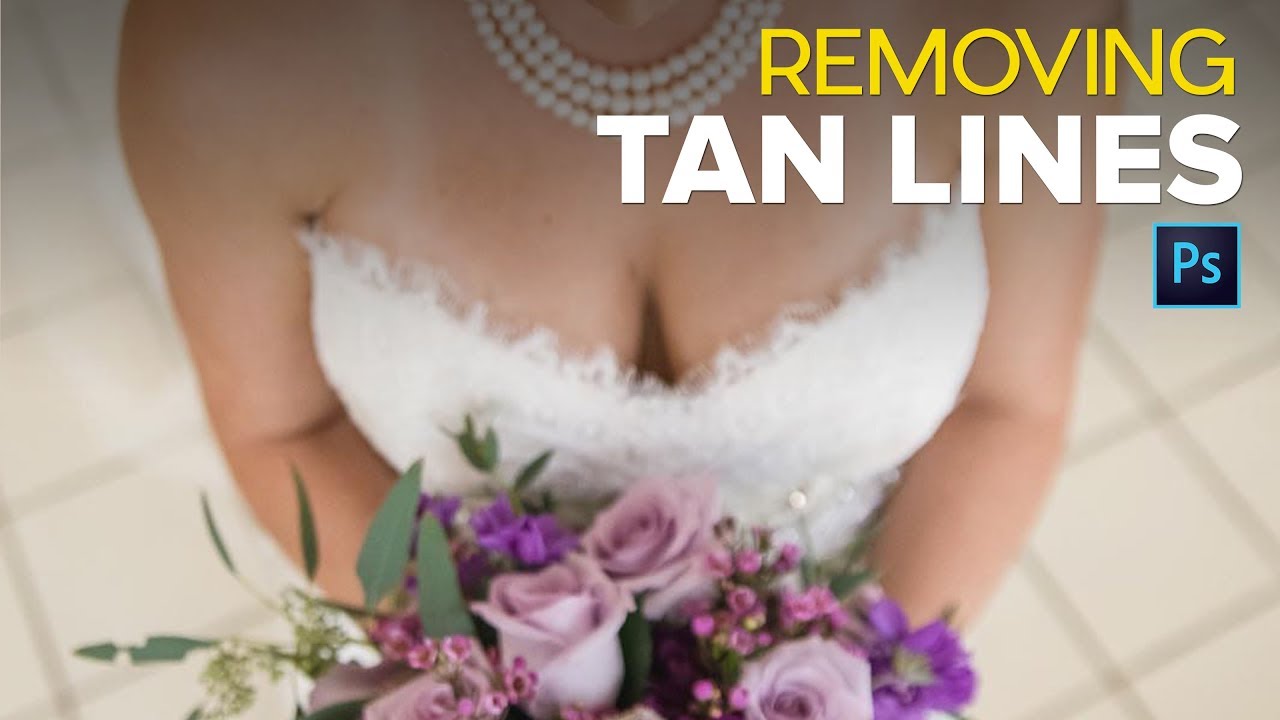
Tan lines are one of those problems nobody thinks about until the photos come back and suddenly there’s a perfectly geometric stripe across someone’s shoulder that screams “I wore a tank top to the beach three days before my wedding.” I’ve had clients hand me images from bachelorette weekends, beach vacations, and outdoor engagement shoots where the tanning situation was, let’s say, enthusiastically visible. It’s a more common retouch request than most people realize, and if you don’t have a reliable method, you end up spending way too long pushing pixels around hoping nobody notices the patchy mess you left behind.

Stop Fighting Fuzzy Edges: The Smarter Cutout Workflow Aaron Nace Taught Me

Stop Fighting Fuzzy Edges: The Smarter Cutout Workflow Aaron Nace Taught Me

There’s a specific kind of defeat that comes from spending forty-five minutes with the Pen tool trying to cut out a fuzzy sweater, only to end up with edges that look like they were drawn by someone using a mouse for the first time. I’ve been there. More than once. The problem isn’t skill, it’s using the wrong tool for the wrong edge, and it took me longer than I’d like to admit to accept that.

The Hidden Photoshop Type Trick That's Been Right Under Your Nose

The Hidden Photoshop Type Trick That's Been Right Under Your Nose

There’s a specific kind of frustration that comes from doing something the slow way for years and then watching someone fix it in about twelve seconds. I’ve been there more times than I’d like to admit. I once spent three days rebuilding a composite by hand only to have a friend redo the whole thing in twenty minutes using a technique I’d never even heard of. That’s basically the feeling Dave Cross delivers in this episode of PhotoshopUser TV, a show that ran out of the KelbyOne camp and was genuinely one of the better free Photoshop education resources of its era.

Content Aware Move: The Photoshop Tool I Kept Ignoring (And Shouldn't Have)

Content Aware Move: The Photoshop Tool I Kept Ignoring (And Shouldn't Have)

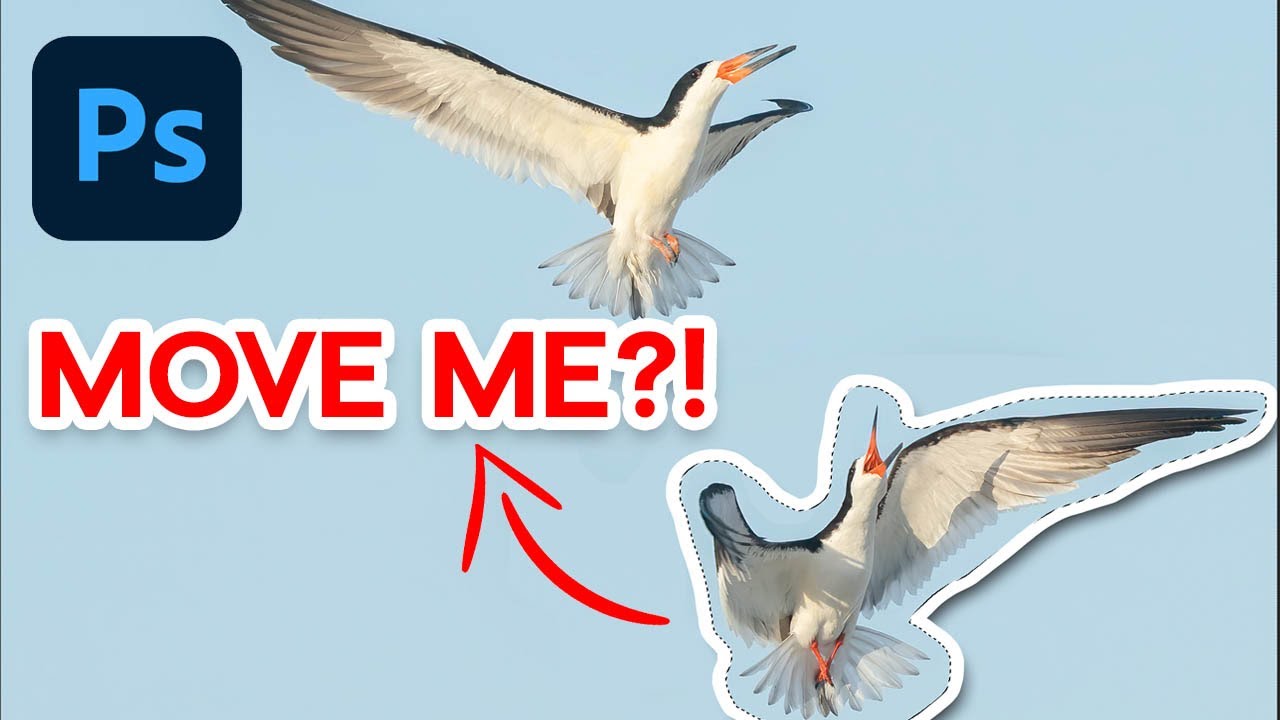
Here’s a confession: for years I treated Content Aware Move like that gym membership I kept paying for but never used. I knew it existed. I’d seen it in the flyout menu tucked under the Spot Healing Brush. I just assumed it was one of those tools that sounds magical in a demo and falls apart the second you try it on a real photo. So I kept defaulting to my trusty Rectangular Marquee and Move Tool combo, patching up the seams afterward with varying degrees of success.

Displacement Maps in Photoshop: Make Text and Logos Look Like They Actually Belong There

Displacement Maps in Photoshop: Make Text and Logos Look Like They Actually Belong There

There’s a specific kind of bad composite that haunts me. You’ve seen it. A logo slapped onto a t-shirt or a hat, sitting perfectly flat and perfectly lit, glowing like a digital sticker that has absolutely no relationship with the fabric underneath it. I’ve made that mistake more times than I want to admit, usually under deadline pressure, usually when a client wanted something “quick.” The result always looked cheap, and I knew it.

How to Make a Graphic Look Like a Faded Mural Using Blending Modes and Layer Sliders

How to Make a Graphic Look Like a Faded Mural Using Blending Modes and Layer Sliders

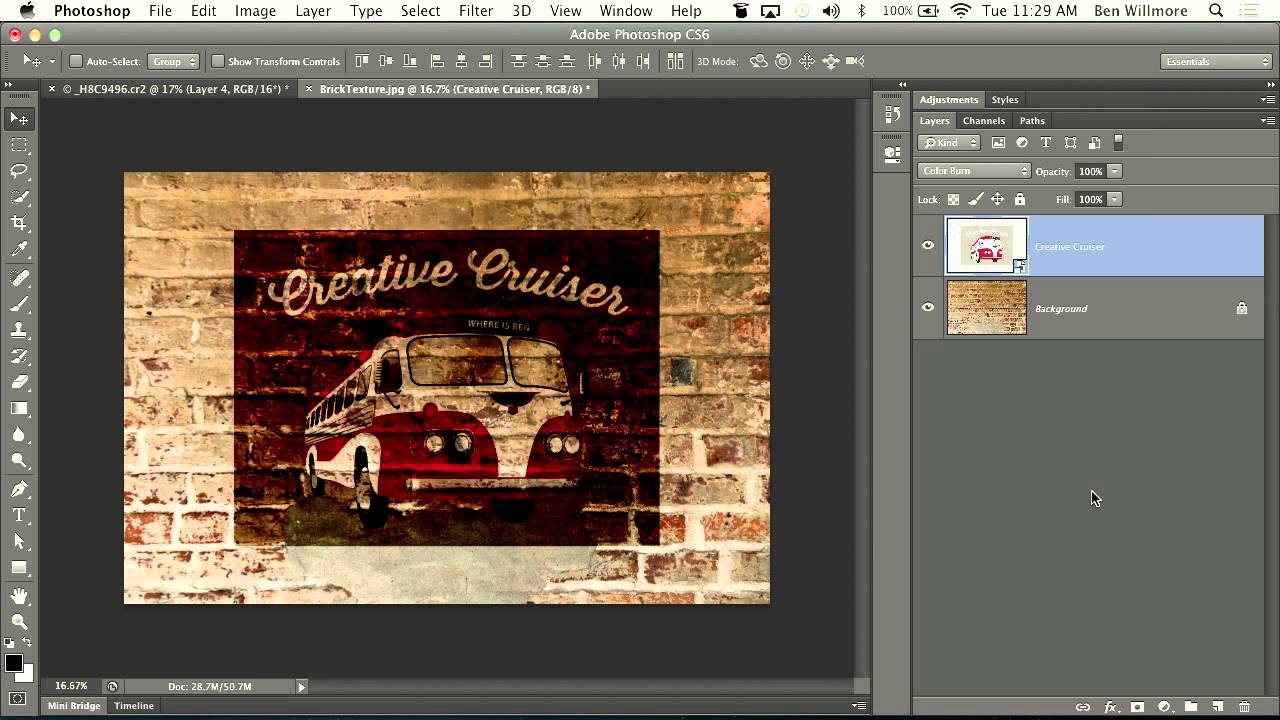
There’s a specific type of composite that clients love to request and that sounds deceptively simple: “make it look like it’s painted on the wall.” Sure, you can slap a layer on top, set it to Multiply, and call it a day. But that usually looks like exactly what it is: a layer slapped on top of a photo. Getting it to actually read as painted, weathered, worn into the surface over decades?

Stop Photoshop From Secretly Saving Your Files to the Cloud (And Fix Save As While You're At It)

Stop Photoshop From Secretly Saving Your Files to the Cloud (And Fix Save As While You're At It)

I’ve lost count of how many times I’ve saved a file, closed Photoshop, gone hunting for it in my project folder, and come up completely empty. For the longest time I blamed myself. Bad naming conventions, wrong folder, classic me. Then I started blaming the coffee shop WiFi, which honestly tracks. But the real culprit was a default setting Adobe quietly changed in 2022 that redirected my saves to Creative Cloud instead of my local drive, without ever making that particularly obvious.

Black & White in Photoshop: When to Use It, When to Ditch It, and How to Actually Do It Right

Black & White in Photoshop: When to Use It, When to Ditch It, and How to Actually Do It Right

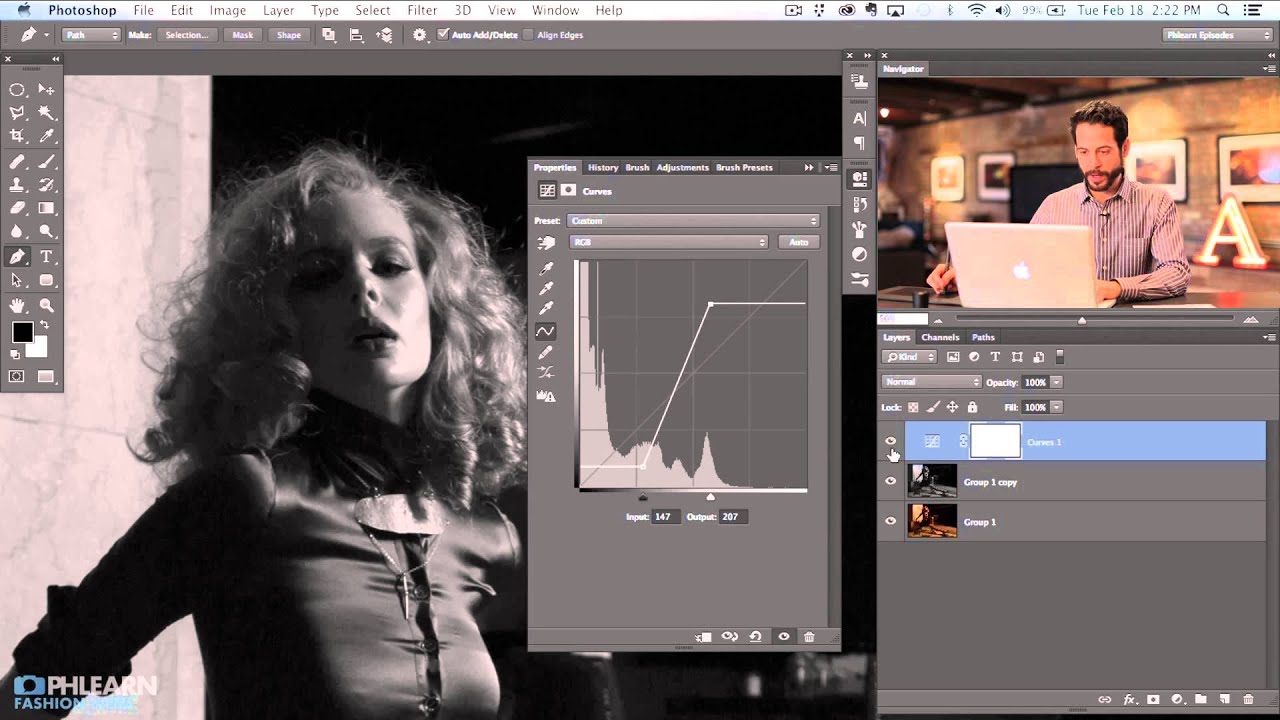
Client work has a funny way of forcing you to get good at things you’ve been half-assing for years. For me, black and white conversion was one of those things. I’d been hitting Shift+Command+U, calling it done, and moving on. Then I handed a moody portrait to a client who came back and said it looked “flat and kind of sad, but not in a good way.” Fair. I had no real control over the tonal relationships in the image.

Why Your Landscape Photos Feel Flat (And How to Actually Fix It)

Why Your Landscape Photos Feel Flat (And How to Actually Fix It)

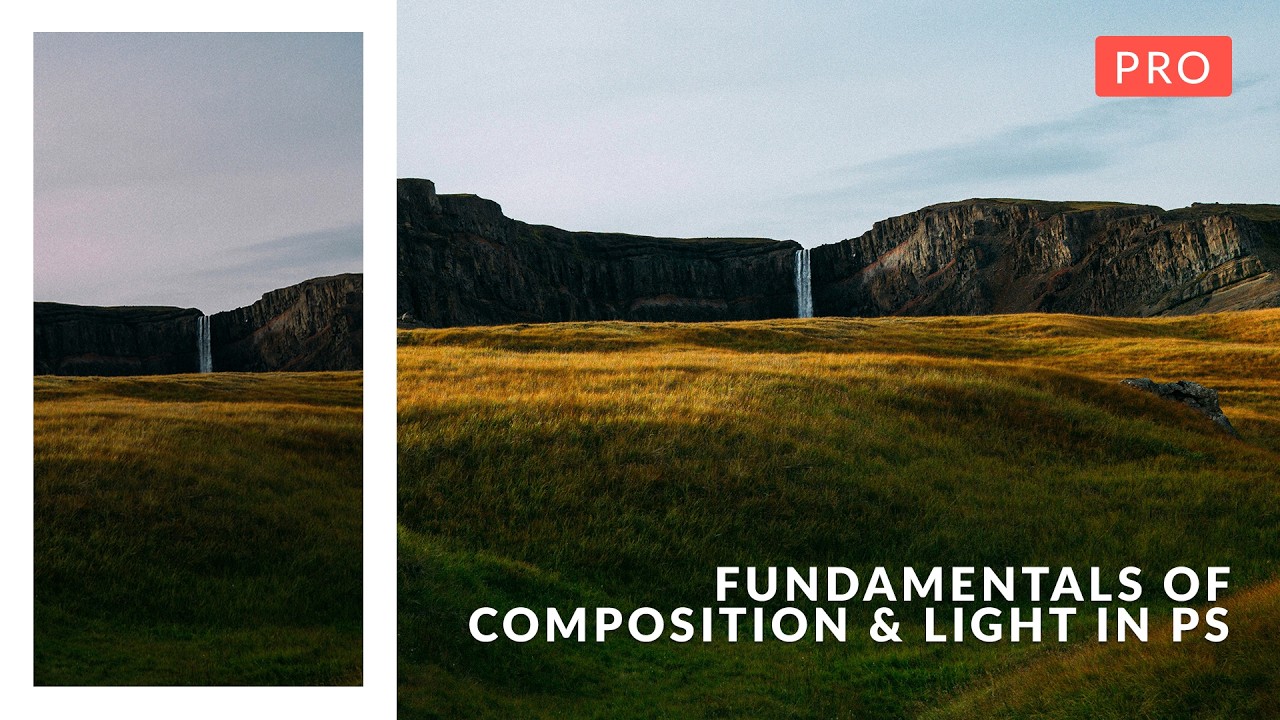
I’ve been doing design and photo editing long enough to know the difference between a technically correct image and one that actually works. For a while, I couldn’t articulate the gap. I’d open a landscape shot, push sliders around in Camera Raw until the histogram looked polite, and then sit back wondering why it still felt like a stock photo someone rejected. Turns out I was treating the symptoms instead of understanding the disease.

Photoshop's New Light Adjustment Layer Is Here to Replace Brightness/Contrast — Here's How to Actually Use It

Photoshop's New Light Adjustment Layer Is Here to Replace Brightness/Contrast — Here's How to Actually Use It

I’ll be honest — I never really used Brightness/Contrast. It always felt like the adjustment layer Adobe included just so the list didn’t look short. The algorithm was weak, the results were flat, and anyone doing serious work had already migrated to Curves or was living inside Camera Raw. So when Photoshop 27.10 quietly swapped it out for a brand new tool called the Light adjustment layer, my reaction was less “how dare they” and more “finally.

How to Use SVG Files from Adobe's Creative Cloud Market (Without Losing Your Mind)

How to Use SVG Files from Adobe's Creative Cloud Market (Without Losing Your Mind)

There’s a specific kind of frustration that hits when you’re 45 minutes into a project and you realize the asset you need would take you another two hours to build from scratch. Buttons, icons, tool illustrations – the kind of stuff that looks deceptively simple but eats your whole afternoon. For the longest time I was either building these manually or paying for stock assets I’d use once and forget. Then I actually started poking around the Creative Cloud Market properly, and I felt like someone had been hiding a snack drawer from me this whole time.