
I do a lot of portrait retouching. Not because I planned for that to be my thing, but because once people find out you know Photoshop, suddenly every photographer friend you have wants a favor. And the one area that consistently takes longer than it should? Hair. Flyaways, gaps, weird shapes that looked fine in the viewfinder and look chaotic on a 27-inch monitor. For a long time, my approach was just… keep painting and hope for the best. Spoiler: that’s not a workflow.
In this Aaron Nace (PHLEARN) tutorial, the whole process clicks into place. Watch the full tutorial on YouTube and then come back here for the breakdown. Aaron uses two tools most people already know, Liquify and Clone Stamp, but the order and logic behind how he uses them is what makes the difference. The combination is fast, non-destructive (mostly), and gets results that actually look like hair instead of a smeared oil painting.
The core idea is simple: first reshape the overall silhouette with Liquify, then patch up any gaps or thin spots with Clone Stamp. You’re not trying to recreate hair from scratch. You’re cleaning up what’s already there. That reframe alone saved me probably three hours on my last job.
Step 1: Assess the Image Before You Touch Anything
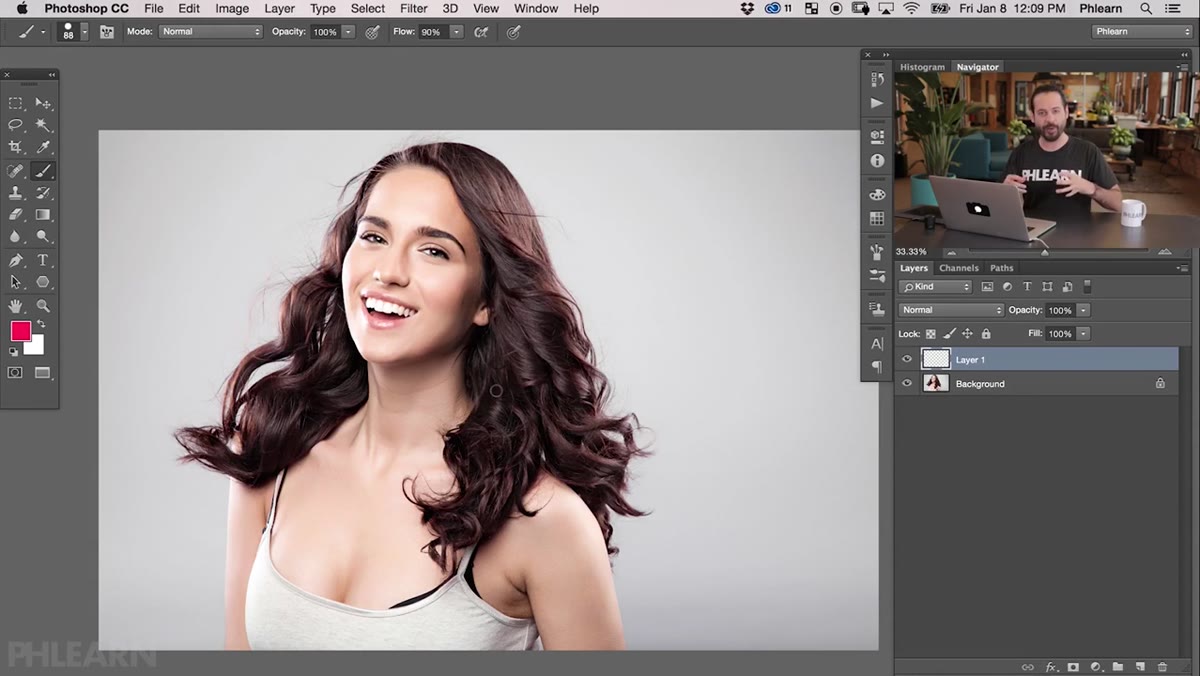 Aaron pointing out problem areas in the hair
Before opening a single tool, take thirty seconds to actually look at the hair and make a mental (or literal) hit list. Aaron identifies several types of problems: areas where the silhouette bows out or sticks out unevenly, flyaway strands breaking the outline, gaps in the hair that reveal background, and sections where the overall shape tapers or curves in an unflattering direction. On his subject, the hair is wider at the bottom than the top, which creates a bottom-heavy silhouette. He wants to reverse that, wider at the crown and cleaner coming down.
This audit step is easy to skip when you’re in a hurry, but it’s what stops you from Liquify-ing aimlessly for twenty minutes and ending up with something that looks worse than when you started. Know what you’re fixing before you fix it.
Step 2: Duplicate the Background Layer
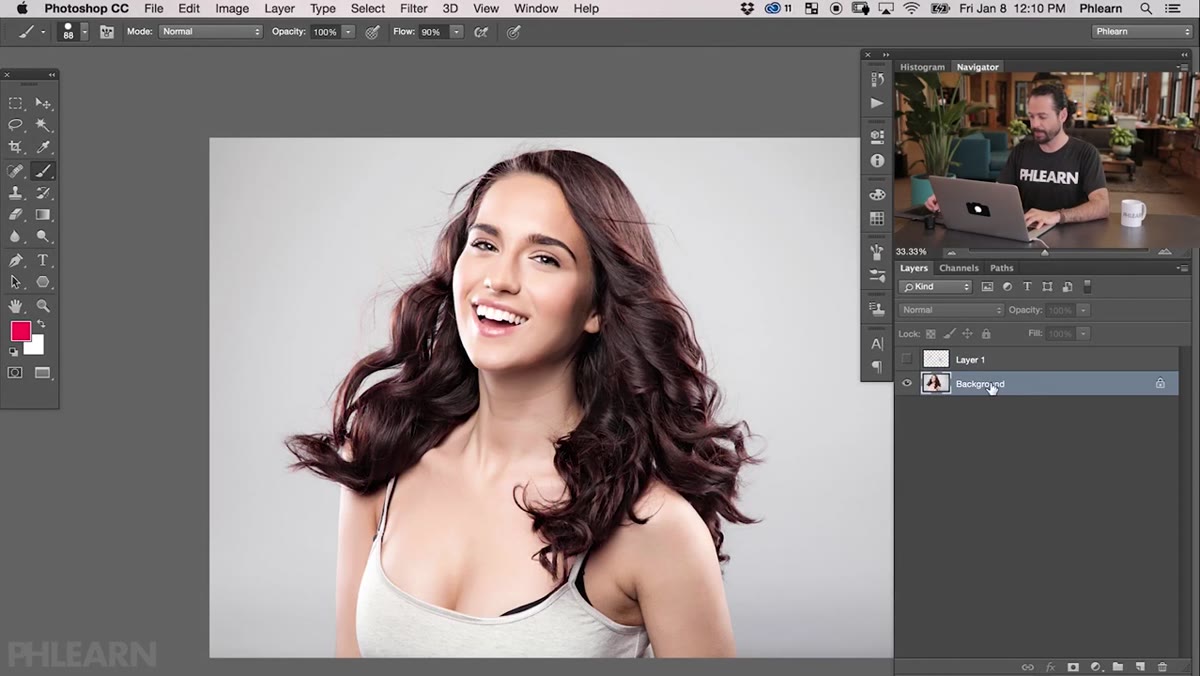 Dragging background layer to new layer icon in Layers panel
Before heading into Liquify, Aaron duplicates the background layer by dragging it to the new layer icon at the bottom of the Layers panel. He also makes any other layers temporarily invisible. This gives him a clean, flat copy of the image to work on, and critically, it means he can always compare his edited version to the original or mask out any areas that got weird.
Working on a duplicate is non-negotiable if you care about your work (and your clients). Liquify can do some funky things near the edges of the canvas or where hair meets skin, and having the original underneath means you can fix those edge cases with a layer mask instead of hitting Ctrl+Z fifteen times.
Step 3: Open Liquify and Start with a Big Brush
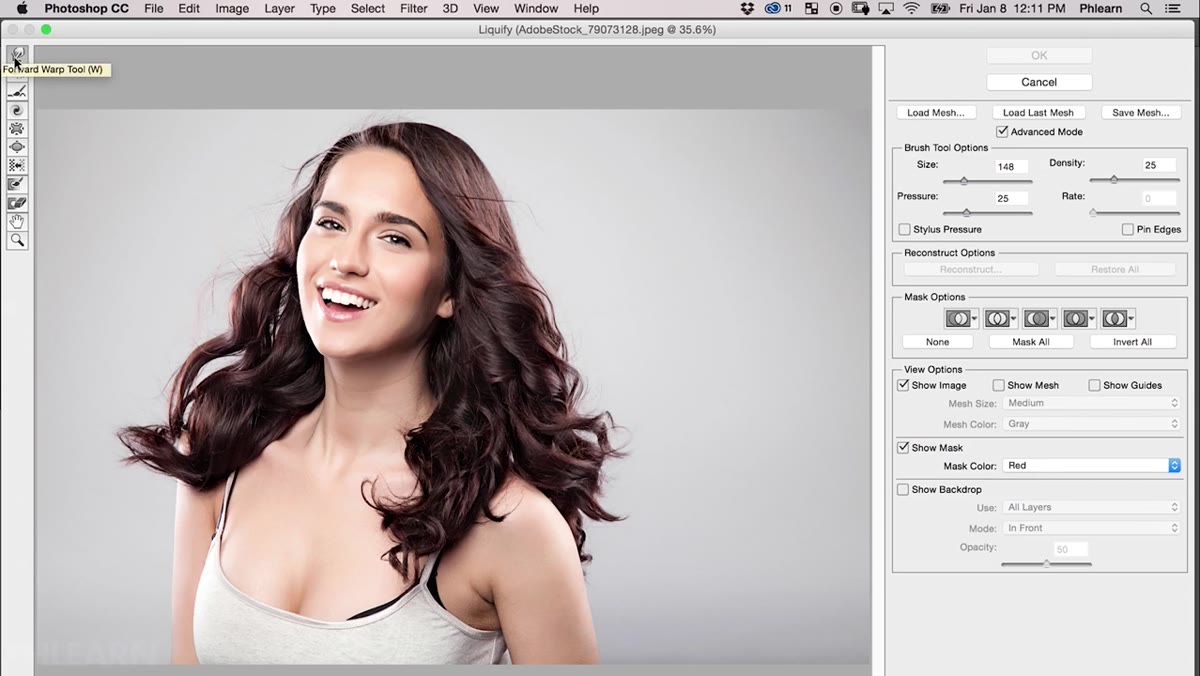 Liquify dialog open with Forward Warp tool selected
With the duplicate layer selected, go to Filter, then Liquify. Inside the Liquify dialog, Aaron reaches for the Forward Warp tool, which is the first tool in the toolbar on the left. Think of it as a push tool, you click and drag and the pixels follow your cursor. The key setting here is brush size, and Aaron is emphatic about starting large. A big brush moves large sections of hair together without creating pinch points or distortion.
He starts by working on the outer silhouette, clicking just outside the hair and pushing inward to tame the parts that extend too far. Starting outside the hair rather than inside means you’re pushing the edge in, not warping the middle of the hair and creating weird clumps. Think of it like sculpting clay from the outside.
Step 4: Refine the Shape with a Smaller Brush
 Smaller brush working on flyaway hairs near the hairline
Once the big shapes are sorted, Aaron zooms in with Command/Ctrl + Plus and drops his brush size down significantly to tackle the details. Flyaways, small strands that have drifted away from the main body of hair, get pushed back in toward the silhouette. Sections where the hair looks thin or uneven get nudged into a cleaner line.
The rule he follows here applies pretty broadly in retouching: big adjustments first, small adjustments second. If you go in hunting flyaways before you’ve sorted the overall shape, you’ll fix individual hairs and then realize the whole silhouette still looks off. Work from macro to micro.
Step 5: Be Careful Around Skin
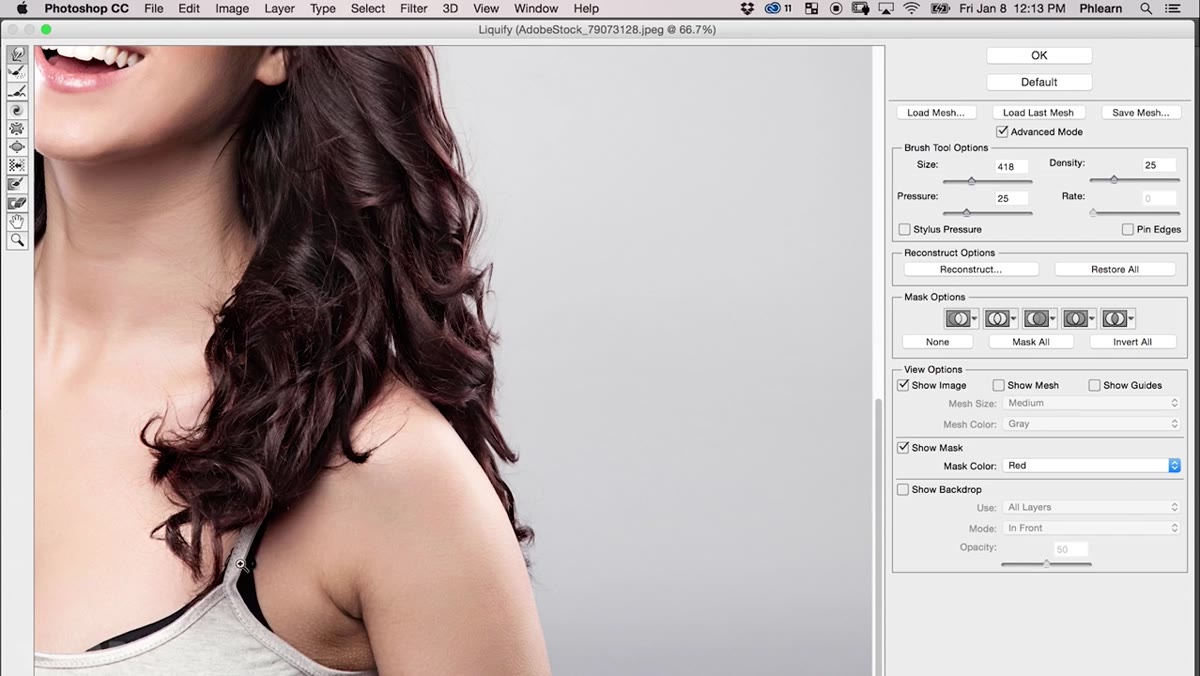 Liquify brush near the neck and shoulder area
This step is more about what not to do. When the hair runs close to the subject’s skin, like along the neck, shoulders, or forehead, the Forward Warp tool will start dragging skin pixels along with the hair if you’re not careful. Aaron makes a point of stopping short near skin boundaries and finding the balance between improving the hair and leaving the rest of the portrait alone.
If you do accidentally warp some skin, don’t panic. Because you’re working on a duplicate layer, you can use a layer mask to paint out any area where the Liquify distortion bled into the face or neck. Black on the mask hides it, white reveals it. That’s the whole reason for the duplicate layer setup in Step 2.
One Thing I’d Add: Save Your Liquify Mesh
Aaron doesn’t mention this in the tutorial, but if you’re doing serious hair retouching on a high-stakes image, save your Liquify mesh before hitting OK. There’s a “Save Mesh” button inside the Liquify dialog. If the client comes back with revisions (and they always do), you can reload that mesh and adjust from your previous position instead of starting from scratch. I learned this the hard way after spending forty minutes on a Liquify session and then having to redo almost all of it two days later when the photographer requested a slightly different crop that changed which parts of the hair were visible.
Also worth noting: if you have a newer version of Photoshop, the Liquify filter now supports Smart Objects. Convert your layer to a Smart Object before running Liquify and the whole filter becomes re-editable, mesh and all, directly from the Layers panel. It’s one of those features that makes you wonder how you ever worked without it.
The biggest takeaway from Aaron’s approach is that hair retouching doesn’t have to mean hours of careful brush work. The Liquify tool is powerful enough to handle most of the heavy lifting in a few minutes if you use it methodically, starting with large shapes, moving to small details, and staying aware of what’s around the hair. The rest is cleanup.
Watch the full tutorial on YouTube to see Aaron walk through the Clone Stamp portion of the technique, where he patches the gaps that Liquify can’t fix on its own. It’s the second half of the workflow and just as practical.
Comments
Leave a Comment