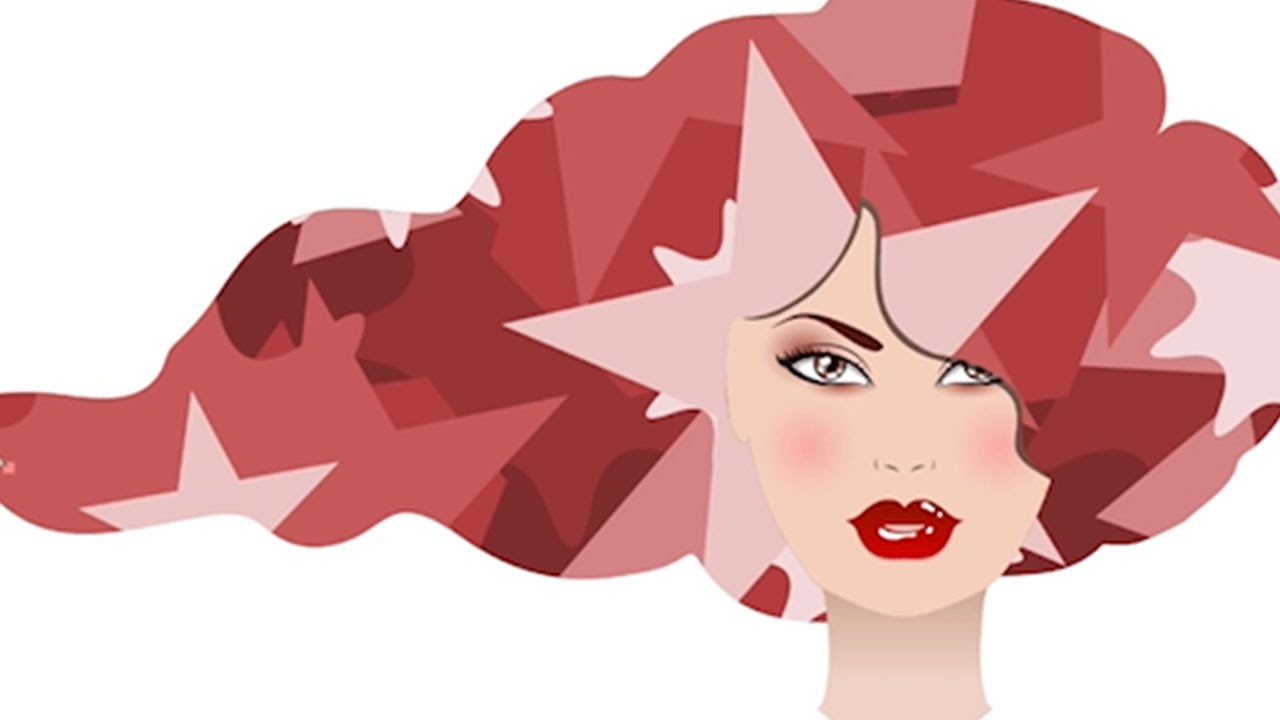
I spent an embarrassing amount of time in my early freelance days using the Marquee tool and Fill to fake shapes. Not because I didn’t know the Shape tool existed, but because every time I opened that toolbar I felt like I was reading a menu in a language I kind of spoke but not really. Turns out I was skipping over one of the most flexible, non-destructive toolsets in all of Photoshop. If you’ve ever avoided the shape tools because they felt fussy or unclear, this breakdown is going to fix that fast.
In this Aaron Nace (PHLEARN) tutorial on custom shapes, Aaron walks through the entire shape tool ecosystem, including some genuinely useful hidden features inside the Polygon tool, how to build a custom shape from a pen path, and a real-world example that shows why any of this matters outside of a vacuum. Watch the full tutorial on YouTube if you want to follow along with the video. Otherwise, here’s the full walkthrough so you can work through it step by step without jumping back and forth.
Step 1: Find the Shape Tool and Understand What You’re Working With
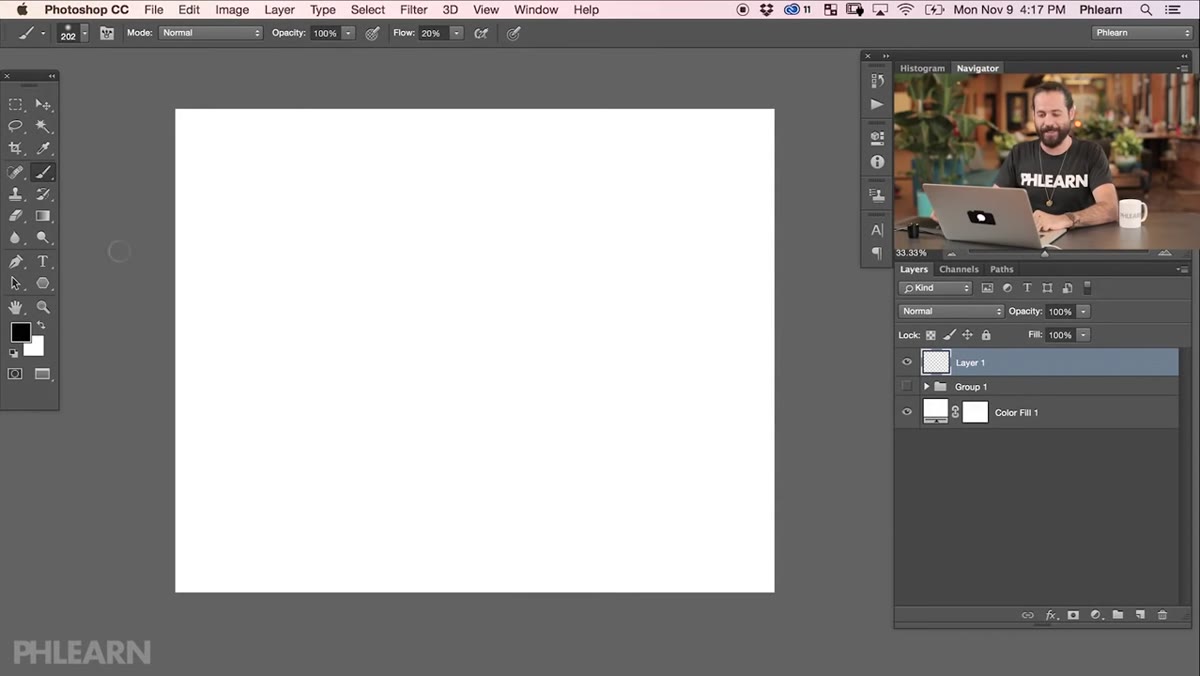 Shape tool options visible in the left toolbar panel
The Shape tool lives in the left toolbar, just below the Type tool. Click and hold on it and you’ll see the full menu: Rectangle, Rounded Rectangle, Ellipse, Polygon, Line, and Custom Shape. These aren’t just different shapes, they’re different tools with different behavior. Before you touch any of them, go to Window and open the Properties panel. This gives you a live readout of every option for whatever shape you’re working on, and you’ll want it open the entire time.
Step 2: Draw a Rectangle and Learn the Fill and Stroke Controls
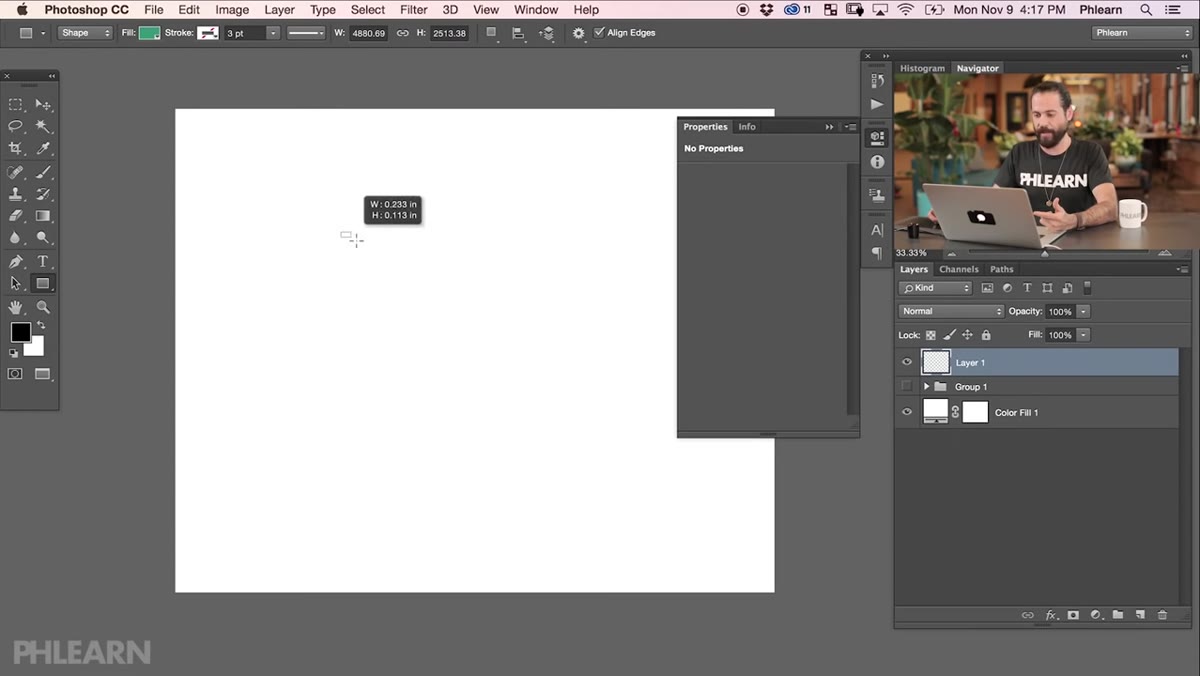 Rectangle drawn on canvas with Properties panel open
Click the Rectangle tool, then click and drag on your canvas to drop a shape. Right away you’ll see fill and stroke color options both in the top toolbar and reflected in the Properties panel. Click the fill swatch to choose a color. Stroke works the same way, and importantly, you can set it to a solid color, a gradient, or nothing at all. The stroke width is adjustable in the toolbar, and there’s a small alignment button next to it that lets you push the stroke to the inside, center, or outside of the shape’s edge. That alignment option matters more than people expect, especially when shapes are sitting close together or overlapping.
Step 3: Set Exact Dimensions Instead of Eyeballing It
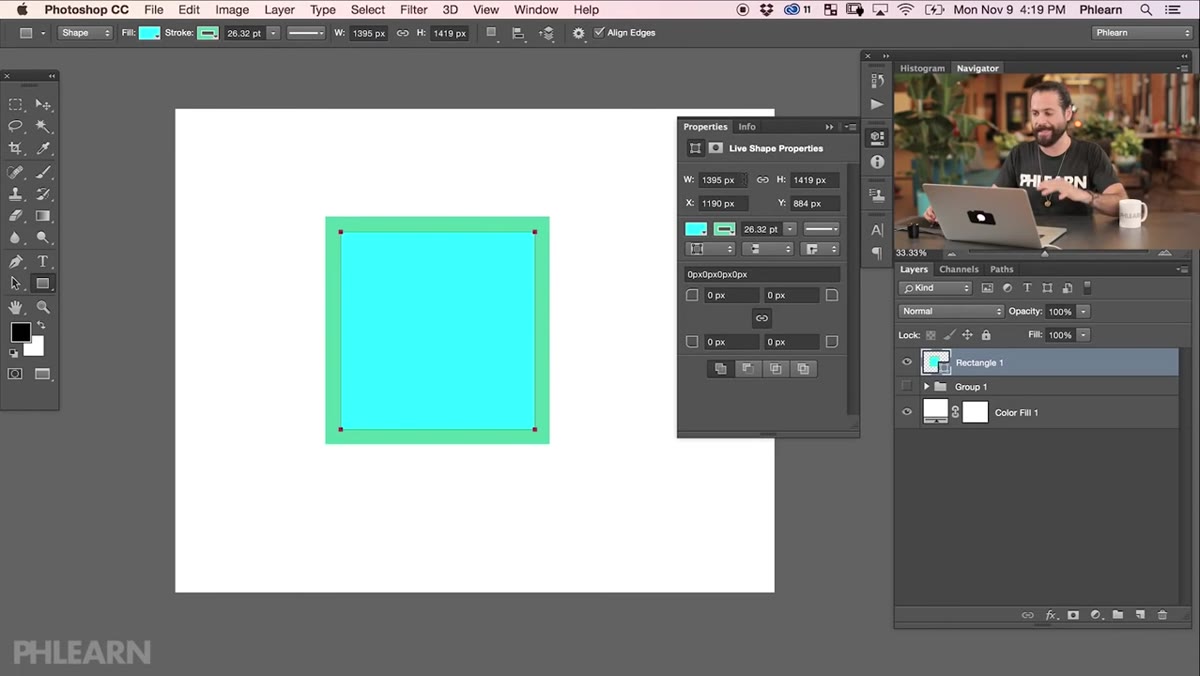 Width and height fields showing 1200px values in Properties panel
If you need a precise shape, don’t trust your eye and don’t try to drag to a specific size. In the Properties panel you’ll see width and height fields. Type in the exact pixel values you want. To make a perfect square, enter the same number in both. If you want to resize proportionally later, click the little chain-link icon between the width and height fields and both values will scale together. The shape updates live, so you can tweak it at any point without redrawing from scratch.
Step 4: Stay Non-Destructive - Edit Shape Properties Any Time
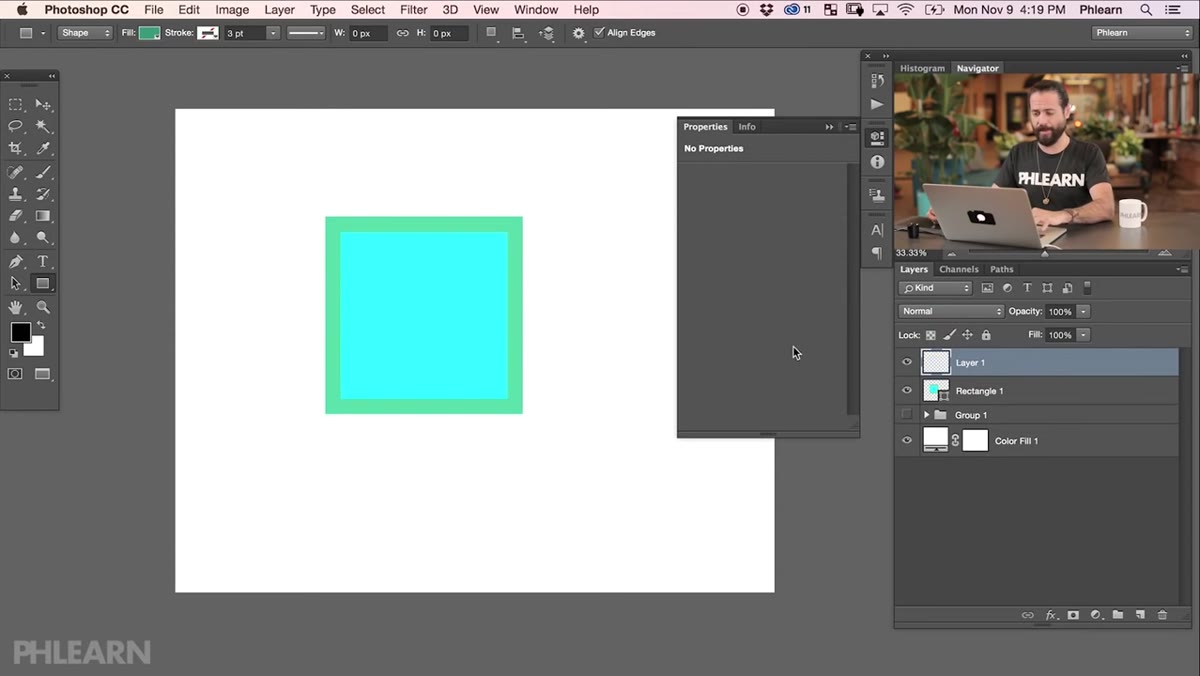 Switching between layers, showing shape properties remain editable
Here’s the thing that actually makes the Shape tool worth using over a pixel-based workaround: every property stays editable as long as you’re working with a shape layer. You can create a bunch of other layers, do other work, come back to your shape layer weeks later, and still change the fill color, stroke width, alignment, and dimensions. Nothing gets baked in. If you’ve ever had to redo a design element because a client wanted “just a slightly different shade of blue,” non-destructive shapes will save your sanity. Always keep your shapes as shape layers, not rasterized.
Step 5: Explore the Polygon Tool’s Hidden Options
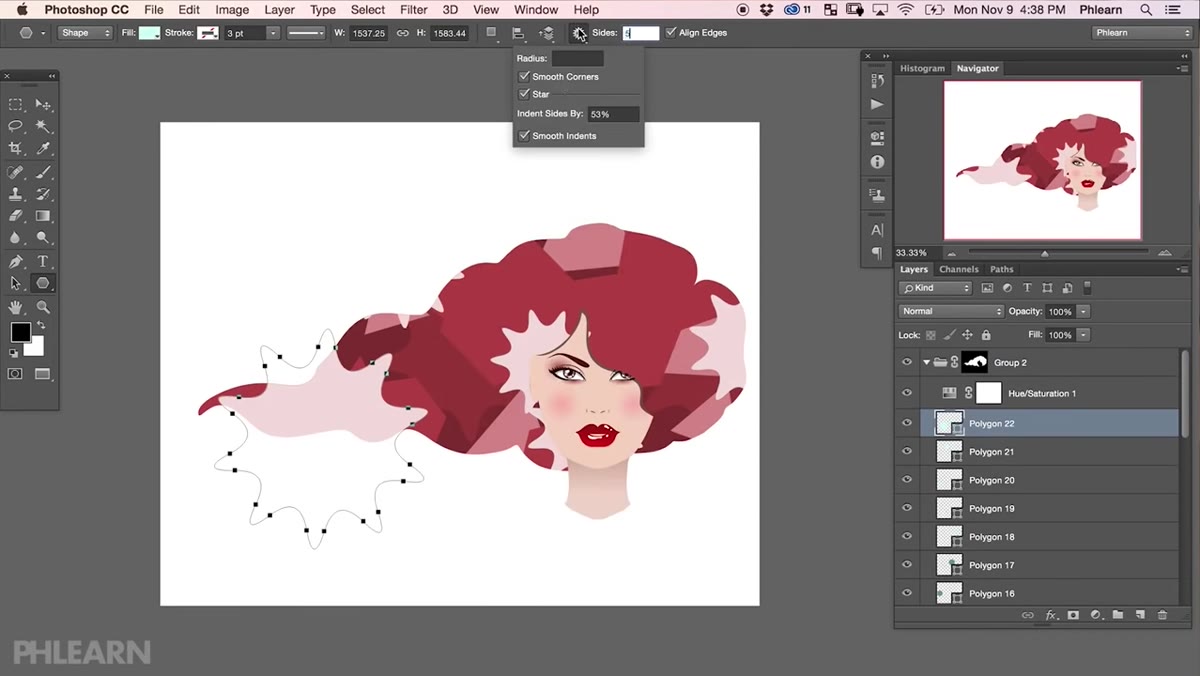
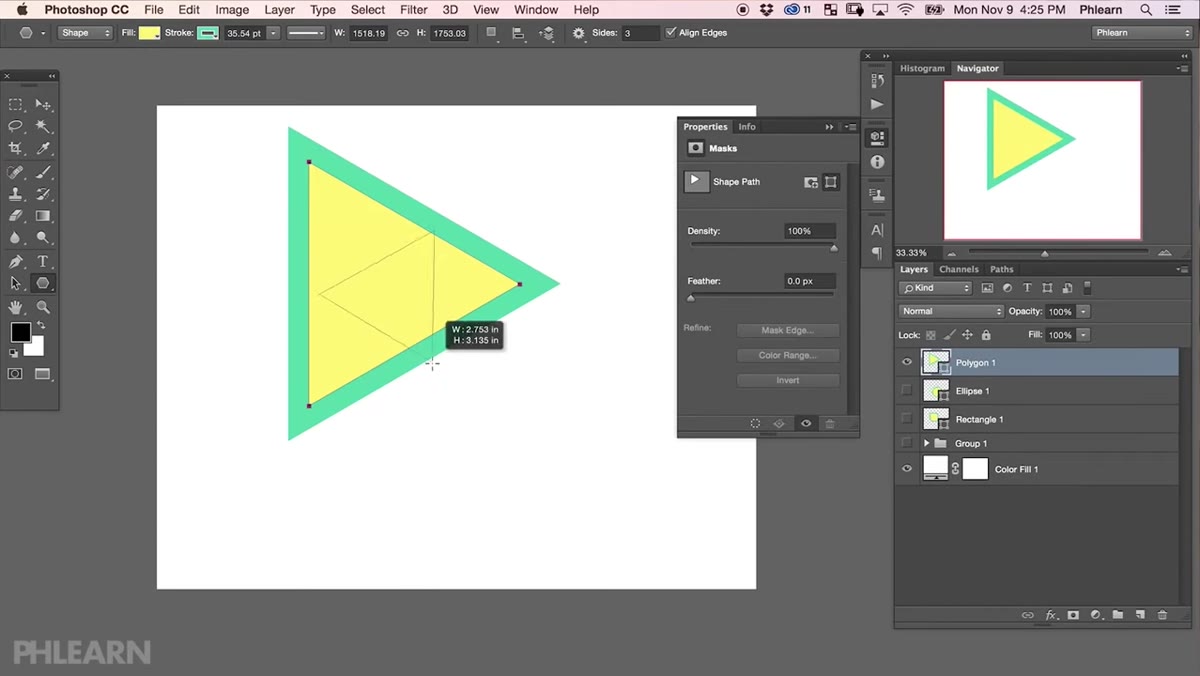 Polygon tool selected with settings options in toolbar
The Polygon tool is where things get interesting. By default it draws a regular polygon based on the number of sides you set in the toolbar. But if you click the gear or settings icon next to the shape options, you’ll find controls that most people walk right past. You can enable a star mode that pulls the corners inward, creating a star shape. There’s also a smoothing option for the corners and the star indents. By adjusting the indent percentage and toggling smooth corners on and off, you can generate shapes that look like they took a custom illustration to make. Experiment with star indent values anywhere between 30% and 70% for dramatic differences.
Step 6: Build a Custom Shape with the Pen Tool
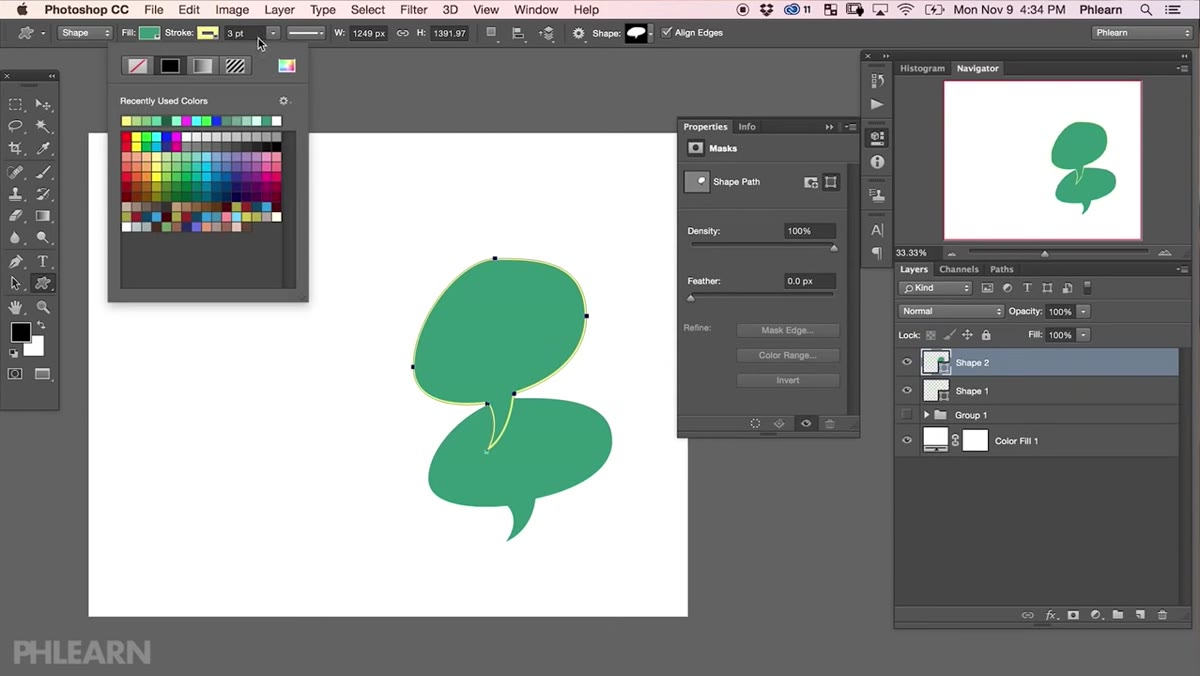 Pen path being drawn on canvas to create a custom shape
For anything the preset tools can’t handle, you create a custom shape using a pen path. Select the Pen tool, and in the top toolbar make sure the mode is set to Shape, not Path or Pixels. Then click to place anchor points on your canvas. Each click creates a straight segment. Click and drag to create a curved segment. When you close the path by clicking back on your first anchor point, Photoshop fills the shape automatically with whatever fill color you’ve set. From there it behaves exactly like any other shape layer, meaning it’s fully editable, scalable, and non-destructive.
Step 7: Use Your Custom Shapes in a Real Design Context
 Real-world design example using simple shapes combined
Once you have a custom shape, you’re not stuck with it as a standalone element. You can duplicate it, combine it with other shapes using the path operations in the toolbar (Add, Subtract, Intersect, Exclude), and stack shapes on the same layer to create complex compositions. A simple arrow shape, a speech bubble, a custom logo mark, all of these live comfortably as shape layers that you can recolor or rescale any time a client changes their mind. And if you want to save a shape to reuse later, you can save it as a Custom Shape preset through Edit and then Define Custom Shape.
My Take: Shapes Are Underrated for Rapid Prototyping
I started using shape layers aggressively after a client asked me to mock up five different layout variations of a landing page hero section. Old me would have been drawing, rasterizing, and repainting for hours. Instead I had a handful of shape layers for geometric background elements and could recolor the whole layout in about two minutes flat. The fact that you can swap fills between solid colors, gradients, and nothing at all without touching the shape itself is genuinely powerful for any kind of iterative design work.
The one habit I’d push on anyone building out this workflow: get comfortable with the path operations. Combining and subtracting shapes on a single layer is where the real complexity comes from, and it keeps your layer panel from turning into a disaster zone.
The single most important thing Aaron demonstrates in this tutorial is that shape layers are always editable. That sounds obvious but it fundamentally changes how you approach design decisions. You stop committing to anything too early, and that flexibility compounds over an entire project. Watch the full tutorial on YouTube to see Aaron walk through the real-world example at the end, which ties everything together in a way that’s worth seeing in motion.
Comments (1)
This should be required reading for anyone starting out.
Leave a Comment