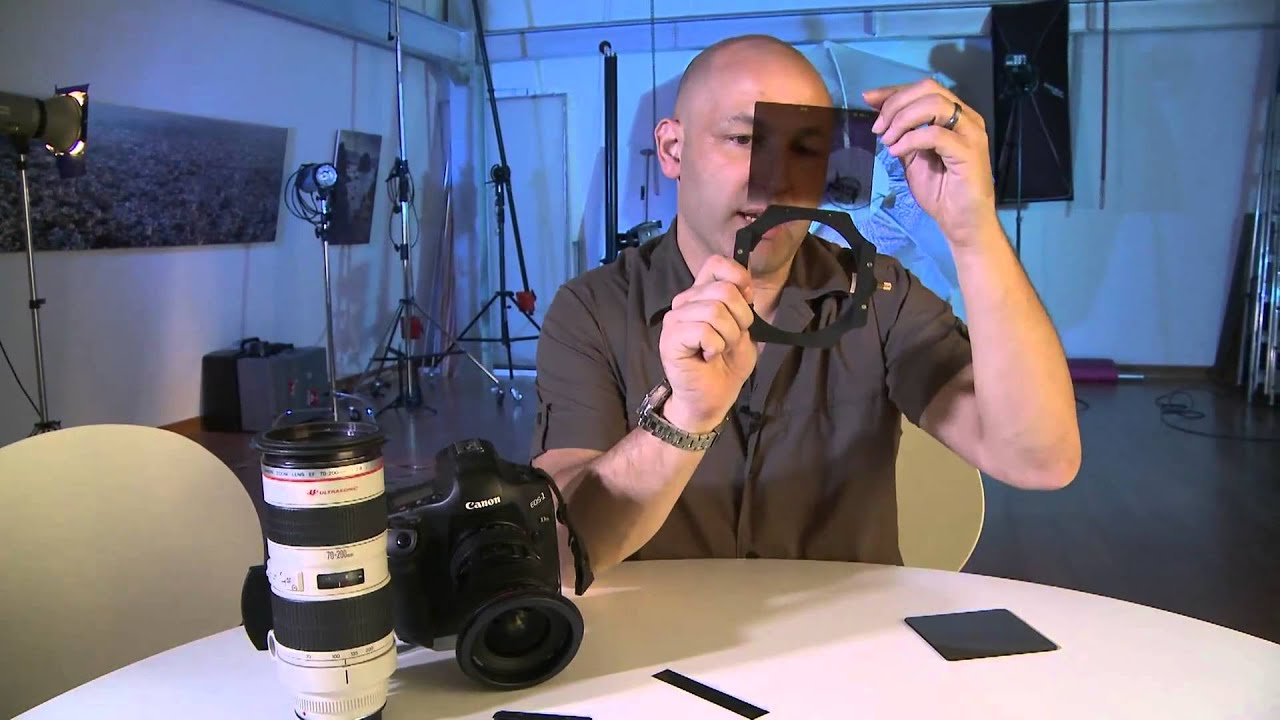
There’s a specific kind of misery that comes from watching an expensive piece of glass hit pavement. I’ve never personally dropped a polarising filter, but I’ve watched enough photographers do it, and the sound alone is enough to make you question your career choices. Polarising filters aren’t cheap. A decent circular polariser can run you $100 to $200 without blinking, and the square or rectangular versions used in modular filter systems can cost significantly more. Dropping one because your filter holder got a little loose over the years is the kind of preventable disaster that haunts people.
In this Visual Education tutorial by Karl Taylor, he shares a quick field fix that costs almost nothing and takes about 90 seconds to execute. Watch the full tutorial on YouTube – it’s short, practical, and the kind of thing you’ll wish someone had told you three filters ago. Karl frames it around a broader explanation of his modular filter system, which is also worth understanding if you’re new to the whole slot-and-ring setup. But the electrical tape tip at the core of it is genuinely useful regardless of what filter system you’re running.
Step 1: Understand Why Modular Filter Systems Are Worth Using
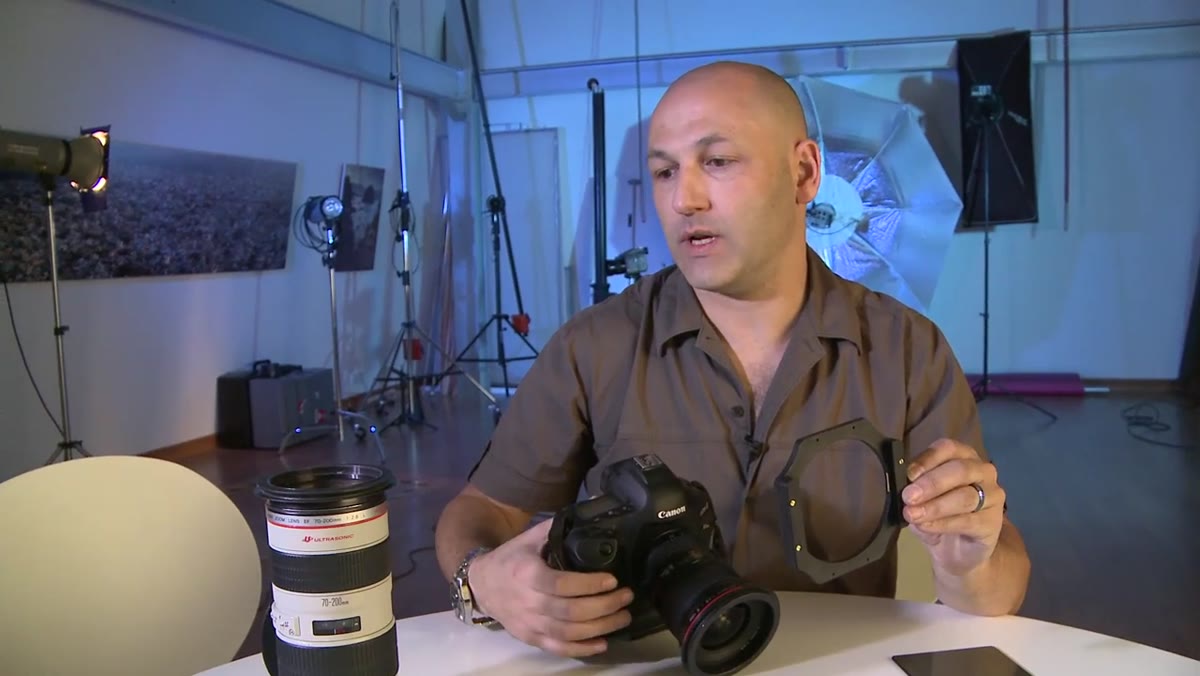 Filter holder attached to adapter ring on lens
Before you can appreciate the problem Karl is solving, it helps to understand the setup. A modular filter system works by attaching an adapter ring directly to your lens’s filter thread, and then clipping a filter holder onto that ring. The filters themselves – whether neutral density, graduated ND, or polarisers – slide into slots in that holder. You buy one set of filters and a collection of adapter rings in different thread sizes to match your various lenses. One filter holder, all your lenses. It’s a smarter system than buying a separate screw-on filter for every lens you own.
The key advantage Karl points to is flexibility. With a graduated ND filter, for example, you need to be able to position the transition zone precisely within the frame – usually right along a horizon line. You simply can’t do that with a screw-on filter. With a slot-based system, you slide the filter up or down until the gradient falls exactly where you need it. Stack a polariser in front of that and you’re managing light in two dimensions at once.
Step 2: Identify the Wear Problem With Older Holders
 Karl demonstrating loose filter wobbling in holder
Here’s where the real-world problem shows up. Karl is pretty candid about the fact that he’s lost and broken filters repeatedly over the years, and the culprit was his aging filter holder. The slots in these holders are designed to grip the edges of the filter, but after years of use, that grip loosens. The tolerances get a little wider, and what was once a snug fit becomes a sloppy one.
With a polariser specifically, this is extra problematic. You’re rotating the filter constantly to dial in the polarisation effect, which means you’re regularly handling it while it’s mounted. Any looseness in the holder gets amplified by that handling. Karl describes being able to see the filter starting to visibly wobble and shift just from walking around on location. That’s not a matter of if it falls out. It’s a matter of when.
Step 3: Get Your Electrical Tape Ready
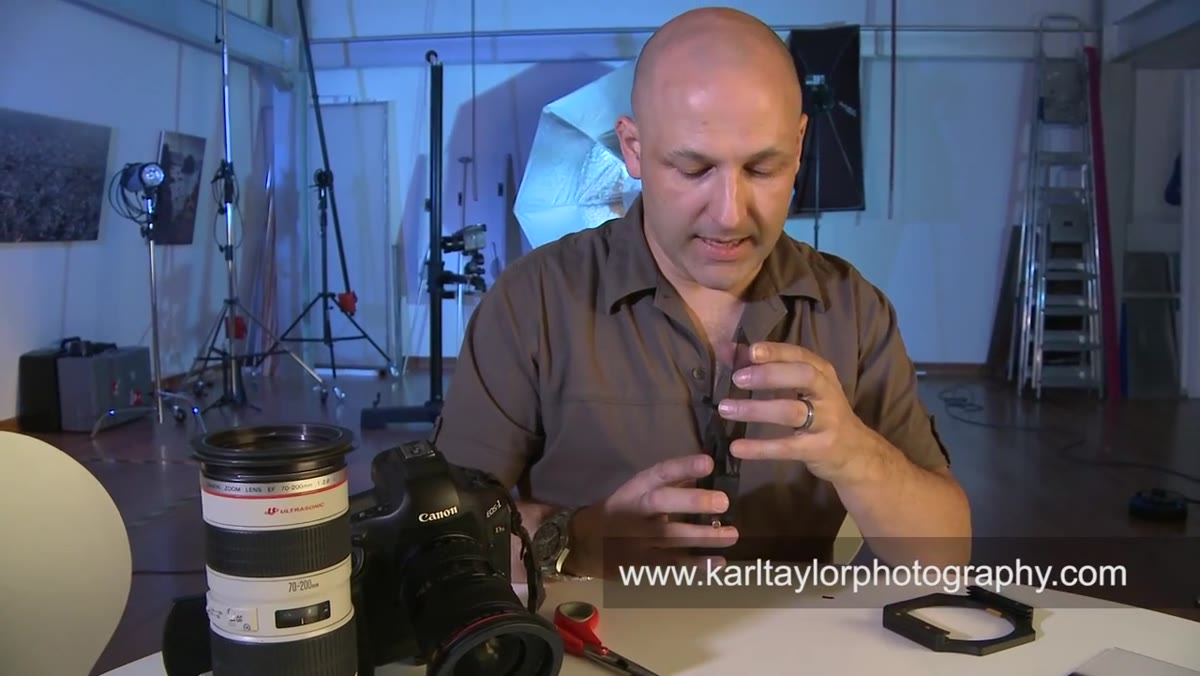
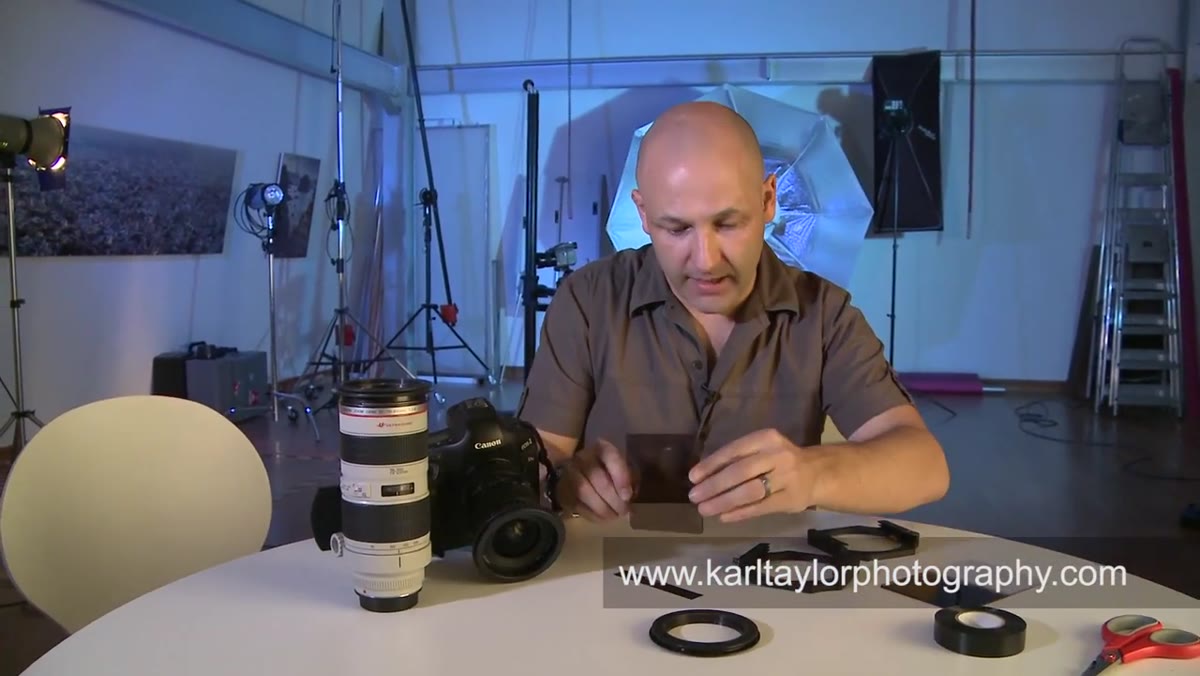 Karl cutting a strip of electrical tape
The fix requires exactly one thing you almost certainly already own: a roll of black electrical tape. Karl cuts a strip long enough to run along one edge of the filter. You don’t need much – you’re not wrapping the whole filter, just adding a thin layer to one side to increase the effective thickness slightly.
Electrical tape is the right choice here because it’s thin, has a bit of grip to it, and doesn’t leave a gummy residue the way some other tapes do. Don’t use masking tape or packing tape. Masking tape compresses too easily and packing tape can get sticky in heat. Electrical tape is designed to stay put under varying conditions, which is exactly what you want when your gear is sitting in the sun on a hillside somewhere.
Step 4: Apply the Tape Along the Filter’s Edge
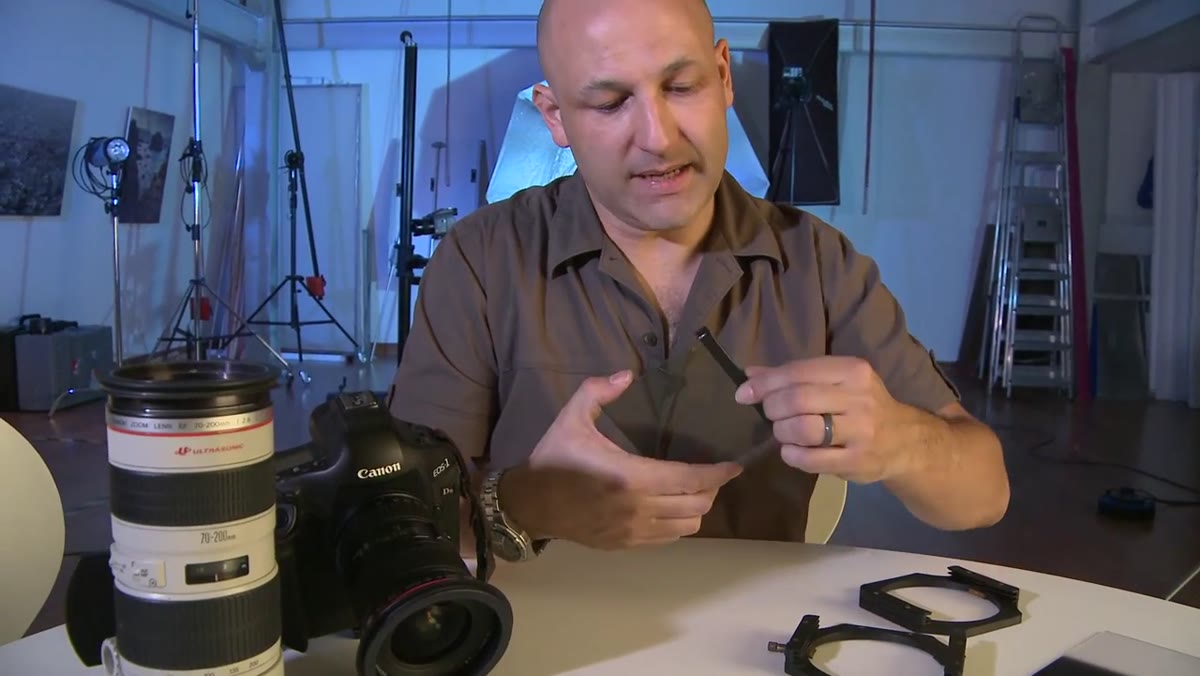 Tape being pressed along the edge of the filter
Run the strip of tape along one of the long edges of the filter – the edge that slides into the holder’s channel. Press it down firmly so there are no air bubbles or lifted sections. The goal is to add just enough thickness that the filter now fits snugly in the slot instead of loosely. You’re not building up a thick pad here. One clean layer of electrical tape is usually enough to close the gap.
Once the tape is applied along the edge, trim off any excess that hangs past the corners of the filter. A clean pair of scissors does the job fine. You want the tape to sit flush with the filter’s dimensions so it doesn’t interfere with how the holder clips or locks, and so it doesn’t catch on anything when you’re sliding the filter in and out.
Step 5: Test the Fit Before You Head Out
 Filter being inserted into holder showing tighter fit
Slide the filter back into the holder and check the resistance. It should feel noticeably firmer than before. Karl demonstrates this directly, and the difference is obvious even through a camera – the filter that was previously wobbling now sits tight. Give it a light shake. If it holds, you’re done. If it still feels loose, you may need a second layer of tape, but start with one and test before adding more.
This test step matters more than it sounds. Don’t just tape it up and assume it’s fine. Actually simulate the conditions it’ll be in – tilt the holder forward, shake it, try rotating it if it’s a polariser. You want to find out it’s still loose while you’re standing in your kitchen, not while you’re hanging off a clifftop at golden hour.
A Note From Someone Who’s Learned to Baby Their Gear
I’ve always been more of a digital workflow person – my camera gear doesn’t see nearly as much abuse as my keyboard shortcuts do. But this tip clicked for me because it’s the same principle as so many good production hacks: you don’t always need a new tool, you just need to understand why the old one stopped working and find the simplest possible fix.
If your filter holder is new, you might not need this yet. But file it away. These holders loosen up with use, and when they do, you’ll want to reach for electrical tape before you reach for your wallet. It’s also worth checking your holder’s condition before any serious trip – worn holders have a way of staying fine until the moment you really can’t afford for something to go wrong.
The single most useful thing Karl Taylor’s tutorial reinforces is that protecting your gear doesn’t have to be complicated or expensive. One strip of tape, applied to the right edge, is the difference between a filter that stays where you put it and one that’s now in three pieces at the bottom of a canyon. If you shoot with a modular filter system and your holder has some mileage on it, do this today.
Watch the full tutorial on YouTube for Karl’s full breakdown of his filter system setup – the context around how he stacks filters and moves between lenses makes the tip land even better.
Comments
Leave a Comment