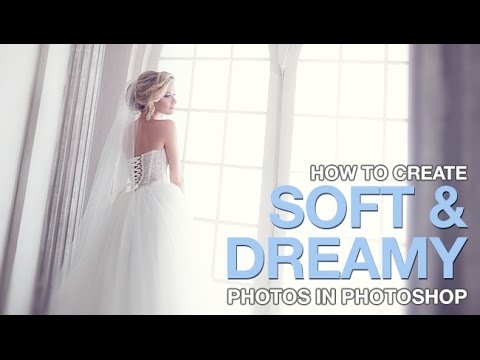
There’s a specific kind of wedding or portrait photo that stops you mid-scroll. Everything looks slightly luminous, the edges fall off gently into softness, and the light seems to glow from inside the image rather than just land on top of it. It’s not an accident, and it’s not magic. It’s a handful of Photoshop moves that, once you know them, take maybe ten minutes to execute. The problem is that most tutorials either gloss over the “why” behind each step or bury the useful stuff in forty minutes of preamble.
That’s why I appreciated how cleanly Aaron Nace at PHLEARN breaks this down. Watch the full tutorial on YouTube if you want to see it in motion first, but if you’re the type who learns better by reading and then doing (same), here’s the full walkthrough with enough detail to follow along without pausing every eight seconds.
The technique works especially well on images with large, bright light sources sitting behind your subject. Backlit portraits, window shots, outdoor golden-hour frames. The combination of iris blur and a duplicated light layer creates the impression that the light itself is soft and voluminous, not just that the photo is blurry. That distinction matters. One looks like a creative choice. The other looks like a mistake.
Step 1: Duplicate the Background Layer
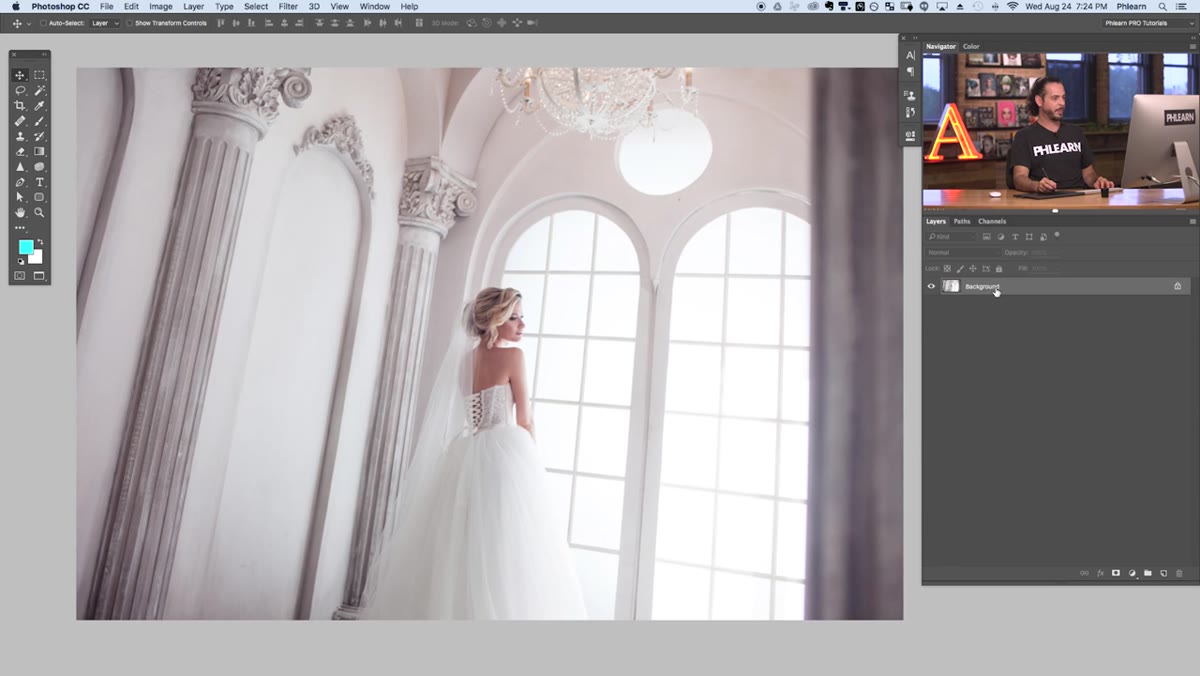 Dragging background layer to new layer icon in Layers panel
Before touching anything else, duplicate your background layer by clicking on it and dragging it down to the new layer icon at the bottom of the Layers panel. This gives you a copy to work destructively on while keeping your original intact below. It’s the kind of basic safeguard that feels unnecessary until the one time it saves you from a very bad afternoon.
Name it something sensible like “Background Copy” if Photoshop doesn’t do it automatically. You’re going to build everything on top of this layer, so keeping the panel tidy from the start saves headaches later.
Step 2: Convert to Smart Object
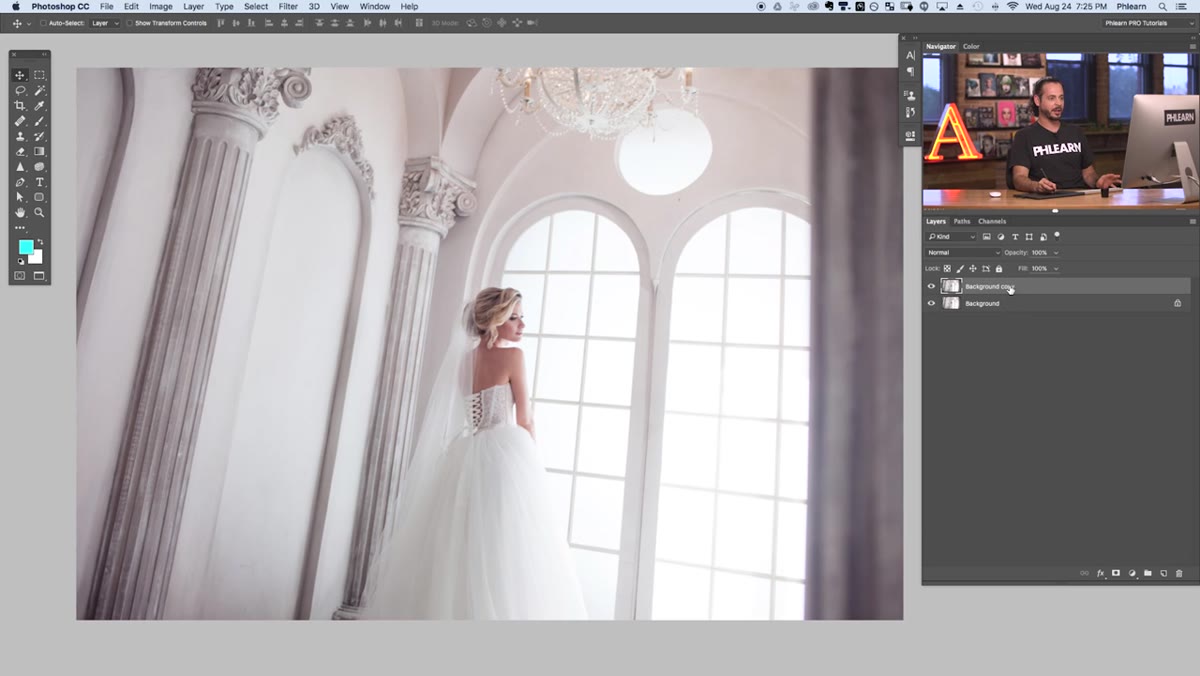 Right-click context menu showing Convert to Smart Object option
Right-click on the duplicated layer and choose “Convert to Smart Object.” You’ll see a small icon appear in the corner of the layer thumbnail confirming the conversion. This step is non-negotiable if you want to stay flexible.
Smart objects let you apply Smart Filters, which means every filter you add from this point forward stays editable. You can go back and tweak the blur amount, the settings, all of it, without undoing and redoing your work. I learned this lesson the hard way early in my freelancing days, and honestly, converting to a smart object before applying any filter should be muscle memory at this point. Do it every time. No exceptions.
Step 3: Apply Iris Blur
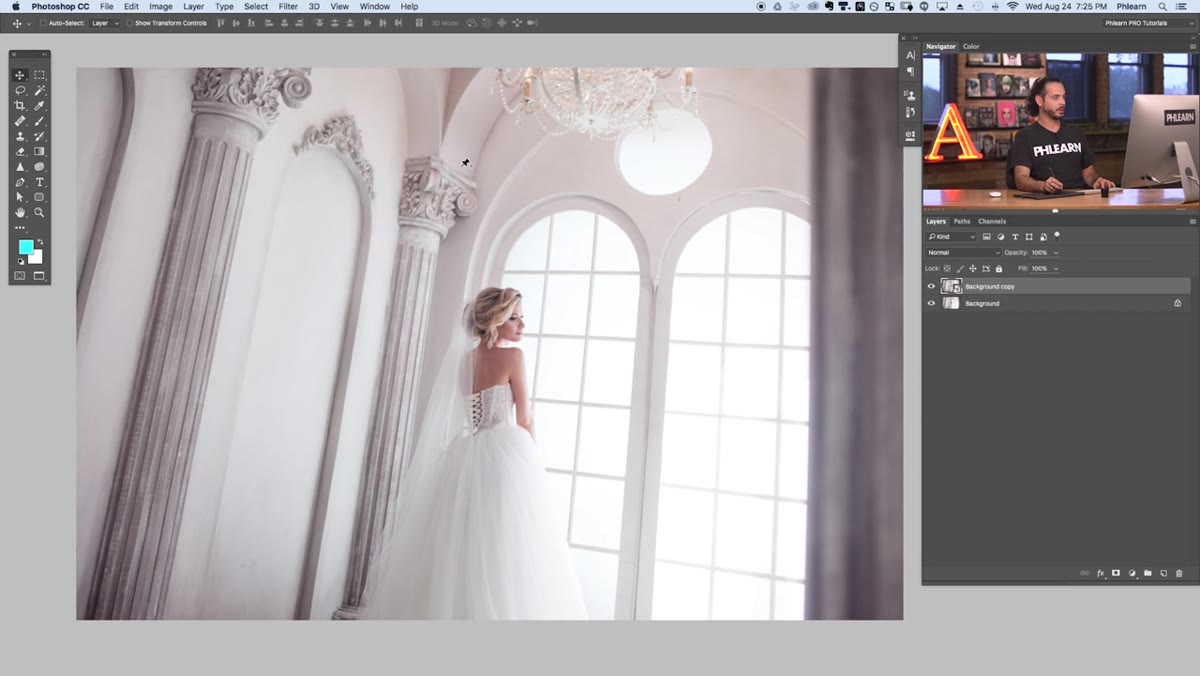 Iris Blur controls open in Blur Gallery with control points visible on photo
With your smart object layer selected, go to Filter, then Blur Gallery, then Iris Blur. This opens a dedicated workspace where you can see the blur control overlay sitting directly on top of your image.
The center point of the blur control is what you want to position over your subject’s face. That’s where sharpness lives. The inner ring controls how quickly the blur transitions, and the outer ring determines where full blur begins. Drag the outer ring toward the edges of the frame so the falloff is gradual rather than abrupt. You can also adjust the roundness of the entire shape by dragging the square handle, which is worth doing if your frame is more rectangular than circular. For the actual blur amount, Aaron lands at around 80 pixels, which is strong enough to create the effect but subtle enough to read as intentional and not broken. Hit the checkmark or press Enter to apply.
Step 4: Duplicate the Light in the Image
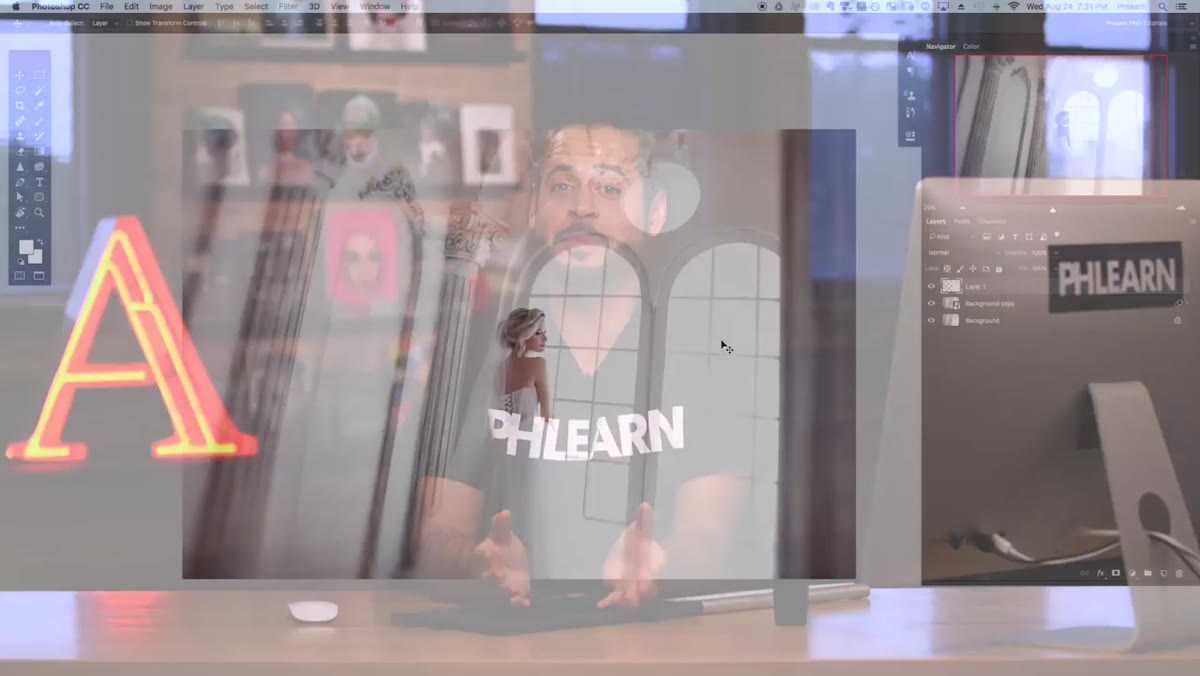 Timeline showing the light duplication step being introduced
This is the step that actually gives you the “dreamy glow” part of the effect, as opposed to just a blurred photo. The idea is to isolate the bright highlights in the image, duplicate them onto their own layer, and then blur that layer so the light appears to bloom outward.
Create another duplicate of your original background layer. Move it above the iris blur layer in the stack. You’ll apply a blur to this one too, but the goal here is different. You’re not blurring the whole image for depth of field. You’re letting the light spill, the way it would in an overexposed film frame or through a soft lens filter. The blend mode change in the next step is where this really clicks.
Step 5: Blend and Refine the Glow Layer
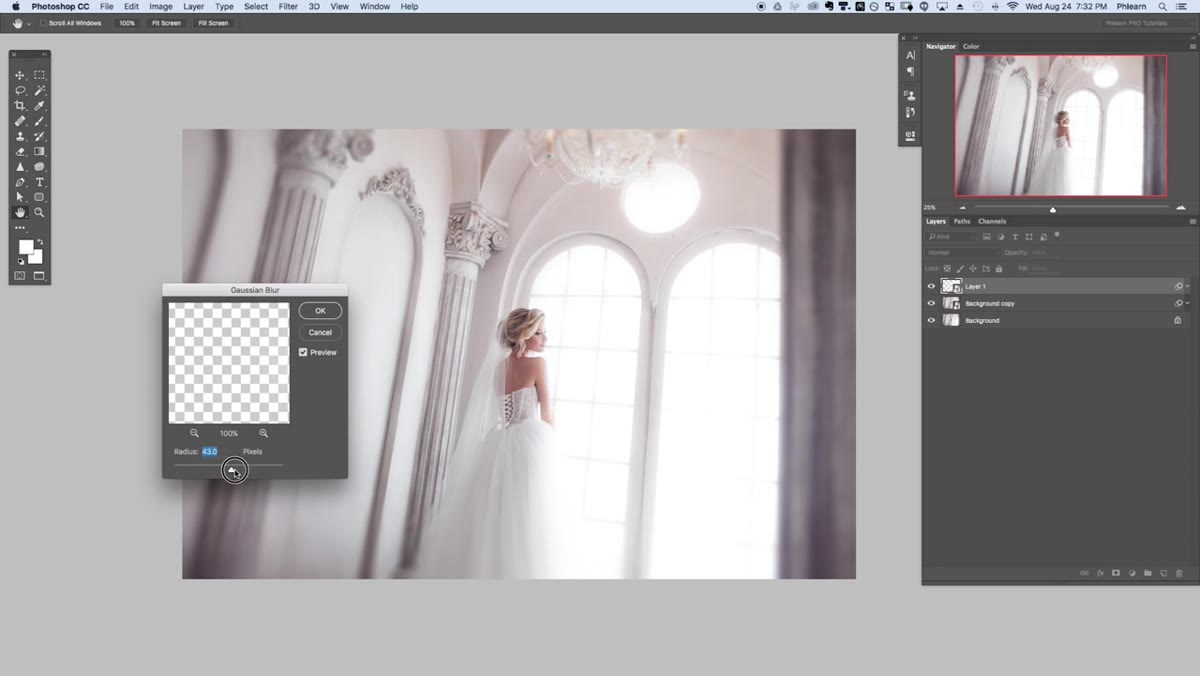 Blurred light layer with blend mode applied creating glow effect
Apply a Gaussian blur to your duplicated light layer. The exact amount depends on your image, but somewhere in the range of 30 to 60 pixels usually creates a convincing glow without losing all the detail. Convert this layer to a smart object first too, for the same reasons as before.
Change the blend mode of this layer to Screen. Screen mode ignores dark pixels and lets only the light values interact with the layers below, which means your blur now adds light to the image rather than just muddying it. Reduce the opacity until the glow looks like it belongs in the photo rather than on top of it. Around 50 to 70 percent is a good starting range, but trust your eye here more than any specific number.
Step 6: Add Color Toning
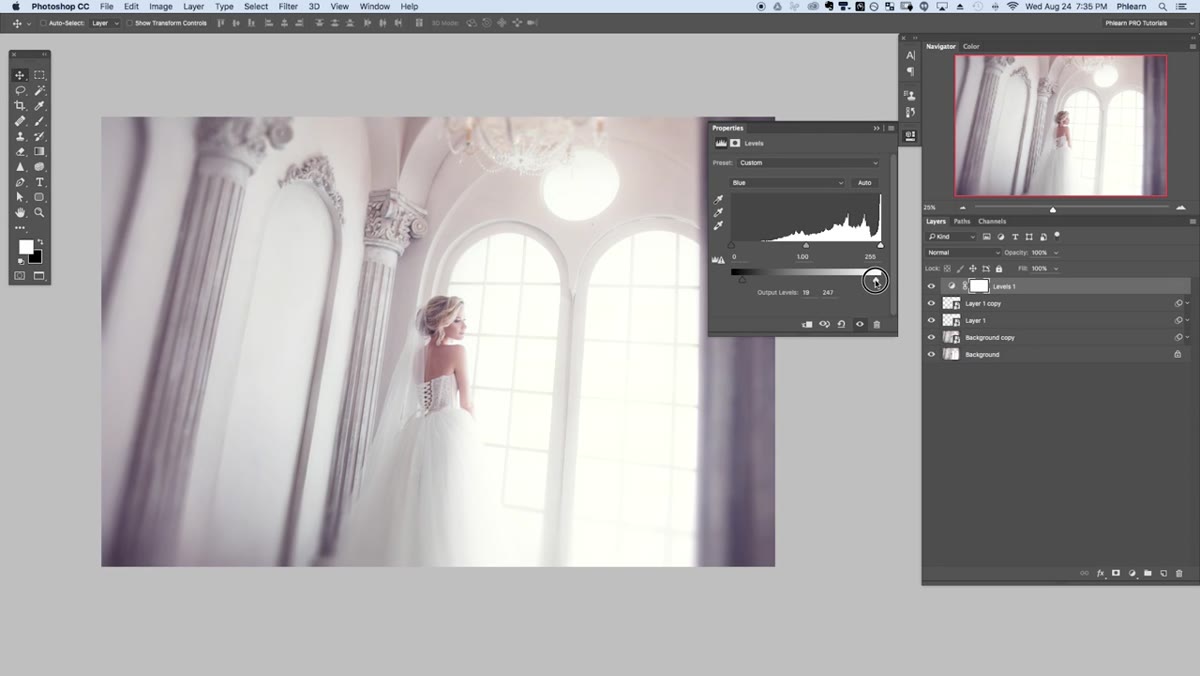 Color toning adjustment being applied to finish the dreamy look
The final piece is a color grade that reinforces the soft, warm, slightly washed-out feeling. Aaron adds a subtle color tone at this stage to unify everything. A Curves adjustment layer works well here. Lift the shadows slightly by pulling the bottom-left anchor point up, which reduces contrast and creates a matte look. Add a touch of warmth by pushing the red channel curve very slightly up and the blue channel very slightly down.
Keep it light. The earlier steps already did the heavy lifting. The color grade is about cohesion, not transformation.
One Thing I’d Add From My Own Experience
The iris blur step has a control most people skip: the ellipse rotation. If your subject isn’t centered or your light source is off to one side, rotating the ellipse so it follows the natural lines of the composition makes the blur feel much less mechanical. It’s one extra drag of a handle, but it separates a result that looks tuned to the photo from one that looks like a preset got dropped on top of it.
Also, if the glow layer is reading as too intense on midtones, try masking it. Paint black over any areas where the glow is washing out detail you actually want to keep, like the subject’s face. The mask gives you precision without losing the effect elsewhere.
The single most important thing this technique teaches is that the dreamy look isn’t one move. It’s the combination of edge blur, light bloom, and color that adds up to something that reads as intentional and polished. Nail all three, and the effect lands. Skip one, and it usually looks like something went wrong instead of right.
Watch the full tutorial on YouTube to see Aaron walk through every adjustment in real time. Worth the watch even if you follow this guide first.
Comments (4)
Never thought of approaching it this way. Really creative.
My workflow just got 10x faster. Not even kidding.
Would love to see a follow-up going deeper into this topic.
Been doing this wrong for years apparently. Thanks for the wake-up call.
Leave a Comment