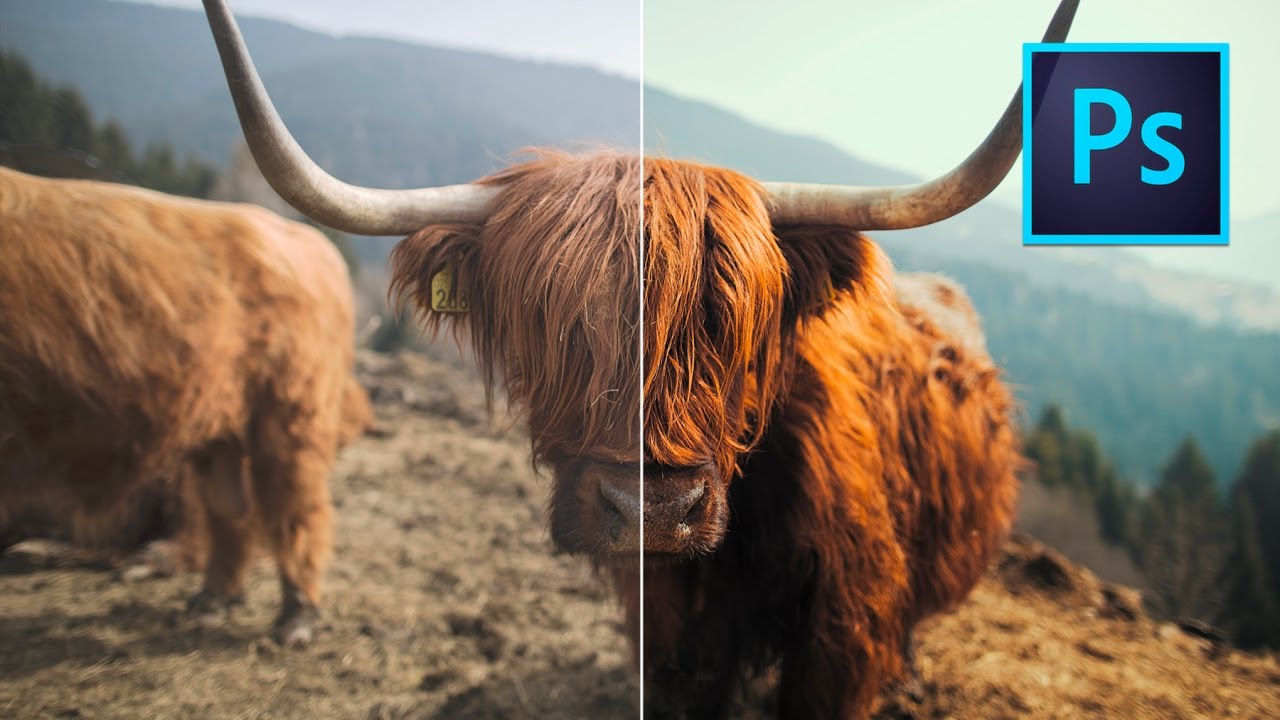
Here’s a problem I run into constantly: a client wants their photos to have that moody, film-like quality you see in high-end editorial work, and they want it yesterday. I can spend an hour manually pulling curves, tweaking hue/saturation layers, and nudging color balance until my eyes cross — or I can use a LUT and be done in about 90 seconds. For a long time I thought LUTs were strictly a video editor’s tool. Turns out I was wrong, and a tutorial from Peter McKinnon set me straight on that.
In this Peter McKinnon tutorial, he walks through how to take the same LUT files you’d use in Premiere Pro or DaVinci Resolve and apply them directly to photos inside Photoshop. The workflow is surprisingly clean. If you’ve ever bought a LUT pack for your video work and assumed it had no place in your photo editing, this one’s going to save you some time.
The short version: Photoshop has a native Color Lookup adjustment layer that reads standard .cube LUT files. Once the files are dropped into the right folder, they show up in that adjustment panel automatically. Here’s how to do it from scratch.
Step 1: Download and Locate Your LUT Files
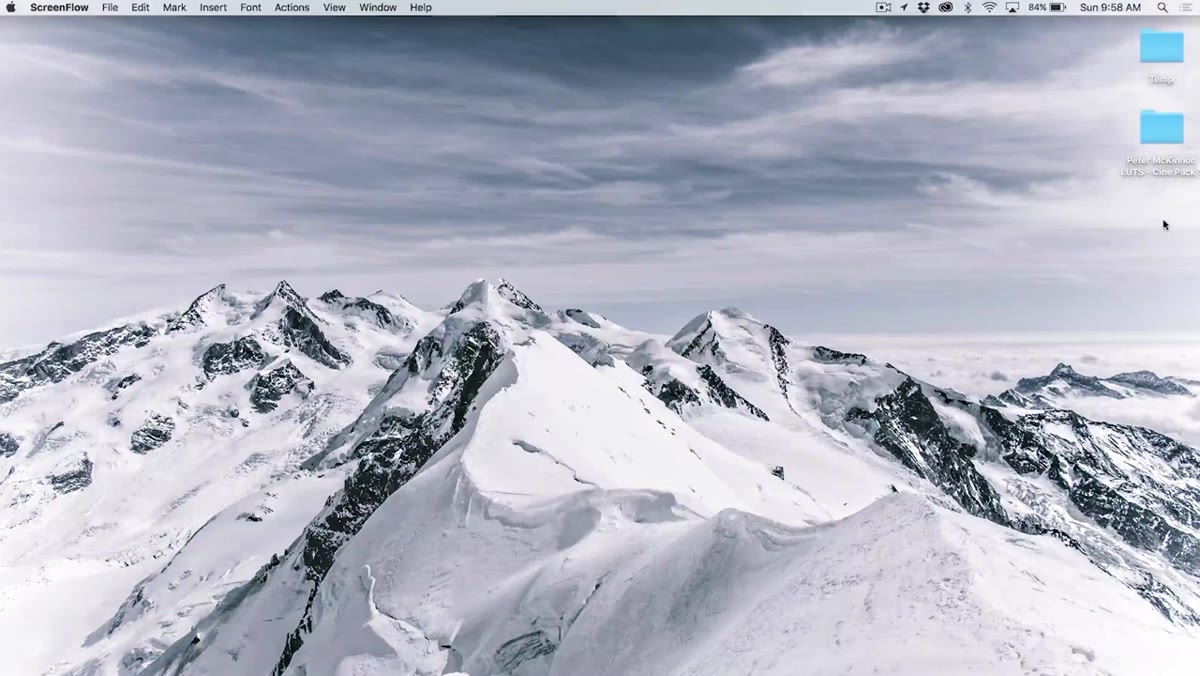 File explorer showing a folder of .cube LUT files
Before you open Photoshop, get your LUT pack downloaded and find where the files live on your machine. LUTs in this format will be .cube files, and they’ll probably all be sitting together in one folder. Keep that folder open because you’re about to move things around. If you don’t have a LUT pack yet, there are plenty of free options floating around online, and Peter’s own pack (linked in the video description) is what he demos here.
Step 2: Install the LUTs Into Photoshop’s Presets Folder
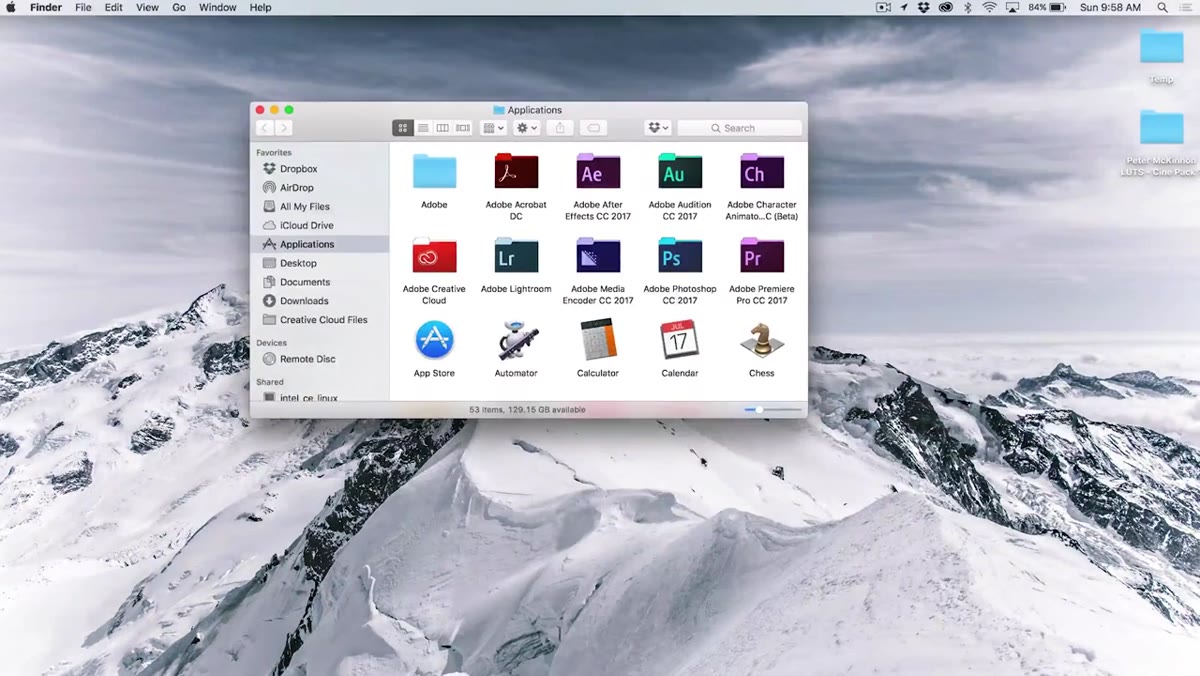 Applications folder open, navigating to Photoshop’s Presets directory
This is the step most people skip because they don’t know it exists. On a Mac, press Shift + Command + A to open your Applications folder. Find your Photoshop installation, open it, then navigate to Presets, and then into the folder called 3D LUTs. That’s your destination.
Go back to your downloaded .cube files, select all of them with Command + A, hold Option (Alt on Windows) to copy rather than move, and drag them into that 3D LUTs folder. Right-click inside the folder and arrange by name to keep things tidy. That’s the installation done. Photoshop will now see these files every time you use the Color Lookup adjustment.
Step 3: Open Your Photo in Photoshop
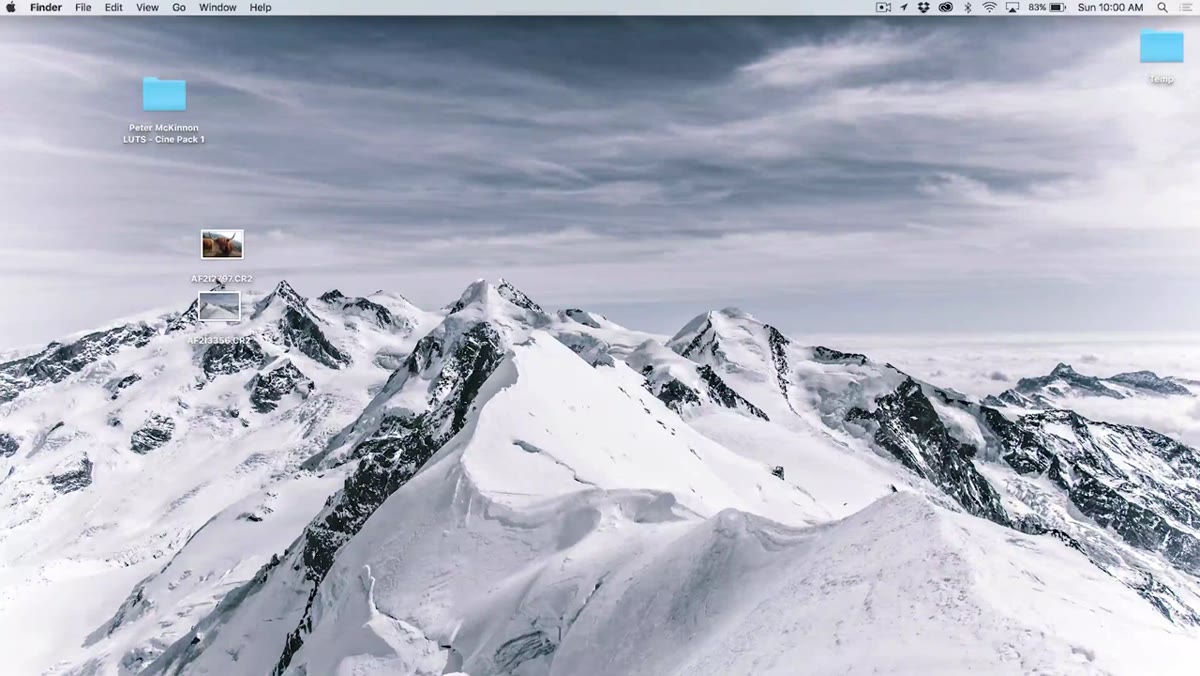 Raw photo of a yak open in Camera Raw dialog
Open the image you want to work with. If it’s a raw file, it’ll land in Camera Raw first. You can do your basic exposure adjustments here — highlights, shadows, whites, blacks, clarity — before the file even opens in Photoshop proper. For this tutorial, Peter keeps it simple and opens the image mostly as-is, since the LUT is doing the heavy lifting on the look.
The important thing is that your exposure is reasonably balanced before you apply the LUT. A LUT applied to a blown-out or massively underexposed image is going to look rough. Get the basics right first, then let the LUT define the mood.
Step 4: Open the Adjustments Panel
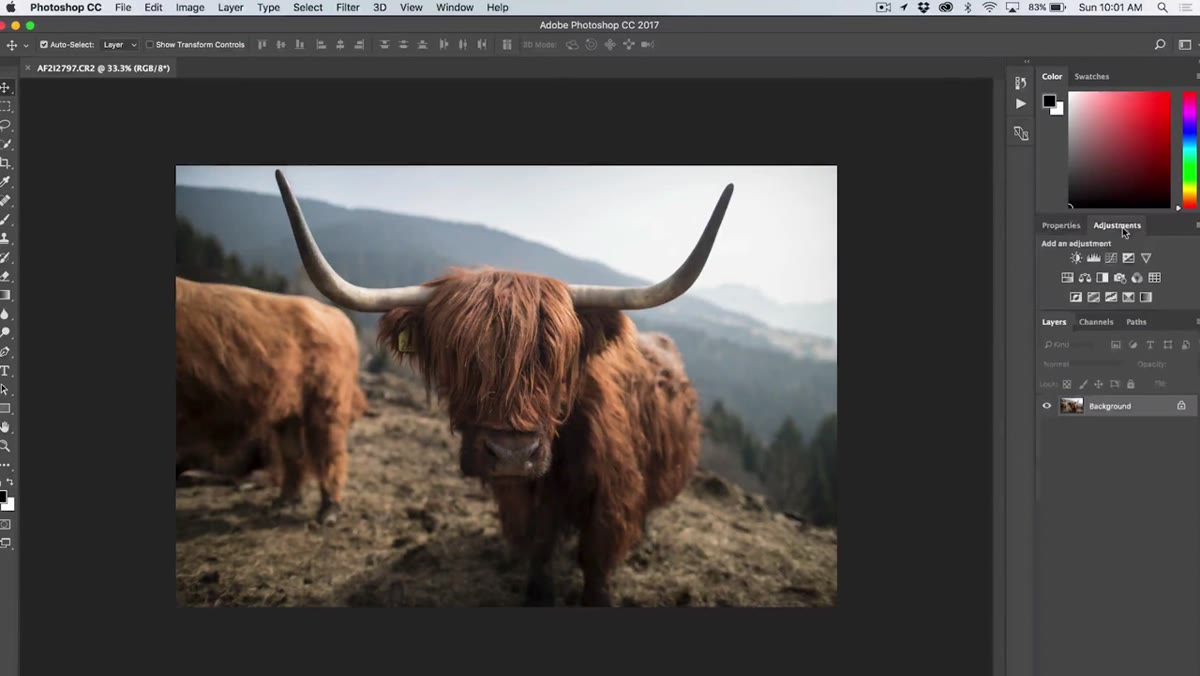 Photoshop Adjustments panel visible on the right side
Once you’re in Photoshop, look at your right-side panels for the Adjustments tab. If it’s not there, go to Window in the top menu bar and click Adjustments to make it appear. This panel is where all your non-destructive adjustment layers live, and it’s where you’ll find the tool that makes this whole technique work.
Step 5: Add a Color Lookup Adjustment Layer
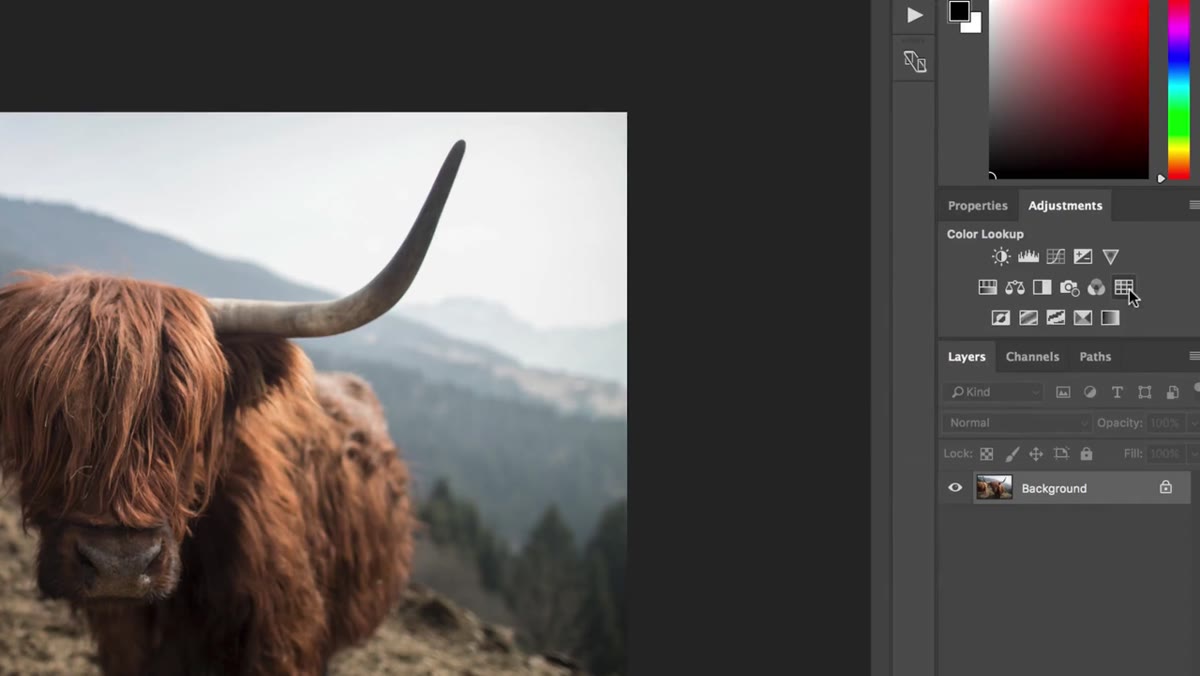 Color Lookup icon highlighted in the Adjustments panel
In the Adjustments panel, look for the icon that looks like a small grid or table. Hover over it and it’ll say Color Lookup. Click it. A properties panel will open with a dropdown that says “3D LUT File” and a prompt to load a 3D LUT. Click that dropdown.
Because you already dropped your .cube files into the Photoshop presets folder in Step 2, they’ll show up right in that list. No browsing required. Just pick one. The LUT applies instantly as a new adjustment layer above your image, which means it’s completely non-destructive — you can toggle it on and off, change opacity, or swap it out at any point.
Step 6: Choose Your LUT and Dial In the Intensity
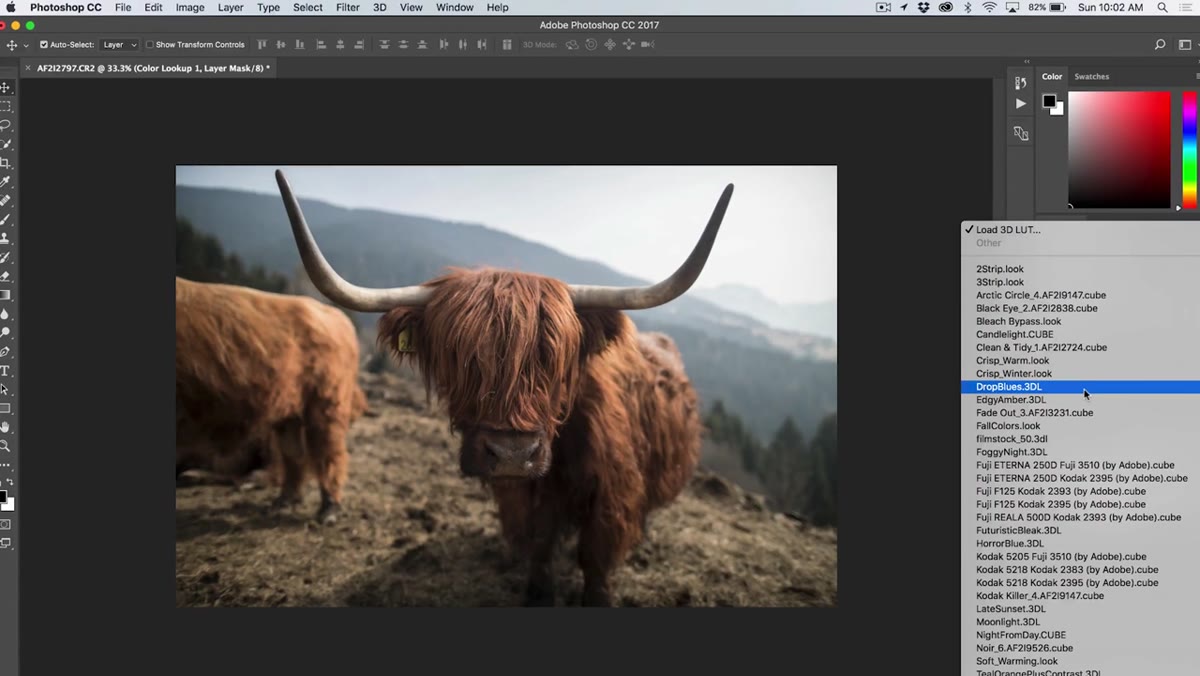 LUT dropdown showing installed presets in alphabetical order
Scroll through the list and start clicking through the options. Each one is a different color grade, and they preview live on your image as you select them. Some will be too heavy, some will feel exactly right. Once you land on one you like, the opacity slider for that adjustment layer is your best friend. A LUT applied at 100% can feel theatrical. Pull it back to 60-75% and it starts to feel like a grade rather than a filter.
You can also stack multiple Color Lookup layers if you want to blend the character of two different LUTs together. Apply one at 50%, add a second at 30%, and you’ve got something that doesn’t look like any off-the-shelf preset.
My Take: Treat This as a Starting Point, Not a Finish Line
I’ve been using this method for quick client turnarounds, and one thing I’ve learned is that LUTs rarely work at full strength without some photo-specific adjustment underneath them. I almost always add a Curves layer below the LUT to handle contrast, and sometimes a Hue/Saturation layer to pull back any colors the LUT pushes too aggressively. LUTs are calibrated for log-encoded video footage in a lot of cases, so applying them to a standard JPEG or even a raw photo sometimes means certain tones go a little weird.
The fix is simple: adjust the base image so the LUT behaves, or reduce the LUT’s opacity and compensate with manual adjustments. Either way, you’re still saving enormous amounts of time compared to building a cinematic grade from zero. The keyboard shortcut to add a new adjustment layer quickly is something I’ve mapped to my own setup, because if I have to click through menus every time, I will absolutely get distracted and end up on Reddit.
The biggest takeaway here: your video LUT pack is also a photo editing tool. You don’t need to buy separate products for each workflow. Install them once in the right folder, and Photoshop gives you access to them through the Color Lookup adjustment layer any time you need a fast, consistent cinematic grade.
Watch the full tutorial on YouTube to see Peter walk through the whole process with his own photos and LUT pack.
Comments (1)
Would love to see a follow-up going deeper into this topic.
Leave a Comment