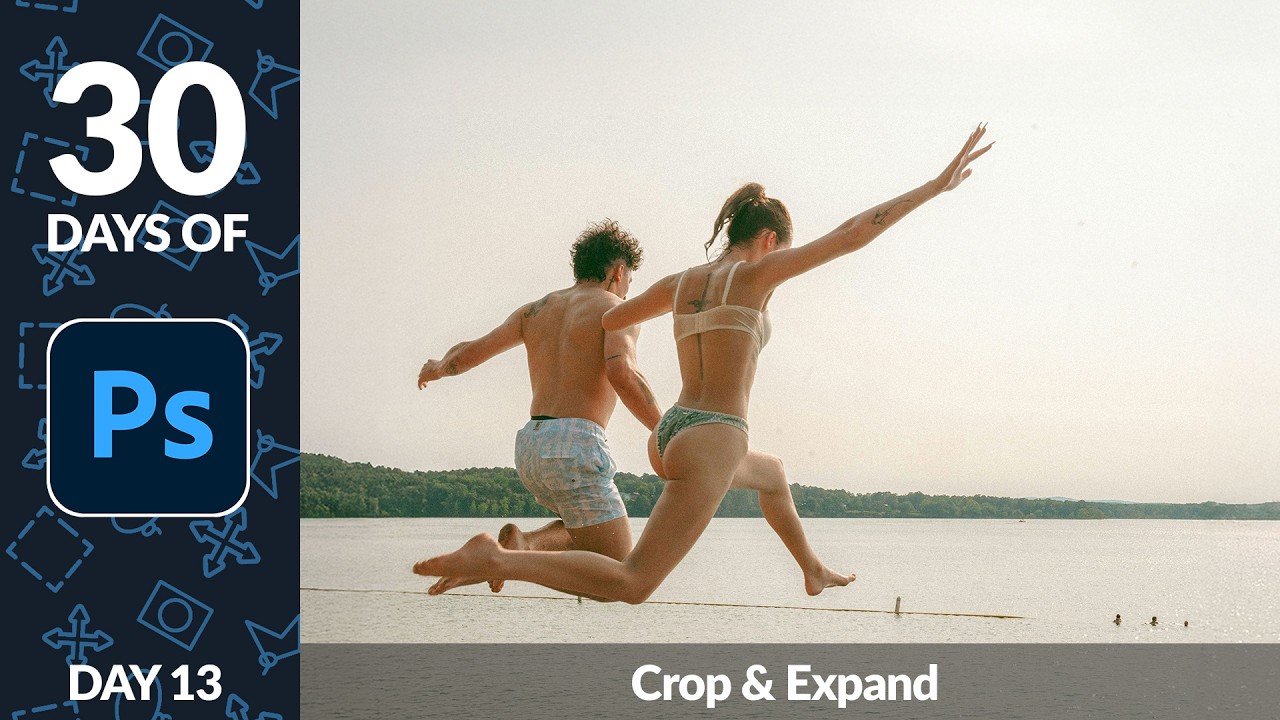
Bad composition has cost me real money. Not in some abstract “your brand doesn’t feel cohesive” way, but in the very literal “the client wants more headroom in this shot and you already delivered the final files” way. I’ve been there, staring at an image where all the visual weight is crammed into one corner, wondering if I can just… nudge the canvas and pray nobody notices. Spoiler: they notice.
That’s why this tutorial from Aaron Nace over at PHLEARN landed for me. It’s part of his 30 Days of Photoshop series, and Day 13 is dedicated entirely to cropping, straightening, and using AI to expand images beyond their original edges. Watch the full tutorial on YouTube and then come back here, because I’m going to walk through every step with the kind of detail that actually helps you do it yourself.
The photo Aaron works with is a landscape with two problems most photographers run into constantly: a crooked horizon and a composition where all the interesting stuff is jammed into one corner with dead space everywhere else. Both problems are fixable, and knowing how to fix them efficiently is the difference between a 10-minute edit and a 45-minute spiral.
Step 1: Grab the Crop Tool and Understand Your Ratio Options
 Options bar showing ratio presets in the Crop Tool
Hit C to activate the Crop Tool. That shortcut alone will save you a stupid amount of time over a career. Once you’re in it, look up at the Options bar at the top of the screen. You’ll see a dropdown for aspect ratio. You can lock to a square (1:1), a classic print size like 8x10, or leave it completely freeform. Aaron demonstrates selecting a 1:1 square crop to show how it constrains the handles, then clears it to go back to a freeform crop. The key thing to know: once you lock a ratio, every drag on the crop handles respects that ratio. To break out of it, hit the Clear button in the Options bar. Obvious in hindsight, the kind of thing that isn’t obvious at all the first time you’re confused about why you can’t make your crop taller.
Step 2: Adjust the Crop Shield Opacity to See What You’re Doing
 Gear icon menu open showing Crop Shield opacity slider
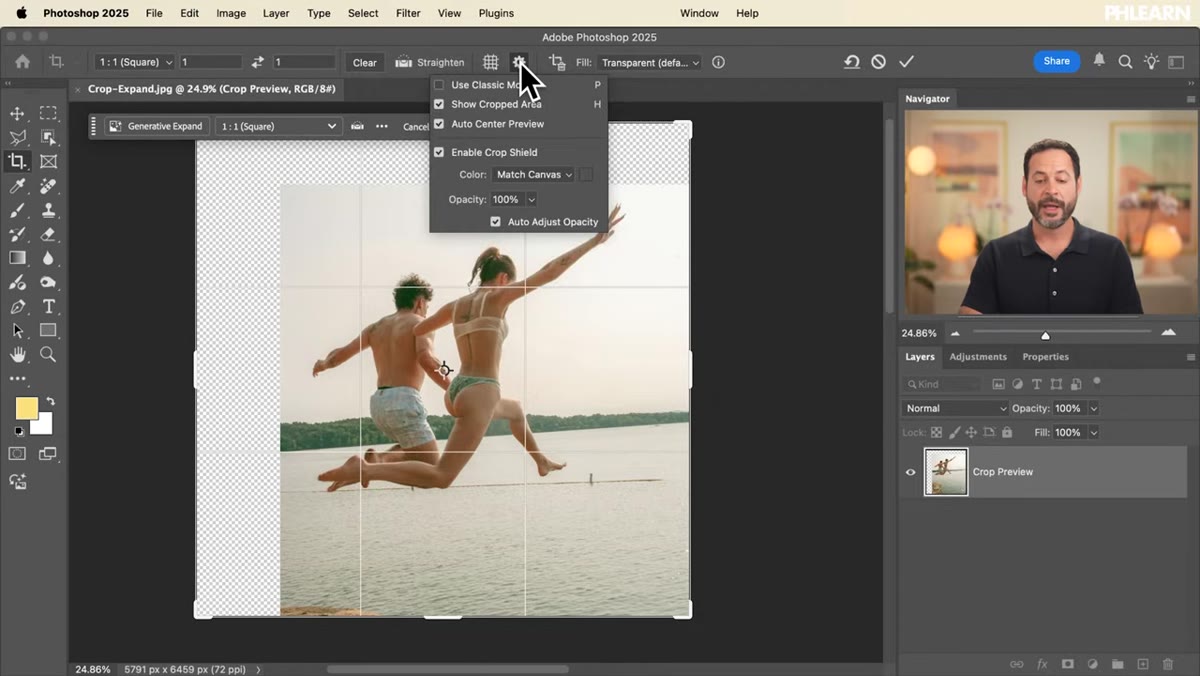
Click the little gear icon in the Options bar. You’ll find a setting called Enable Crop Shield, with an opacity slider underneath it. The crop shield is the darkened overlay that covers the area outside your crop boundary. At 100% opacity, it goes completely dark and you’re only seeing your final crop. Lower it and you can see the surrounding image through the shade. Aaron keeps it somewhere in the middle by default. Personally, I tend to crank it to 100% when I’m finalizing a crop because seeing the exact output helps me commit. Lower it when you’re still exploring. It’s a preference setting, not a right-or-wrong situation, but knowing it exists means you’re not squinting at a half-visible image wondering why Photoshop looks weird today.
Step 3: Use Composition Overlays to Guide Your Crop
 Rule of Thirds grid overlaid on the landscape photo
While the Crop Tool is active, you’ll see an overlay grid on your image. By default this is the Rule of Thirds grid, which divides your frame into a 3x3 section with two horizontal and two vertical lines. The theory: the most compelling subjects sit near the intersections of those lines, not dead-center. Aaron points out that the horizon in the photo should ideally sit on one of the horizontal thirds lines, either the upper third or the lower third. You can cycle through different overlay types (Golden Ratio, Diagonal, Grid, etc.) by pressing O while the Crop Tool is active. These aren’t magic, but they give your eye a reference point when something feels off about a composition and you can’t immediately figure out why.
Step 4: Straighten a Tilted Horizon Using the Straighten Tool
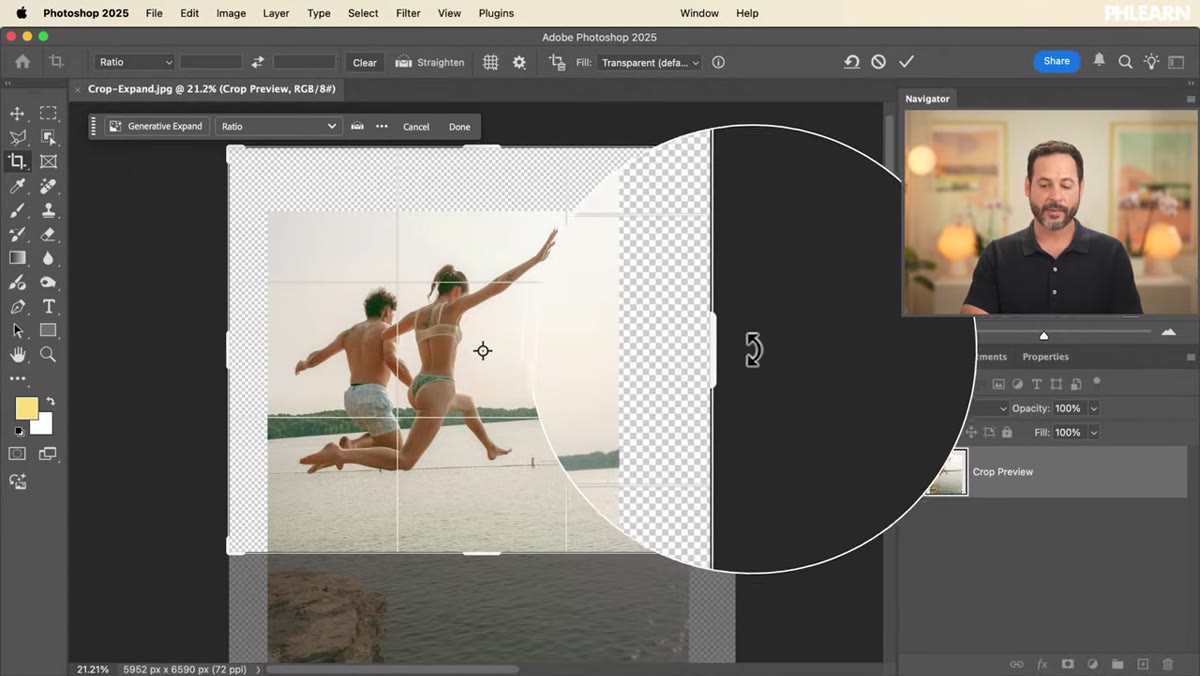 Straighten button in Options bar, horizon visibly tilted in photo
This is the one that gets people. The image Aaron is working with has a noticeably crooked horizon, and eyeballing it with the crop handles is a losing game. Instead, look in the Options bar for the Straighten button (it looks like a small level icon). Click it and your cursor changes. Now draw a line along whatever should be perfectly horizontal in your image, whether that’s a horizon, a rooftop, or a countertop. Photoshop measures the angle of the line you drew and rotates the canvas to correct it automatically. It also adjusts the crop boundary so you’re not left with transparent corners after the rotation. This takes about four seconds and produces a more accurate result than manually rotating by eye. If you’ve been dragging that rotation handle and squinting at the horizon trying to “feel” when it looks right, stop doing that.
Step 5: Expand the Canvas with AI Generative Fill
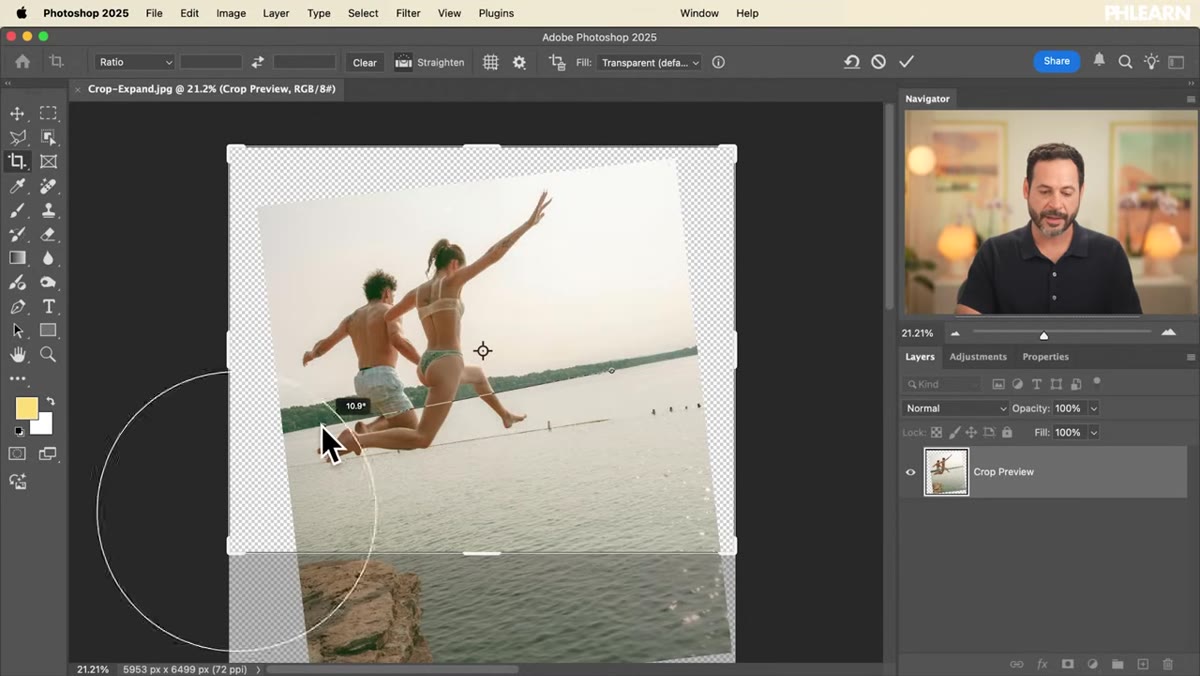 Crop handles dragged outside image bounds, empty canvas area visible
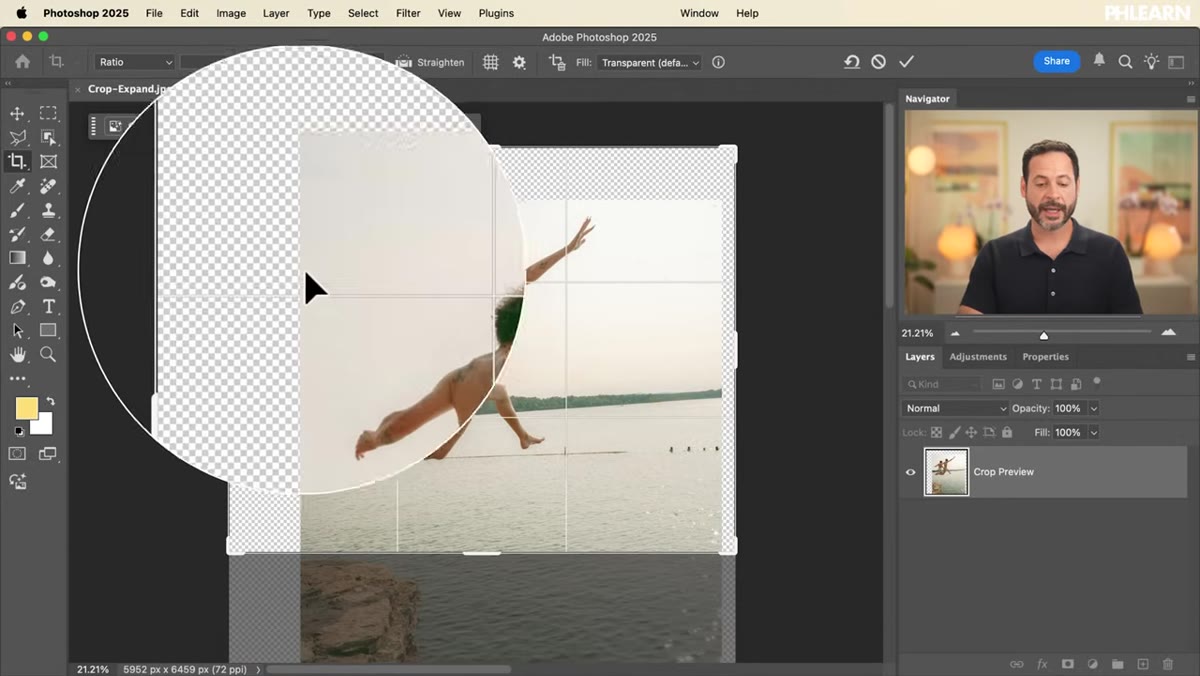
Here’s where it gets genuinely useful. Once you’re satisfied with your composition, pull the crop handles outside the original image boundary. You’ll see a checkerboard pattern in the expanded area, which just means “there’s nothing here yet.” Accept the crop. Now you have a canvas that’s larger than your photo. Select the empty area with the Rectangular Marquee Tool, go to Edit > Generative Fill, and either enter a prompt or leave the prompt blank and let Photoshop sample from the surrounding image. Blank prompt usually works well for natural scenes like skies, landscapes, and outdoor backgrounds because Photoshop reads the context and fills accordingly. Aaron uses this to add breathing room above and to the left of his subjects, which dramatically improves the overall balance of the shot without anyone being able to tell the image was ever smaller.
What I’d Add From My Own Experience
The Generative Fill expansion trick works better than it has any right to, but it does have a failure mode. If your image has strong geometric lines near the edges, like buildings, fences, or straight horizon lines, the AI sometimes continues them at a slightly wrong angle or introduces a visible seam. My fix is to make my selection overlap a few pixels into the actual image rather than starting exactly at the edge. That overlap gives the AI more real image data to match against and the seam almost always disappears. Also worth noting: Generative Fill gives you multiple variations in the Properties panel. Always check all three before settling. The first result isn’t always the best one, and I’ve gotten burned more than once by accepting the default and missing a noticeably better option two slots over.
The single biggest thing this tutorial reinforced for me is that cropping is not just about cutting, it’s an active compositional decision you can make at any point in post, and Photoshop’s tools are sophisticated enough to help you improve a shot rather than just trim it. Whether you’re fixing a tilted horizon in 10 seconds with the Straighten tool or adding sky that wasn’t there with Generative Fill, these are legitimate creative moves, not shortcuts.
Watch the full tutorial on YouTube and see Aaron walk through the whole thing on an actual photo. His pacing is good and watching the transformation in real time makes some of these steps click faster than reading about them.
Comments
Leave a Comment