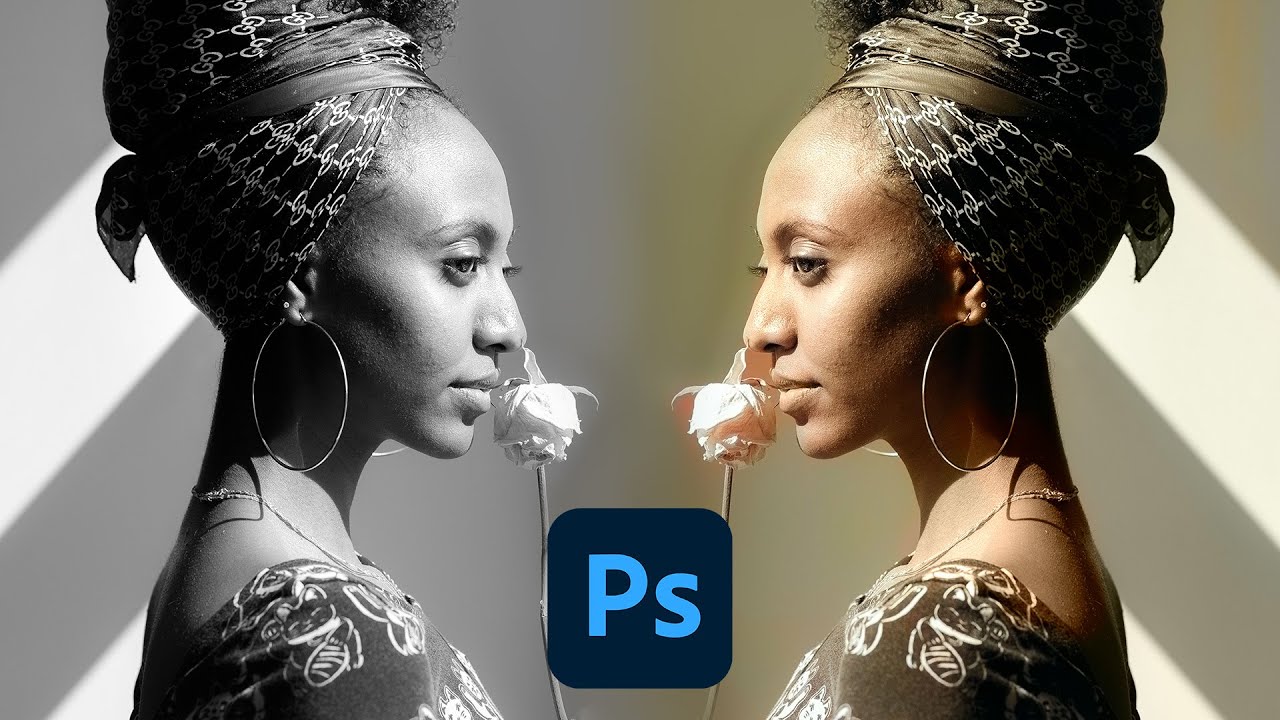
There’s a specific kind of photo that lands in my inbox more often than I’d like: someone’s grandparent at 25, shot on black-and-white film, slightly underexposed, and the client wants it to “look normal.” Colorizing by hand is doable, but it’s one of those jobs where the time investment versus the result is a brutal negotiation. So when Adobe quietly dropped a one-click colorization tool inside Photoshop’s Neural Filters, I paid attention.
In this Aaron Nace (PHLEARN) tutorial, Watch the full tutorial on YouTube, Aaron walks through Photoshop’s new Colorize Neural Filter on two different images, one that’s already black and white and one that he converts first as a test. The idea is to see how well the AI can reverse-engineer color from luminance information alone. The results are genuinely interesting, and the limitations are equally instructive. Here’s a step-by-step breakdown of everything he covers.
Step 1: Make Sure You’re on Photoshop 2021 (or Later)
 Neural Filters menu loading in Photoshop 2021
The Colorize filter lives inside Neural Filters, and Neural Filters require Photoshop 2021 minimum. If you’re a Creative Cloud subscriber, just open the app, check for updates, and install the latest version. There’s no extra purchase involved. Once you’re updated, you’re in.
Worth flagging before you dig in: this tool sends your image to Adobe’s cloud for processing. That means two things. First, you need an active internet connection, no Wi-Fi means no filter. Second, if you’re working with sensitive client images, factor that in before you hit the button.
Step 2: Open Neural Filters and Enable Colorize
 Filter menu open, Neural Filters option highlighted
With your black-and-white image open, go to Filter in the top menu bar and select Neural Filters. A panel will load, and you’ll see it takes a moment because the image is being sent to Adobe’s servers for initial processing. Once the panel is open, look for the Beta Filters section. Colorize will be listed there, toggled off by default.
Click the toggle to turn Colorize on. Photoshop will process the image and apply an automatic colorization. The first result appears on the left side of your preview, and here’s the thing: it’s actually pretty good for one click. Aaron’s reaction in the tutorial mirrors mine when I tested it. It won’t fool a professional eye, but it’s a solid starting point that would have taken me 45 minutes to reach manually.
Step 3: Understand What the Sliders Actually Do
 Colorize panel showing hue and saturation sliders
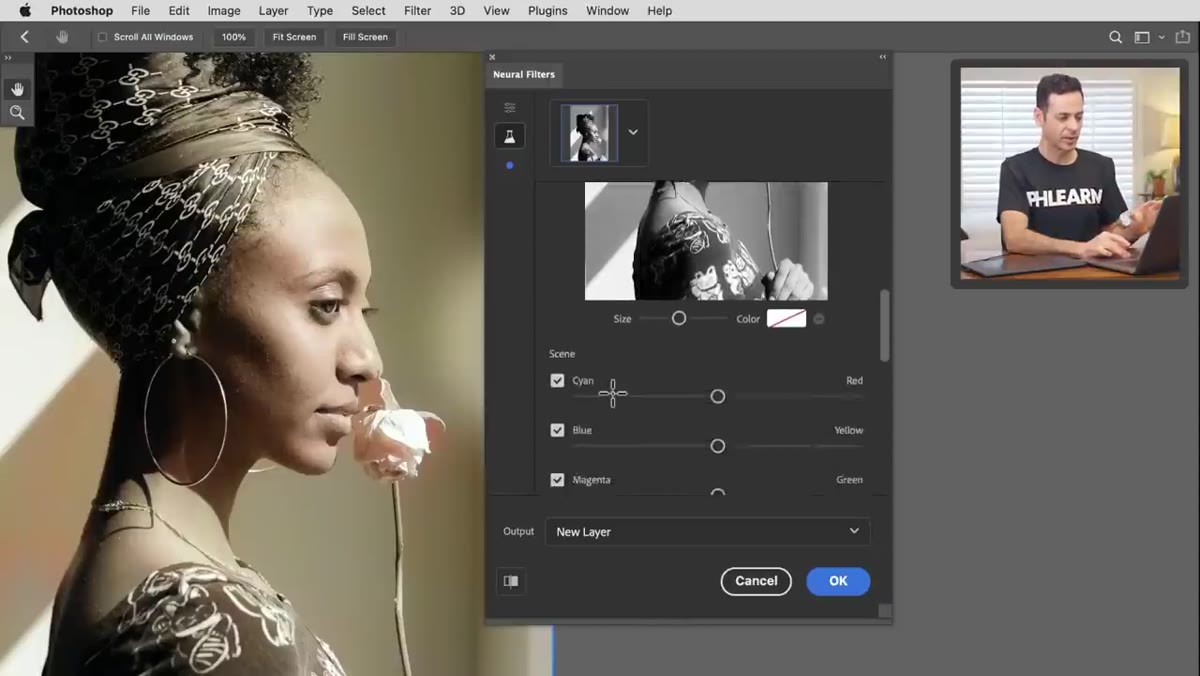
The Colorize panel includes a set of sliders at the bottom. These control the overall color temperature and tint of the entire image, think warmer or cooler tones globally applied. You can nudge the image toward red or pull it back, adjust the general warmth of the scene. Simple enough.
Here’s Aaron’s honest take, which I agree with completely: these global sliders are not particularly exciting. If you want to correct overall color temperature, a Curves adjustment layer gets you there faster and with more control. The sliders aren’t useless, but they’re not where the interesting work happens. Keep reading.
Step 4: Use the Focal Color Points to Target Specific Areas
 Focal color point being placed on rose in the image
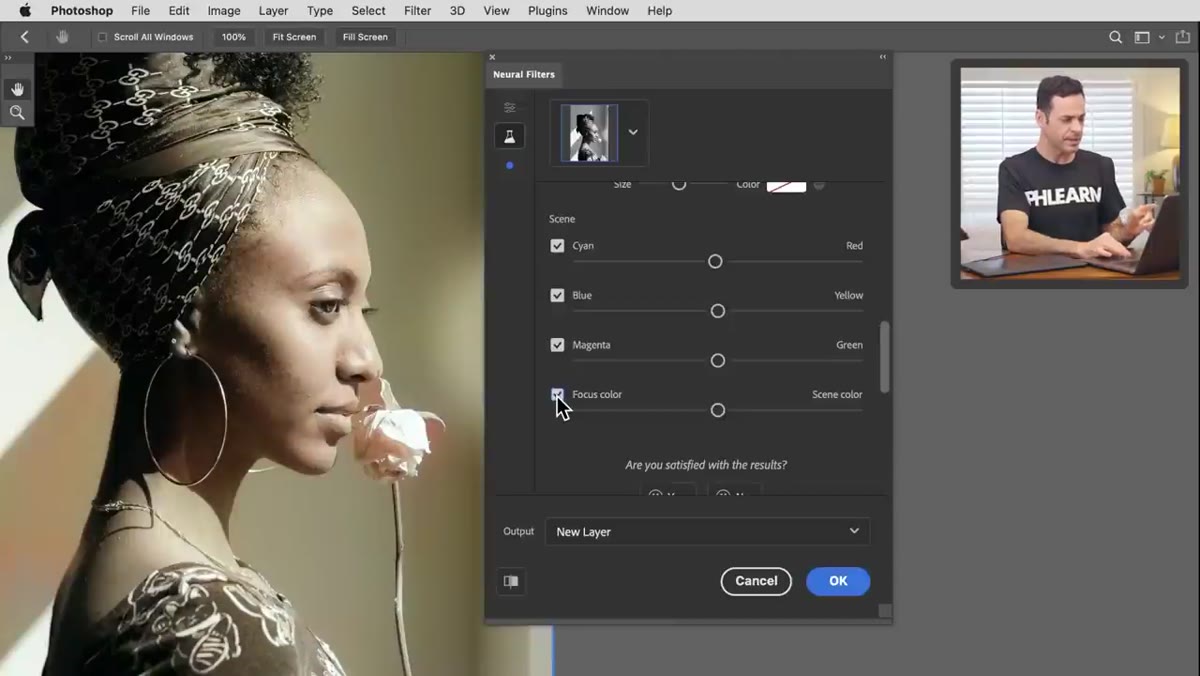
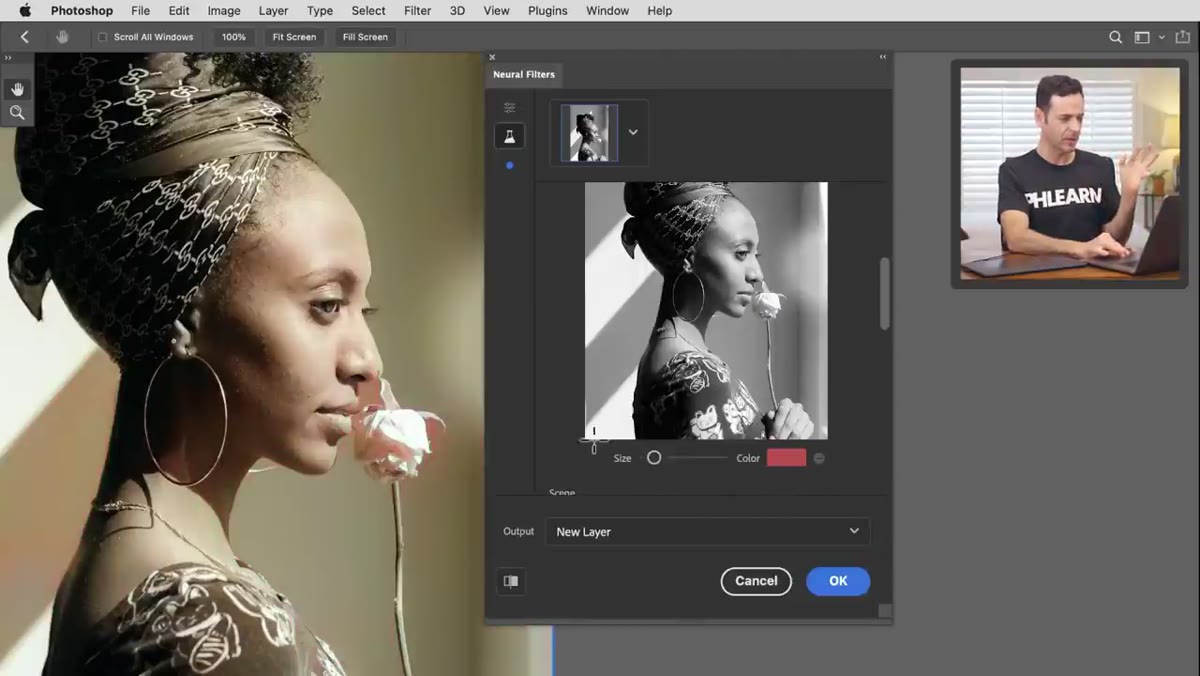
This is where the filter gets genuinely clever, and also where it starts showing its rough edges. Below the sliders, you’ll find a Focal Color option. This lets you assign a specific color to a specific point in your image, and the AI will attempt to colorize that region and anything it considers visually similar.
To use it, click the color swatch, pick your target color from the color picker, hit OK, and then click directly on the area of the image you want to affect. Aaron demonstrates this by trying to make a rose red. He clicks on the flower, the AI processes it, and the result is… close. The rose picks up the red, but so does some of the background. The object recognition isn’t surgical yet. You can adjust the size of the affected area using the radius control, and repositioning the focal point slightly changes what gets recolored. It takes some patience to dial in.
Step 5: Test Against a Known Color Image
 Original color image before black-and-white conversion
One of the smarter moves Aaron makes in this tutorial is running the filter on an image he converts to black and white himself. That way he has a reference, he knows exactly what the colors should be, and he can judge the AI’s accuracy against ground truth.
To replicate this test, take any color photo, duplicate it, desaturate the duplicate completely (Image - Adjustments - Desaturate, or a Black and White adjustment layer), and then run Colorize on it. Compare the result to your original. This is a genuinely useful workflow for calibrating your expectations before you apply the filter to an archival image where you have no reference at all.
Step 6: Output the Result Correctly
 Output options dropdown at bottom of Neural Filters panel
When you’re happy with the colorization, check the output options at the bottom of the Neural Filters panel before you click OK. You can output the result as a new layer, a smart filter, a new document, or merge it directly into your current layer. New layer is almost always the right call. It keeps your original untouched, which matters a lot if you’re working with a photo you can’t recreate.
Keeping it on a separate layer also means you can mask in parts of the colorized version selectively, which is a practical workaround for the filter’s object recognition weaknesses. If the AI gets the face right but botches the background, just mask the background out on the colorized layer and handle it separately.
What I’d Actually Do Differently
The Colorize filter is best understood as a rough draft generator, not a finished product. In my workflow, I’d use it to handle the broad strokes, the skin tones, the sky, the general environmental color, and then go back in with Hue/Saturation adjustment layers clipped to targeted selections to correct anything the AI got wrong. The focal color points are a nice idea but too imprecise right now for anything that needs to be client-ready without cleanup.
If you’re restoring a family photo and the client isn’t a color purist, you can probably get away with the output after some basic corrections. If accuracy matters, treat this as Layer 1 of a manual colorization process, not the whole process. That framing actually makes it a real time-saver rather than a disappointment.
The single most important thing I took from this tutorial is to set expectations correctly before you open the filter. Colorize is impressive for what it is, an AI making educated guesses about color that no longer exists in the file. It’s not a replacement for careful manual work, but it’s a genuinely useful first pass that earns its place in a restoration workflow. Give it a run on a test image, understand where it struggles, and you’ll know exactly how to use it on the jobs that actually matter.
Watch the full tutorial on YouTube to see Aaron’s side-by-side comparisons and his real-time reactions to the filter’s results.
Comments (1)
I've been looking for exactly this kind of tutorial. Perfect timing.
Leave a Comment