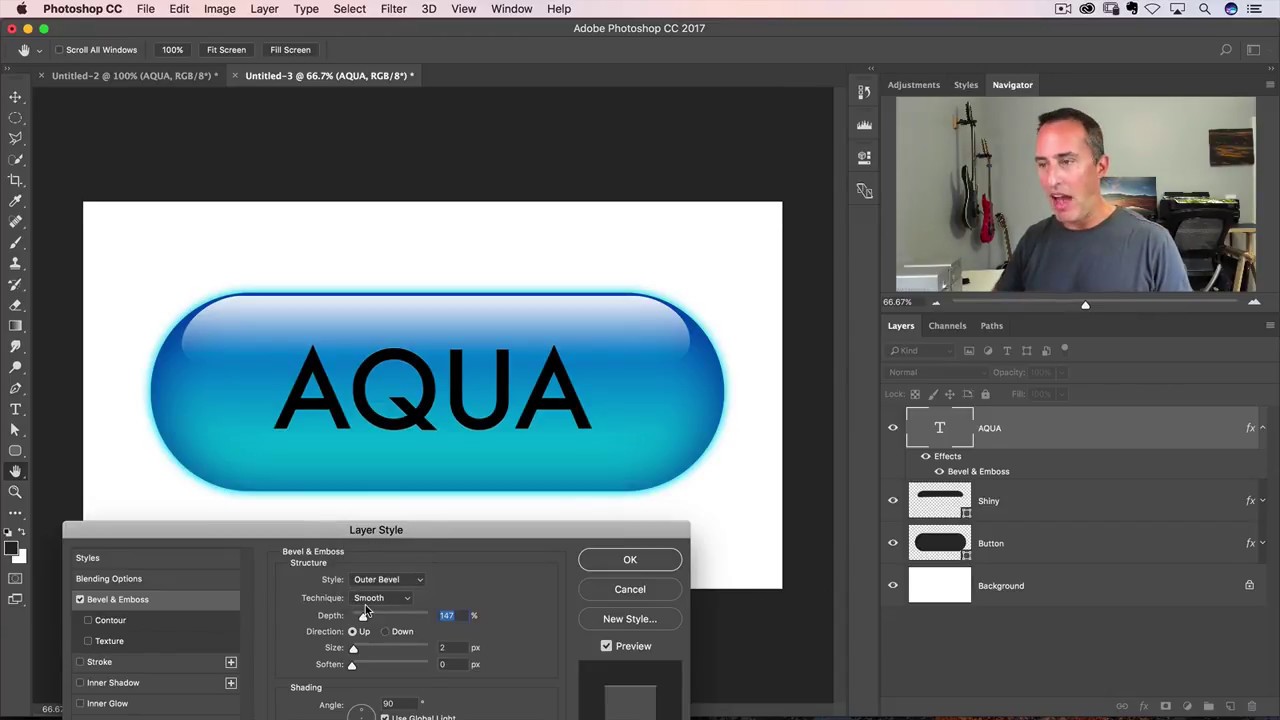
How to Make a Glossy Aqua Button in Photoshop (Yes, It Still Rocks)

How to Make a Glossy Aqua Button in Photoshop (Yes, It Still Rocks)

I got my start making terrible graphics in MS Paint for anyone who’d sit still long enough to watch. Buttons, badges, fake logos – I thought I was a genius. Then I discovered Photoshop and realized I had been finger-painting while other people were doing oil portraits. One of the first effects that genuinely made my jaw drop was the aqua button – that glassy, pill-shaped thing that was everywhere during the early Mac OS era.

How to Make Any Design Look Like a Real Tattoo in Photoshop (Without Owning a Needle)

How to Make Any Design Look Like a Real Tattoo in Photoshop (Without Owning a Needle)

Client work has a way of throwing curveballs you didn’t see coming. I’ve had more than a few people slide into my DMs asking for a “quick” tattoo mockup, usually with a logo they made in Illustrator, a reference photo of someone’s arm, and the energy of someone who thinks this takes about four minutes. The truth is, slapping a design onto skin and calling it done looks terrible. The lines are too perfect, the contrast is wrong, and it screams “I copied and pasted this.

The Paper Slit Effect: A Clever Holiday Photoshop Trick You Can Pull Off in 15 Minutes

The Paper Slit Effect: A Clever Holiday Photoshop Trick You Can Pull Off in 15 Minutes

Every December I end up scrambling for last-minute holiday graphics. Social posts, promo banners, gift guides, you name it. And every year I default to the same tired snowflake overlays and gradient red backgrounds that look like everyone else’s work. So when I came across this Scott Kelby tutorial, I stopped scrolling pretty fast. The technique is deceptively simple: you make it look like a gift card or product is physically peeking through a slit cut into paper.

Photoshop Already Knows How to Edit Video — You Just Haven't Asked It Yet

Photoshop Already Knows How to Edit Video — You Just Haven't Asked It Yet

Most of my work lives in still images. Logos, social graphics, the occasional print piece. But clients have a habit of throwing curveballs, and at some point someone’s going to slide a video file your way and ask you to “just clean it up a bit.” The first time that happened to me, I stared at my screen for a solid ten minutes before opening Premiere like a coward. Turns out I didn’t need to.

Give Your Photos a Polaroid Makeover Using Photoshop's Layer Mask Trick

Give Your Photos a Polaroid Makeover Using Photoshop's Layer Mask Trick

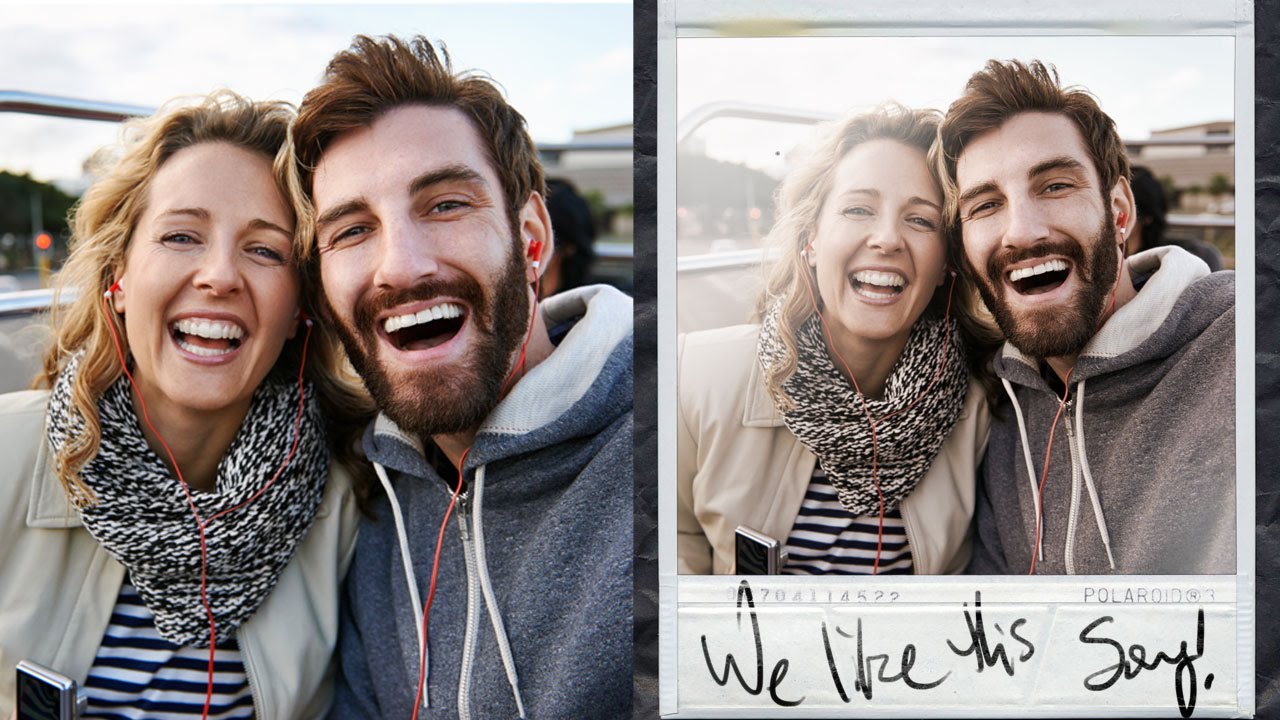
Client asks for “something vintage, you know, like a Polaroid vibe.” You nod confidently. You have no plan. This has happened to me more times than I care to admit, usually while nursing a cold brew at my usual corner table at whatever coffee shop I’ve colonized that week. The good news is that the actual technique is way simpler than it looks, and once you’ve done it once, you can knock it out in about ten minutes.

Paint Over It: The Lazy-Smart Way to Recolor Hair in Photoshop

Paint Over It: The Lazy-Smart Way to Recolor Hair in Photoshop

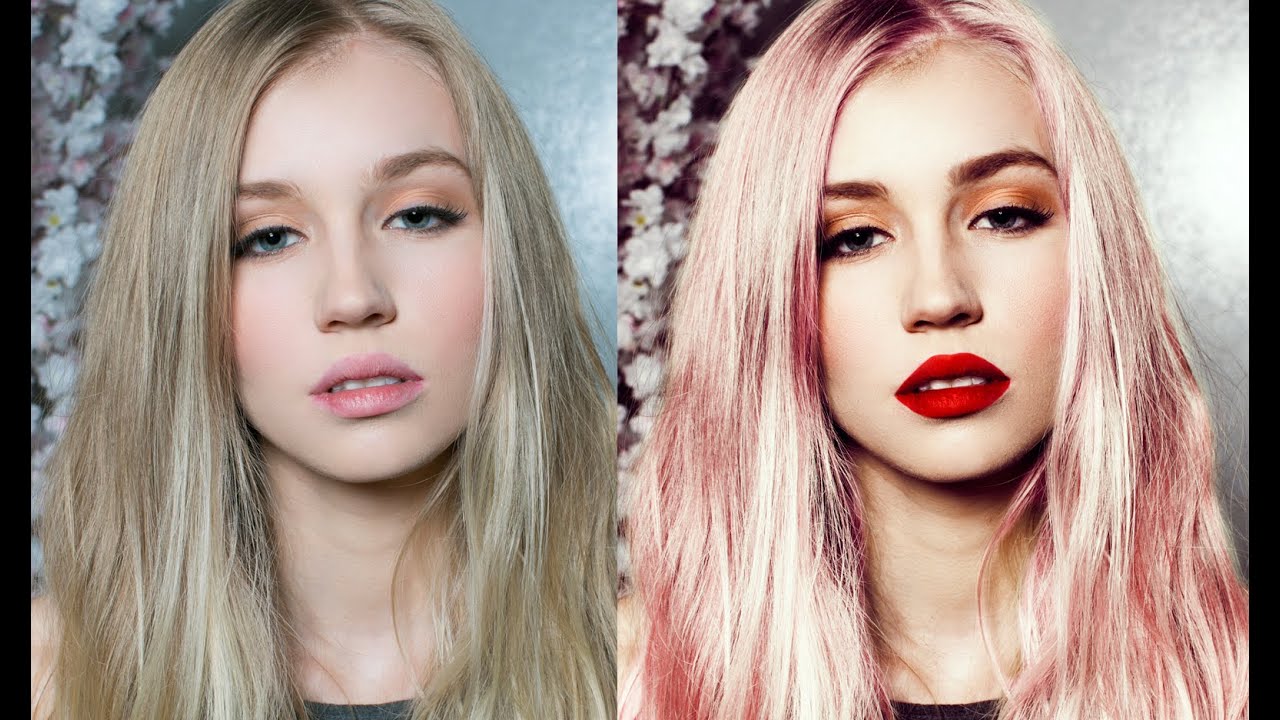
There’s a certain kind of client request that makes every retoucher pause before responding: “Can you make the hair a different color?” It sounds simple. It is not always simple. I’ve gone down the channel-masking rabbit hole, spent twenty minutes wrestling with Select and Mask, and once produced what I can only describe as a hair-shaped disaster. So when I came across this Jessica Kobeissi tutorial on transforming portrait photos, specifically recoloring dark hair to a vivid pink, I was relieved to see a method that actually respects the fact that most of us are working against a deadline.

Photoshop 2025's Remove Tool Just Got a Serious Upgrade — Here's What Actually Changed

Photoshop 2025's Remove Tool Just Got a Serious Upgrade — Here's What Actually Changed

There’s a particular kind of freelance pain that comes from spending fifteen minutes cleaning up a busy background with the Clone Stamp tool, only to realize the result looks like a crime scene painted by someone who’s never seen grass before. The Remove Tool changed that for me when it first showed up, but it always had a ceiling. Big objects, complex backgrounds, anything that required more than a light touch — it would choke.

The Two-Minute Cinematic Color Grade That's Been in My Toolkit Ever Since

The Two-Minute Cinematic Color Grade That's Been in My Toolkit Ever Since

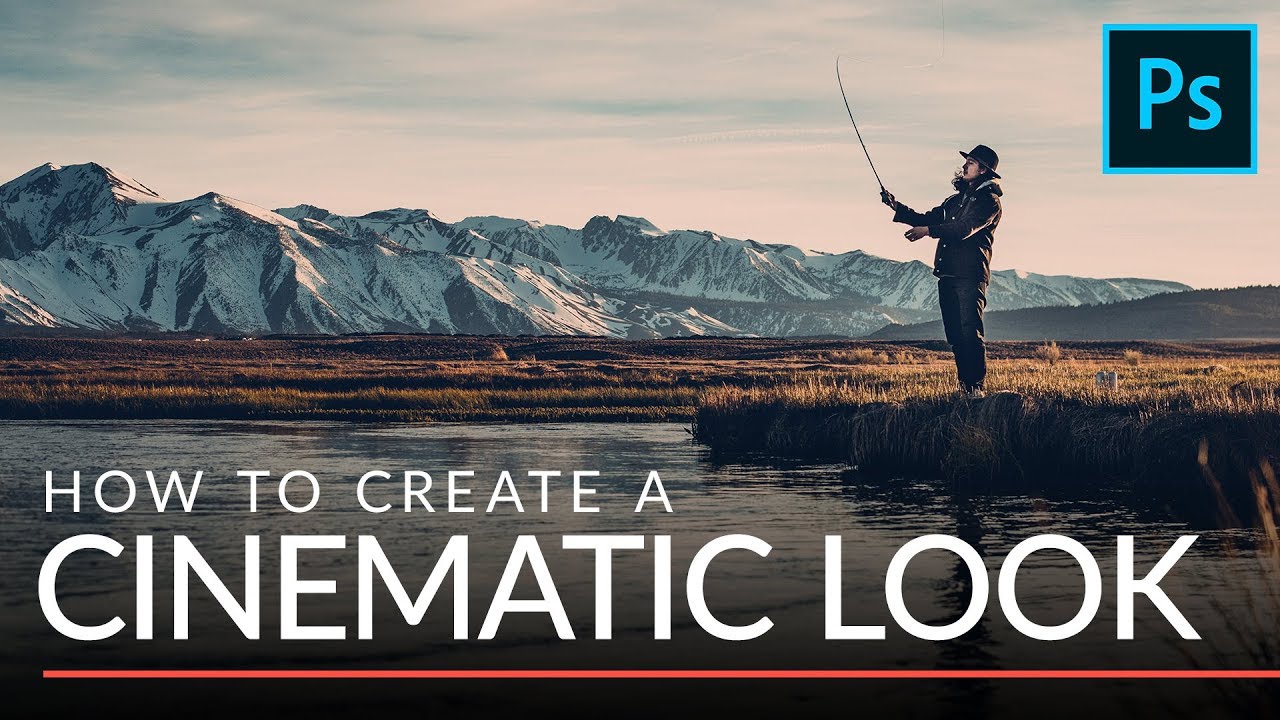
I used to spend an embarrassing amount of time trying to make my photos look like they came from a film set. We’re talking curves adjustments stacked on top of hue/saturation layers, color lookup tables I didn’t fully understand, the whole mess. The results were inconsistent, and my clients could always tell when I’d been “experimenting.” Then I watched this tutorial from Aaron Nace over at PHLEARN and felt that specific mix of relief and annoyance that comes with realizing you’ve been doing something the hard way for years.

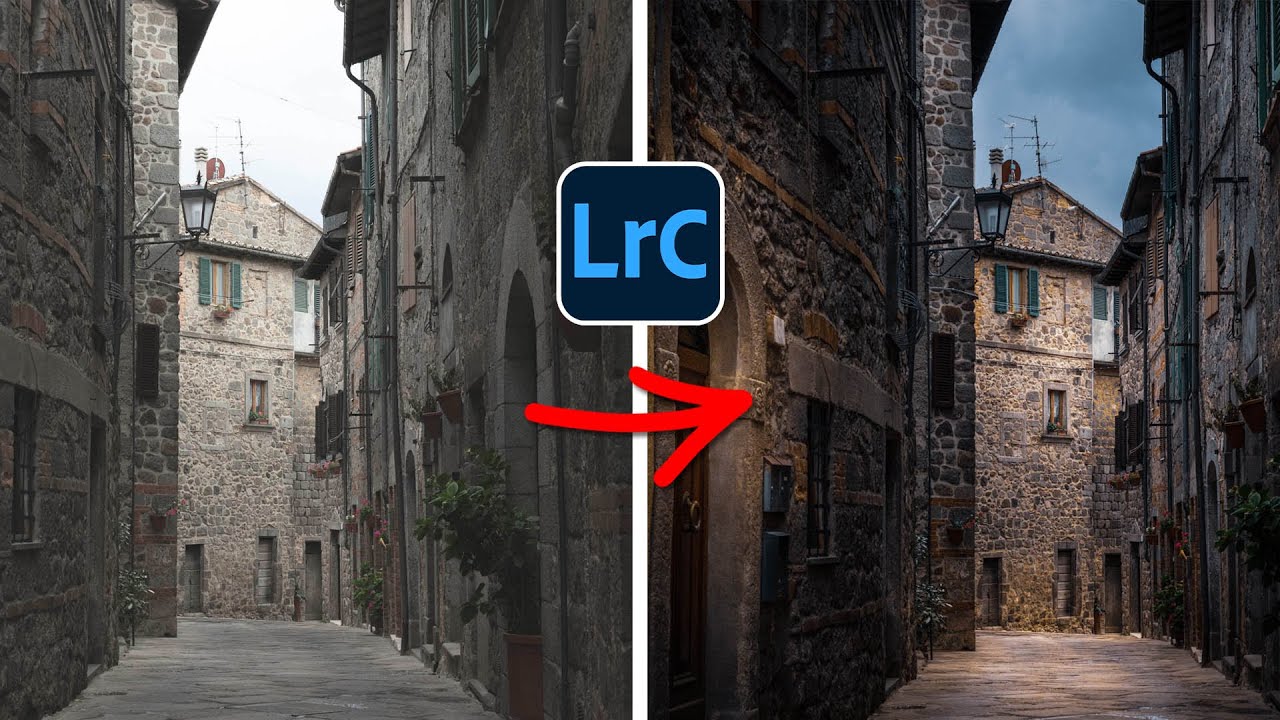
How to Fake Dramatic Light on a Flat, Overcast Photo Using Lightroom and Photoshop

How to Fake Dramatic Light on a Flat, Overcast Photo Using Lightroom and Photoshop

There’s a specific kind of frustration that comes from having a technically solid photo that just… sits there. Good composition, decent exposure, interesting subject. But the light was flat because it was an overcast Tuesday and the sky didn’t care about your shoot. I’ve been in that situation more times than I can count, and my usual move was to slap a preset on it and call it a day. That worked until clients started asking for something that actually looked intentional.

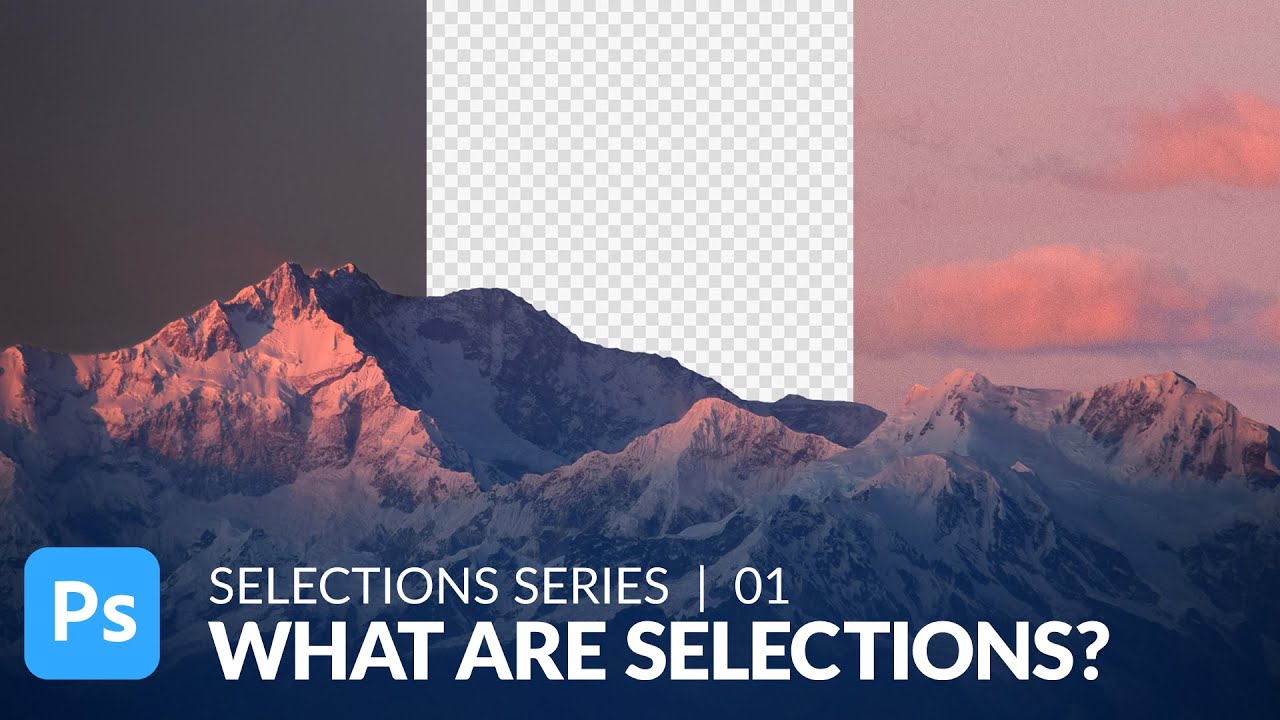
Stop Butchering Sky Replacements: Master Photoshop's Basic Selection Tools First

Stop Butchering Sky Replacements: Master Photoshop's Basic Selection Tools First

There’s a specific kind of embarrassment that comes from spending three days on a composite that looks like garbage, only to have someone show you a simpler technique you completely overlooked. I’ve been there. Sky replacements were one of those things I kept overcomplicating, reaching for complex masking workflows before I’d even thought about whether a cleaner, faster approach existed. Turns out, sometimes the humble selection tools you skipped past in week one of learning Photoshop are doing more heavy lifting than you gave them credit for.

Photoshop Layers for Beginners: Build Your First Composite the Right Way

Photoshop Layers for Beginners: Build Your First Composite the Right Way

I started making graphics in MS Paint. Terrible ones. Cut-out text, gradient backgrounds that looked like a Windows 98 screensaver, the whole deal. When I finally got my hands on Photoshop, the thing that changed everything for me wasn’t the filters or the fancy selection tools. It was layers. Once I understood that every element in a composition could live on its own independent plane, editable and moveable without touching anything else, the whole software started making sense.

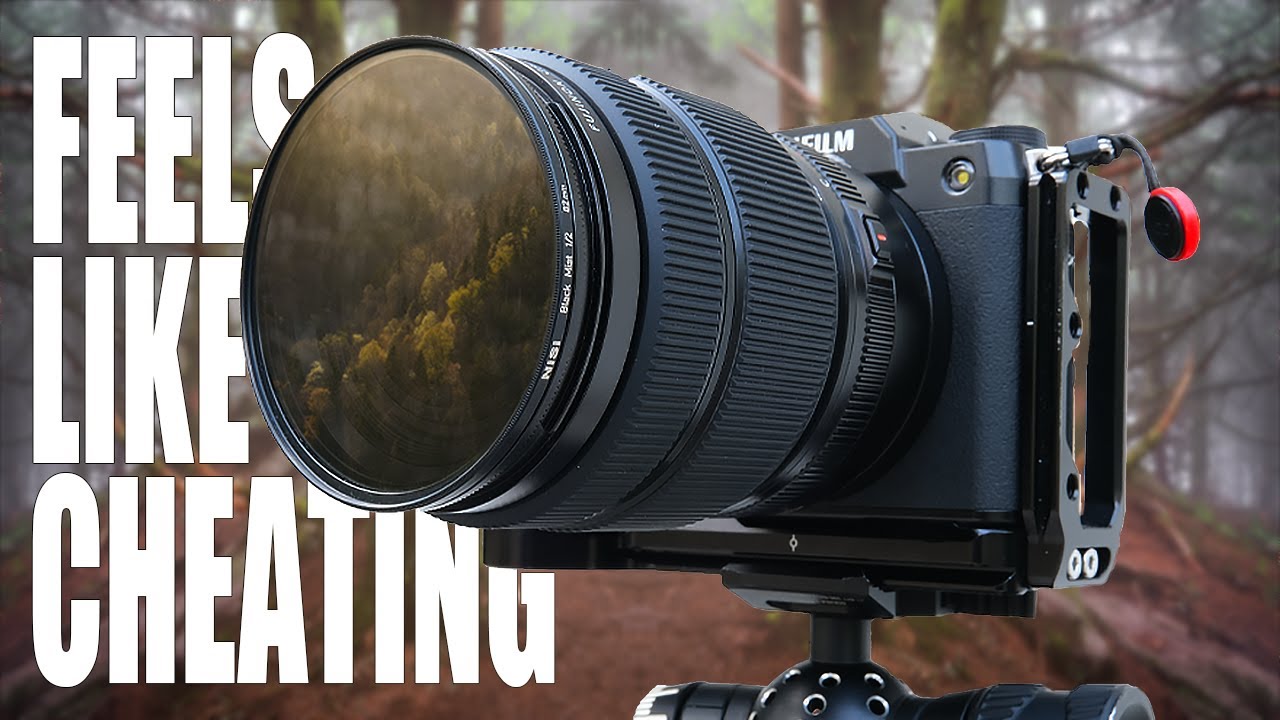
Black Mist Filters: The One Piece of Glass That Changed How I Think About Light

Black Mist Filters: The One Piece of Glass That Changed How I Think About Light

I’ve spent an embarrassing amount of time in Photoshop trying to manufacture atmosphere. Glows, diffusion, contrast lifts, lifted blacks, the Orton effect… you name it, I’ve layered it into a PSD at some point. And while you can absolutely get somewhere with that approach, there’s always been this nagging feeling that the result looks slightly cooked. Like a photo that’s trying too hard to feel dreamy. So when I came across Watch the full tutorial on YouTube from landscape photographer Mark Denney, I sat up a little straighter in my coffee shop chair.