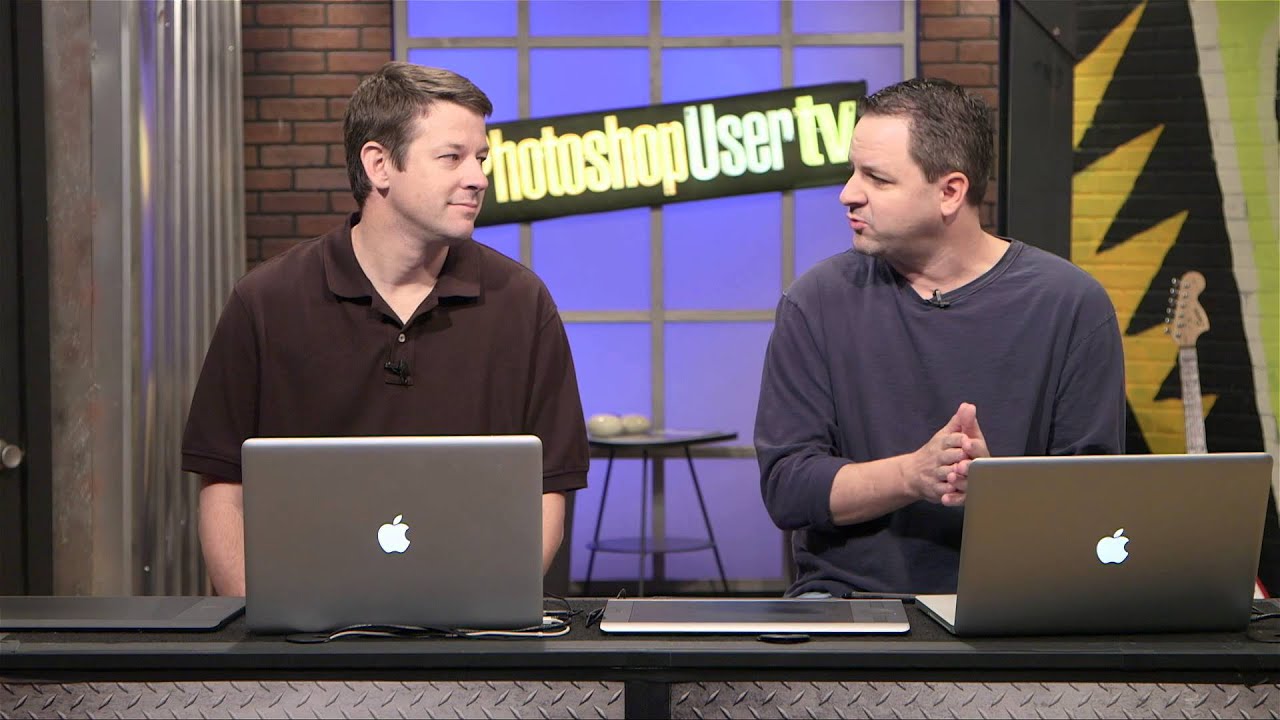
Most of my work lives in still images. Logos, social graphics, the occasional print piece. But clients have a habit of throwing curveballs, and at some point someone’s going to slide a video file your way and ask you to “just clean it up a bit.” The first time that happened to me, I stared at my screen for a solid ten minutes before opening Premiere like a coward.
Turns out I didn’t need to. In this KelbyOne tutorial, Pete Collins from the Photoshop Guys walks through how to get started with video editing directly inside Photoshop, and the core argument he makes is a good one: if you already know Photoshop, you already know most of what you need. The learning curve isn’t a cliff. It’s more of a slightly annoying speed bump.
Watch the full tutorial on YouTube
The tutorial uses a screen-recorded video clip as the source material, which is actually a smart choice. It’s the kind of footage a lot of us actually have lying around, not some cinematic drone shot. That grounded approach made me pay attention, so let me walk you through what Pete covers.
Step 1: Get Your Video Into Photoshop
 Dragging a video file onto Photoshop to open it
Skip the File menu entirely. The fastest way to bring video into Photoshop is to grab the file from your desktop or from Bridge and drag it straight onto the Photoshop icon or into an open workspace. Photoshop handles the rest. It opens the clip, creates a new document sized to the video dimensions, and automatically generates a Timeline panel at the bottom of the screen.
Dragging a video file onto Photoshop to open it
Skip the File menu entirely. The fastest way to bring video into Photoshop is to grab the file from your desktop or from Bridge and drag it straight onto the Photoshop icon or into an open workspace. Photoshop handles the rest. It opens the clip, creates a new document sized to the video dimensions, and automatically generates a Timeline panel at the bottom of the screen.
If your Timeline panel doesn’t appear automatically, go to Window and toggle it on from the menu. Once it’s there, you’ll see your video clip represented as a colored bar across the timeline. That’s your working environment. It’s more familiar than it looks.
Step 2: Crop the Footage
 Crop tool applied to a video clip in Photoshop
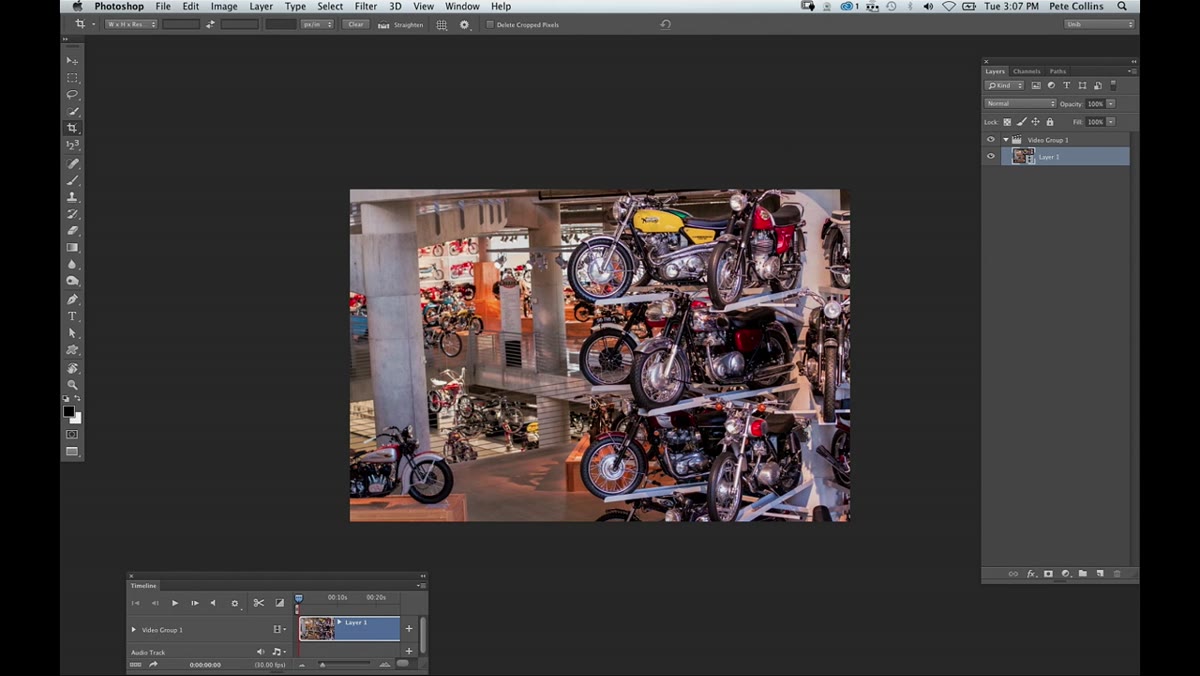
The Crop tool works on video the same way it works on a still image. Grab it from the toolbar, drag your crop handles, and commit the crop. Pete uses this to strip away parts of the frame he doesn’t need, specifically the interface chrome around a screen recording. The crop applies to the entire clip, not just a single frame.
Crop tool applied to a video clip in Photoshop
The Crop tool works on video the same way it works on a still image. Grab it from the toolbar, drag your crop handles, and commit the crop. Pete uses this to strip away parts of the frame he doesn’t need, specifically the interface chrome around a screen recording. The crop applies to the entire clip, not just a single frame.
This matters more than it sounds. If you’re repurposing a screen recording, a webinar clip, or any footage that has letterboxing or unwanted UI elements around the edges, you can clean it up in about ten seconds without touching a video-specific tool at all. That’s the whole theme of this tutorial, and it holds up.
Step 3: Add a Black and White Adjustment Layer
 Black and White adjustment layer panel open over video timeline
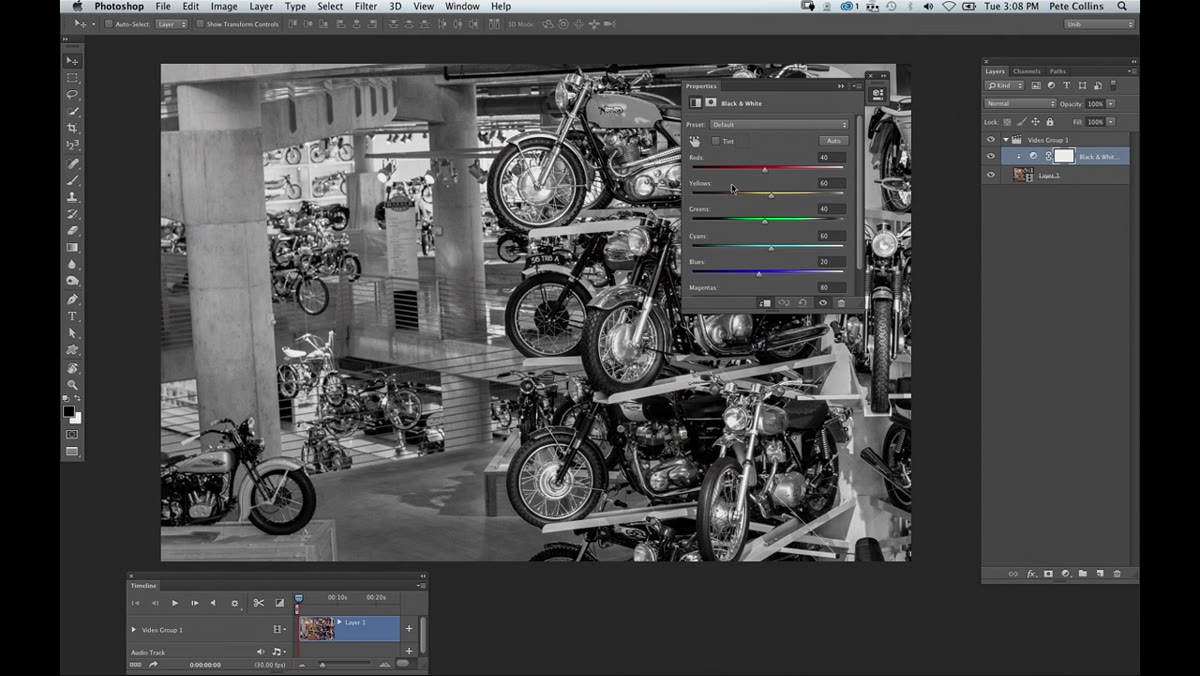
Come up to the Adjustments panel or use Layer > New Adjustment Layer > Black and White. The adjustment layer sits on top of your video clip in the Layers panel, and Photoshop applies it to the entire clip across all frames automatically. No keyframes. No rendering. It just works.
Black and White adjustment layer panel open over video timeline
Come up to the Adjustments panel or use Layer > New Adjustment Layer > Black and White. The adjustment layer sits on top of your video clip in the Layers panel, and Photoshop applies it to the entire clip across all frames automatically. No keyframes. No rendering. It just works.
Inside the Black and White adjustment, you get sliders for individual color channels: reds, yellows, greens, cyans, blues, and magentas. Pete pushes the yellows and greens to control how the tones from the screen recording map to grayscale. If your footage has a dominant color cast, tweaking these sliders gives you a lot of control over contrast and mood. It’s the same workflow you’d use on a portrait or a landscape, just applied to moving images.
Step 4: Stack a Photo Filter on Top for a Color Grade
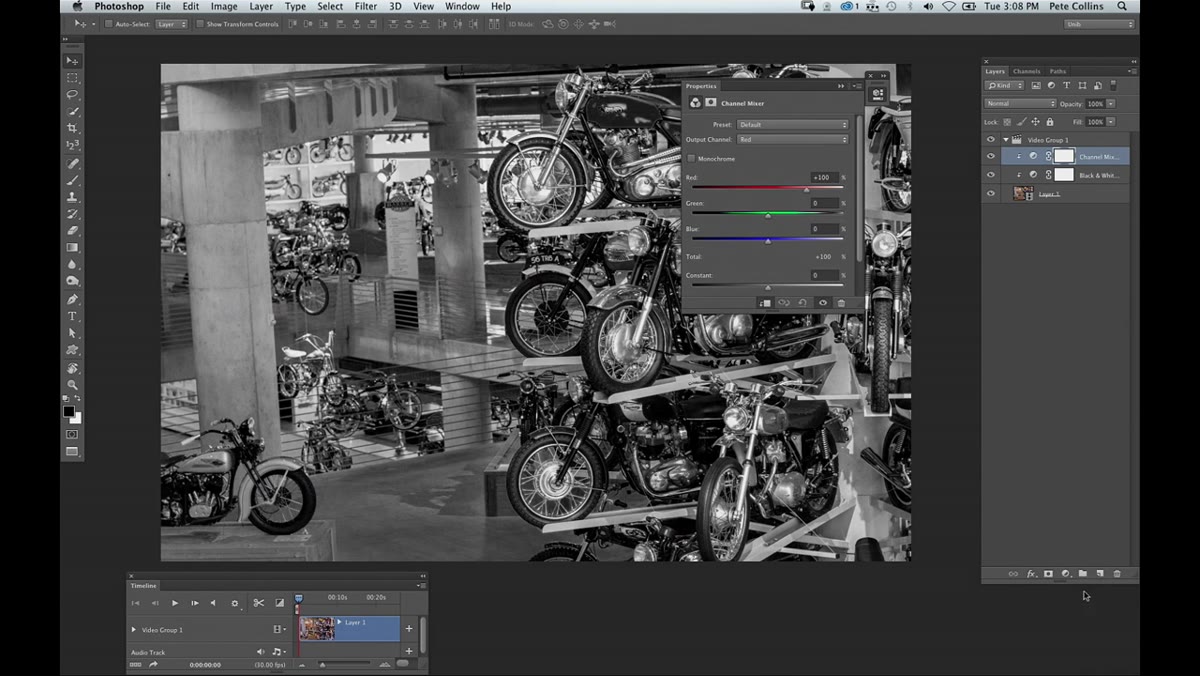 Photo Filter adjustment layer added above Black and White layer
Add a second adjustment layer, this time a Photo Filter. Pete uses it to push a warm, sepia-style tone into the footage. With the Black and White layer already underneath, the Photo Filter tints the grayscale values rather than fighting against the original color information in the clip. That combination gives you a vintage or aged look without doing anything complicated.
Photo Filter adjustment layer added above Black and White layer
Add a second adjustment layer, this time a Photo Filter. Pete uses it to push a warm, sepia-style tone into the footage. With the Black and White layer already underneath, the Photo Filter tints the grayscale values rather than fighting against the original color information in the clip. That combination gives you a vintage or aged look without doing anything complicated.
The key move here is adjusting the opacity of the Photo Filter layer. Dropping it down to 40 or 50 percent lets the grayscale base breathe instead of getting buried under the tint. You’re essentially doing color grading with tools you’ve used on product photos and headshots. Same tools, moving pictures.
Step 5: Dial In the Look Using Layer Opacity
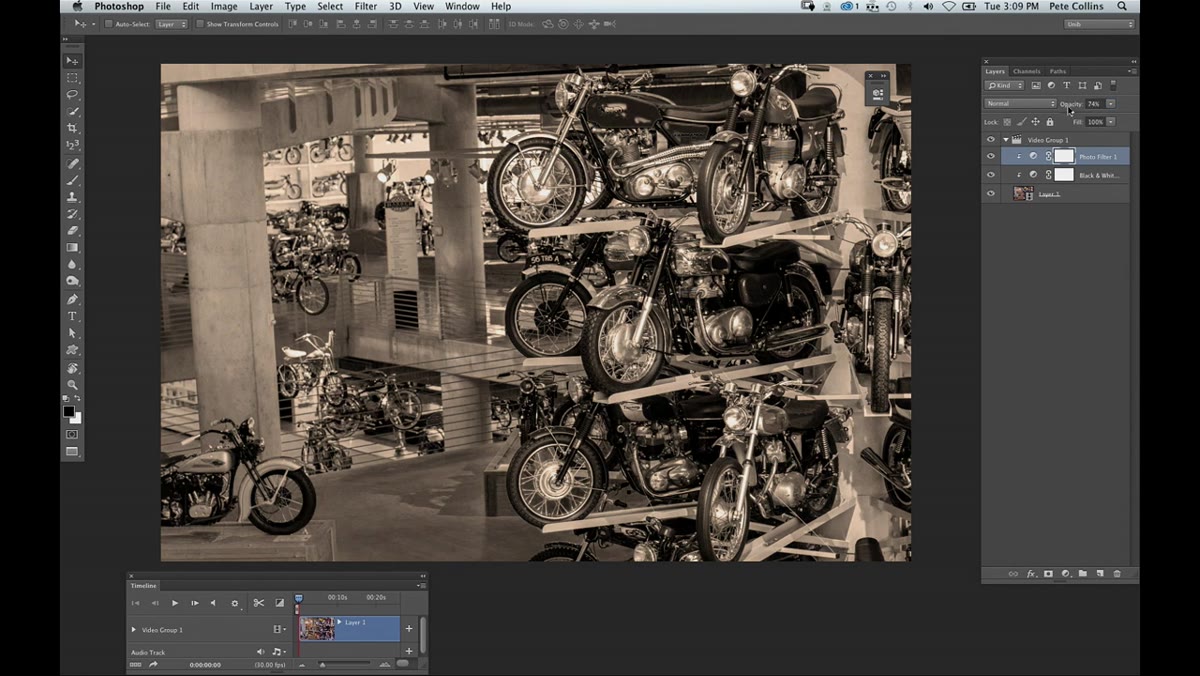 Opacity slider adjusted on adjustment layer over video clip
With both adjustment layers in place, you can fine-tune the overall look by adjusting layer opacity independently for each one. Lower the Black and White layer opacity to let a hint of the original color bleed through. Push the Photo Filter opacity higher if you want a heavier grade. These two controls together give you a surprising amount of range.
Opacity slider adjusted on adjustment layer over video clip
With both adjustment layers in place, you can fine-tune the overall look by adjusting layer opacity independently for each one. Lower the Black and White layer opacity to let a hint of the original color bleed through. Push the Photo Filter opacity higher if you want a heavier grade. These two controls together give you a surprising amount of range.
Pete’s point here is worth emphasizing: you are not learning new software. You are applying a skill you already have, opacity control on layers, to a new context. The mental shift is small, and the payoff is immediate.
One Thing I’d Add: Use Smart Objects Before You Start
Pete’s tutorial is a great entry point, but there’s one step I’d personally add before touching any of this: convert your video clip to a Smart Object. Right-click the video layer in the Layers panel and choose Convert to Smart Object. This wraps the clip in a protective container so your crop and any direct edits remain non-destructive.
I learned this lesson the hard way with still images (a deleted client file will do that to you), and the same logic applies to video. Adjustment layers are already non-destructive, so you’re mostly protected with Pete’s approach, but a Smart Object adds a second layer of safety and keeps your options open if you need to revert the crop later. It adds about four seconds to your setup and has saved me more than once.
The biggest thing this tutorial changed for me is the framing. I used to think of Photoshop video editing as a separate discipline, something I’d have to study before I could touch it. Pete’s approach flips that. You already have the skills. The timeline is just a new place to use them.
If you’re sitting on screen recordings, short social clips, or any video assets you’ve been passing off to someone else because they feel out of scope, this is worth an hour of your time.
Watch the full tutorial on YouTube
Comments (3)
Tried this technique this morning. Game changer for real.
Printing this out and pinning it next to my monitor. That good.
Great article! I actually covered something related on my site — the color grading angle is really complementary to this.
Leave a Comment