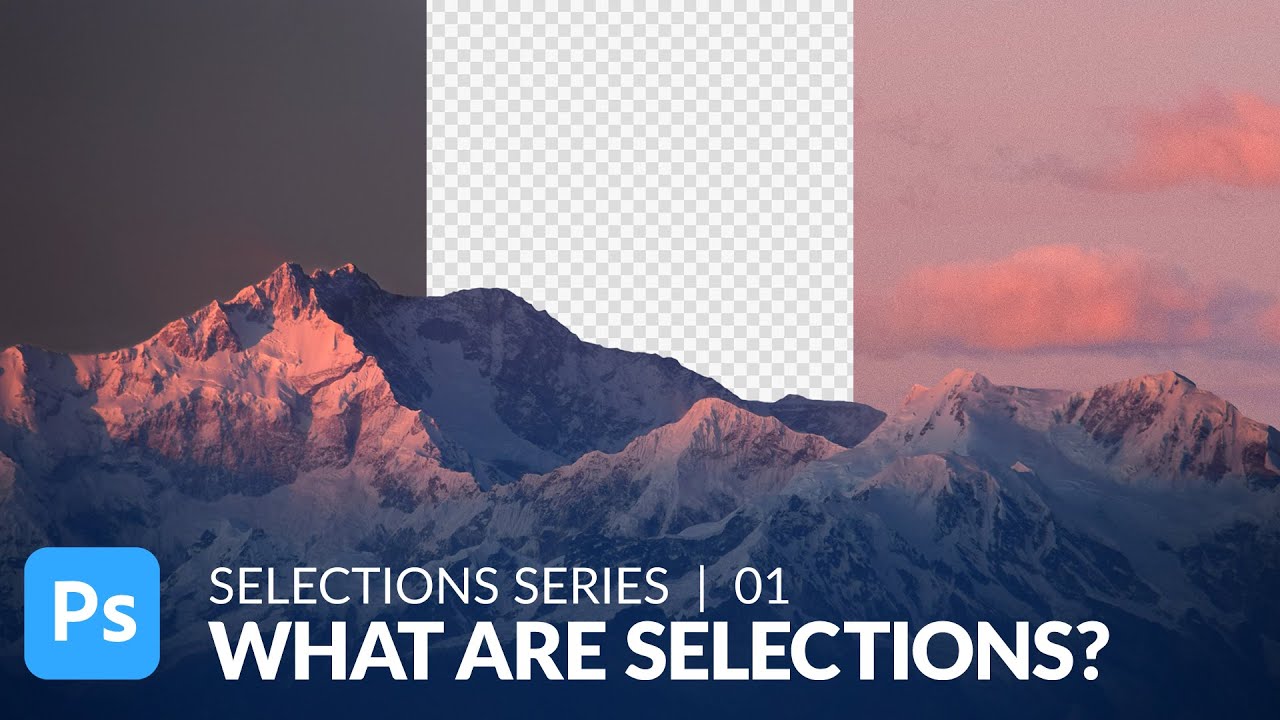
There’s a specific kind of embarrassment that comes from spending three days on a composite that looks like garbage, only to have someone show you a simpler technique you completely overlooked. I’ve been there. Sky replacements were one of those things I kept overcomplicating, reaching for complex masking workflows before I’d even thought about whether a cleaner, faster approach existed. Turns out, sometimes the humble selection tools you skipped past in week one of learning Photoshop are doing more heavy lifting than you gave them credit for.
In this Aaron Nace (PHLEARN) tutorial, the technique is straightforward: use Photoshop’s basic selection tools to cut out a mountain range and drop a new sky behind it. Simple concept, but the way Aaron unpacks selections from the ground up makes it worth watching even if you’ve been in Photoshop for years. Watch the full tutorial on YouTube and follow along with the breakdown below.
The real value here isn’t just the sky swap. It’s that Aaron treats selections as a foundational concept, not a quick trick. Once you understand what a selection actually does, a lot of other Photoshop headaches start making more sense too.
Step 1: Set Up Your Composite by Moving Images Together
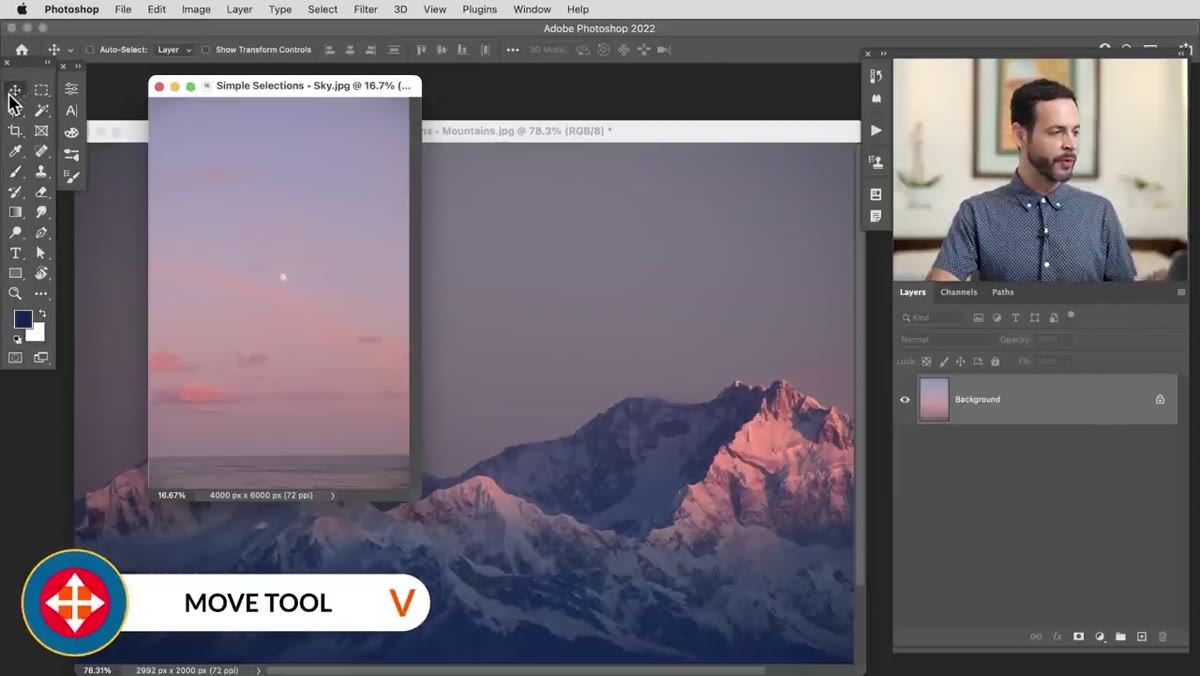 Move tool dragging sky image onto mountain photo
Open both your images in Photoshop. Grab the Move tool (V) and click and drag from the sky image directly onto the mountains image. This copies the sky layer over. It’ll almost certainly land at the wrong size, so immediately hit Ctrl+T (Cmd+T on Mac) to activate Free Transform and scale it down to fit. You’re aiming for a sky that roughly covers the existing sky in the mountains photo. Don’t stress perfection yet, just get it close. Once the sky layer is roughly in position, toggle its visibility off in the Layers panel. You’ll want to focus on the mountains layer for the selection work ahead.
Move tool dragging sky image onto mountain photo
Open both your images in Photoshop. Grab the Move tool (V) and click and drag from the sky image directly onto the mountains image. This copies the sky layer over. It’ll almost certainly land at the wrong size, so immediately hit Ctrl+T (Cmd+T on Mac) to activate Free Transform and scale it down to fit. You’re aiming for a sky that roughly covers the existing sky in the mountains photo. Don’t stress perfection yet, just get it close. Once the sky layer is roughly in position, toggle its visibility off in the Layers panel. You’ll want to focus on the mountains layer for the selection work ahead.
Step 2: Understand What a Selection Actually Does
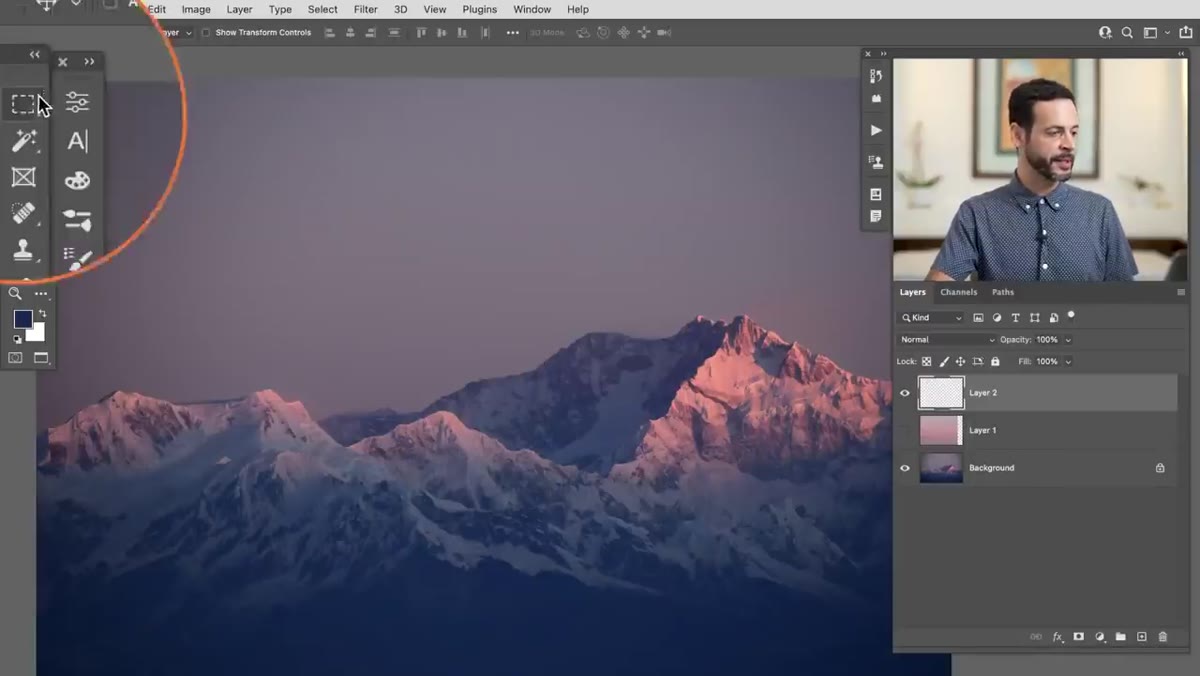 Rectangular marquee selection active on a new layer
Create a new layer by clicking the New Layer icon at the bottom of the Layers panel. Now grab the Rectangular Marquee tool (M). Click and drag across any part of the canvas. Notice the animated dashed border that appears, the “marching ants.” This is your selection. Here’s the thing Aaron emphasizes that most beginner tutorials gloss over: when a selection is active, every edit you make is restricted to that area only. Grab the Brush tool (B), pick any color, and paint outside the selection. Nothing. Paint inside it, and it works fine. That constraint is the entire point. Selections aren’t just for cutting things out, they’re a way to protect parts of your image while you work on others. Deselect when you’re done testing with Ctrl+D (Cmd+D) or via Select > Deselect.
Rectangular marquee selection active on a new layer
Create a new layer by clicking the New Layer icon at the bottom of the Layers panel. Now grab the Rectangular Marquee tool (M). Click and drag across any part of the canvas. Notice the animated dashed border that appears, the “marching ants.” This is your selection. Here’s the thing Aaron emphasizes that most beginner tutorials gloss over: when a selection is active, every edit you make is restricted to that area only. Grab the Brush tool (B), pick any color, and paint outside the selection. Nothing. Paint inside it, and it works fine. That constraint is the entire point. Selections aren’t just for cutting things out, they’re a way to protect parts of your image while you work on others. Deselect when you’re done testing with Ctrl+D (Cmd+D) or via Select > Deselect.
Step 3: Learn to Make a Square Selection (and Reposition It Mid-Draw)
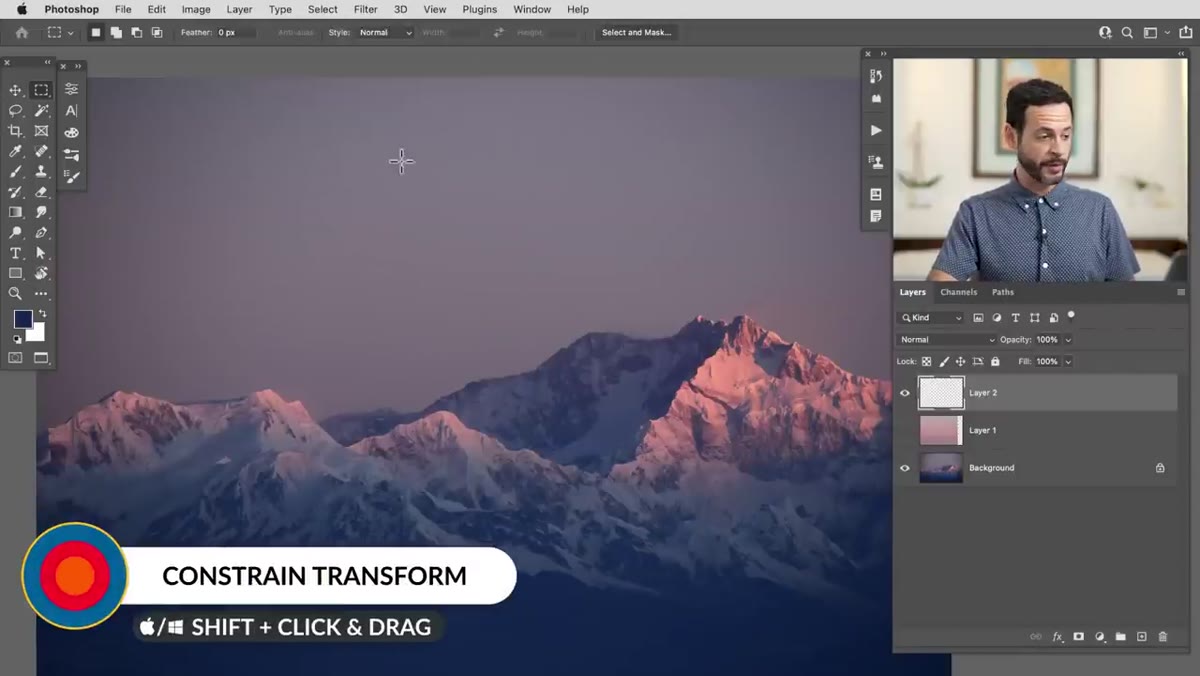 Shift-constrained square selection being repositioned with spacebar
Back to the Rectangular Marquee. Click and drag normally and you get a rectangle. Hold Shift while dragging and it constrains to a perfect square. Useful, but here’s the thing Aaron points out that I genuinely didn’t know for longer than I’d like to admit: you can reposition a selection while you’re still drawing it. Hold Spacebar mid-drag to temporarily pause the shape and move the whole selection around the canvas. Release Spacebar to keep drawing. This is a small thing that saves real time when you’re trying to frame a subject precisely and keep misjudging where to start.
Shift-constrained square selection being repositioned with spacebar
Back to the Rectangular Marquee. Click and drag normally and you get a rectangle. Hold Shift while dragging and it constrains to a perfect square. Useful, but here’s the thing Aaron points out that I genuinely didn’t know for longer than I’d like to admit: you can reposition a selection while you’re still drawing it. Hold Spacebar mid-drag to temporarily pause the shape and move the whole selection around the canvas. Release Spacebar to keep drawing. This is a small thing that saves real time when you’re trying to frame a subject precisely and keep misjudging where to start.
Step 4: Copy a Selection to a New Layer
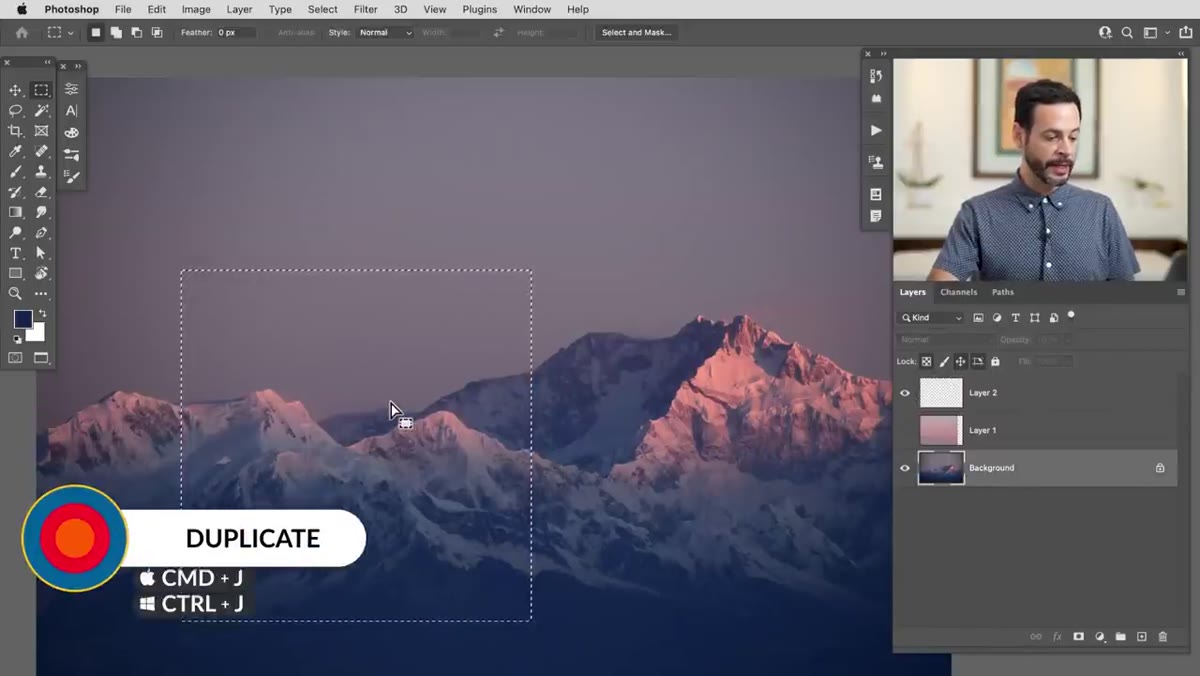 Ctrl+J duplicating selected area to new layer
With your selection active on the mountains layer, hit Ctrl+J (Cmd+J). This is the keyboard shortcut for “Layer via Copy,” and it’s one I’d tattoo on my forearm if I were that kind of person. What it does is take whatever is inside the selection and duplicate it onto its own new layer, leaving the original untouched. You’ll see a new layer appear in the panel containing only that selected region. This is non-destructive, the background layer stays intact. For the sky replacement project, this principle is what allows you to isolate the mountains from the sky so you can slide the new cloud layer underneath.
Ctrl+J duplicating selected area to new layer
With your selection active on the mountains layer, hit Ctrl+J (Cmd+J). This is the keyboard shortcut for “Layer via Copy,” and it’s one I’d tattoo on my forearm if I were that kind of person. What it does is take whatever is inside the selection and duplicate it onto its own new layer, leaving the original untouched. You’ll see a new layer appear in the panel containing only that selected region. This is non-destructive, the background layer stays intact. For the sky replacement project, this principle is what allows you to isolate the mountains from the sky so you can slide the new cloud layer underneath.
Step 5: Add to and Subtract from Selections
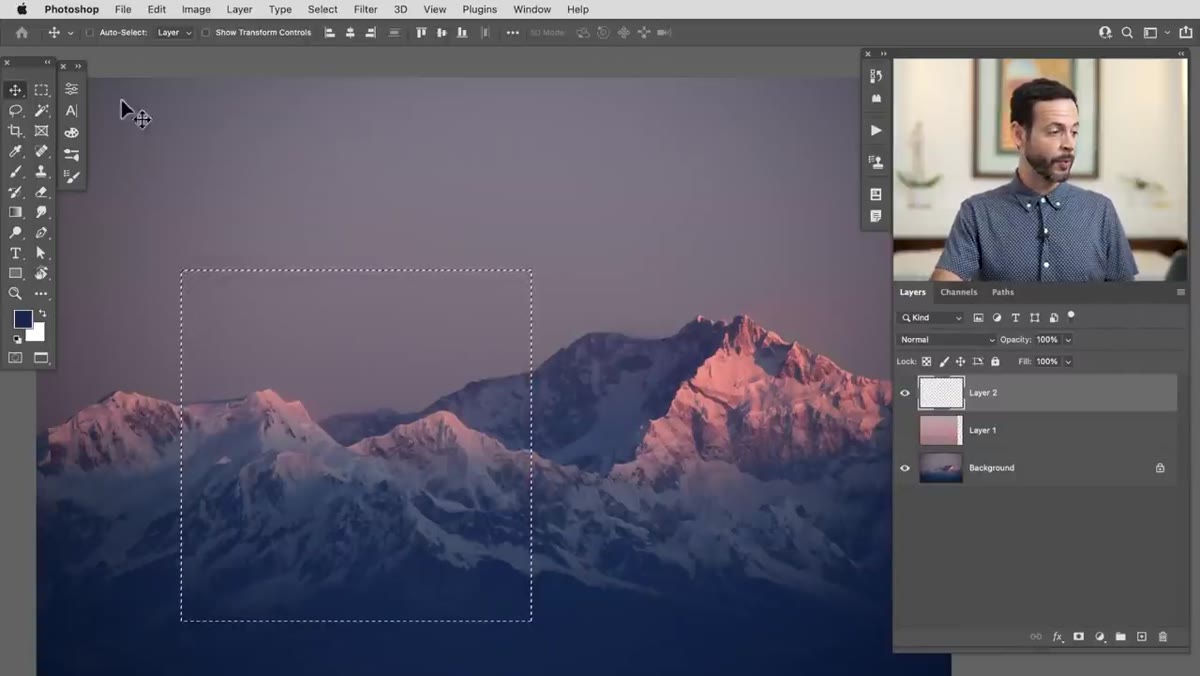 Adding a second selection region using Shift key
Selections aren’t single-use shapes. You can build on them. With the Rectangular Marquee active and an existing selection on screen, hold Shift and draw another rectangle. It adds to the selection. Hold Alt (Option on Mac) and draw over part of an existing selection and it subtracts that area. This is how you handle subjects that don’t fit neatly inside one rectangle. For mountains, you might select a broad rectangular region first, then subtract the sky area from the top, or add a second selection to capture a peak that sticks up higher than the rest. Think of it like cutting a shape with scissors in stages rather than trying to nail it in one pass.
Adding a second selection region using Shift key
Selections aren’t single-use shapes. You can build on them. With the Rectangular Marquee active and an existing selection on screen, hold Shift and draw another rectangle. It adds to the selection. Hold Alt (Option on Mac) and draw over part of an existing selection and it subtracts that area. This is how you handle subjects that don’t fit neatly inside one rectangle. For mountains, you might select a broad rectangular region first, then subtract the sky area from the top, or add a second selection to capture a peak that sticks up higher than the rest. Think of it like cutting a shape with scissors in stages rather than trying to nail it in one pass.
Step 6: Use the Elliptical Marquee for Round Subjects
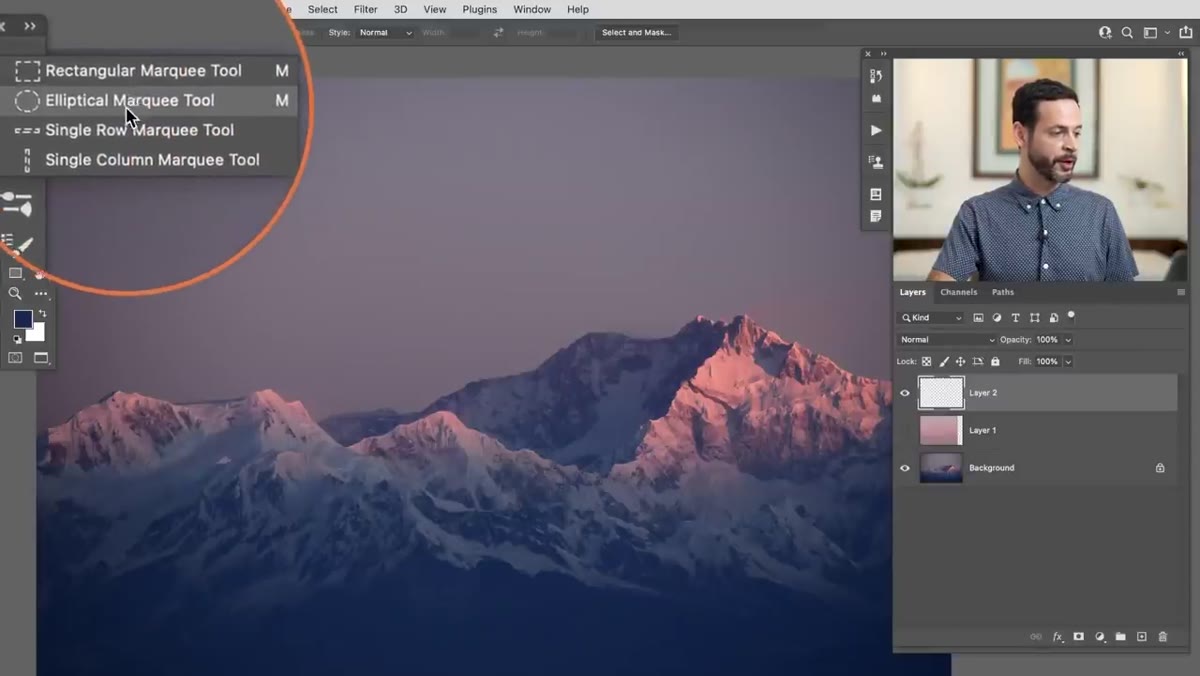 Elliptical marquee tool shown in toolbar flyout
Click and hold on the Rectangular Marquee in the toolbar to reveal the flyout menu. The Elliptical Marquee is right there below it. It works identically, same Shift-to-constrain-to-circle logic, same Spacebar-to-reposition trick, same add/subtract behavior. Aaron briefly covers the Single Row and Single Column marquees too, but honestly, they’re pretty niche. For sky replacements and most compositing work, you’ll be living inside the rectangular and elliptical options. The elliptical becomes genuinely useful when you’re working with round elements like a sun, a clock face, or a circular logo.
Elliptical marquee tool shown in toolbar flyout
Click and hold on the Rectangular Marquee in the toolbar to reveal the flyout menu. The Elliptical Marquee is right there below it. It works identically, same Shift-to-constrain-to-circle logic, same Spacebar-to-reposition trick, same add/subtract behavior. Aaron briefly covers the Single Row and Single Column marquees too, but honestly, they’re pretty niche. For sky replacements and most compositing work, you’ll be living inside the rectangular and elliptical options. The elliptical becomes genuinely useful when you’re working with round elements like a sun, a clock face, or a circular logo.
What I’d Add: Don’t Sleep on the Spacebar Trick
I’ve been using Photoshop since I was making terrible graphics for friends in high school, and the spacebar-to-reposition-mid-selection thing somehow slipped through the cracks for me for years. I’d been drawing a selection, hating where it landed, pressing Escape, and starting over. Every. Single. Time. If you take nothing else from this tutorial, take that. It’s one of those micro-efficiencies that sounds trivial but compounds over hundreds of editing sessions.
The other thing worth reinforcing: Aaron’s choice to start with basic selection tools is deliberate. There’s a tendency, especially when you’re learning online where every other video promises “AI-powered instant selections,” to skip past fundamentals and assume they’re not worth your time. But if you don’t understand what a selection is and what it constrains, the fancier tools just become magic buttons you don’t fully control. Build the foundation here and the advanced stuff clicks into place faster.
The single biggest takeaway from this tutorial is this: a selection is a boundary that focuses your edits. Everything inside gets affected, everything outside is protected. Once that concept is locked in, sky replacements, layer compositing, color grading specific zones, it all starts to feel logical instead of intimidating.
Watch the full tutorial on YouTube and grab the free sample images from the PHLEARN site to follow along yourself. This is part one of a three-part series, and if Aaron’s track record holds, parts two and three are worth your time too.
Comments (3)
Just subscribed. If the rest of your content is this good, I'm in.
Solid advice. Especially the part about taking your time with it.
Excellent tutorial. I'd add that from a photography standpoint, this technique is incredibly versatile.
Leave a Comment