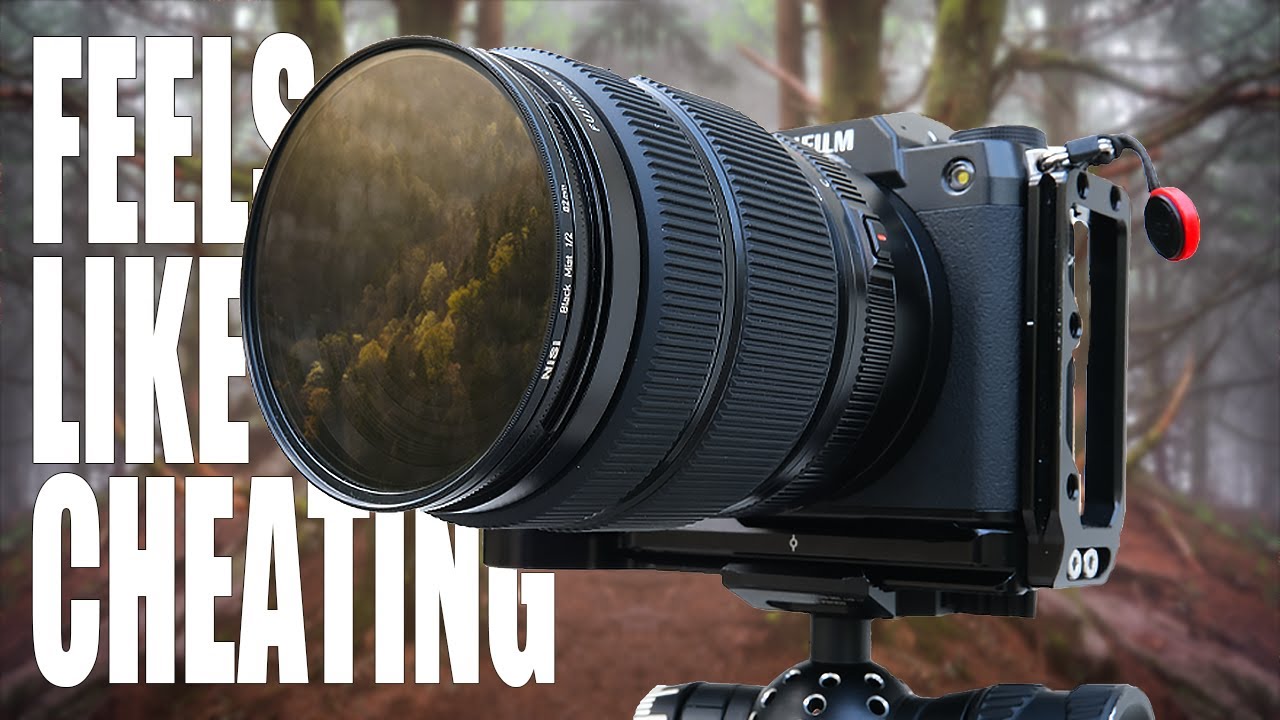
I’ve spent an embarrassing amount of time in Photoshop trying to manufacture atmosphere. Glows, diffusion, contrast lifts, lifted blacks, the Orton effect… you name it, I’ve layered it into a PSD at some point. And while you can absolutely get somewhere with that approach, there’s always been this nagging feeling that the result looks slightly cooked. Like a photo that’s trying too hard to feel dreamy. So when I came across Watch the full tutorial on YouTube from landscape photographer Mark Denney, I sat up a little straighter in my coffee shop chair.
Denney isn’t a gear guy by his own admission. He maybe talks about equipment a couple of times a year, which is exactly why it caught my attention when he kept referencing these filters in passing across multiple videos without fully explaining them. People noticed. They called him out on it. And the result was this deep dive into black mist filters and why he believes they’re responsible for some of his favorite images of the past year. The short version: sometimes the best “post-processing” happens before you ever open Lightroom.
This tutorial is primarily about the physical filters themselves, but it’s loaded with insight that directly informs how you’d try to replicate or complement this look in Photoshop. Understanding what the filter actually does to light, contrast, and highlights gives you a proper target to shoot for when you’re working in post. So let’s break it down.
Step 1: Understand What a Black Mist Filter Actually Does
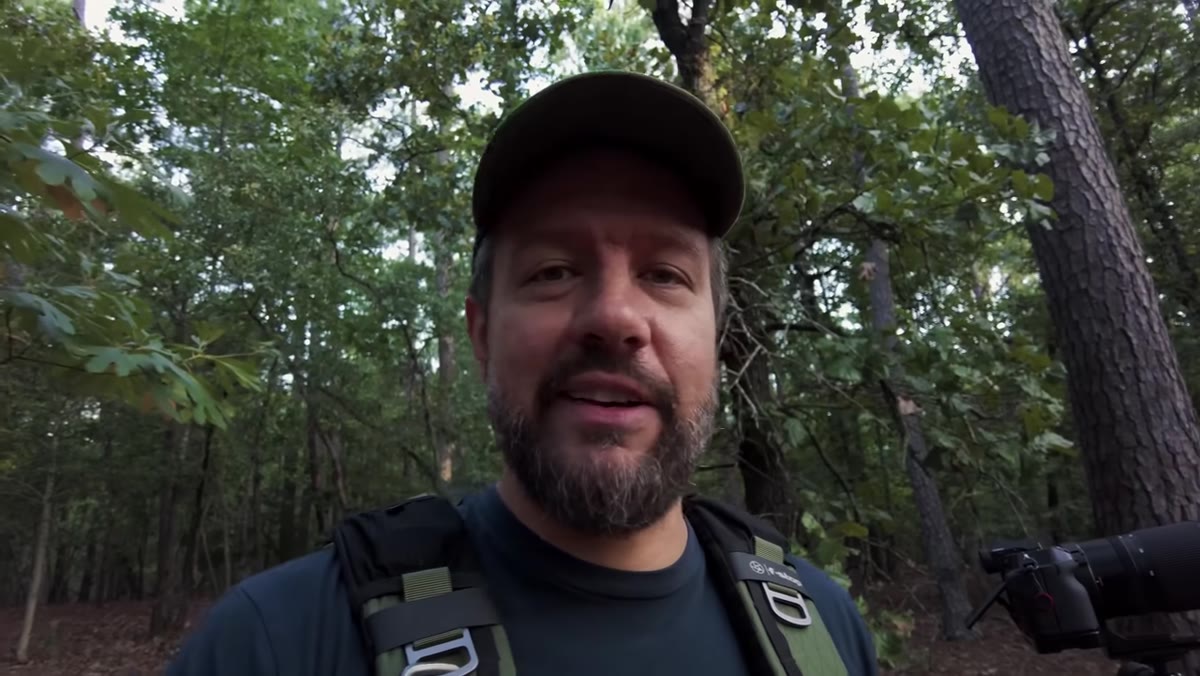 Mark explaining highlight bloom and contrast reduction effect
Before you can fake this look in post, or decide whether to buy the glass, you need to understand the mechanics. A black mist filter does three distinct things to an image. It softens the overall scene slightly, it reduces contrast, and it causes highlights to “bloom.” That last one is the interesting part. Blooming is not the same as glowing. Glowing spreads light evenly outward from a source. Blooming is subtler. It’s more like the highlight gently swells and feathers into the surrounding area without fully haloing. Think the difference between a neon sign on a foggy night versus a bare bulb in a dark room.
Mark explaining highlight bloom and contrast reduction effect
Before you can fake this look in post, or decide whether to buy the glass, you need to understand the mechanics. A black mist filter does three distinct things to an image. It softens the overall scene slightly, it reduces contrast, and it causes highlights to “bloom.” That last one is the interesting part. Blooming is not the same as glowing. Glowing spreads light evenly outward from a source. Blooming is subtler. It’s more like the highlight gently swells and feathers into the surrounding area without fully haloing. Think the difference between a neon sign on a foggy night versus a bare bulb in a dark room.
For landscape photography specifically, Denney points out that the contrast reduction and the softening are what make these filters surprisingly useful for a genre that typically skips them entirely. Portrait photographers have used black mist for years to smooth skin and flatter faces. Landscape shooters have mostly ignored them. That’s the gap Denney is closing.
Step 2: Know When the Filter Works Best
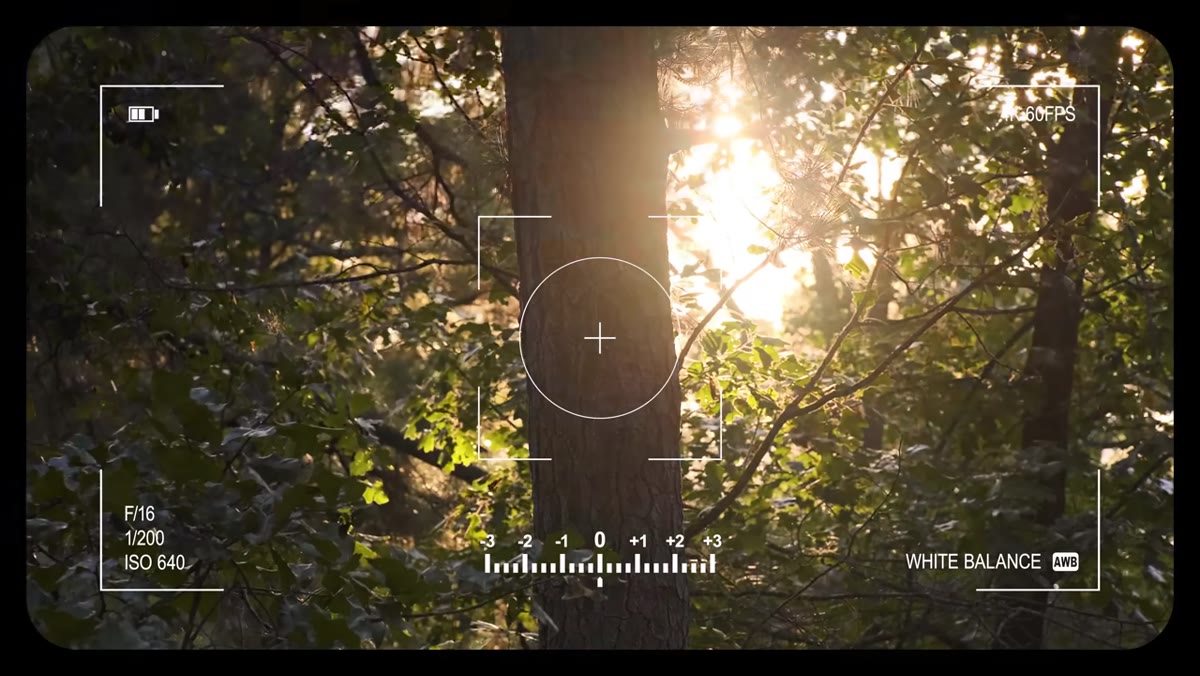
 Sunlight filtering through trees behind Mark, demonstrating ideal filter conditions
Denney is specific about this: black mist filters perform best when there’s a relatively small, defined light source in the scene. Think sunlight piercing through a tree canopy, a single street lamp, the sun cresting a ridge. The more defined the highlight, the more visible and pleasing the bloom effect becomes. Wide, flat, overcast light doesn’t give the filter much to work with.
Sunlight filtering through trees behind Mark, demonstrating ideal filter conditions
Denney is specific about this: black mist filters perform best when there’s a relatively small, defined light source in the scene. Think sunlight piercing through a tree canopy, a single street lamp, the sun cresting a ridge. The more defined the highlight, the more visible and pleasing the bloom effect becomes. Wide, flat, overcast light doesn’t give the filter much to work with.
If you’re trying to replicate this in Photoshop, this tells you exactly where to apply your effects. You’re not diffusing the whole image. You’re targeting the bright point sources and letting that influence bleed outward just slightly. Keep that mental model as you work.
Step 3: Compare the Filter Effect Side by Side
 Side-by-side comparison of the scene with and without the filter
Denney demonstrates this live by holding the filter in front of his camera lens and pulling it away repeatedly. The without version looks clean and sharp. The with version looks like someone turned the contrast down one stop and put a very thin layer of atmosphere between the lens and the world. It’s not obvious. It’s not Instagram-soft. It’s the kind of thing you’d notice in a print.
Side-by-side comparison of the scene with and without the filter
Denney demonstrates this live by holding the filter in front of his camera lens and pulling it away repeatedly. The without version looks clean and sharp. The with version looks like someone turned the contrast down one stop and put a very thin layer of atmosphere between the lens and the world. It’s not obvious. It’s not Instagram-soft. It’s the kind of thing you’d notice in a print.
When you’re working in Photoshop to chase this effect, that subtlety is your target. If your edit screams “I used a blur tool,” you’ve gone too far. The black mist filter’s signature is restraint. A good reference point: if you can see what you did, dial it back by half.
Step 4: Identify the Strength Variations
 Mark referencing his three filter strengths from the Nissi set
Denney uses a set of three filters in 82mm thread size: quarter strength, half strength, and one-eighth strength. He uses step-up rings to fit them across his different lenses, which is the practical move when you don’t want to buy three sets. The one-eighth is his go-to for landscapes, which is the weakest of the three. That detail matters. For a genre that already involves heavy post-processing, he’s reaching for the most subtle version available.
Mark referencing his three filter strengths from the Nissi set
Denney uses a set of three filters in 82mm thread size: quarter strength, half strength, and one-eighth strength. He uses step-up rings to fit them across his different lenses, which is the practical move when you don’t want to buy three sets. The one-eighth is his go-to for landscapes, which is the weakest of the three. That detail matters. For a genre that already involves heavy post-processing, he’s reaching for the most subtle version available.
In Photoshop terms, this maps directly to layer opacity. When you build a diffusion or glow effect, you’re not running it at 100 percent. You’re nudging it. Quarter strength, half strength, one-eighth strength. Start at the bottom and work up. The filter logic applies even when you’re working digitally.
Step 5: Connect the Filter to Your Post-Processing Workflow
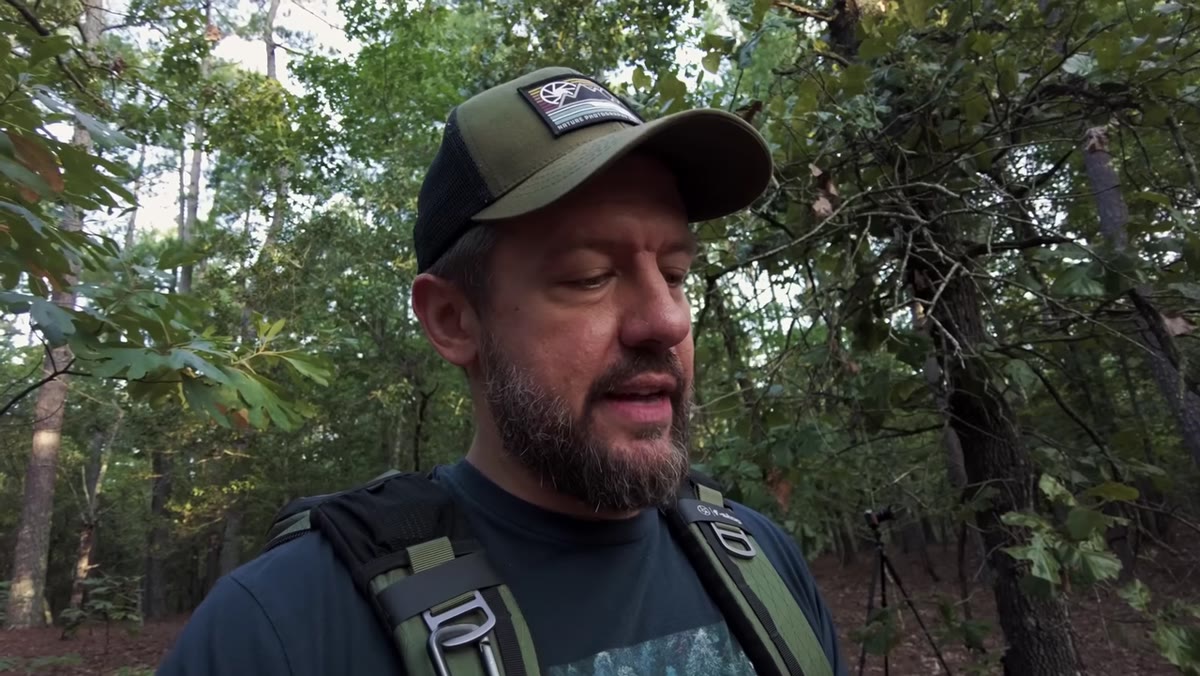
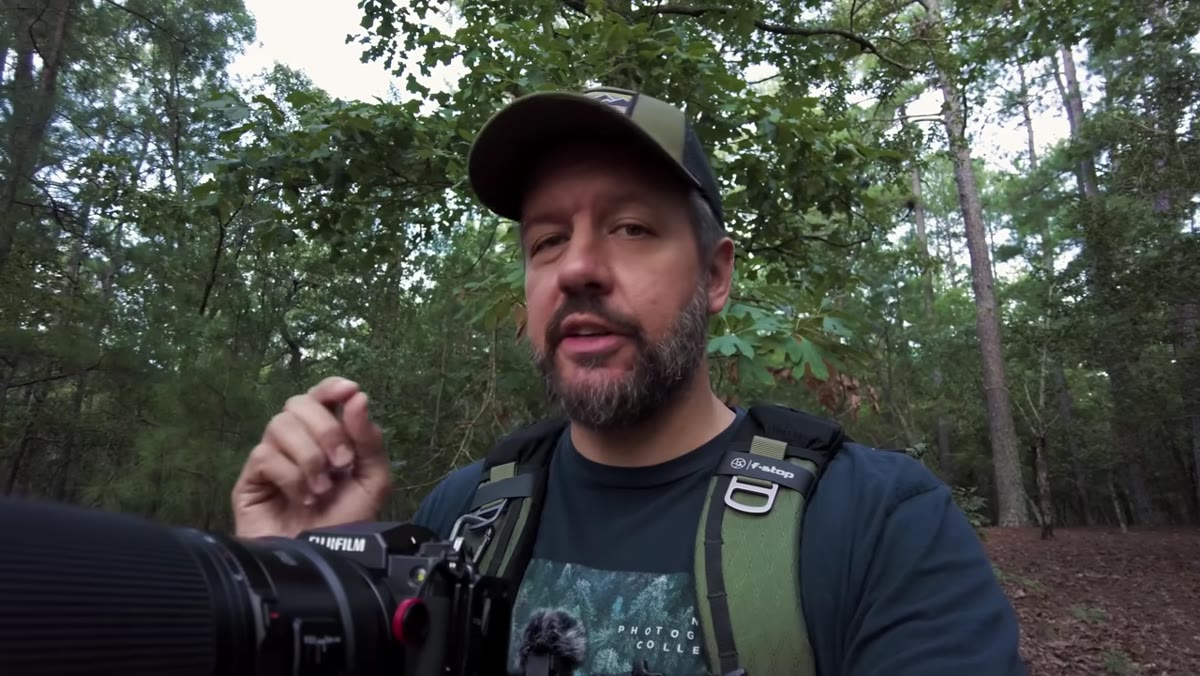 Mark discussing how the filter mirrors adjustments he already makes in editing
Here’s where the tutorial gets genuinely useful for Photoshop people. Denney explains that the filter replicates things he was already doing manually in post: lifting blacks, reducing contrast, and applying Orton-style effects to the highlight areas of his images. The difference is that the filter does it optically, in a way he’s found difficult to match through editing alone. The result has a quality he describes as “ethereal” and that word is doing real work here.
Mark discussing how the filter mirrors adjustments he already makes in editing
Here’s where the tutorial gets genuinely useful for Photoshop people. Denney explains that the filter replicates things he was already doing manually in post: lifting blacks, reducing contrast, and applying Orton-style effects to the highlight areas of his images. The difference is that the filter does it optically, in a way he’s found difficult to match through editing alone. The result has a quality he describes as “ethereal” and that word is doing real work here.
What this tells you is that your Orton effect layers, your curves adjustments that lift the shadow floor, your highlight glow techniques, they’re all approximations of what this filter does in one step. Study your Orton effect closely. Apply it only to the luminosity range that covers your brightest highlights, not the whole image. And keep your black point slightly lifted. That combination gets you in the neighborhood.
What I’d Add: Simulate It in Photoshop Before You Buy
I haven’t pulled the trigger on the physical filters yet (my gear budget currently goes toward coffee and lens cloths), but I’ve spent time reverse-engineering the look. My approach: duplicate your background layer, apply a very low-opacity Gaussian blur around 1.5 to 2 pixels, set that layer to Screen blending mode, then add a luminosity mask that limits the effect to the top 20 percent of tones in the image. Keep the opacity of the whole layer somewhere between 15 and 30 percent. That gets you the highlight bloom without touching the midtones or shadows.
The result isn’t identical to the glass version. Denney is right that there’s something about the optical diffusion that’s hard to fully fake. But for a Photoshop-first workflow, it’s a useful starting point, and building it yourself teaches you exactly what the filter is doing so you understand the effect properly before spending money on it.
The big takeaway here is that black mist filters aren’t a gimmick or a portrait-only tool. Used at a low strength with the right lighting conditions, they introduce a tonal quality that’s genuinely hard to manufacture after the fact. Mark Denney’s case for using them in landscape work is convincing precisely because he’s not a gear evangelist. He came to them reluctantly, tested them carefully, and reported back honestly.
If you want to see the side-by-side comparisons and hear Denney walk through his thinking in his own words, Watch the full tutorial on YouTube. Worth your time.
Comments
Leave a Comment