
I started making graphics in MS Paint. Terrible ones. Cut-out text, gradient backgrounds that looked like a Windows 98 screensaver, the whole deal. When I finally got my hands on Photoshop, the thing that changed everything for me wasn’t the filters or the fancy selection tools. It was layers. Once I understood that every element in a composition could live on its own independent plane, editable and moveable without touching anything else, the whole software started making sense. If you’ve been poking around Photoshop and still feel like layers are vaguely mysterious, this is the tutorial that’s going to fix that.
Watch the full tutorial on YouTube
In this Kelvin Designs tutorial, creator Kelvin walks through building a composite image from scratch using a city background and a pre-cut-out portrait photo. It’s framed as the first lesson in his Photoshop 101 course, which means the pacing is deliberate and beginner-friendly without being condescending. He’s not trying to impress you with tricks. He’s trying to get you oriented. The result is a genuinely useful walkthrough that covers the core concepts you’ll use on literally every Photoshop project you ever do.
Step 1: Open Your Base Image in Photoshop
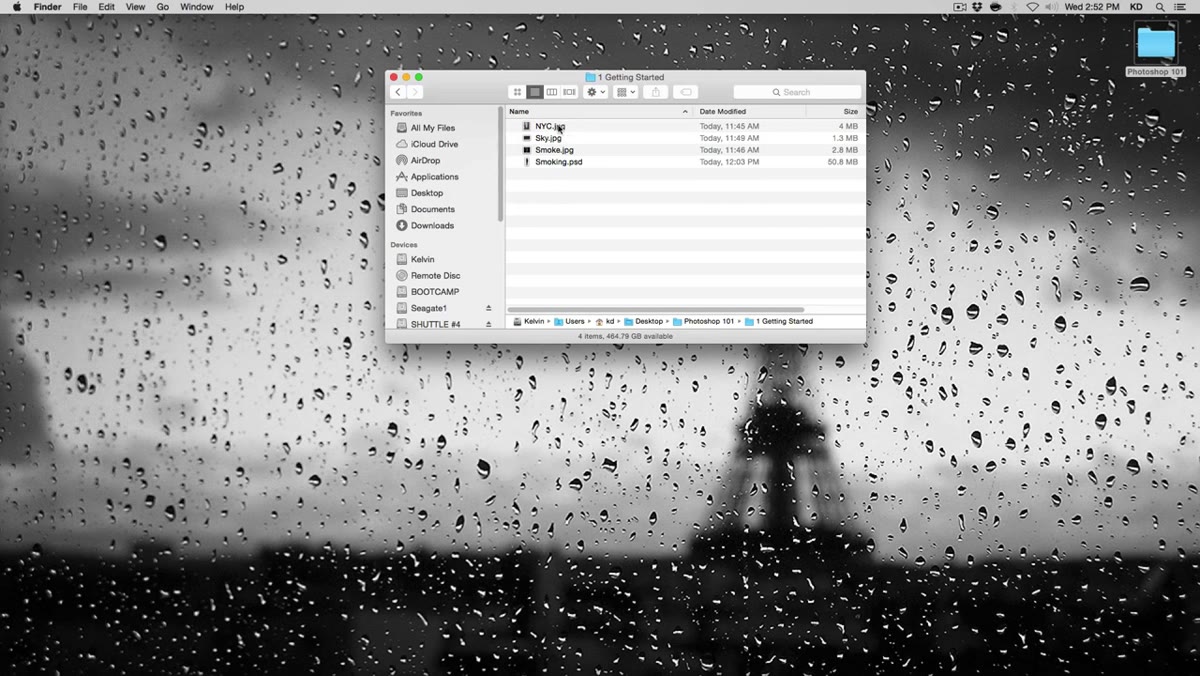 Opening the NYC JPEG background file in Photoshop
Start by opening your background image. Kelvin uses a city photograph (a NYC skyline JPEG) as the base layer. If you double-click a file and it doesn’t open in Photoshop by default, right-click it, choose “Open With,” and select Photoshop from the list. Simple enough.
Opening the NYC JPEG background file in Photoshop
Start by opening your background image. Kelvin uses a city photograph (a NYC skyline JPEG) as the base layer. If you double-click a file and it doesn’t open in Photoshop by default, right-click it, choose “Open With,” and select Photoshop from the list. Simple enough.
Once it’s open, make sure your workspace looks like the standard Essentials layout. If your panels are all over the place, go to the workspace switcher in the top-right corner, click “Essentials,” and if it still looks wrong, hit “Reset Essentials.” This gets your Layers panel, Properties panel, and tools back to where they should be. Working from a consistent layout matters more than people realize early on.
Step 2: Set Up the Application Frame
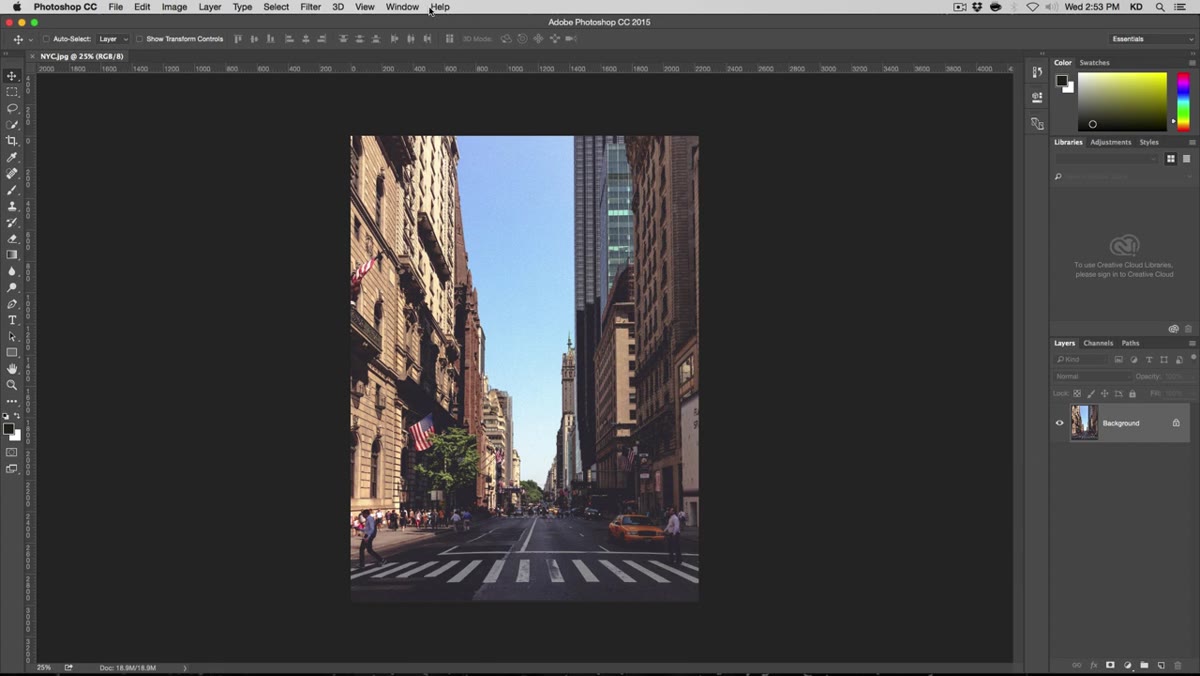 Photoshop window showing the Application Frame setting under the Window menu
If your Photoshop window looks fragmented or your document is floating loose on your desktop, you probably don’t have the Application Frame enabled. Go to the “Window” menu at the top and check “Application Frame.” This wraps everything into a single contained window, which is how most people work and how Kelvin’s screen is set up in the tutorial.
Photoshop window showing the Application Frame setting under the Window menu
If your Photoshop window looks fragmented or your document is floating loose on your desktop, you probably don’t have the Application Frame enabled. Go to the “Window” menu at the top and check “Application Frame.” This wraps everything into a single contained window, which is how most people work and how Kelvin’s screen is set up in the tutorial.
This is one of those settings nobody tells beginners about, but it makes a real difference for workflow. Dragging files and layers between documents is way more intuitive when everything is contained in one frame rather than floating around your desktop.
Step 3: Open the Second File (Your Layered Element)
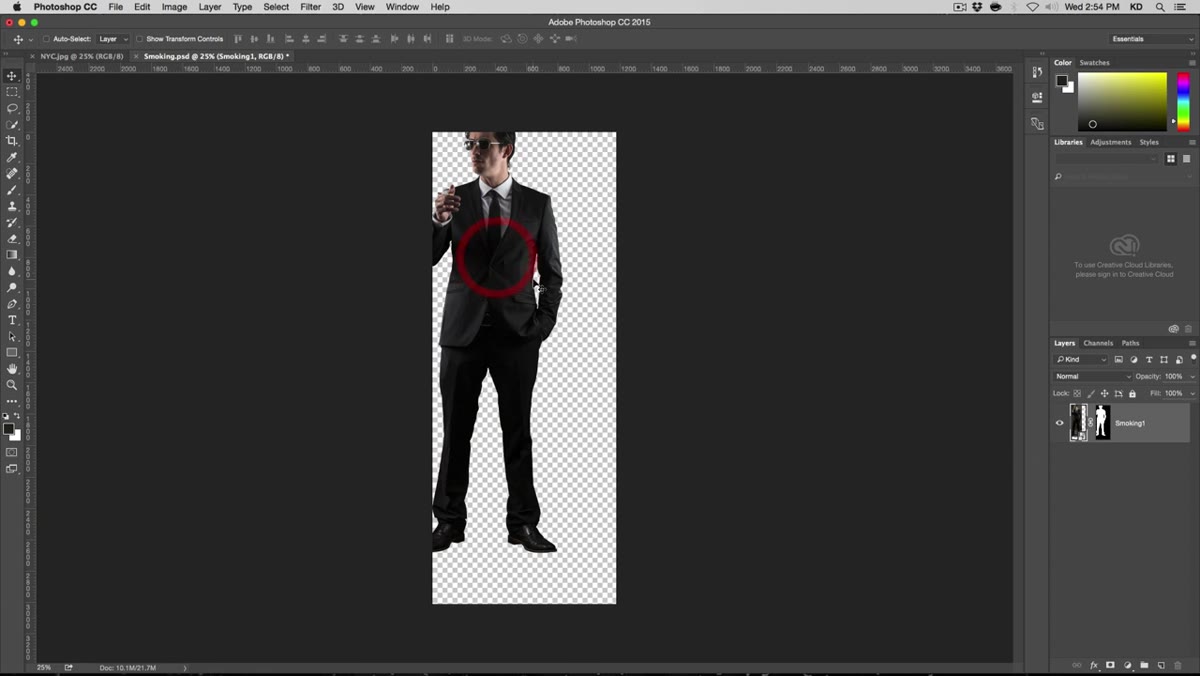
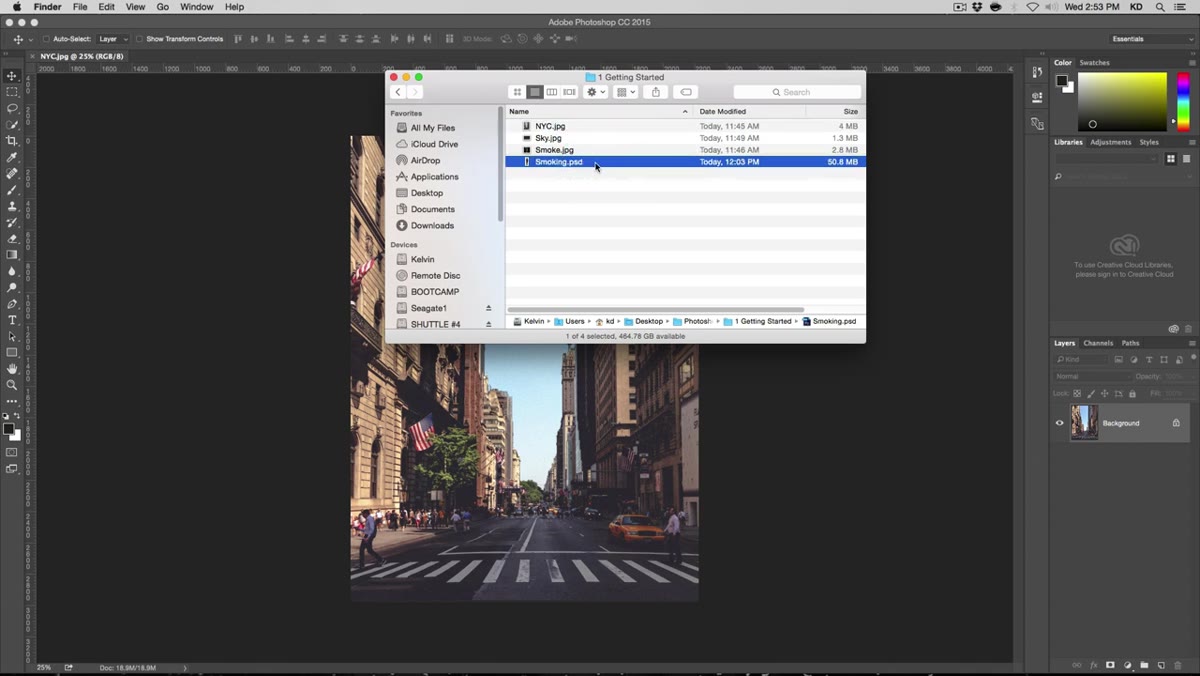 The smoking PSD file open showing a cut-out portrait with transparent background
Next, open your second file, which in Kelvin’s case is a PSD of a portrait that’s already been cut out from its background. You’ll know a layer has transparency when you see the grey-and-white checkerboard pattern behind the subject. That checkerboard is Photoshop’s way of showing you “nothing is here,” which is exactly what you want when you’re building a composite.
The smoking PSD file open showing a cut-out portrait with transparent background
Next, open your second file, which in Kelvin’s case is a PSD of a portrait that’s already been cut out from its background. You’ll know a layer has transparency when you see the grey-and-white checkerboard pattern behind the subject. That checkerboard is Photoshop’s way of showing you “nothing is here,” which is exactly what you want when you’re building a composite.
If you’re working with your own photos that haven’t been cut out yet, don’t worry. Kelvin mentions this is a skill covered later in his course, and we’ve got tutorials on selections and masking on this site too. For now, the point is to understand what a transparent layer looks like and why it matters.
Step 4: Understand the Layers Panel
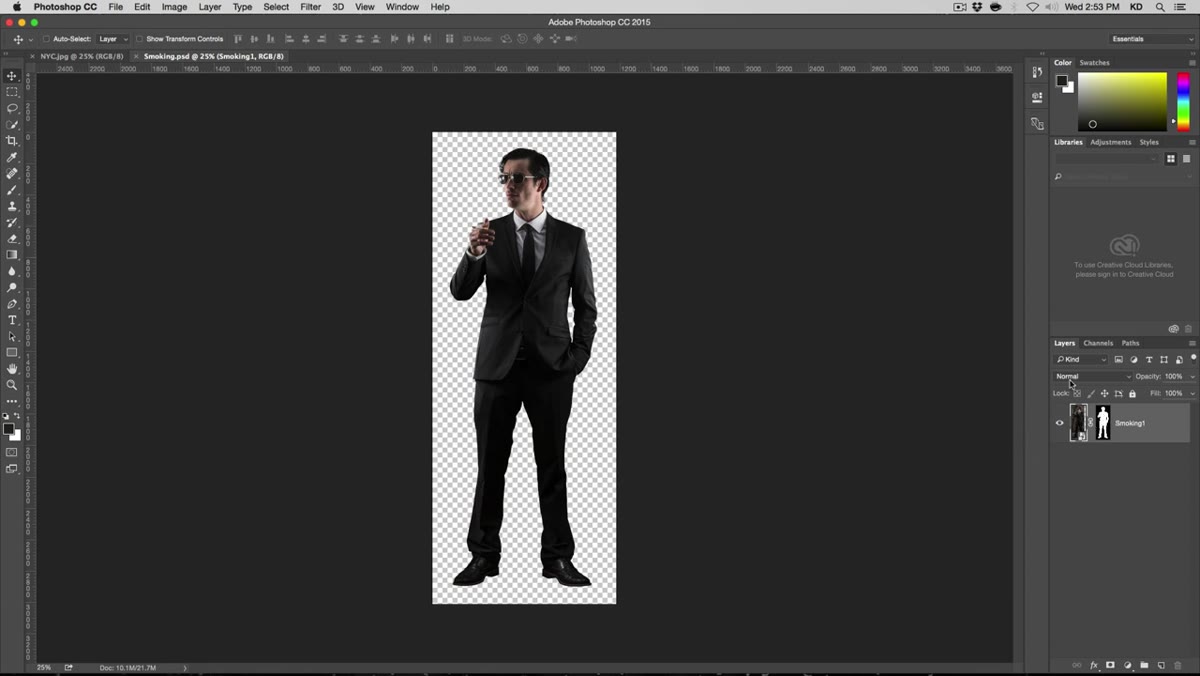 Layers panel showing the portrait layer with a mask thumbnail attached
Look at the Layers panel on the right side of your screen. Each row in that panel represents a separate layer. Kelvin points out that the portrait layer has two thumbnails attached to it: one showing the image content and one showing the mask. The mask is what creates that cut-out effect by hiding parts of the layer without actually deleting them.
Layers panel showing the portrait layer with a mask thumbnail attached
Look at the Layers panel on the right side of your screen. Each row in that panel represents a separate layer. Kelvin points out that the portrait layer has two thumbnails attached to it: one showing the image content and one showing the mask. The mask is what creates that cut-out effect by hiding parts of the layer without actually deleting them.
This is one of the most important things to internalize early. Layers and masks are non-destructive. You’re not erasing pixels, you’re hiding them. That distinction has saved me from disaster more times than I can count.
Step 5: Drag a Layer Between Documents Using the Move Tool
 Using the Move tool to drag the portrait layer onto the NYC background tab
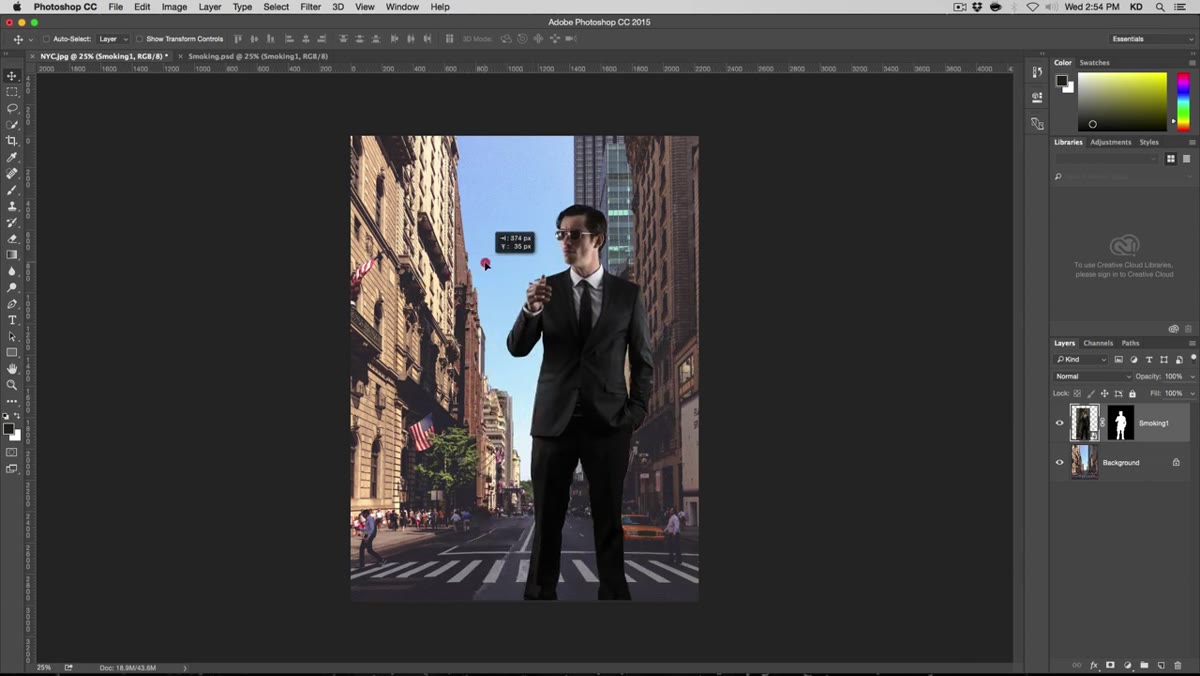
Here’s where the magic happens. Select the Move tool (keyboard shortcut: V, and yes, I’m going to keep pushing keyboard shortcuts until it becomes second nature for you). With your portrait file active, click and hold on the canvas, then drag your cursor up to the tab of your background document at the top of the screen. Hover there for a second without releasing. Photoshop will switch to that document. Then drag down onto the canvas and release.
Using the Move tool to drag the portrait layer onto the NYC background tab
Here’s where the magic happens. Select the Move tool (keyboard shortcut: V, and yes, I’m going to keep pushing keyboard shortcuts until it becomes second nature for you). With your portrait file active, click and hold on the canvas, then drag your cursor up to the tab of your background document at the top of the screen. Hover there for a second without releasing. Photoshop will switch to that document. Then drag down onto the canvas and release.
Your portrait layer is now sitting on top of the city background, inside the same document. Check your Layers panel and you’ll see two layers stacked. The one on top visually appears in front of the one below it. That stacking order is the whole logic of how composites work.
Step 6: Reposition the Layer with the Move Tool
 Moving the portrait layer around the NYC background using the Move tool
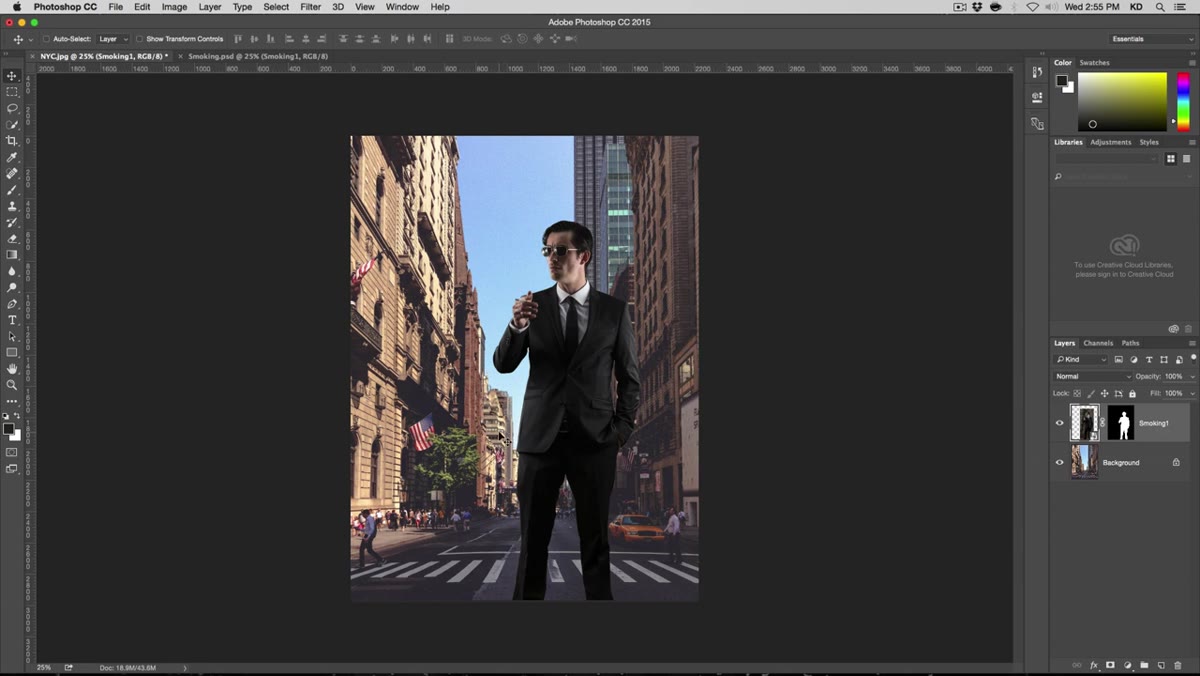
With the Move tool still active and your new layer selected in the Layers panel, you can click and drag it anywhere on the canvas. Kelvin demonstrates moving the portrait around to show how it sits independently on top of the background without affecting it at all.
Moving the portrait layer around the NYC background using the Move tool
With the Move tool still active and your new layer selected in the Layers panel, you can click and drag it anywhere on the canvas. Kelvin demonstrates moving the portrait around to show how it sits independently on top of the background without affecting it at all.
This is the fundamental principle he’s driving at: compositing is the act of stacking and manipulating layers. Every complex Photoshop project you’ll ever see, from magazine covers to movie posters, is built on this exact idea. The complexity comes from having more layers, more masks, and more adjustments. The concept stays the same.
Step 7: Know What Happens When You Open a Raw File
 Camera Raw dialog opening from a double-click on the layer’s smart object icon
Kelvin takes a moment to note that his portrait was originally shot as a RAW file, not a JPEG. When you double-click the layer thumbnail for a RAW-based smart object, Photoshop opens Camera Raw, a separate editing interface for adjusting exposure, color, and tone before the image comes into your main document.
Camera Raw dialog opening from a double-click on the layer’s smart object icon
Kelvin takes a moment to note that his portrait was originally shot as a RAW file, not a JPEG. When you double-click the layer thumbnail for a RAW-based smart object, Photoshop opens Camera Raw, a separate editing interface for adjusting exposure, color, and tone before the image comes into your main document.
You don’t need to dig into Camera Raw right now, but you should know it exists. If you ever open a photo from a DSLR or mirrorless camera and a different-looking panel suddenly appears, that’s Camera Raw. It’s not a bug, it’s a feature.
A Note on Layer Order (Something Kelvin Doesn’t Belabor But You Should Know)
Layer order in the panel directly controls what’s visible on screen. The layer at the top of the stack sits in front of everything below it. Drag a layer up or down in the panel and it moves forward or backward in the composition. Early on, I spent an embarrassing amount of time wondering why a layer had “disappeared,” only to realize I’d accidentally moved it below an opaque layer. Check the stack before you panic.
Layers are the foundation that every other Photoshop skill is built on. Masks, blending modes, adjustment layers, smart objects – none of it makes sense until you’re comfortable with the basic idea that your composition is a stack of independent elements you can move, edit, and hide without breaking anything else. Get this right and everything else starts to click.
Watch the full tutorial on YouTube to follow along with Kelvin’s walkthrough and see the composite come together in real time.
Comments
Leave a Comment