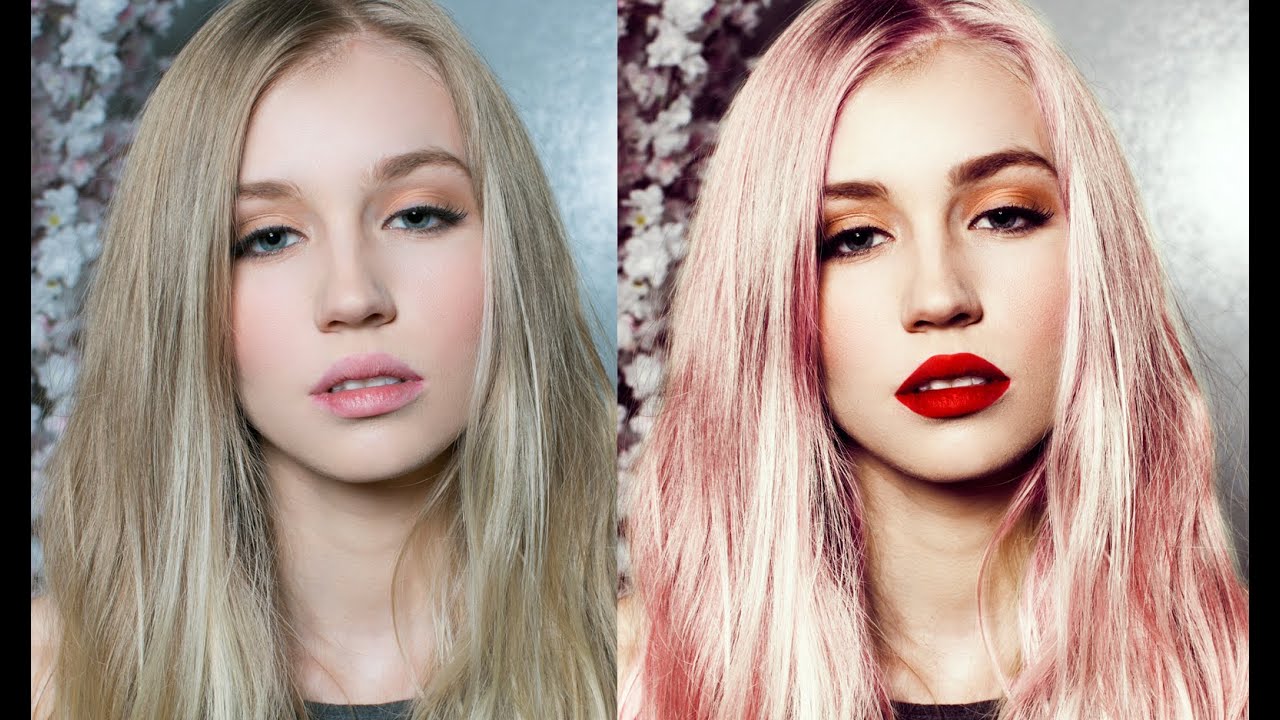
There’s a certain kind of client request that makes every retoucher pause before responding: “Can you make the hair a different color?” It sounds simple. It is not always simple. I’ve gone down the channel-masking rabbit hole, spent twenty minutes wrestling with Select and Mask, and once produced what I can only describe as a hair-shaped disaster. So when I came across this Jessica Kobeissi tutorial on transforming portrait photos, specifically recoloring dark hair to a vivid pink, I was relieved to see a method that actually respects the fact that most of us are working against a deadline. Watch the full tutorial on YouTube
The approach Jessica uses is almost offensively straightforward: paint a rough selection by hand, load it as a mask on an adjustment layer, then stack a Curves and Hue/Saturation layer to push the hair into whatever color you want. No complex selections. No channel algebra. Just a brush, a couple of adjustment layers, and some understanding of why you need to brighten before you colorize. That last part is the bit most tutorials skip, and it’s what makes the whole thing actually work.
If you’ve ever tried to slap a color on dark hair and gotten a muddy, unconvincing result, this tutorial explains exactly why that happens and what to do about it. Here’s the full breakdown so you can follow along without pausing and rewinding every thirty seconds.
Step 1: Create a New Raster Layer for Your Selection
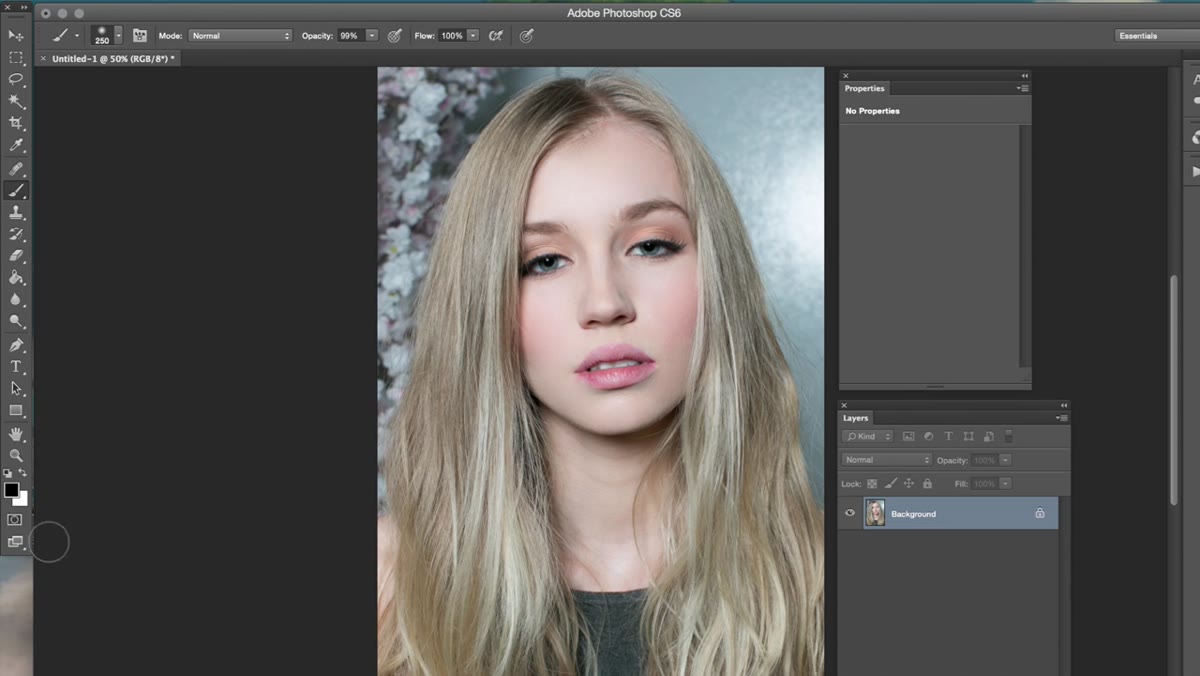 New raster layer created, named black hair selection
Before you touch the actual photo, make a brand new blank raster layer above your portrait layer. Name it something obvious like “hair selection” because future-you will be grateful. Set your foreground color to pure black and your brush opacity to 100%. You’re not doing anything subtle here. This is the rough-and-ready phase, and that’s intentional.
New raster layer created, named black hair selection
Before you touch the actual photo, make a brand new blank raster layer above your portrait layer. Name it something obvious like “hair selection” because future-you will be grateful. Set your foreground color to pure black and your brush opacity to 100%. You’re not doing anything subtle here. This is the rough-and-ready phase, and that’s intentional.
This layer is purely a vehicle for building your mask. You’re not painting on the photo itself, which means mistakes are harmless and easy to fix.
Step 2: Paint Over the Hair with a Black Brush
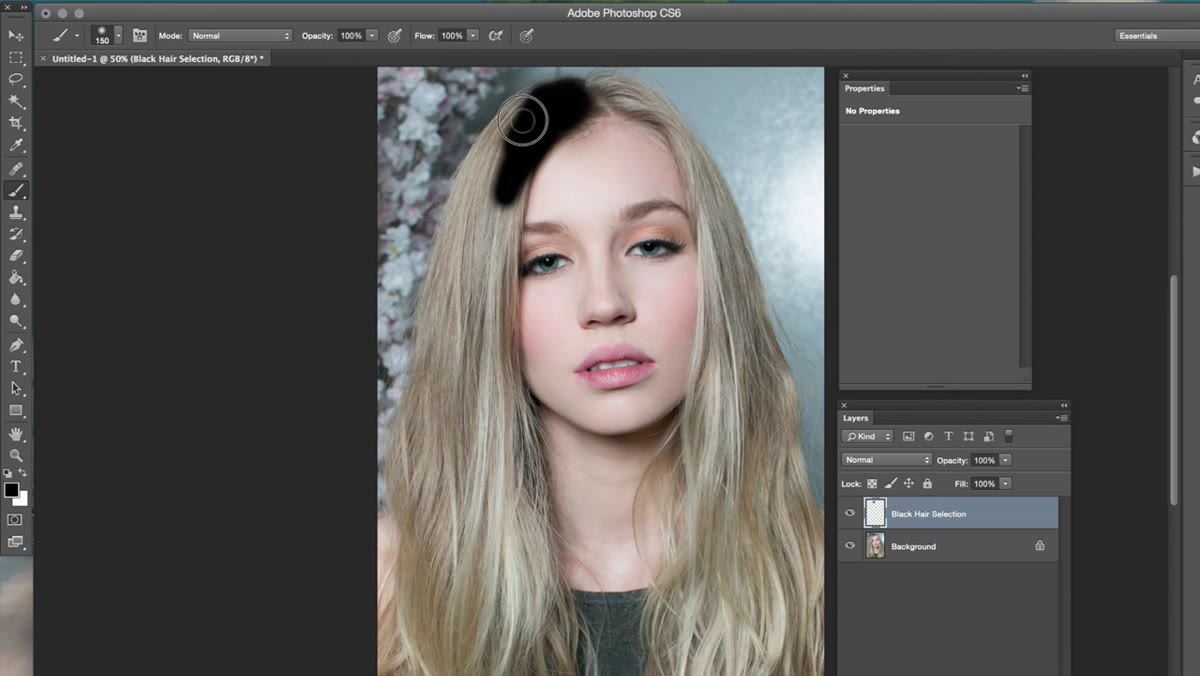 Black brush being painted over the subject’s hair on a new layer
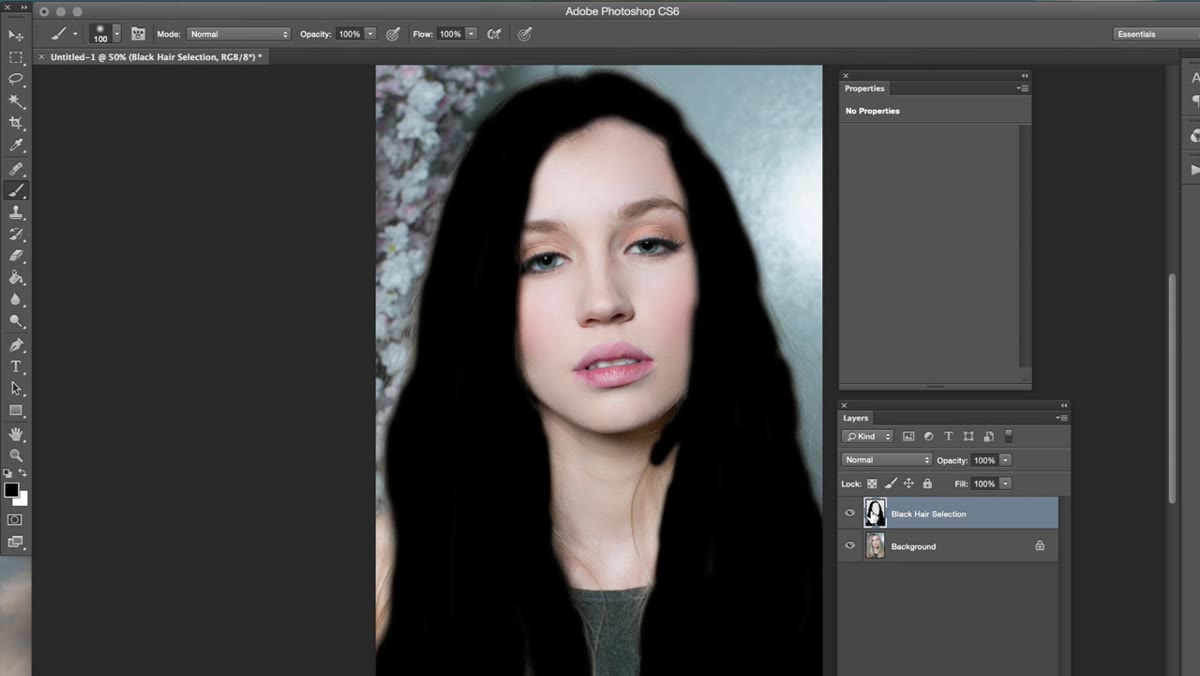
Grab a hard or semi-hard brush and just paint over the hair. Every bit of it. The shape doesn’t need to be perfect at the edges because you’ll refine it later, but you want solid coverage across the entire hair area. Jessica’s approach here is refreshingly no-nonsense: if you can color inside the lines at a kindergarten level, you can do this. Don’t overthink the precision on the first pass.
Black brush being painted over the subject’s hair on a new layer
Grab a hard or semi-hard brush and just paint over the hair. Every bit of it. The shape doesn’t need to be perfect at the edges because you’ll refine it later, but you want solid coverage across the entire hair area. Jessica’s approach here is refreshingly no-nonsense: if you can color inside the lines at a kindergarten level, you can do this. Don’t overthink the precision on the first pass.
Speed matters more than perfection at this stage. Get the bulk of the hair covered. The mask system you’re about to build will let you add or subtract areas after the fact, so a slightly loose selection now is not a problem. Go too small and you’ll have hairline gaps showing through. Go slightly large and you’ll trim it back.
Step 3: Load the Painted Layer as a Selection
 Marching ants selection active after Command-clicking the raster layer
Here’s where the painted layer stops being a painting and starts being a selection. Hold Command (Mac) or Ctrl (Windows) and click directly on the thumbnail of your painted layer in the Layers panel. You’ll see the marching ants appear around the painted area. Photoshop has just read all those black pixels as a selection boundary.
Marching ants selection active after Command-clicking the raster layer
Here’s where the painted layer stops being a painting and starts being a selection. Hold Command (Mac) or Ctrl (Windows) and click directly on the thumbnail of your painted layer in the Layers panel. You’ll see the marching ants appear around the painted area. Photoshop has just read all those black pixels as a selection boundary.
Keep this selection active. Don’t click anywhere else, don’t deselect, just move straight to the next step. The selection is about to get baked into an adjustment layer mask, which is where the real control lives.
Step 4: Add a Curves Adjustment Layer with the Selection Active
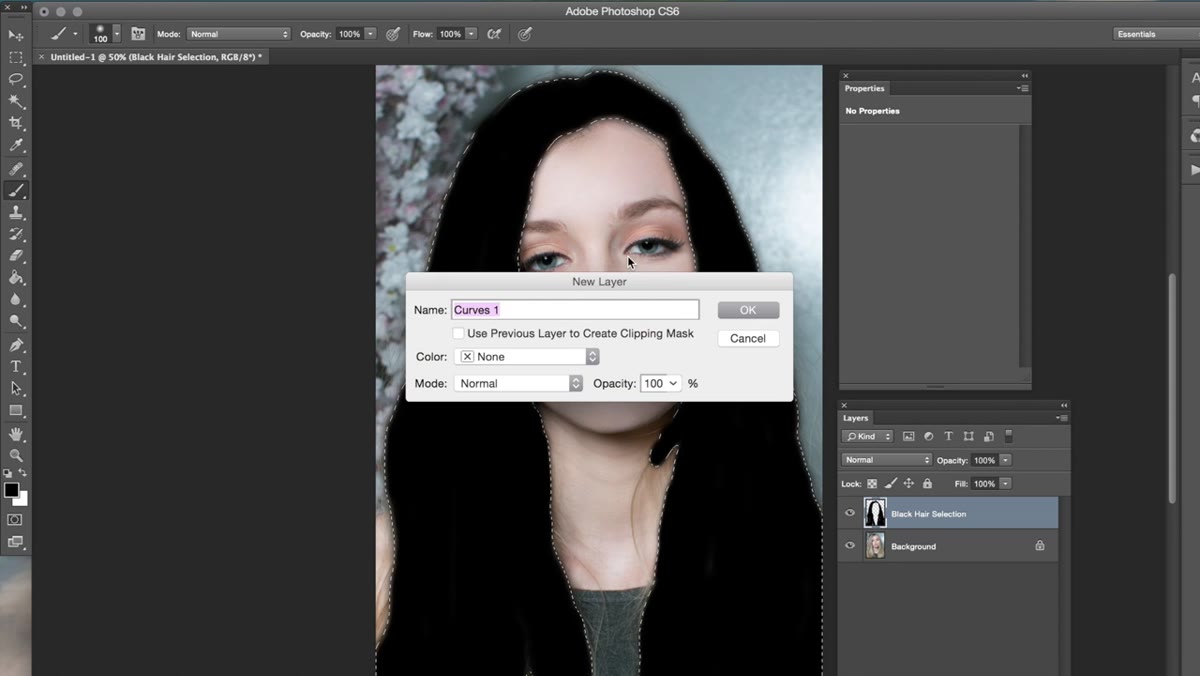 Curves adjustment layer added with hair mask visible in Layers panel
With your selection still live, go to Layer, then New Adjustment Layer, then Curves. Click OK. Photoshop will automatically use your active selection as the mask for this Curves layer, meaning any adjustments you make inside Curves will only affect the hair area you painted. You’ll see a black-and-white mask thumbnail appear next to the Curves layer in the panel.
Curves adjustment layer added with hair mask visible in Layers panel
With your selection still live, go to Layer, then New Adjustment Layer, then Curves. Click OK. Photoshop will automatically use your active selection as the mask for this Curves layer, meaning any adjustments you make inside Curves will only affect the hair area you painted. You’ll see a black-and-white mask thumbnail appear next to the Curves layer in the panel.
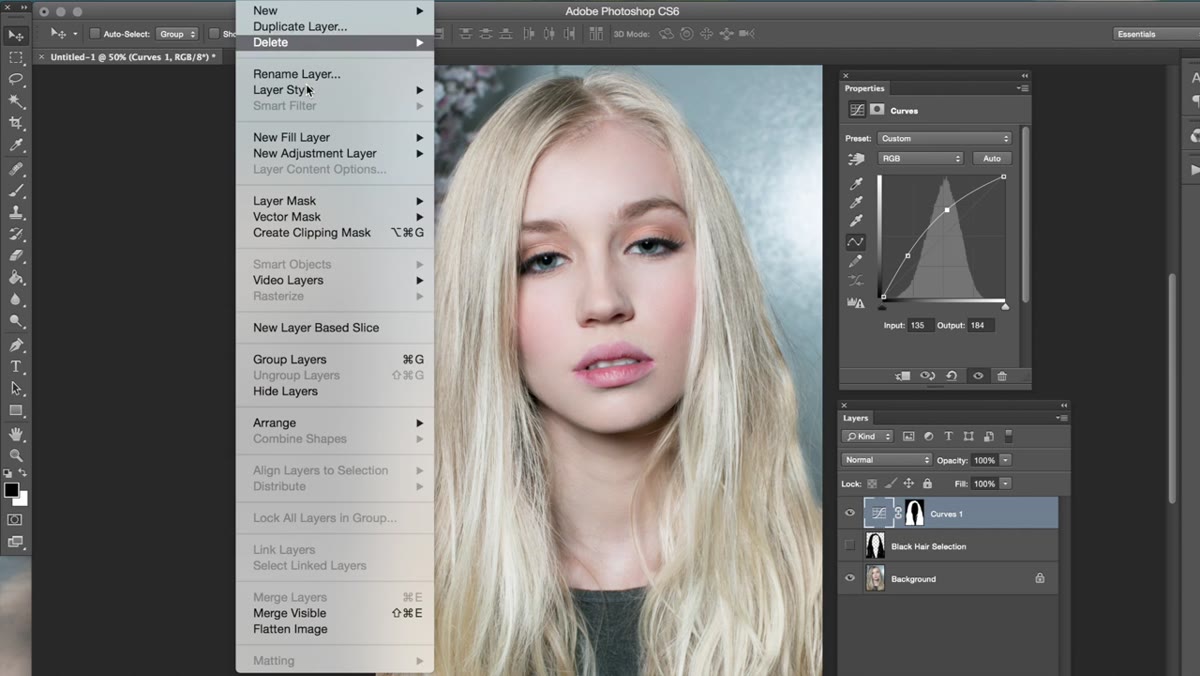
Click on the graph icon in the Curves layer (not the mask thumbnail) to make sure you’re editing the actual curve and not the mask. Then pull the curve upward to brighten the hair significantly. The goal is to lift those dark tones well above where they started. Jessica’s reason for this is smart: pink (or any pastel) simply won’t read convincingly over very dark hair. Brightening first gives the color somewhere to land.
Step 5: Refine the Mask if Needed
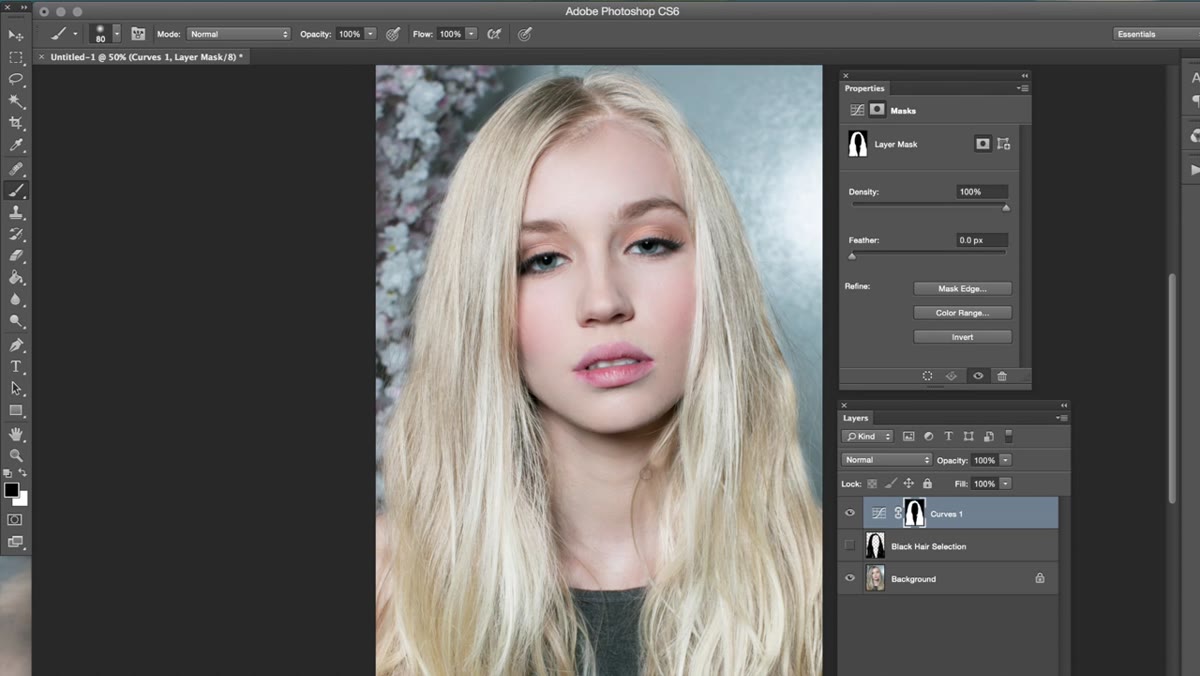 White and black brush being used to add and subtract from the hair mask
Click on the mask thumbnail of your Curves layer. With a white brush, paint over any areas of hair you missed in your original selection. White adds to the mask, meaning the adjustment will affect those areas. With a black brush, paint over any areas that got caught in the selection that shouldn’t have, like skin or background edges. Black removes from the mask.
White and black brush being used to add and subtract from the hair mask
Click on the mask thumbnail of your Curves layer. With a white brush, paint over any areas of hair you missed in your original selection. White adds to the mask, meaning the adjustment will affect those areas. With a black brush, paint over any areas that got caught in the selection that shouldn’t have, like skin or background edges. Black removes from the mask.
This is your cleanup round. Zoom in to the hairline and do a quick pass to make sure the edges look natural. You don’t need to be pixel-perfect, especially if the hair has fine strands or flyaways, but getting the broad shapes right here will save you from obvious artifacting once you add color.
Step 6: Add a Hue/Saturation Adjustment Layer Using the Same Mask
 Hue/Saturation dialog open with colorize option visible
Now you need a Hue/Saturation adjustment layer over the top, using that same hair selection. The easiest way is to Command/Ctrl-click your existing mask thumbnail to reload the selection, then go to Layer, New Adjustment Layer, Hue/Saturation. Again, the mask is applied automatically.
Hue/Saturation dialog open with colorize option visible
Now you need a Hue/Saturation adjustment layer over the top, using that same hair selection. The easiest way is to Command/Ctrl-click your existing mask thumbnail to reload the selection, then go to Layer, New Adjustment Layer, Hue/Saturation. Again, the mask is applied automatically.
Inside the Hue/Saturation properties, check the Colorize box. This shifts the layer into a mode where you can dial in a specific color rather than just shifting existing hues. From there, drag the Hue slider until you land on the pink (or whatever color) you’re going for, then push Saturation up until it looks vivid and intentional. The brightening you did in Step 4 is what makes this color pop instead of looking washed or dull.
One Thing I’d Add from My Own Experience
The mask-painting method Jessica uses is legitimately fast, but I’d suggest saving your painted selection layer as a Smart Object before you build anything on top of it. Twice now I’ve gone back into a portrait project and wished I could adjust the original selection shape without rebuilding the whole stack. If you convert that initial painted layer to a Smart Object before you Command-click to load the selection, it’s still there, still editable, and you can repaint and reload anytime. Small habit, big payoff when a client comes back three days later asking for “just a small change.”
It’s also worth noting that this technique scales. Once you’ve got the Curves-brightens-first workflow in your head, you can use it for any unnatural hair color. Deep blue, violet, even that aggressively teal look that’s been everywhere. The logic is the same regardless of the target color.
The single most important thing to take from this tutorial is the sequencing: brighten first, colorize second. It’s counterintuitive until you see it, and then you can’t unsee it. Every time I’ve tried to skip the brightening step I’ve ended up with muddy, unconvincing color that screams “this was edited.” The two-layer approach, Curves for luminosity then Hue/Saturation for color, keeps the two jobs separate and gives you independent control over each. Clean, logical, fast.
Go watch Jessica walk through the whole thing herself: Watch the full tutorial on YouTube
Comments (2)
Great breakdown. The step-by-step approach really helps.
Wow, I had no idea you could do this. Mind blown.
Leave a Comment