Stop Butchering Bodies in Photoshop: The Right Way to Use Liquify for Subtle Posing Fixes

Stop Butchering Bodies in Photoshop: The Right Way to Use Liquify for Subtle Posing Fixes

There’s a moment every retoucher knows. You’re looking at an otherwise great photo and something just feels slightly off. The lighting is good, the focus is sharp, but the pose is fighting you. Maybe an arm is angled weird, or a hip is jutting out in a way that looks awkward instead of dynamic. You could go back to the client and ask for a reshoot. Or you could spend ten seconds in Liquify and quietly fix it before anyone notices.
Stop Letting AI Wreck Your Retouching: The Right Way to Lighten Dark Circles in Photoshop

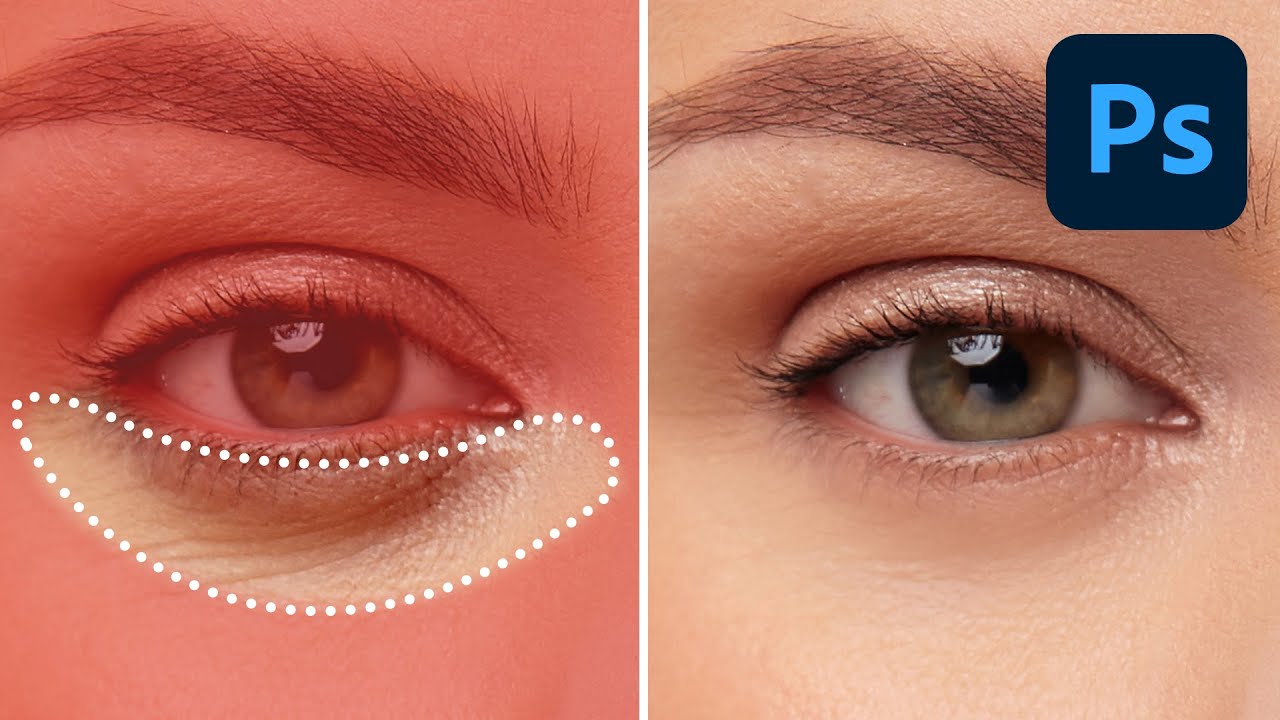
Stop Letting AI Wreck Your Retouching: The Right Way to Lighten Dark Circles in Photoshop

I’ve handed clients back photos where the under-eye area looked so aggressively smoothed it felt like I’d replaced their face with a soap commercial extra. Dark circles, bags, soft wrinkles – these aren’t flaws to be surgically erased. They’re part of someone’s face. The goal is to lighten and brighten, not rebuild the whole structure from scratch. Once I figured that out, my retouching got about ten times more believable.

Adobe's New Blemish Removal Tool Is Shockingly Good (And Free to Use)

Adobe's New Blemish Removal Tool Is Shockingly Good (And Free to Use)

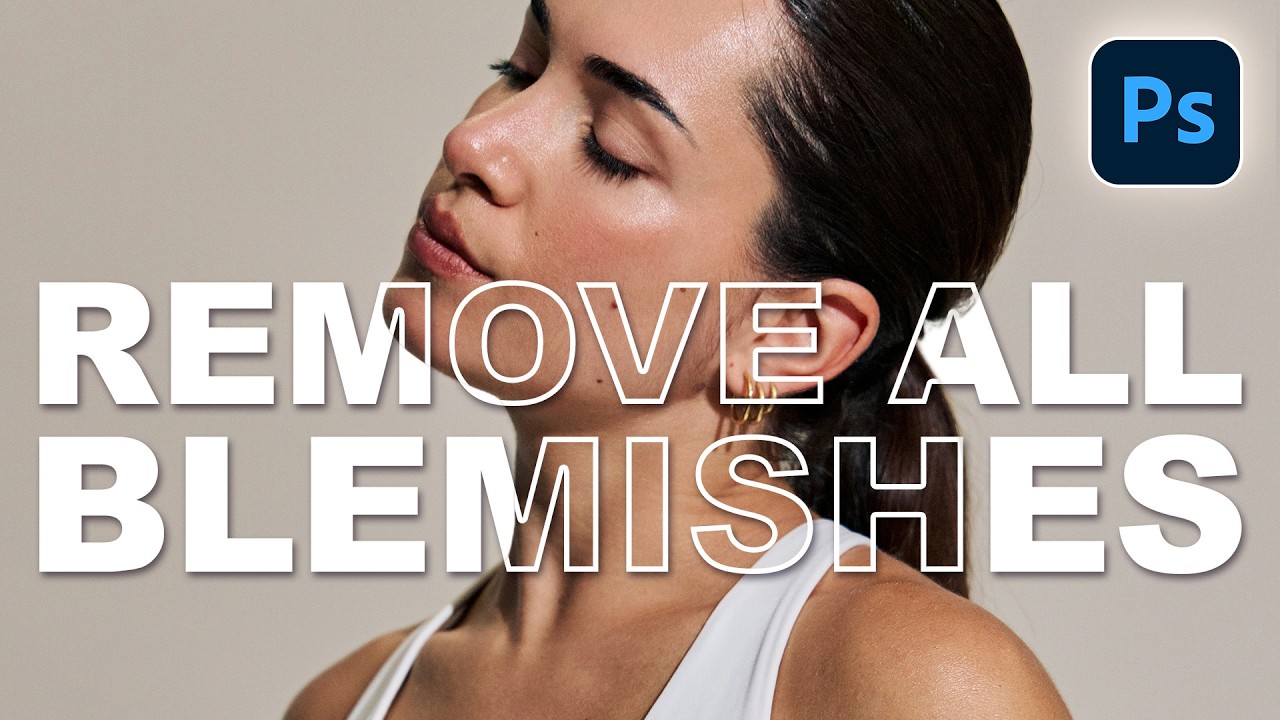
Skin retouching used to be one of those tasks that separated the people who really know Photoshop from everyone else. Frequency separation, healing brushes, clone stamp patches layered on top of each other like geological strata. It works, but it’s slow, and if a client comes back three weeks later wanting changes, good luck unpicking all of that. I’ve been burned enough times that I’ve become borderline fanatical about non-destructive workflows.

Photoshop's Remove Tool Is the Upgrade Your Healing Brush Has Been Begging For

Photoshop's Remove Tool Is the Upgrade Your Healing Brush Has Been Begging For

I’ve spent an embarrassing amount of time patching skies, cloning out trash cans, and carefully healing away power lines — the kind of tedious retouching work that makes you question your life choices around hour two. So when a new Photoshop tool actually makes me faster and gets better results than my existing workflow, I pay attention. In this Matt Kloskowski tutorial, he walks through the Remove Tool that shipped in Photoshop 24.

Content Aware Fill Has Two Modes — Here's Why That Actually Matters

Content Aware Fill Has Two Modes — Here's Why That Actually Matters

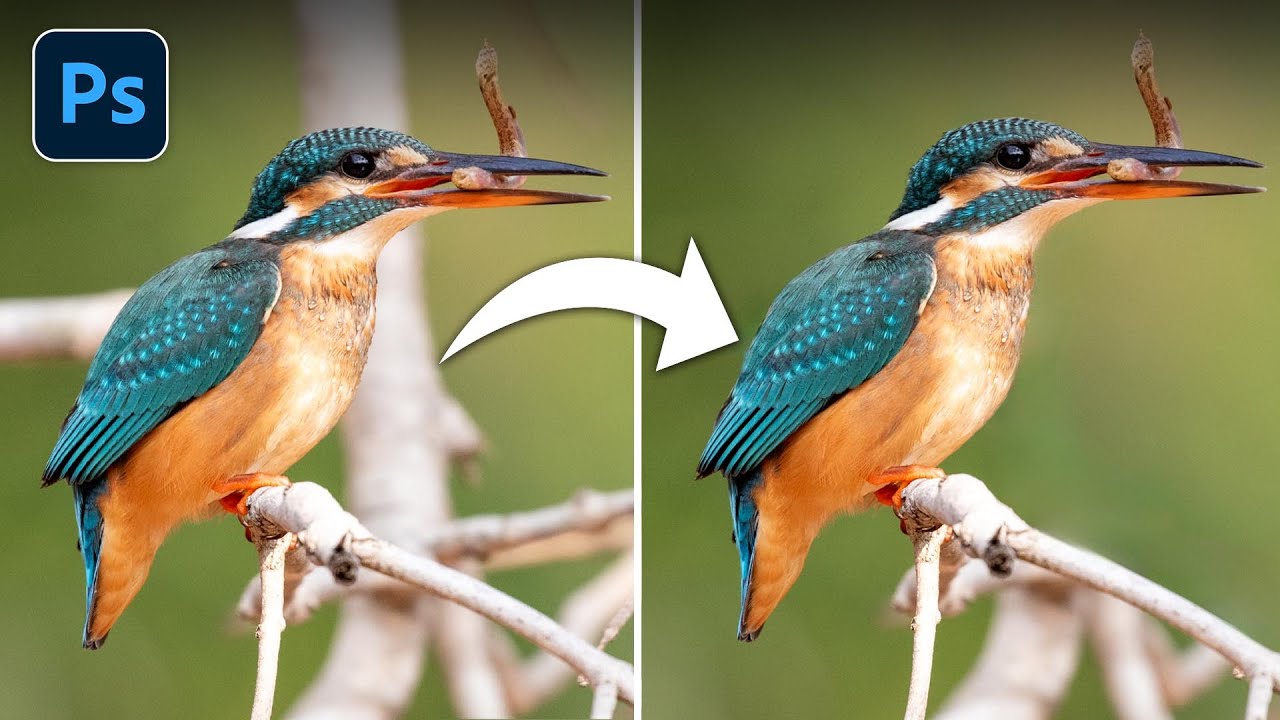
There’s a very specific kind of frustration that comes from watching Photoshop confidently replace a distracting branch with a smear of abstract garbage. You ran the tool. You did the thing. The thing looked terrible. And now you’re sitting in a coffee shop wondering if you should just clone stamp it by hand like it’s 2009. I’ve been there more times than I’d like to admit. What I didn’t realize for a long time is that Content Aware Fill isn’t one tool with one behavior.

One Tool to Rule Them All: How the Photoshop Remove Tool Changed My Retouching Workflow

One Tool to Rule Them All: How the Photoshop Remove Tool Changed My Retouching Workflow

There’s a specific kind of frustration that hits when you’re three tools deep into removing a distraction from a photo and you can still see the seam. Clone stamp, healing brush, patch tool, content-aware fill – I’ve cycled through all of them on a single edit before, and half the time I end up with something that looks like the photo has a skin condition. So when I came across Watch the full tutorial on YouTube from Matt Kloskowski, the promise of handling all of that with a single tool made me sit up straighter in my coffee shop chair.

How to Rescue a Damaged Old Photo in Photoshop: Plan First, Clone Second

How to Rescue a Damaged Old Photo in Photoshop: Plan First, Clone Second

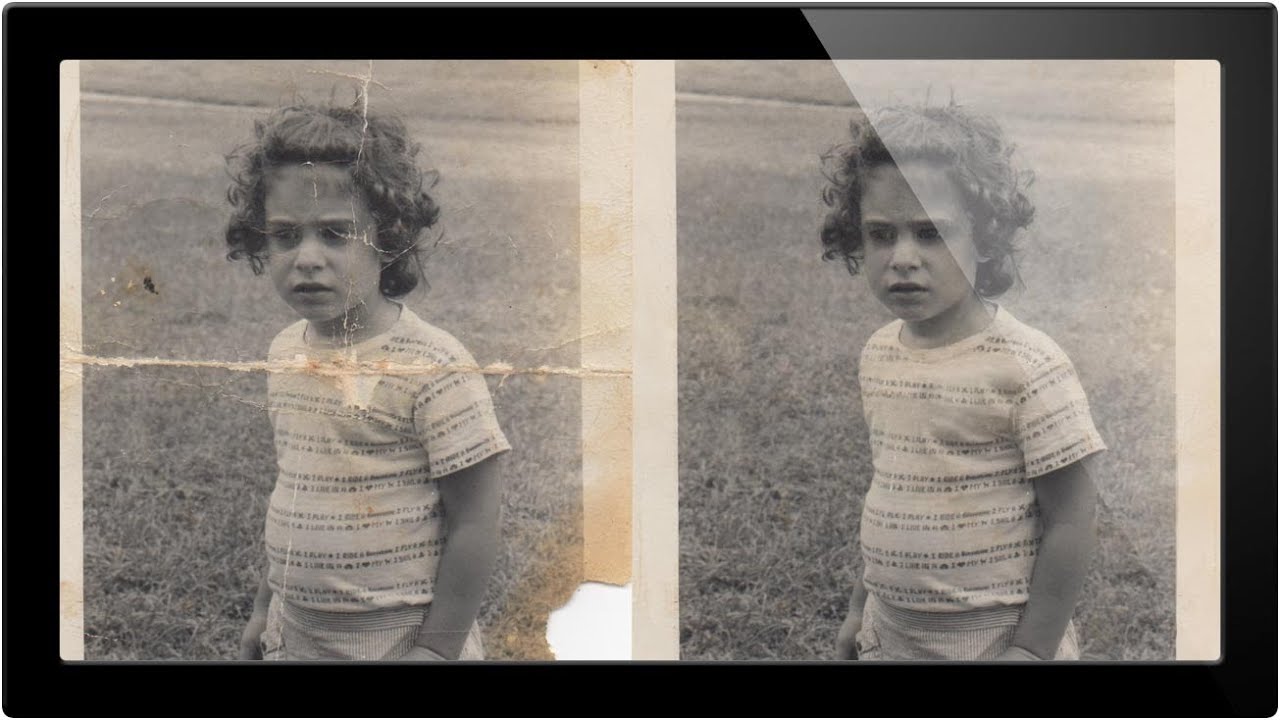
Client work will humble you fast. Early in my freelance run, someone handed me a scanned family photo that looked like it had survived a move, a flood, and a toddler with a crayon. I opened it in Photoshop and immediately started clone-stamping like a maniac, no plan, no structure, just vibes. Two hours later I had a mess that somehow looked worse than the original. That experience stuck with me, mostly because I invoiced for it anyway, but also because it taught me that photo restoration has a correct order of operations and I had been ignoring it.

Quick Fill vs. Full Control: Getting the Most Out of Content-Aware Fill in Photoshop

Quick Fill vs. Full Control: Getting the Most Out of Content-Aware Fill in Photoshop

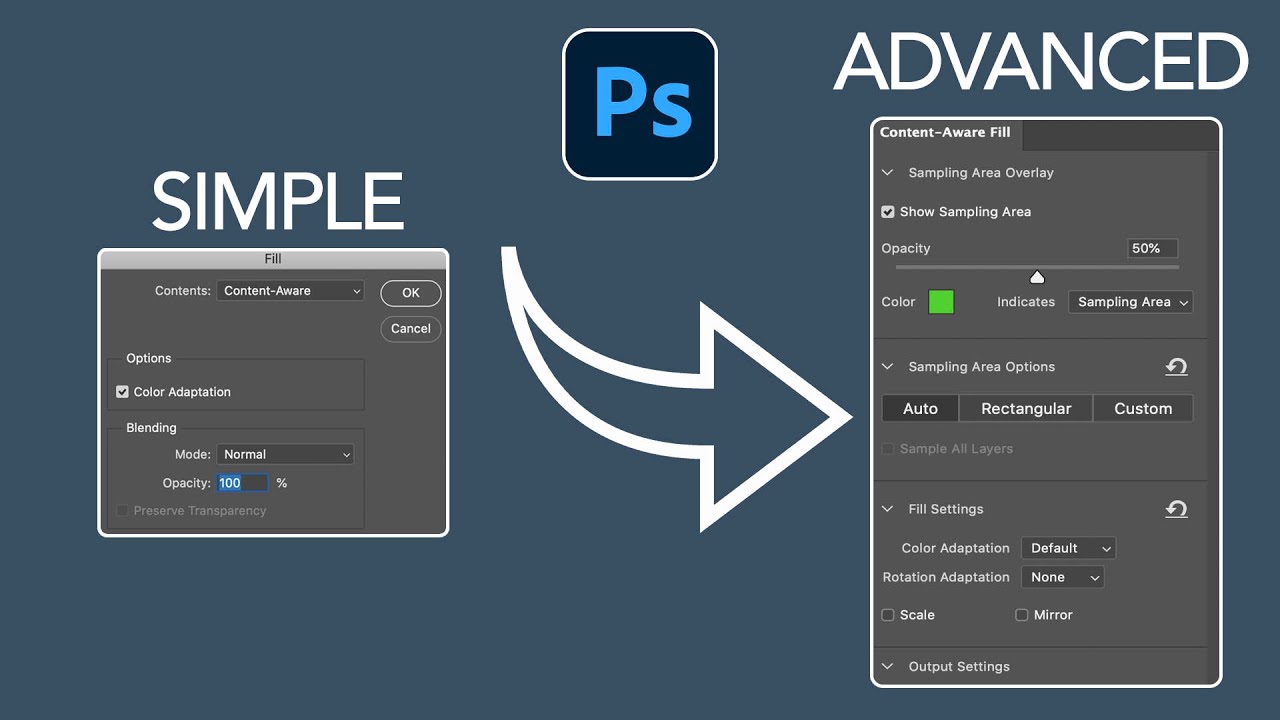
There’s a specific kind of freelance panic that hits when a client photo has a distracting element right in the middle of an otherwise perfect shot. A shadow cutting across a clean background. A trash can lurking at the edge of a landscape. Some random blob that your eye keeps getting snagged on. You need it gone, and you need it gone without spending 45 minutes cloning pixels by hand like it’s 2009.

Bye-Bye Blemishes: A Practical Photoshop Guide to Removing Acne Without Destroying Skin

Bye-Bye Blemishes: A Practical Photoshop Guide to Removing Acne Without Destroying Skin

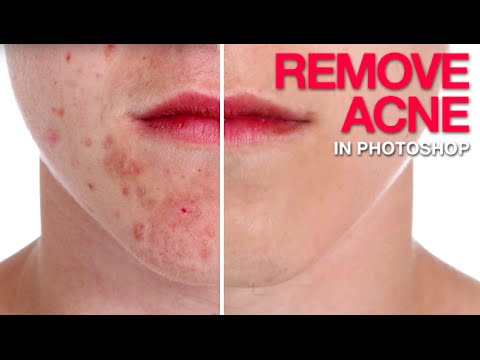
I do a lot of freelance portrait work. Not high-fashion editorial stuff, just real people who want to look their best in headshots, event photos, and the occasional engagement shoot. And one request comes up constantly: “Can you clean up my skin a little?” That’s polite for “I had a breakout and I hate this photo of myself.” For years, my go-to was just hammering the Spot Healing Brush until something resembling a face appeared.

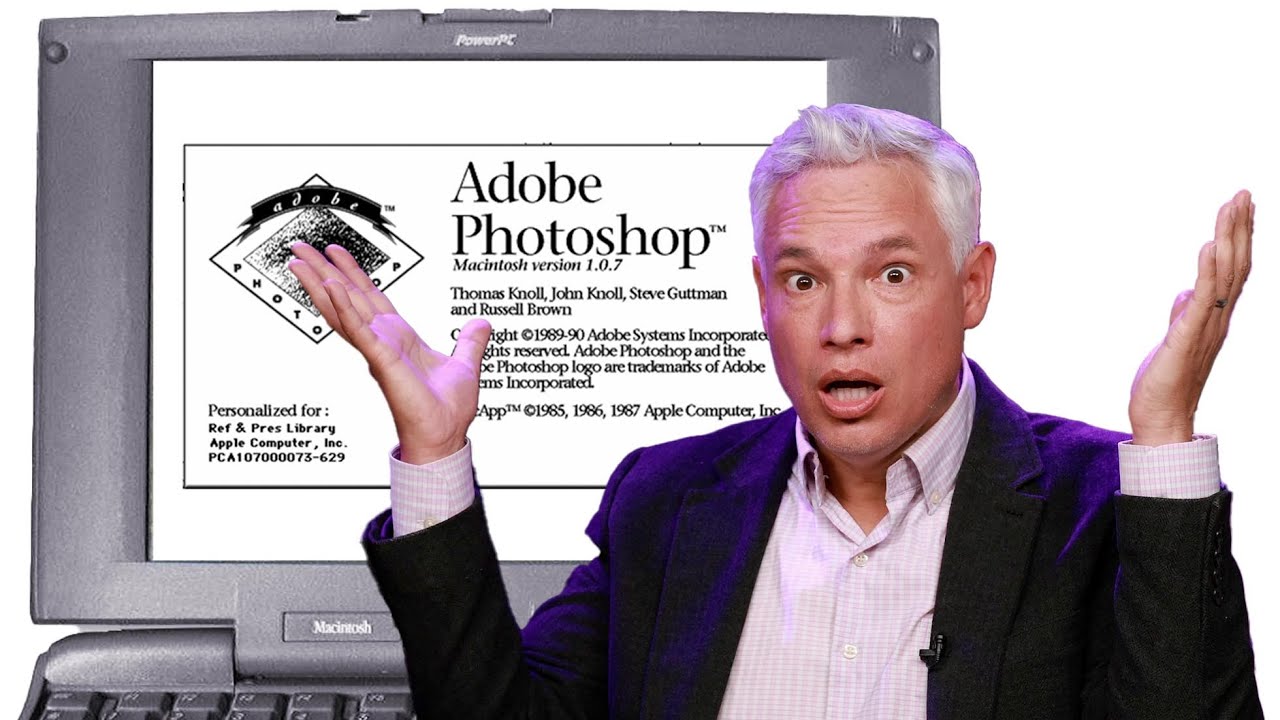
Photoshop at 35: What Happens When You Actually Use Version 1.0 in 2025

Photoshop at 35: What Happens When You Actually Use Version 1.0 in 2025

I started making graphics in MS Paint. Terrible, pixelated, deeply embarrassing stuff - word art on birthday cards, memes with white borders because I didn’t know how to crop. So when I finally got my hands on Photoshop, it felt like going from a tricycle to a sports car. I still feel that way, honestly. But it’s easy to forget just how far the software has actually traveled when you’re living inside the current version every day.

Tattoo Be Gone: A Three-Step Photoshop Removal Workflow That Actually Holds Up

Tattoo Be Gone: A Three-Step Photoshop Removal Workflow That Actually Holds Up

I do a fair amount of portrait retouching for clients — headshots, lifestyle stuff, the occasional album cover for a band that takes itself way too seriously. And every so often someone slides into my inbox asking if I can “just remove” a tattoo from a photo. Sometimes it’s for a corporate headshot. Sometimes it’s for a family portrait where grandma is going to lose her mind if she sees it.

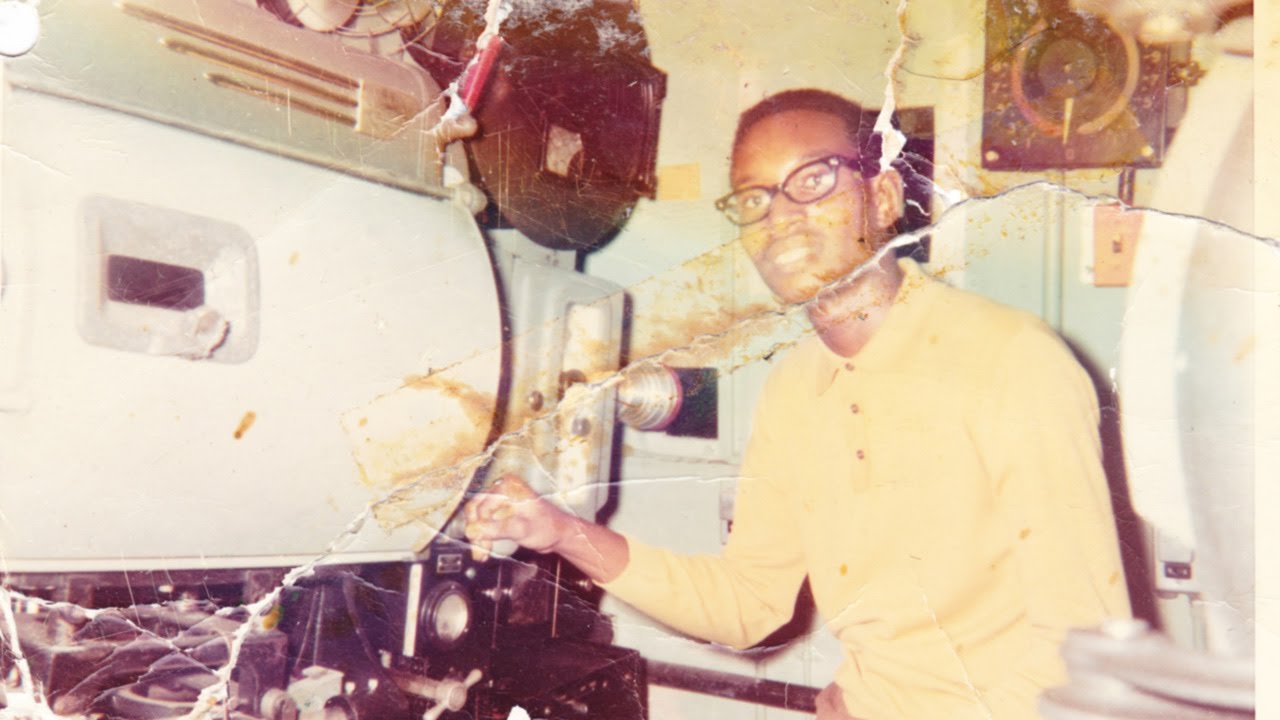
Bringing the Dead Back to Life: How to Restore a Torn Photo in Photoshop

Bringing the Dead Back to Life: How to Restore a Torn Photo in Photoshop

Old photos are brutal. Not emotionally (okay, sometimes emotionally) but technically. Torn edges, yellowed paper, creases running straight through someone’s face. If a client or a family member ever slides one of these across a table at you, the gut reaction is to smile and nod while internally spiraling. I’ve been there. The good news is that Photoshop has everything you need to bring these things back from the brink. The bad news is that the workflow isn’t obvious if you’ve never done it before.