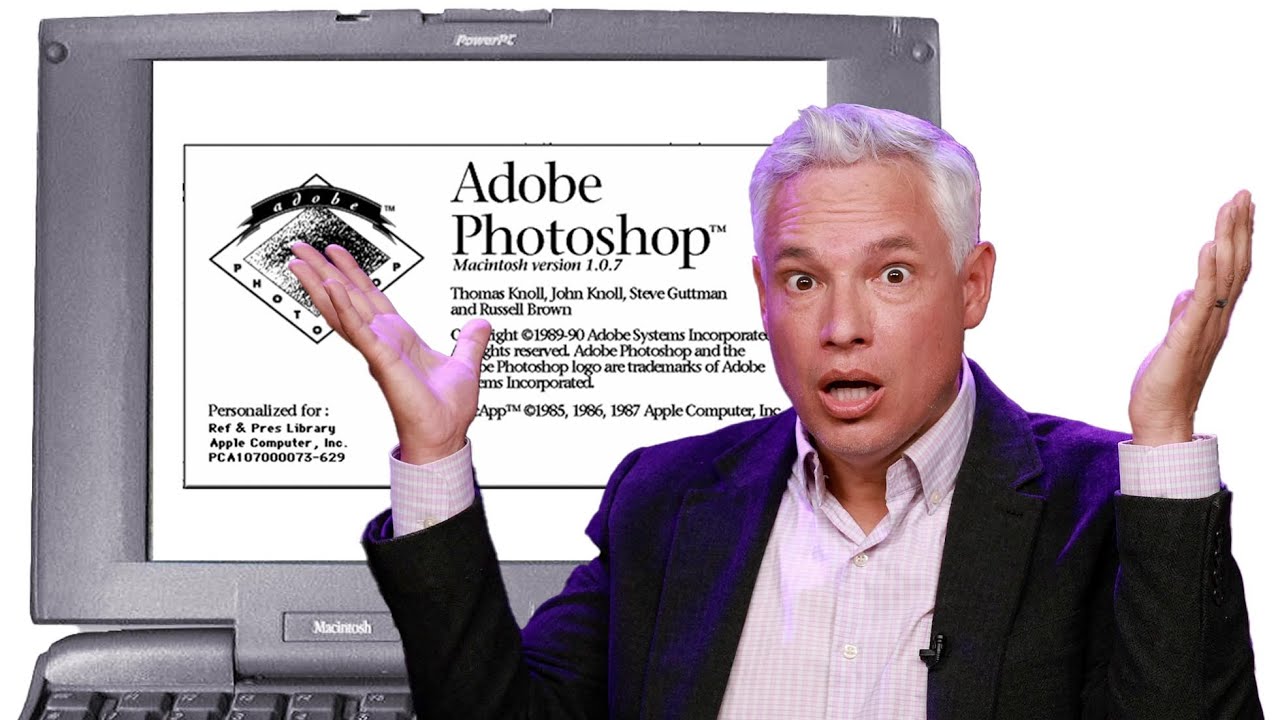
I started making graphics in MS Paint. Terrible, pixelated, deeply embarrassing stuff - word art on birthday cards, memes with white borders because I didn’t know how to crop. So when I finally got my hands on Photoshop, it felt like going from a tricycle to a sports car. I still feel that way, honestly. But it’s easy to forget just how far the software has actually traveled when you’re living inside the current version every day.
That’s why this comparison from Tony and Chelsea Northrup hit me harder than I expected. In this Tony & Chelsea Northrup tutorial, they actually boot up Photoshop 1.0 - the original 1990 release - and run it through a set of real editing tasks alongside the 2025 version. Same tasks, side by side, thirty-five years apart. No nostalgia bait, no gimmicks. Just a genuine look at what the tools could and couldn’t do. And what comes out of it isn’t just “wow, AI is cool now.” It’s a sharper picture of which skills still matter and which headaches we’ve completely forgotten we used to have.
If you’ve ever wondered why old-school retouchers talk about selections like they have PTSD, or why layers feel so obvious now that it’s hard to imagine editing without them, this is the video that answers that. Here’s the breakdown.
Step 1: Open Your File (and Hope It’s the Right Format)
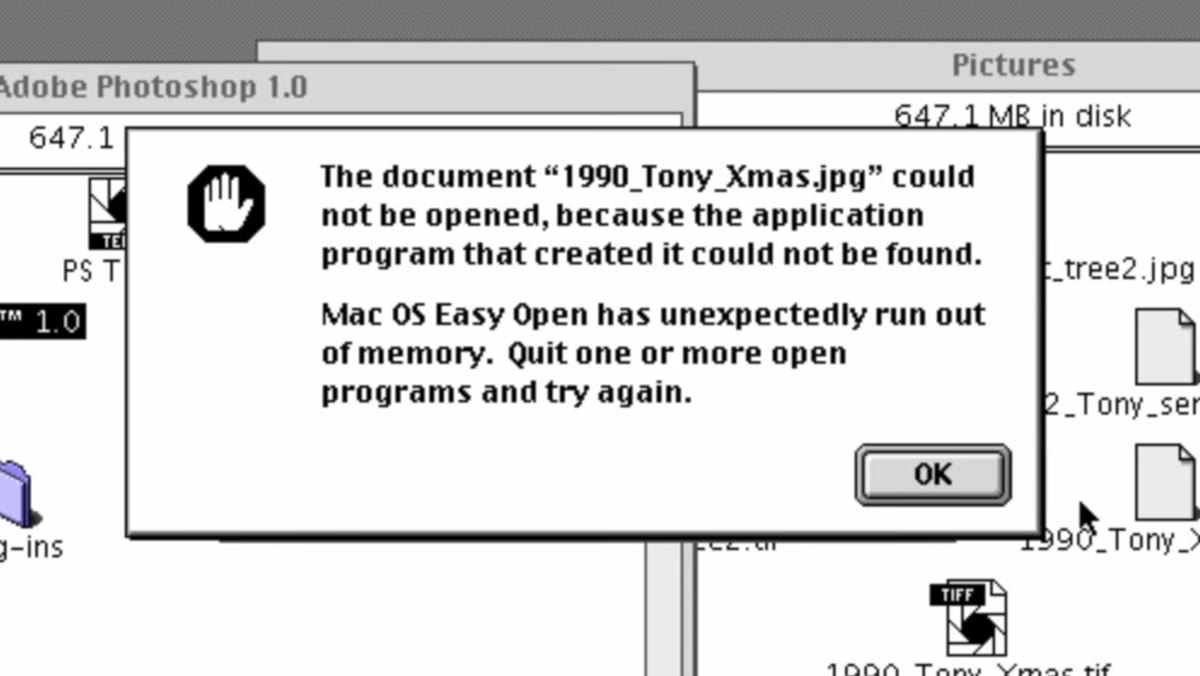 Photoshop 1.0 throwing an error on a JPEG file
The first thing that happens when Chelsea tries to open a photo in Photoshop 1.0 is an error message. JPEGs didn’t exist yet - or at least weren’t supported. The original software required a TIFF file. That’s not just a fun trivia footnote. It’s a reminder that the formats we take for granted today were genuinely not available at launch. If you’re working with archival material or older workflows, format compatibility is still something worth checking before you start. In the 2025 version, you can open almost anything and Photoshop will figure it out.
Photoshop 1.0 throwing an error on a JPEG file
The first thing that happens when Chelsea tries to open a photo in Photoshop 1.0 is an error message. JPEGs didn’t exist yet - or at least weren’t supported. The original software required a TIFF file. That’s not just a fun trivia footnote. It’s a reminder that the formats we take for granted today were genuinely not available at launch. If you’re working with archival material or older workflows, format compatibility is still something worth checking before you start. In the 2025 version, you can open almost anything and Photoshop will figure it out.
Step 2: Clone Stamp for Retouching
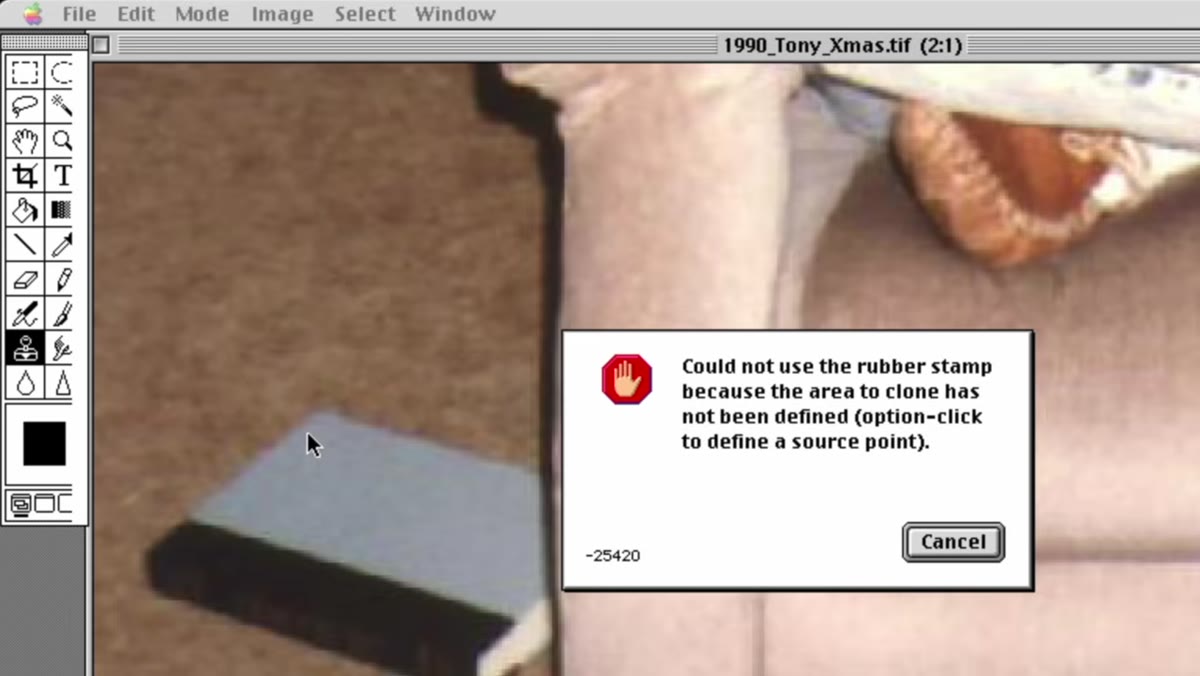 Clone stamp tool active in Photoshop 1.0 interface
The clone stamp - or “rubber stamp” as it was called in 1990 - is one of the few tools that exists in basically the same form across both versions. Chelsea uses it to clean up some areas of the old photo, and it actually works. The core mechanic hasn’t changed: alt-click to sample a source point, then paint over the area you want to fix. What has changed is how often you need to re-sample. In older Photoshop, you had to constantly move your sample point to avoid obvious repetition in the texture. In the current version, tools like Generative Fill have made this kind of spot removal much faster, but the clone stamp is still worth knowing cold. There are textures and situations where manual cloning gives you more control than any AI fill.
Clone stamp tool active in Photoshop 1.0 interface
The clone stamp - or “rubber stamp” as it was called in 1990 - is one of the few tools that exists in basically the same form across both versions. Chelsea uses it to clean up some areas of the old photo, and it actually works. The core mechanic hasn’t changed: alt-click to sample a source point, then paint over the area you want to fix. What has changed is how often you need to re-sample. In older Photoshop, you had to constantly move your sample point to avoid obvious repetition in the texture. In the current version, tools like Generative Fill have made this kind of spot removal much faster, but the clone stamp is still worth knowing cold. There are textures and situations where manual cloning gives you more control than any AI fill.
Step 3: Generative Fill vs. Manual Removal
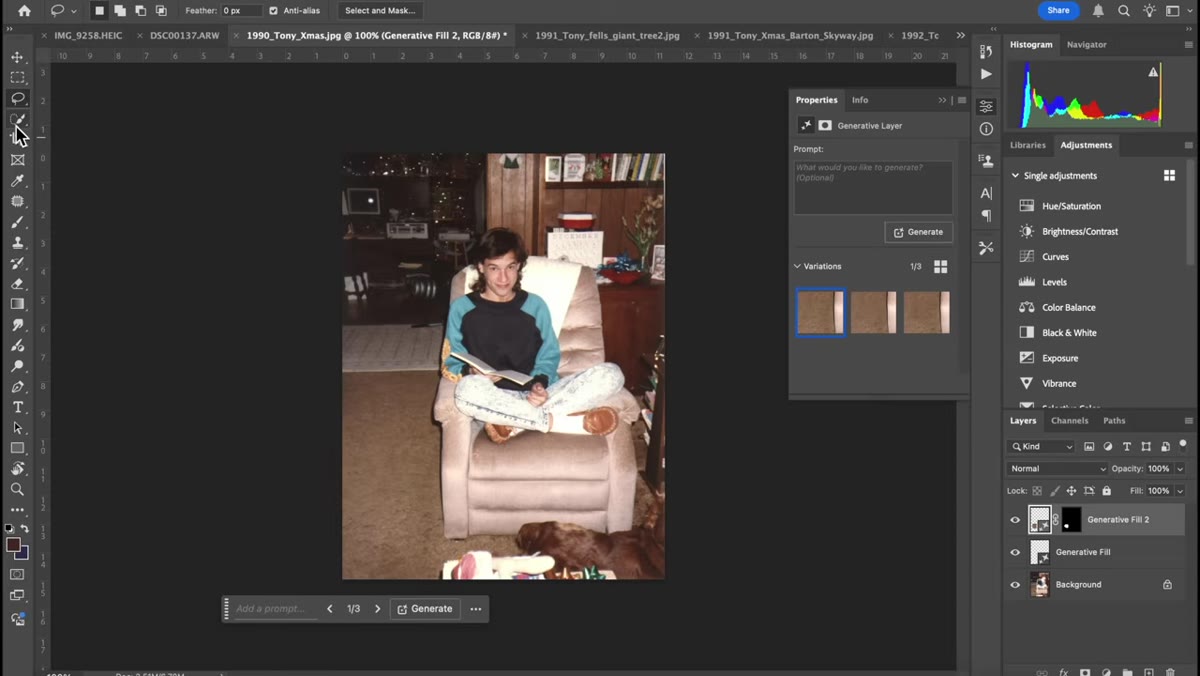
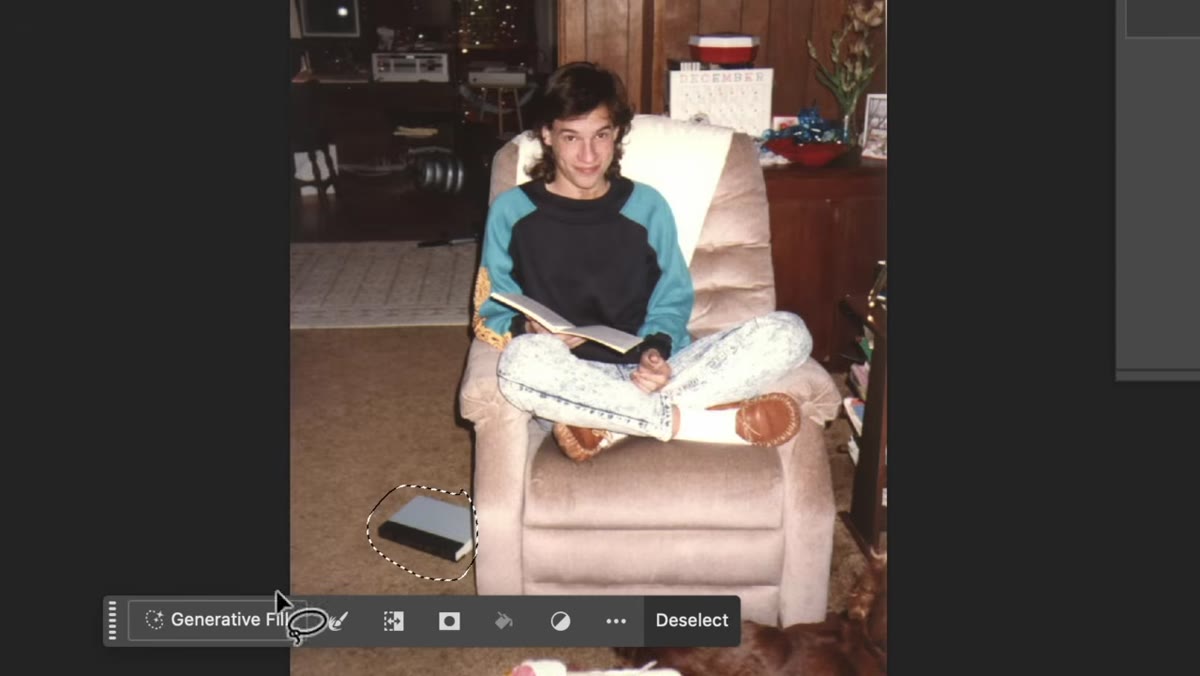 Lasso tool selection around an object before generative fill
Tony handles the same removal task in 2025, and the workflow is almost comically different. Lasso the object, hit Generative Fill, done. The result isn’t just adequate - it’s genuinely good. What this step really illustrates is how much cognitive load has shifted off the retoucher. In 1990, removing an object meant thinking carefully about the background, sampling strategically, and going slowly. Now you’re making creative decisions instead of technical ones. That’s not laziness. That’s a better use of your brain.
Lasso tool selection around an object before generative fill
Tony handles the same removal task in 2025, and the workflow is almost comically different. Lasso the object, hit Generative Fill, done. The result isn’t just adequate - it’s genuinely good. What this step really illustrates is how much cognitive load has shifted off the retoucher. In 1990, removing an object meant thinking carefully about the background, sampling strategically, and going slowly. Now you’re making creative decisions instead of technical ones. That’s not laziness. That’s a better use of your brain.
Step 4: Color Changes with Hue/Saturation
 Quick selection tool active, shirt selected in modern Photoshop
Both versions can change a color in a photo, but the path to get there is completely different. In 2025, Tony uses the Quick Selection tool to grab his shirt, adds a Hue/Saturation adjustment layer, and drags the hue slider until the light blue becomes red. It takes about thirty seconds. In 1.0, Chelsea achieves the same result, but without layers - so the change is baked directly into the pixels - and the Hue/Saturation dialog doesn’t update in real time. You click Preview to see what you’re getting. No live feedback. Having to click a Preview button to see a color change is the kind of thing that sounds minor until you’re dialing in a specific shade and clicking Preview fifty times. Real-time adjustment previews are one of those features that quietly changed how editing feels at a fundamental level.
Quick selection tool active, shirt selected in modern Photoshop
Both versions can change a color in a photo, but the path to get there is completely different. In 2025, Tony uses the Quick Selection tool to grab his shirt, adds a Hue/Saturation adjustment layer, and drags the hue slider until the light blue becomes red. It takes about thirty seconds. In 1.0, Chelsea achieves the same result, but without layers - so the change is baked directly into the pixels - and the Hue/Saturation dialog doesn’t update in real time. You click Preview to see what you’re getting. No live feedback. Having to click a Preview button to see a color change is the kind of thing that sounds minor until you’re dialing in a specific shade and clicking Preview fifty times. Real-time adjustment previews are one of those features that quietly changed how editing feels at a fundamental level.
Step 5: Cropping to Specific Dimensions
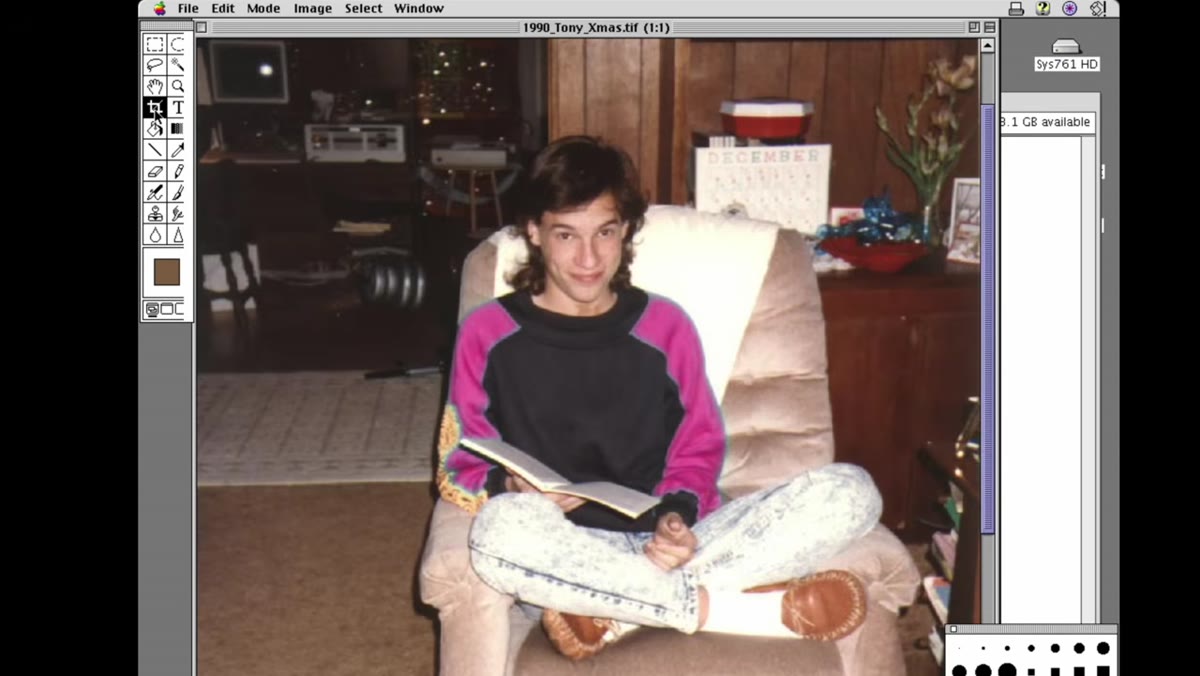 Crop tool selected in Photoshop 1.0 interface
Cropping to a specific ratio like 8x10 is a one-step process in modern Photoshop. Type in the ratio, drag the crop, done. In 1.0, you had to manually calculate the pixel dimensions yourself based on the ratio you wanted. As Chelsea puts it, “you would have to math.” This one made me laugh, but it also made me think about how many newer Photoshop users have never had to think about pixel math at all. It’s worth understanding the relationship between pixel dimensions, resolution, and print size even if the software handles it automatically now - because when it doesn’t behave how you expect, you need to know why.
Crop tool selected in Photoshop 1.0 interface
Cropping to a specific ratio like 8x10 is a one-step process in modern Photoshop. Type in the ratio, drag the crop, done. In 1.0, you had to manually calculate the pixel dimensions yourself based on the ratio you wanted. As Chelsea puts it, “you would have to math.” This one made me laugh, but it also made me think about how many newer Photoshop users have never had to think about pixel math at all. It’s worth understanding the relationship between pixel dimensions, resolution, and print size even if the software handles it automatically now - because when it doesn’t behave how you expect, you need to know why.
Step 6: Subject Selection and Background Blur
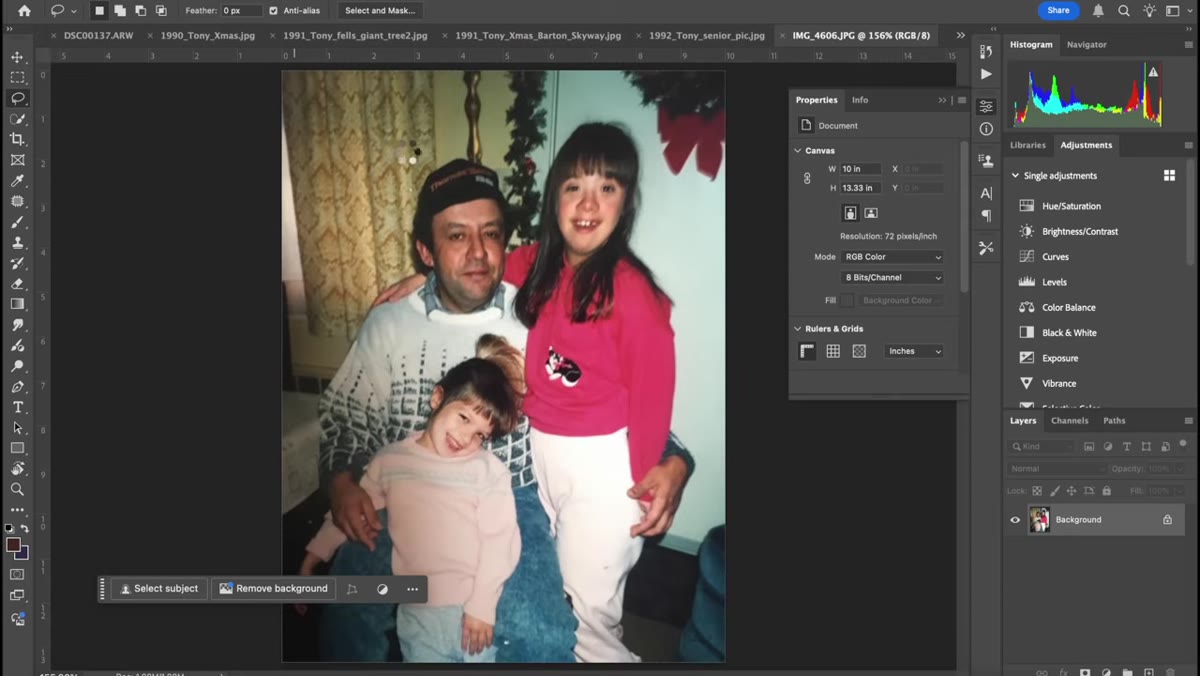 Select Subject button used in modern Photoshop 2025
This is the step that really shows the gap. In 2025, Tony clicks Select Subject and gets a near-perfect cutout of a person with complicated edges, hair included. Then he inverts the selection, applies a Gaussian Blur to the background, and gets a clean simulated depth-of-field effect in under a minute. In 1.0, Chelsea tries an automatic selection tool that doesn’t really work, switches to the lasso, manually traces around the subject with a trackpad, feathers the selection generously to hide the rough edges, and blurs the background by guessing a blur radius because there’s no preview. It works - kind of impressively, actually - but it takes real effort and patience. The feathering trick, by the way, is still useful today when you have a slightly imprecise selection and need to soften the edge before applying an effect.
Select Subject button used in modern Photoshop 2025
This is the step that really shows the gap. In 2025, Tony clicks Select Subject and gets a near-perfect cutout of a person with complicated edges, hair included. Then he inverts the selection, applies a Gaussian Blur to the background, and gets a clean simulated depth-of-field effect in under a minute. In 1.0, Chelsea tries an automatic selection tool that doesn’t really work, switches to the lasso, manually traces around the subject with a trackpad, feathers the selection generously to hide the rough edges, and blurs the background by guessing a blur radius because there’s no preview. It works - kind of impressively, actually - but it takes real effort and patience. The feathering trick, by the way, is still useful today when you have a slightly imprecise selection and need to soften the edge before applying an effect.
What This Actually Changes About How I Work
The undo limitation in 1.0 is the thing that stuck with me most. One undo. That’s it. If you made a mistake more than one step ago, you were reverting to the original or you were living with it. That explains why retouching used to be so slow and deliberate. Every move mattered because you couldn’t take it back. I think about this whenever I catch myself undoing four or five times in a row because I’m experimenting instead of deciding. The history panel and non-destructive editing with adjustment layers and smart objects have given us the freedom to be messier in our process, which is mostly a good thing - but it’s also worth occasionally slowing down and committing to a choice. Some of my cleanest edits have come from working like I only had one undo.
The biggest takeaway here is that the core vocabulary of Photoshop - selections, cloning, color adjustments, cropping, blur effects - hasn’t changed. What has changed is the cost of doing those things. AI and automation have driven that cost down dramatically, and the skills that remain are the ones that require judgment, not patience. Knowing what you’re trying to achieve still matters exactly as much as it did in 1990. The software just gets you there faster now.
Watch the full tutorial on YouTube - the side-by-side format is genuinely fun to watch, and seeing Chelsea pull off real edits in 35-year-old software is more impressive than you’d expect.
Comments
Leave a Comment