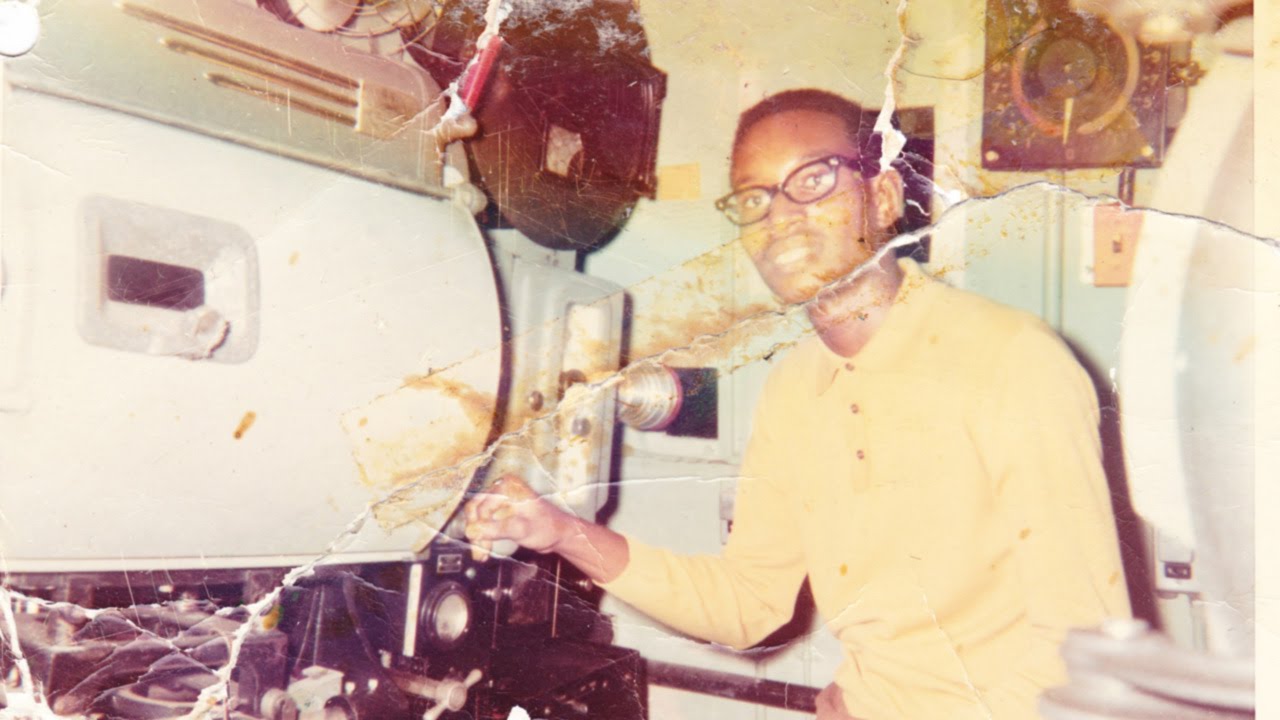
Old photos are brutal. Not emotionally (okay, sometimes emotionally) but technically. Torn edges, yellowed paper, creases running straight through someone’s face. If a client or a family member ever slides one of these across a table at you, the gut reaction is to smile and nod while internally spiraling. I’ve been there. The good news is that Photoshop has everything you need to bring these things back from the brink. The bad news is that the workflow isn’t obvious if you’ve never done it before.
In this Aaron Nace (PHLEARN) tutorial, Watch the full tutorial on YouTube, Aaron walks through restoring a genuinely wrecked photo. We’re talking a physically torn print, scanned in pieces, with blemishes and a color cast baked in from decades of sitting in a drawer somewhere. The photo belongs to photographer Edy Fraser’s father, which makes the stakes feel real. This isn’t a synthetic demo image. It’s someone’s memory. That changes how you think about the work.
What I like about Aaron’s approach is that it’s methodical without being rigid. He moves through the problem in a logical order: separate the pieces, reassemble them, clean up the damage, fix the color. Each phase builds on the last. That structure is worth stealing. Here’s how the whole thing breaks down.
Step 1: Select the Background to Isolate the Torn Pieces
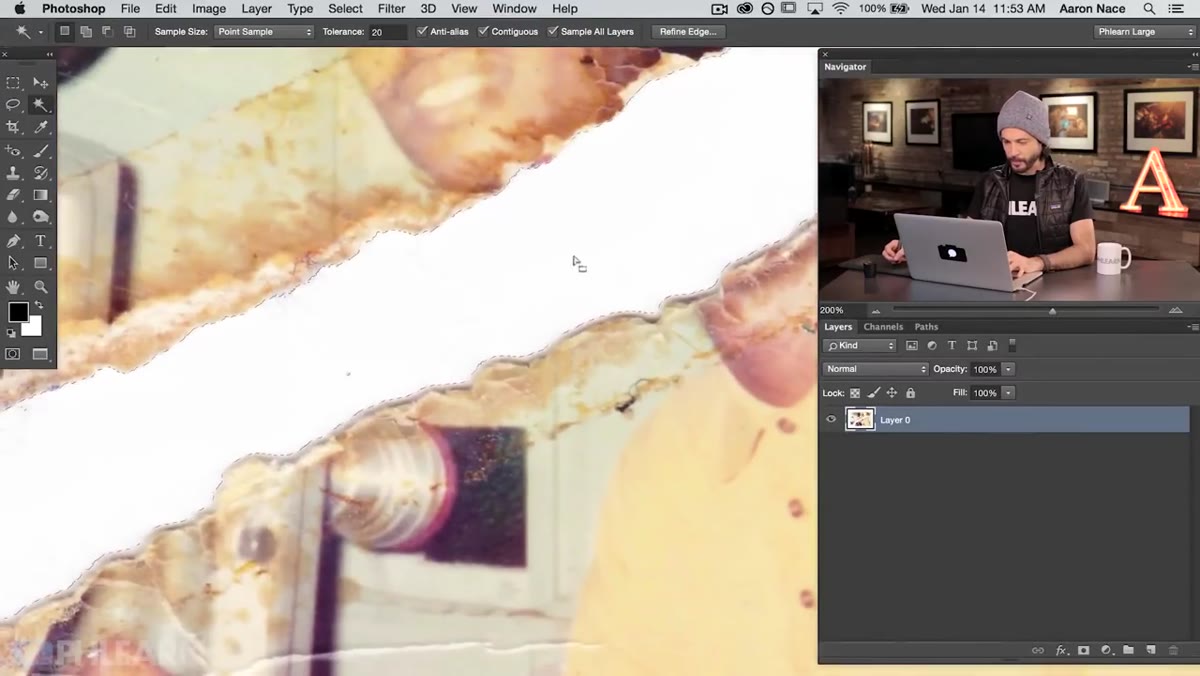
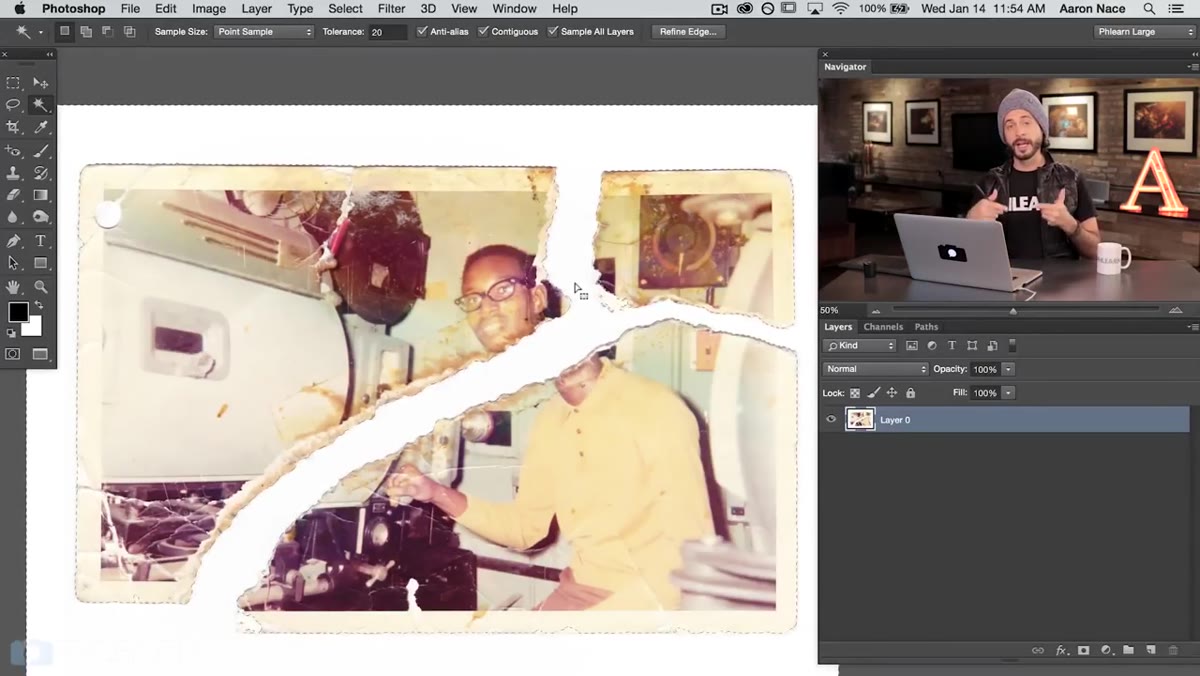
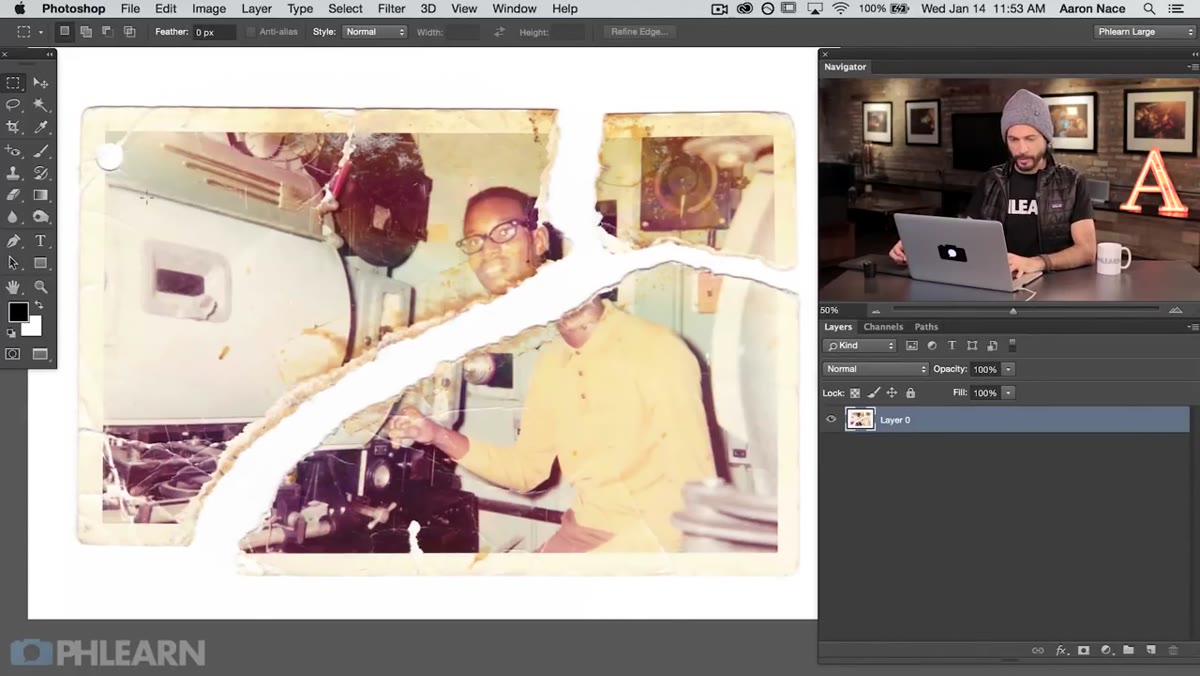 Magic Wand selecting white background around torn photo pieces
The photo comes in as a flat scan with all the torn pieces sitting on a white background, all on one layer. Before you can do anything useful, you need to get each piece onto its own layer. The trick Aaron uses here is to select the white background first rather than the pieces themselves.
Magic Wand selecting white background around torn photo pieces
The photo comes in as a flat scan with all the torn pieces sitting on a white background, all on one layer. Before you can do anything useful, you need to get each piece onto its own layer. The trick Aaron uses here is to select the white background first rather than the pieces themselves.
Grab the Magic Wand tool (keyboard shortcut: W) and click the white background. Because the background is a consistent white, the tool grabs it cleanly in one click. Adjust the Tolerance setting in the options bar if you’re getting too much or too little. You’re not going for perfection at this stage. You just need a reasonable starting point.
Step 2: Refine the Edge and Contract the Selection
 Refine Edge dialog showing feather and shift edge controls
Once you have that background selected, don’t just invert and cut. Head to Refine Edge first. Aaron adds a small amount of feathering and then shifts the edge inward toward the center of the image. This contracts the selection away from the outer edge of each piece, which kills off any lingering shadow or background bleed before it becomes a problem downstream.
Refine Edge dialog showing feather and shift edge controls
Once you have that background selected, don’t just invert and cut. Head to Refine Edge first. Aaron adds a small amount of feathering and then shifts the edge inward toward the center of the image. This contracts the selection away from the outer edge of each piece, which kills off any lingering shadow or background bleed before it becomes a problem downstream.
The exact values will depend on your scan, but the principle is the same: you want the selection to sit just inside the visible edge of the photo paper, not riding right on the boundary where artifacts live. Click OK when it looks clean.
Step 3: Inverse the Selection and Duplicate the Pieces to a New Layer
 Layers panel showing duplicated pieces on new layer above background
With the background selected, go to Select, then Inverse. Now you’re selecting the actual photo pieces rather than the white space around them. Hit Ctrl+J (Command+J on Mac) to duplicate that selection onto a new layer. Your original background layer stays intact below, and you’ve got a clean new layer with just the photo content on it.
Layers panel showing duplicated pieces on new layer above background
With the background selected, go to Select, then Inverse. Now you’re selecting the actual photo pieces rather than the white space around them. Hit Ctrl+J (Command+J on Mac) to duplicate that selection onto a new layer. Your original background layer stays intact below, and you’ve got a clean new layer with just the photo content on it.
Turn off or delete the background layer at this point. You want to be working from a transparent canvas going forward so you can see exactly where the pieces sit and where the gaps are.
Step 4: Separate Each Torn Piece onto Its Own Layer
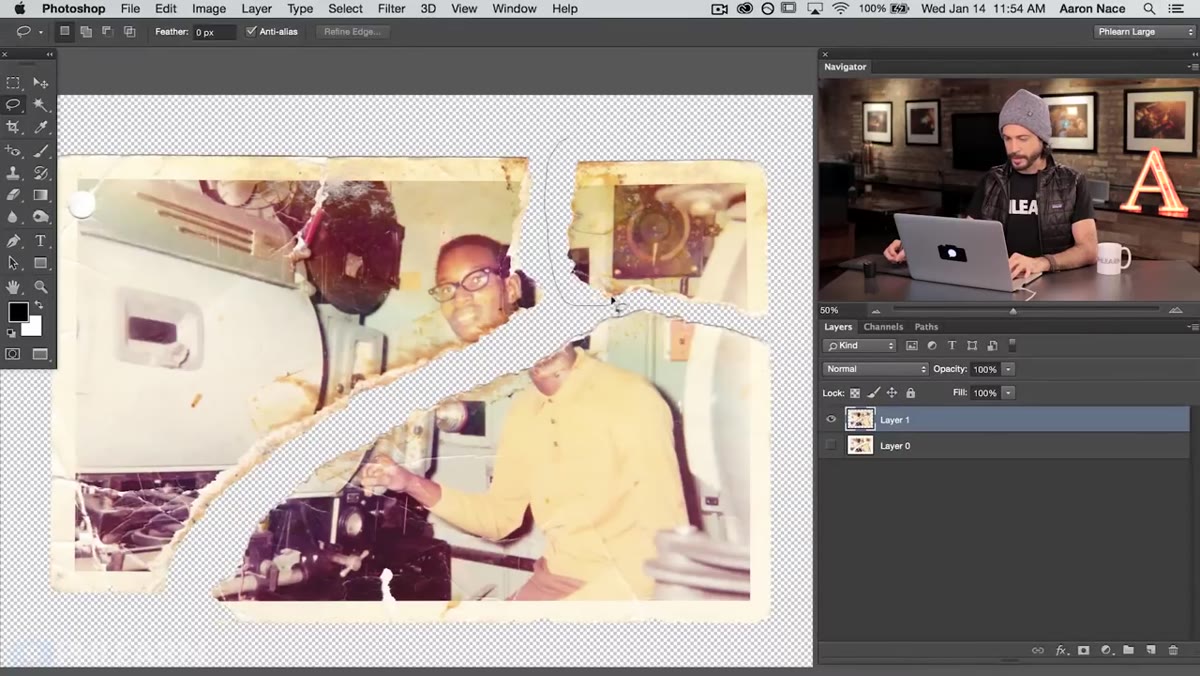 Lasso tool drawing selection around individual torn photo piece
This is the most tedious part, but it’s necessary. Each torn piece needs to live on its own layer so you can move them independently. Grab the Lasso tool and draw a loose selection around one piece. It doesn’t have to be tight. You just need to isolate that piece from the others.
Lasso tool drawing selection around individual torn photo piece
This is the most tedious part, but it’s necessary. Each torn piece needs to live on its own layer so you can move them independently. Grab the Lasso tool and draw a loose selection around one piece. It doesn’t have to be tight. You just need to isolate that piece from the others.
With your selection active, hit Ctrl+X (Command+X) to cut that piece, then Shift+Ctrl+V (Shift+Command+V) to paste it in place. Paste in Place drops it back at the exact coordinates it came from, but now it’s on a brand new layer. Repeat this for each remaining piece. Yes, it takes a few minutes. Yes, it’s worth it.
Step 5: Reposition and Reassemble the Pieces
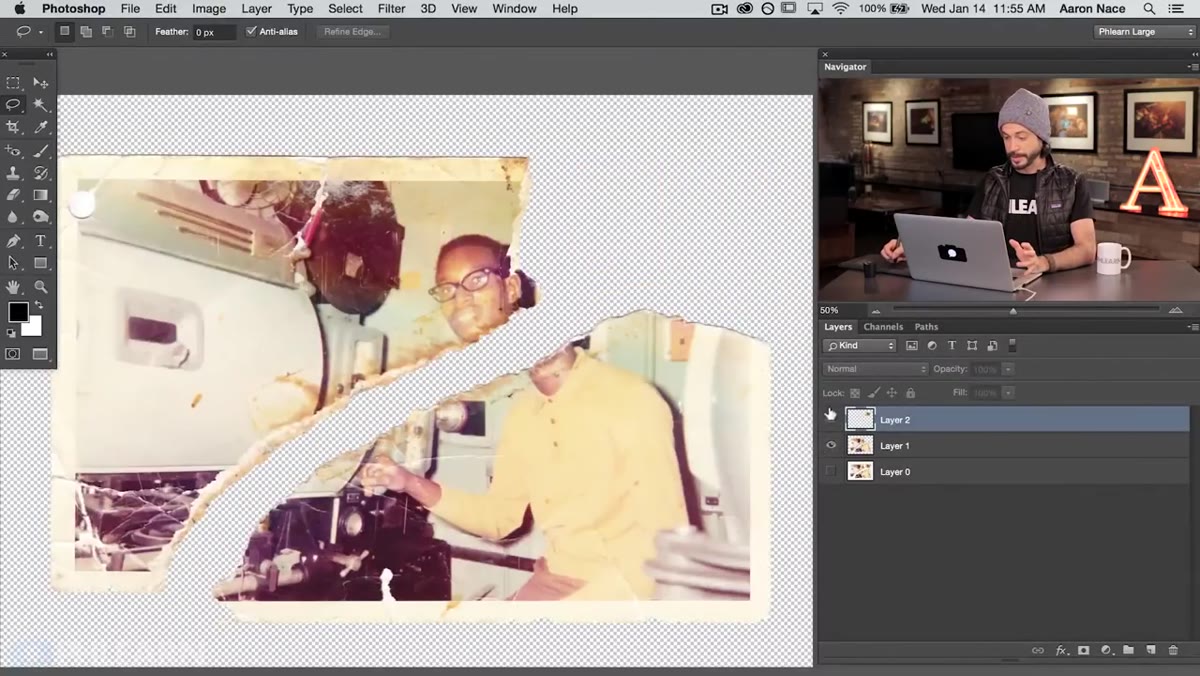 Move tool repositioning a torn piece to align with adjacent fragment
Now comes the satisfying part. With each piece on its own layer, use the Move tool (V) to drag them back into alignment. Work from a reference point, something like an eye, a shirt collar, a clear edge that should match across two pieces. Zoom in close when you’re aligning seams. Small misalignments that look fine at 50% will scream at you when you print.
Move tool repositioning a torn piece to align with adjacent fragment
Now comes the satisfying part. With each piece on its own layer, use the Move tool (V) to drag them back into alignment. Work from a reference point, something like an eye, a shirt collar, a clear edge that should match across two pieces. Zoom in close when you’re aligning seams. Small misalignments that look fine at 50% will scream at you when you print.
Once the pieces are roughly back in place, you can flatten or merge them before moving into cleanup. Don’t merge with your background though. Keep some flexibility.
Step 6: Remove Blemishes with the Spot Healing Brush and Clone Stamp
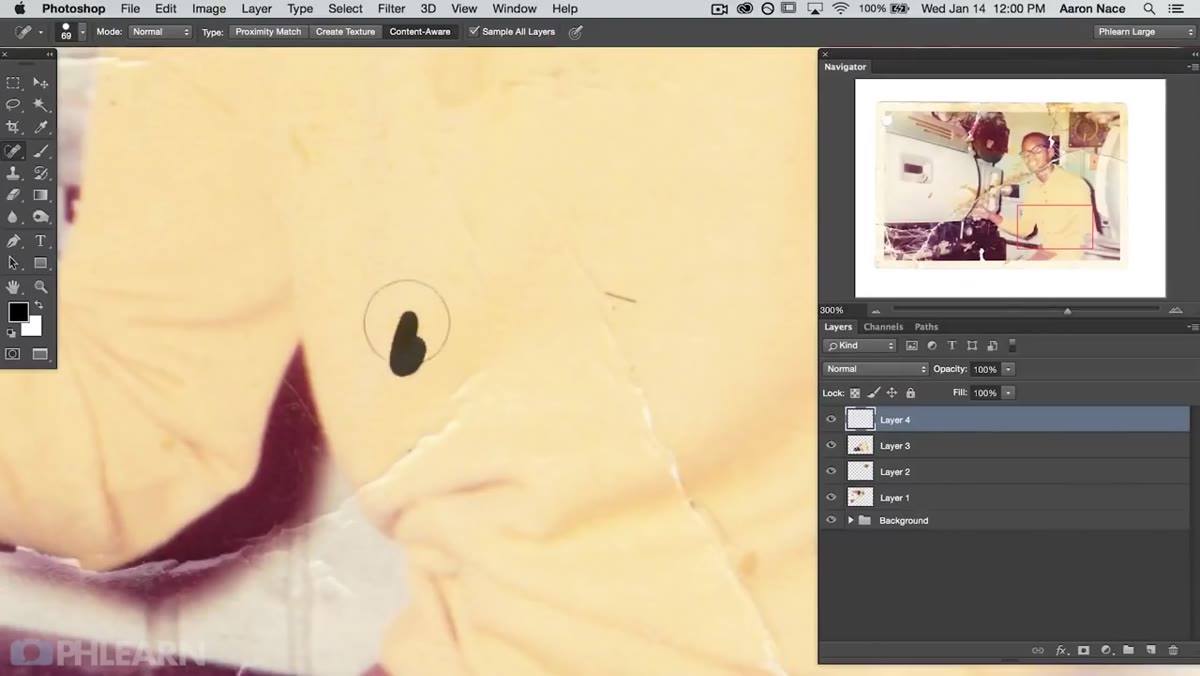 Spot Healing Brush being applied to scratches and blemishes on photo
The Spot Healing Brush is your first pass for scattered blemishes. It’s fast, it works well on isolated spots and small scratches, and you don’t need to manually pick a source area. Just paint over the damage and let Photoshop sample the surrounding texture. For larger areas or damage near a strong edge, switch to the Clone Stamp tool (S). With the Clone Stamp you’re picking your source point manually, which gives you more control when the surrounding texture isn’t uniform.
Spot Healing Brush being applied to scratches and blemishes on photo
The Spot Healing Brush is your first pass for scattered blemishes. It’s fast, it works well on isolated spots and small scratches, and you don’t need to manually pick a source area. Just paint over the damage and let Photoshop sample the surrounding texture. For larger areas or damage near a strong edge, switch to the Clone Stamp tool (S). With the Clone Stamp you’re picking your source point manually, which gives you more control when the surrounding texture isn’t uniform.
Aaron also uses a regular brush set to a low opacity for smoothing transitions in areas where the photo surface has degraded unevenly. Think of it as blending rather than covering. This is worth having in your toolkit as a finishing pass after the heavy lifting is done.
Step 7: Fix Discoloration with Selective Color
 Selective Color adjustment layer panel open, targeting yellowed tones
Old photos yellow. It’s just what they do. Selective Color is Aaron’s tool of choice here because it lets you target specific color ranges and dial them back without touching everything else. Add a Selective Color adjustment layer, target the Yellows or Neutrals range depending on where your cast is living, and reduce the yellow and magenta values until the image looks balanced.
Selective Color adjustment layer panel open, targeting yellowed tones
Old photos yellow. It’s just what they do. Selective Color is Aaron’s tool of choice here because it lets you target specific color ranges and dial them back without touching everything else. Add a Selective Color adjustment layer, target the Yellows or Neutrals range depending on where your cast is living, and reduce the yellow and magenta values until the image looks balanced.
The goal isn’t to make it look like a modern photo. It’s to get the tones back to something close to what the original must have looked like. Subtle corrections go a long way. Trust your eye more than the numbers.
A Note from My Own Experience
I’ll be honest: the first time I tried to restore a torn photo I skipped the “separate each piece to its own layer” step because it felt like overkill. I tried to just paint over the seams directly. An hour later I had made it worse and had no clean version to fall back on. Non-destructive habits and a little upfront organization save you enormous amounts of time when things go sideways. Aaron’s structure here isn’t just tidy. It’s actually protective.
The single most important thing to take away from this workflow is the sequencing. Separate first, assemble second, retouch third, color correct last. Doing those out of order creates problems that compound on each other. Nail the structure and the individual tools become much easier to reason about.
Watch the full tutorial on YouTube to see Aaron work through the full image from scan to finished restoration. Seeing the actual before and after in motion is worth your time.
Comments
Leave a Comment