Video Tutorials
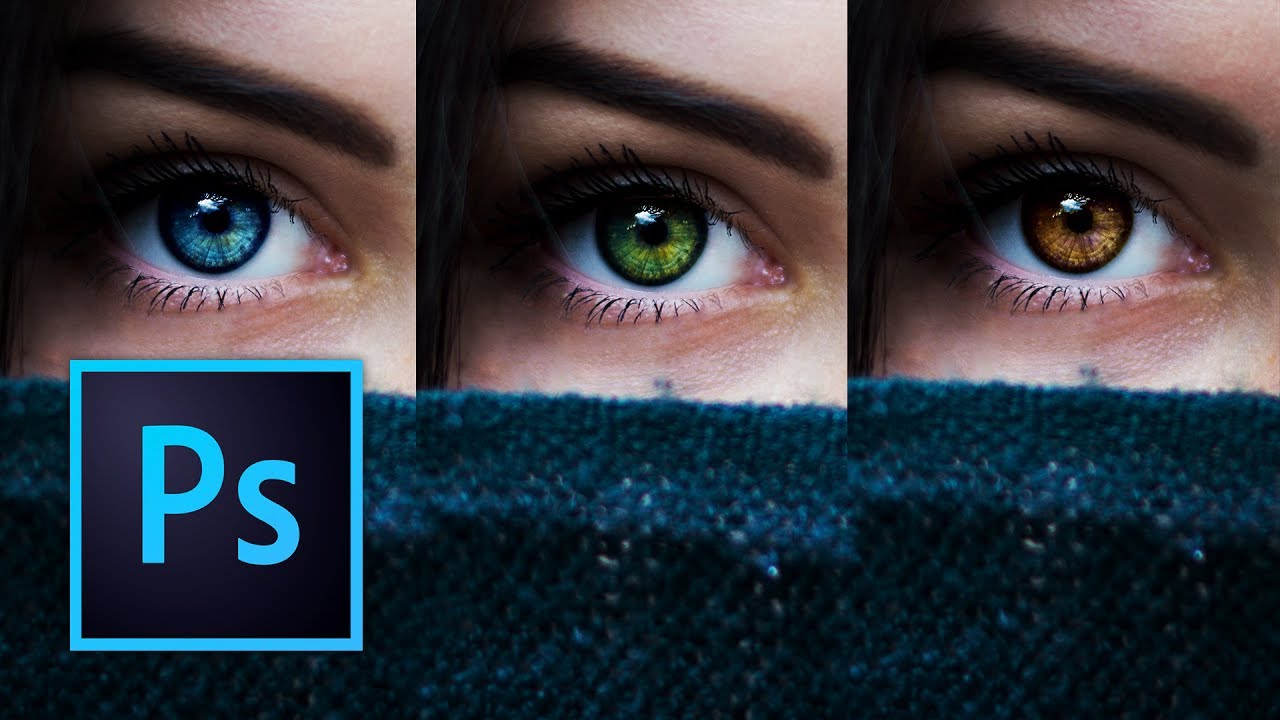
RAW Brushes in Photoshop Are Doing Things Layers Can't — Here's How to Use Them
I’ve been doing client photo work long enough to have a folder on my desktop called “fixes” that contains folders called “actual fixes” and “please work.” A lot of what lives in that folder is me trying to do localized adjustments in Photoshop the old way: painting on layer masks, nudging curves, wrestling with luminosity masks, and generally adding complexity that compounds every time the client says “can you also just…” So when I stumbled onto the idea of doing brush-based edits directly inside Adobe Camera Raw, it genuinely changed how I approach a certain class of image problems.