How to Place an Image Inside a Phone, Tablet, or Laptop Screen in Photoshop (The Right Way)

How to Place an Image Inside a Phone, Tablet, or Laptop Screen in Photoshop (The Right Way)

Every few months, a client asks me for a “mockup” – a product screenshot or website preview placed inside a phone or laptop screen for an ad. For a long time I was doing it the slow, painful way: dragging the image in, manually masking it, fighting with perspective until I wanted to throw my laptop across whatever coffee shop I was sitting in. Then I watched Scott Kelby walk through his version of this technique, and I felt that specific kind of embarrassment that comes from realizing a 20-minute problem was actually a 5-minute problem.

Four Compositing Projects That Will Actually Teach You Photoshop (Not Just AI Crutches)

Four Compositing Projects That Will Actually Teach You Photoshop (Not Just AI Crutches)

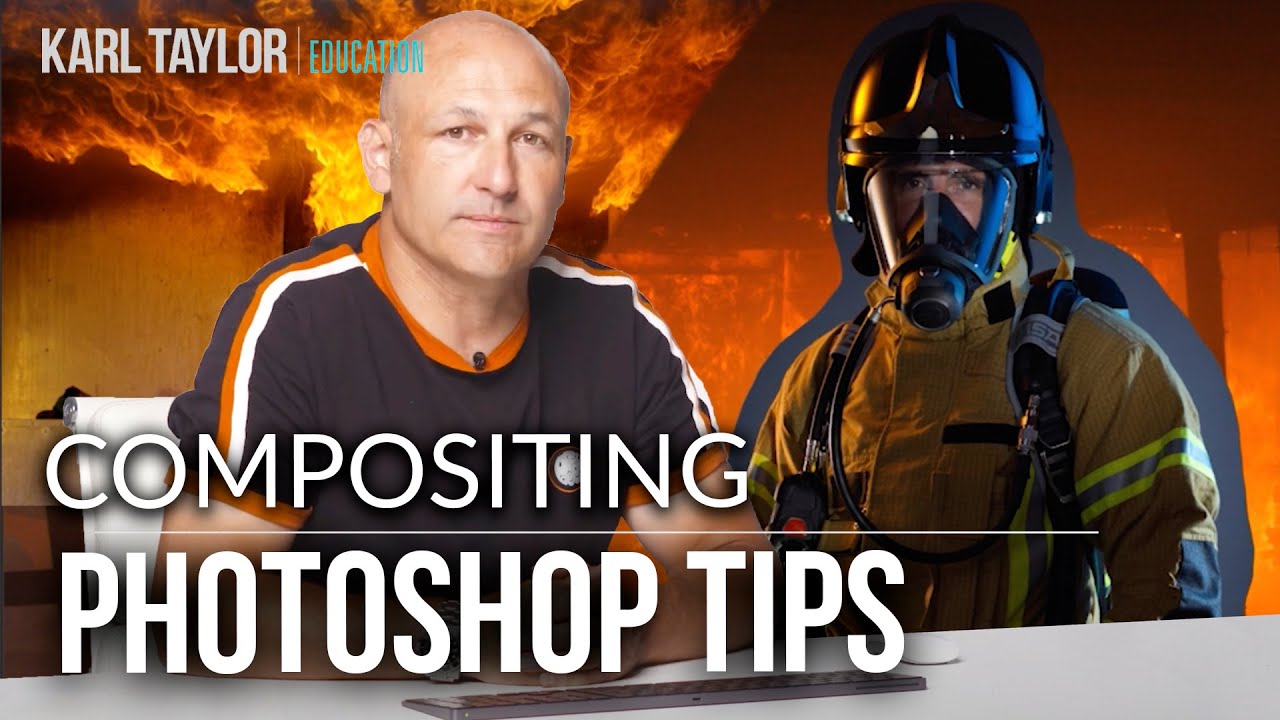
There’s a specific kind of frustration that hits when you spend three days on a composite only to realize the light on your subject is pointing the wrong direction, the colors are from two different planets, and the whole thing looks like a bad movie poster from 2003. I’ve been there. More than once. And the honest problem isn’t talent or effort, it’s not having a repeatable process for blending subjects and backgrounds so they actually look like they belong together.

Stop Fighting With Hair Selections — Here's the Photoshop Trick That Actually Works

Stop Fighting With Hair Selections — Here's the Photoshop Trick That Actually Works

There’s a specific kind of frustration that comes from spending an hour manually tracing flyaway hair with the Lasso tool, zoomed in at 400%, one pixel at a time, only to zoom back out and realize it still looks like your subject is wearing a helmet made of jagged edges. I’ve been there more times than I want to admit. Early in my freelance days I’d deliver composites where the hair looked painted on, and I’d just… hope the client didn’t notice.

Stop Ruining Your Composites: How to Kill Halos and Fringes in Photoshop

Stop Ruining Your Composites: How to Kill Halos and Fringes in Photoshop

There’s a special kind of frustration reserved for spending an hour on a composite, stepping back to admire your work, and realizing there’s a glowing halo around every single tree. I’ve been there more times than I want to admit. You nail the selection, you paste in the new sky, and then that thin bright ring shows up like your Photoshop is personally trying to embarrass you. It’s one of those problems that’s easy to miss at 50% zoom and impossible to unsee once you spot it.

Stop Settling for Boring Skies: A Practical Photoshop Sky Swap Walkthrough

Stop Settling for Boring Skies: A Practical Photoshop Sky Swap Walkthrough

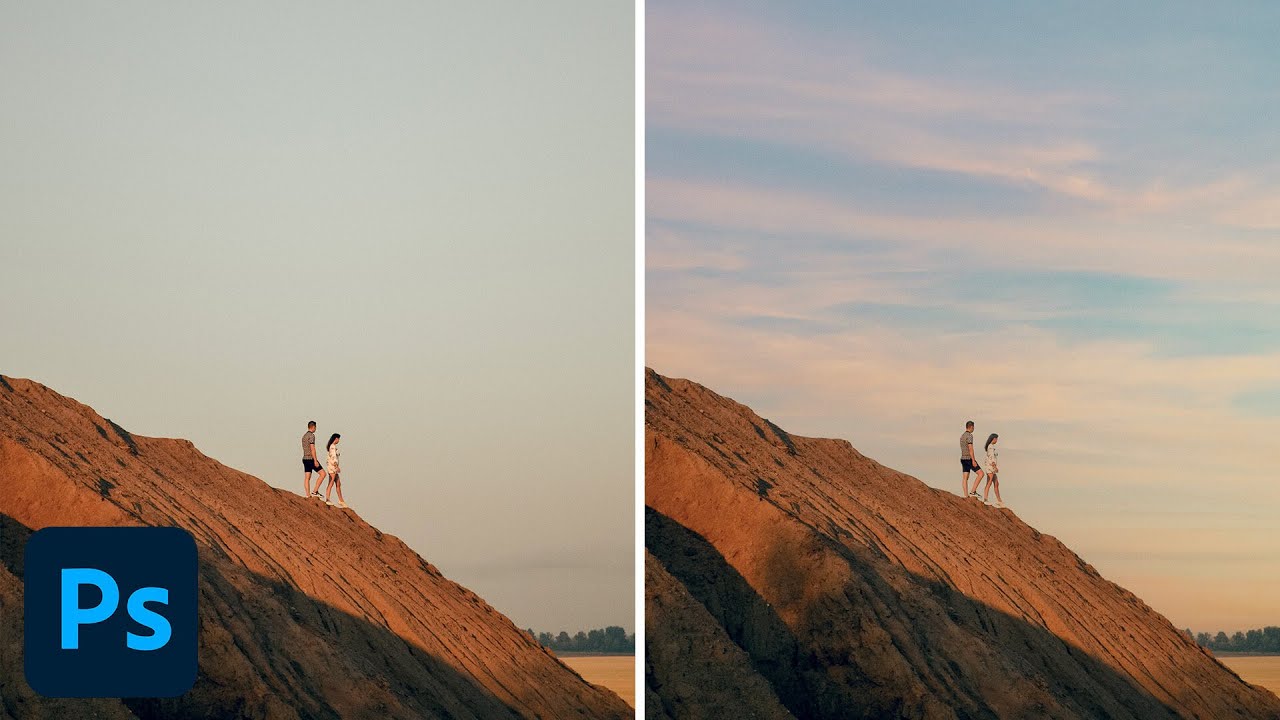
A few years back I spent the better part of a Tuesday stressing over a landscape composite for a client. The photo was solid — good light, interesting subject — but the sky was that flat, washed-out grey that makes everything look like it was shot in a Walmart parking lot. I knew the fix existed somewhere in Photoshop. I just didn’t know the clean way to do it without spending three hours masking individual clouds by hand like some kind of caffeinated monk.

How to Blend Two Photos into a Double Exposure Effect (Without It Looking Like a Mess)

How to Blend Two Photos into a Double Exposure Effect (Without It Looking Like a Mess)

There’s a specific kind of design request that used to make me sweat a little. Client sends over a headshot and a mood board full of those dreamy portrait-meets-landscape composites, and suddenly you’re either the person who knows how to do that, or you’re about to spend three hours on YouTube pretending you did all along. Double exposure is one of those effects that looks complicated and mysterious until someone actually walks you through it, and then you feel mildly embarrassed by how simple the core idea is.

Overlays in Photoshop Don't Have to Look Cheap — Here's How to Actually Use Them

Overlays in Photoshop Don't Have to Look Cheap — Here's How to Actually Use Them

There’s a specific kind of embarrassment that only designers know. Someone asks you to add some “dramatic lighting” to a photo, and you spend forty-five minutes fiddling with Curves and Gradient Maps, fighting Photoshop like it personally offended you. Then you find out there’s a five-minute method using overlays that would have gotten you 90% of the way there in a fraction of the time. That’s basically my origin story with overlays.

Cutting Out Cowboys and Making Composites Actually Look Real in Photoshop

Cutting Out Cowboys and Making Composites Actually Look Real in Photoshop

There’s a specific kind of embarrassment reserved for the moment a friend watches you work in Photoshop and says, “wait, why are you doing it that way?” I know this feeling intimately. I once spent three days on a composite, obsessing over edge detail and color matching, only to have someone show me a cleaner approach in about twenty minutes. The culprit both times: I was rushing the foundational stuff. Bad selection, no smart objects, baked-in adjustments I couldn’t undo.

Stop Faking It: How to Actually Change a Background in Photoshop Without It Looking Like a Middle School Collage

Stop Faking It: How to Actually Change a Background in Photoshop Without It Looking Like a Middle School Collage

Background swapping is one of those Photoshop jobs that sounds simple until you’re three hours deep, your subject looks like they were cut out with safety scissors, and the client is asking for “just a quick update.” I’ve been there more times than I care to admit. The dirty secret is that pulling a clean selection is only half the battle. The part most tutorials skip is making the foreground belong in the new background.

Fake Shadows That Actually Fool People: What I Learned From Kelvin Designs

Fake Shadows That Actually Fool People: What I Learned From Kelvin Designs

There’s a specific kind of embarrassment that comes from sending a client a composite where the shadow falls in the completely wrong direction. The subject looks like they’re lit from the left, and the shadow is pointing left too. Rookie mistake, but I made it more than once before I started being deliberate about it. Shadows are one of those things that your eye catches immediately when they’re wrong, even if the person looking can’t explain why the image feels off.

Stop Blowing Out Your Skies: How to Blend Exposures in Photoshop Like a Landscape Pro

Stop Blowing Out Your Skies: How to Blend Exposures in Photoshop Like a Landscape Pro

There’s a specific kind of frustration that comes with shooting a waterfall. You either get the water looking like liquid silk with a slow shutter speed, and your rocks and leaves turn into a motion-blurred mess, or you freeze everything sharp and the water looks like it’s made of plastic. For the longest time I thought the only fix was “get better at picking one.” Turns out the real fix is about five minutes of Photoshop work, and I’d been ignoring it because “exposure blending” sounded more complicated than it is.

How to Create Double Exposure Effects

How to Create Double Exposure Effects

The double exposure effect — two images blended into one — originated as a film camera technique where the same frame was exposed twice. In Photoshop, we can achieve the same look with far more control over the result. Here’s how to create a convincing double exposure from scratch. Choosing Your Images The image pairing makes or breaks this effect. You need: Image A (the base): Usually a portrait or silhouette with strong shape definition.