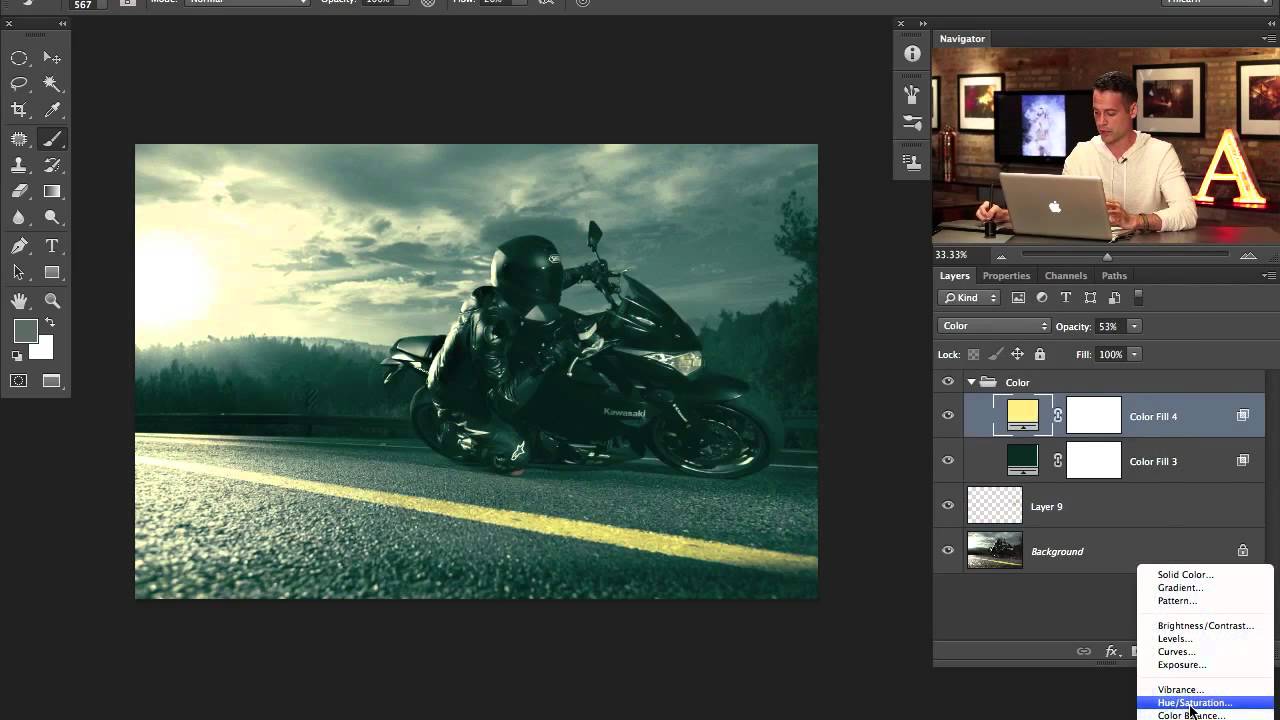
Split Toning, Blend If, and Building a Cinematic Edit from Scratch (PHLEARN Breakdown)

Split Toning, Blend If, and Building a Cinematic Edit from Scratch (PHLEARN Breakdown)

There’s a specific kind of frustration that hits when you finish editing a photo and it just looks… fine. Technically correct. Boring. You added some contrast, maybe bumped the saturation, and the result is an image that could have come out of any free Lightroom preset pack. I spent an embarrassing amount of time in that zone early in my freelance career, convinced I was missing some secret tool. Turns out I wasn’t missing a tool.
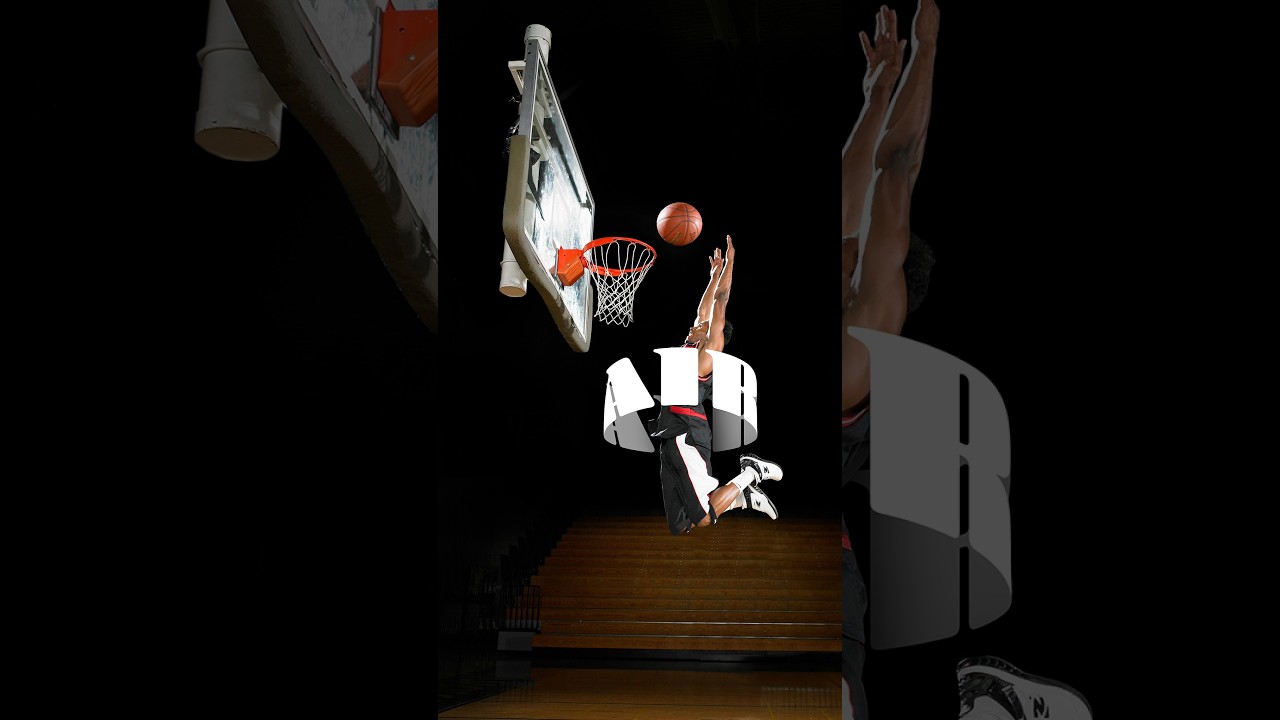
How to Fake 3D Text in Photoshop Without Touching a Single AI Button

How to Fake 3D Text in Photoshop Without Touching a Single AI Button

Every few months I stumble across a technique that makes me feel like I’ve been doing things the hard way for no reason. This was one of those moments. I was working on a poster comp where the client wanted text that felt like it was physically wrapped around the subject, that kind of old-school carnival or vintage sports graphic energy. My first instinct was to reach for something complicated. Maybe export to a 3D program, maybe mess around with displacement maps, maybe just charge the client more and hope they forgot about it.

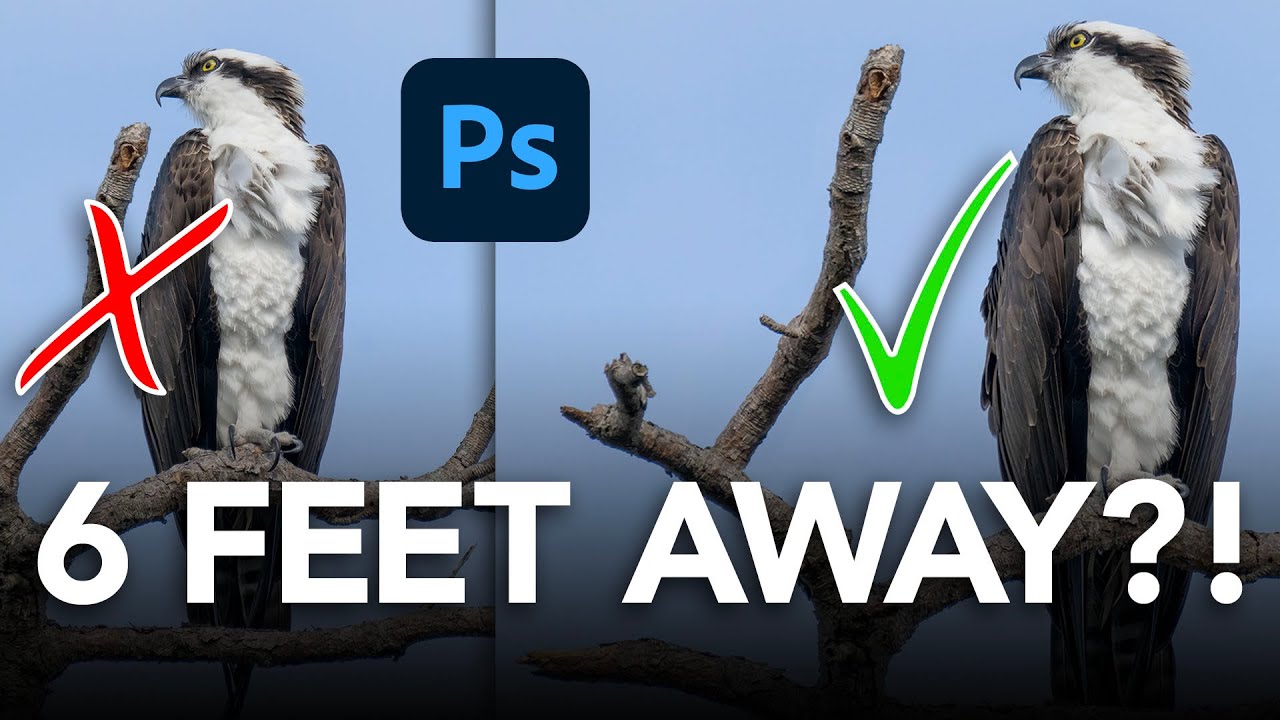
How to Push a Branch (or Anything) Out of Your Subject's Space in Photoshop

How to Push a Branch (or Anything) Out of Your Subject's Space in Photoshop

There’s a specific kind of frustration I feel when I nail a shot compositionally — good light, great subject, clean background — and then notice that some branch, pole, or random object is practically breathing on my subject. Not close enough to remove without wrecking the composition, but close enough to look like a mistake. I used to either crop aggressively (losing the frame I wanted) or spend 20 minutes cloning and healing until it looked almost right.

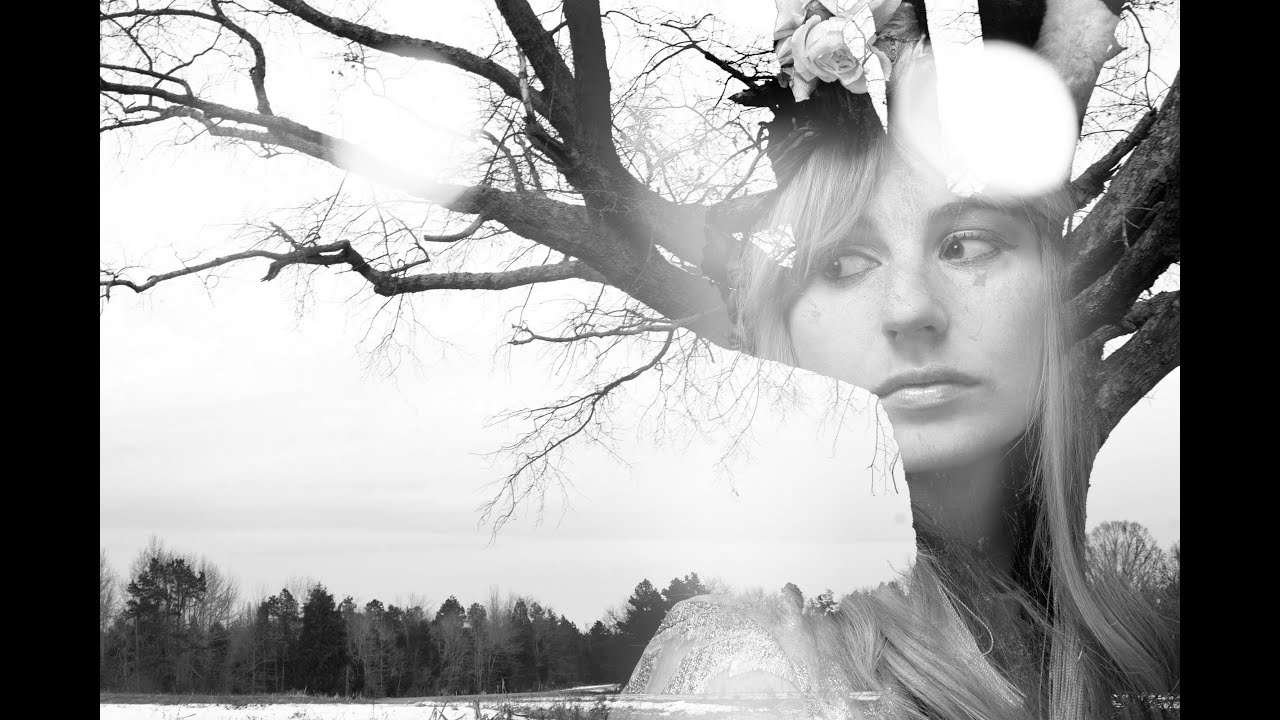
Double Exposure in Photoshop: How to Blend a Portrait and a Landscape Into One Striking Image

Double Exposure in Photoshop: How to Blend a Portrait and a Landscape Into One Striking Image

There’s a specific kind of client brief that used to make me freeze up: “Make it look artistic. You know, like a double exposure thing.” Vague enough to mean anything, specific enough that they definitely had a Pinterest reference they weren’t showing me. I’d cobble something together using Screen mode and hope for the best, and it would look… fine. Not great. The kind of result that gets approved but doesn’t end up in anyone’s portfolio.

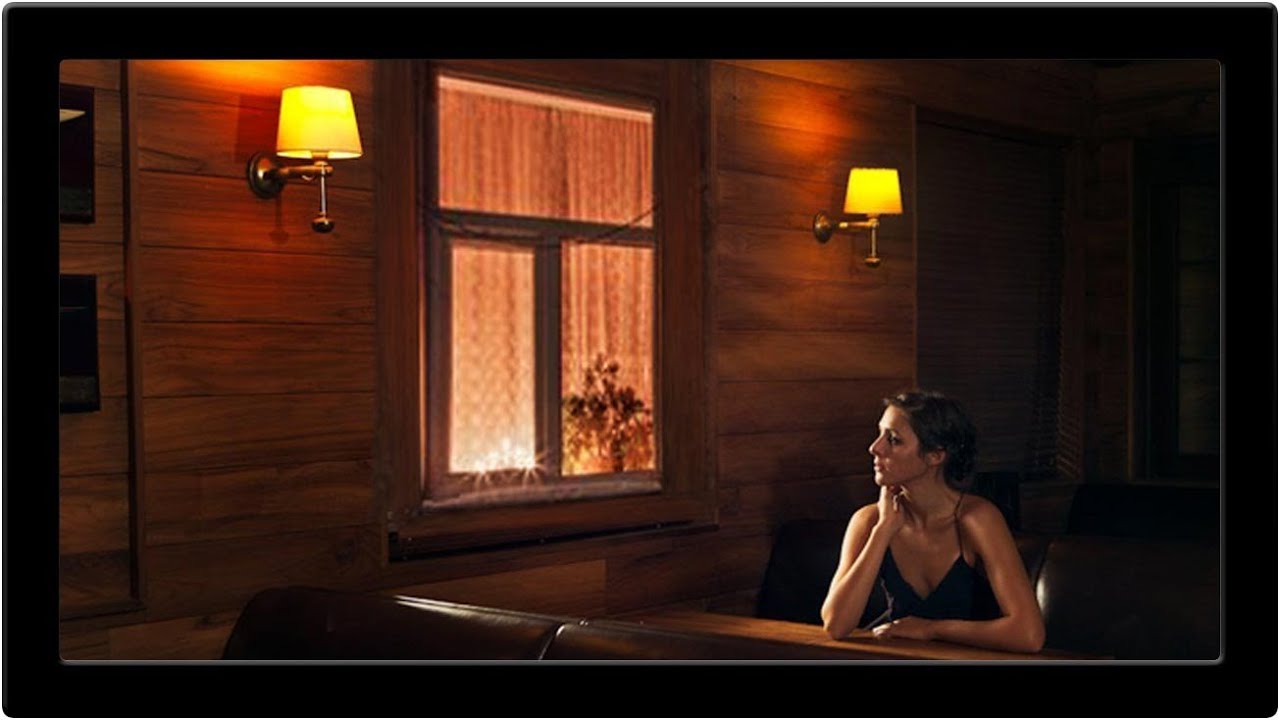
Stop Trying to Fix Bad Windows in Photoshop — Just Replace Them

Stop Trying to Fix Bad Windows in Photoshop — Just Replace Them

There’s a certain kind of Photoshop problem that looks simple from the outside and turns into a two-hour nightmare once you’re actually inside it. Venetian blinds are exactly that problem. Uneven slats, inconsistent shadows, awkward gaps. You think “I’ll just clone stamp this out” and then forty-five minutes later you’re still at it, questioning your life choices, while the coffee you grabbed at the start of the session goes cold on the table beside your laptop.

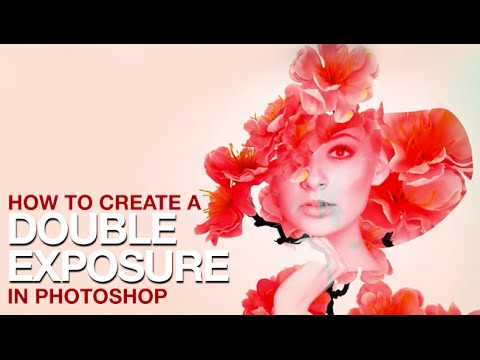
Double Exposure in Photoshop: How to Blend Two Images Into Something That Looks Intentional

Double Exposure in Photoshop: How to Blend Two Images Into Something That Looks Intentional

Client work has a funny way of pushing you toward techniques you’ve been lazily avoiding. For me, double exposures were exactly that. I’d seen them everywhere, assumed they were either done in-camera or required some wizardly process I hadn’t earned the right to know yet, and kept putting off learning them properly. Then a branding client asked for a portrait-meets-nature composite for a wellness campaign, and suddenly my procrastination had a deadline.

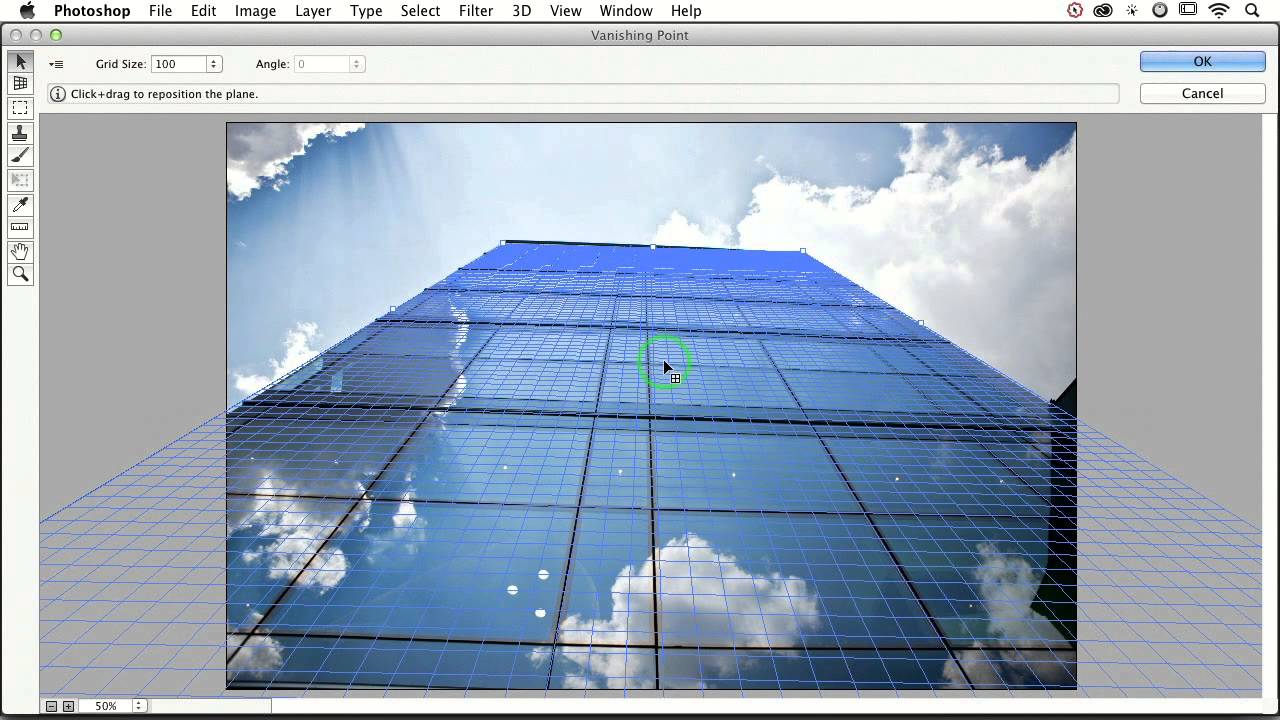
How to Slap Any Image onto a Building (and Actually Make It Look Real) with Photoshop's Vanishing Point

How to Slap Any Image onto a Building (and Actually Make It Look Real) with Photoshop's Vanishing Point

A friend of mine once spent three days building a composite where he placed a graphic onto the side of a building. Manually warped it. Nudged every corner point. Matched the lighting. It looked… fine. Plausible. Then someone in his feedback thread said “couldn’t you just use Vanishing Point for that?” and his soul briefly left his body. I watched this happen in real time. I also had no idea what Vanishing Point was, so I stayed quiet and nodded like I absolutely knew.

Content Aware Scale: The Photoshop Feature I Keep Forgetting I Need (Until I Desperately Need It)

Content Aware Scale: The Photoshop Feature I Keep Forgetting I Need (Until I Desperately Need It)

There’s a specific kind of design panic that hits when you’re building a thumbnail, a print layout, or a client deliverable and the photo just doesn’t fit the canvas the way you need it to. The subject is dead center, you need room on one side for text, and if you just scale the whole image you’ll either crop something important or squash the person in the frame into a funhouse mirror version of themselves.

The Flip-and-Match Trick That Saves Your Covers When You Shot the Wrong Orientation

The Flip-and-Match Trick That Saves Your Covers When You Shot the Wrong Orientation

There’s a specific kind of dread that hits when a client asks for a vertical crop of a photo you shot horizontal. It doesn’t matter how good the image is. If the canvas is taller than the frame, you’ve got dead space, and dead space on a magazine cover is a career-limiting move. I’ve been there more times than I’d like to admit, usually sitting in a coffee shop frantically masking gradients into skies that don’t quite match, hoping the client doesn’t zoom in.

Sky Replacement in Photoshop: What Every Single Setting Actually Does

Sky Replacement in Photoshop: What Every Single Setting Actually Does

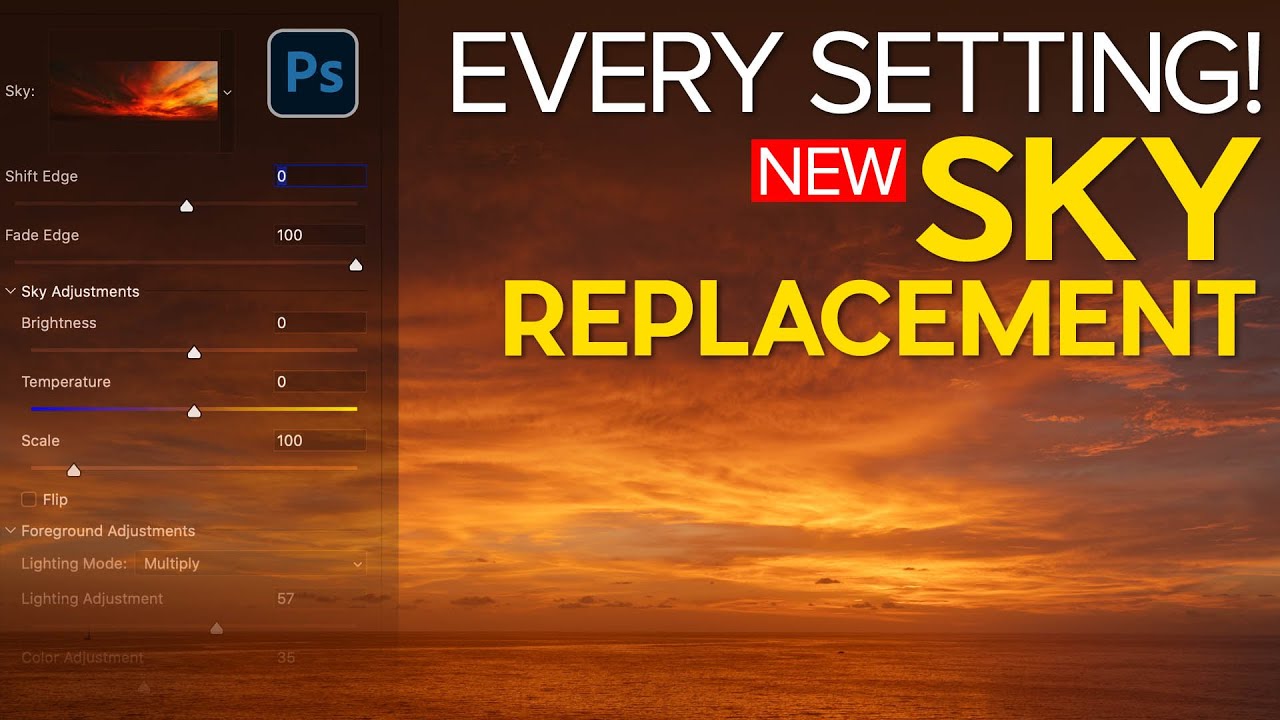
There’s a specific kind of frustration that hits when you know a tool exists, you’ve poked at it a few times, and it still produces results that look like a bad green-screen audition. Sky Replacement in Photoshop is exactly that tool for a lot of people. The feature showed up in Photoshop and everyone got excited, slapped a dramatic sunset behind a gray overcast shot, and then quietly closed the file when the edges looked like someone cut them out with kindergarten scissors.

How to Add Cinematic Drama to a Portrait in Photoshop (Joel Grimes' 3-Trick Workflow)

How to Add Cinematic Drama to a Portrait in Photoshop (Joel Grimes' 3-Trick Workflow)

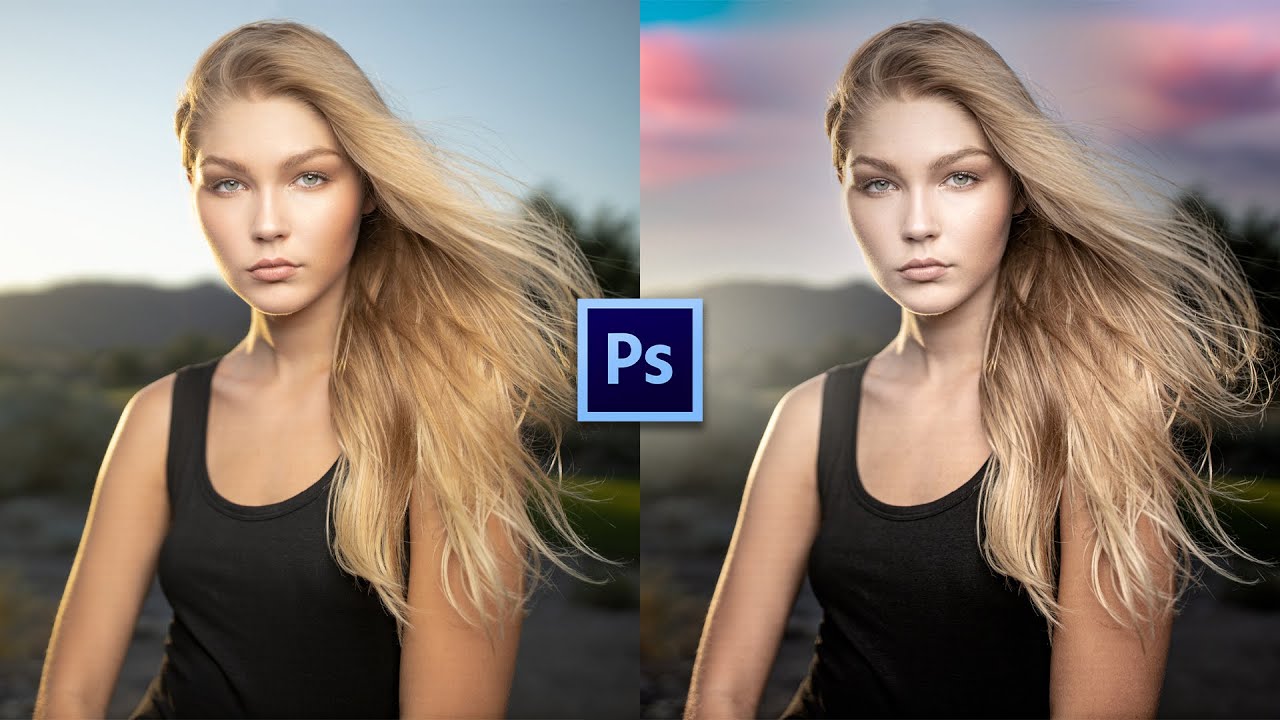
There’s a specific kind of disappointment that hits when you’ve got a technically solid portrait shot outdoors, good light on the subject, decent exposure, sharp eyes, and then you look at the background and it’s just… a flat blue nothing. The subject is doing all the heavy lifting and the rest of the image is coasting. I’ve sent images like that to clients and watched them nod politely. You know the nod.

Photoshop Layers for Beginners: Build Your First Composite the Right Way

Photoshop Layers for Beginners: Build Your First Composite the Right Way

I started making graphics in MS Paint. Terrible ones. Cut-out text, gradient backgrounds that looked like a Windows 98 screensaver, the whole deal. When I finally got my hands on Photoshop, the thing that changed everything for me wasn’t the filters or the fancy selection tools. It was layers. Once I understood that every element in a composition could live on its own independent plane, editable and moveable without touching anything else, the whole software started making sense.