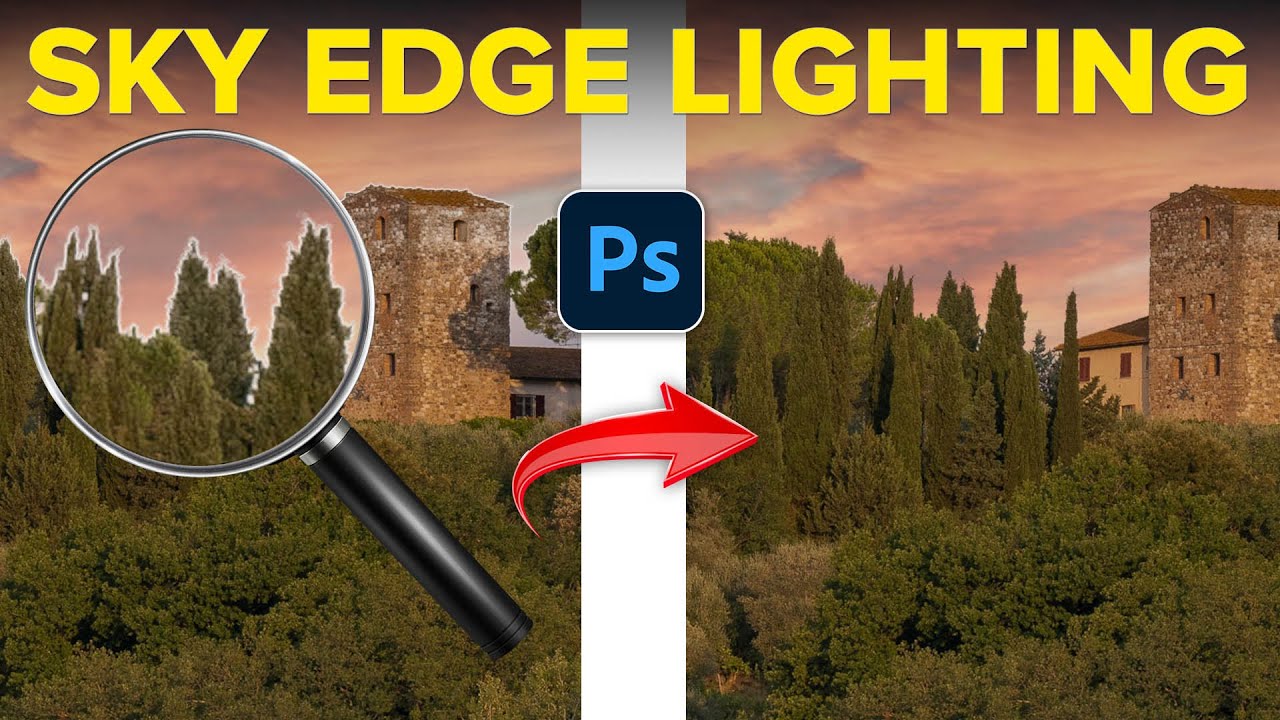
If you’ve ever done a sky replacement in Photoshop and then immediately felt that creeping dread where something looks off but you can’t quite put your finger on it, welcome to the club. The sky is in there. The mask looks decent. And yet it reads as fake from ten feet away. Nine times out of ten, the culprit is that weird bright halo sitting right at the edge where your new sky meets your foreground. It’s subtle enough that you might spend an hour tweaking the mask before realizing the mask was never the problem.
In this Matt Kloskowski tutorial, he walks through a feature that was quietly added to Photoshop’s Sky Replacement tool and that a lot of people have probably scrolled past without thinking about: the Edge Lighting setting. It’s not flashy, it doesn’t have a dramatic before/after on its own, but it exists to solve a very specific and very annoying problem. And more importantly, Matt makes a point about when you should actually reach for this setting, which turns out to be just as useful as knowing what it does. You can watch the full tutorial on YouTube alongside this walkthrough.
Step 1: Open Sky Replacement From Scratch
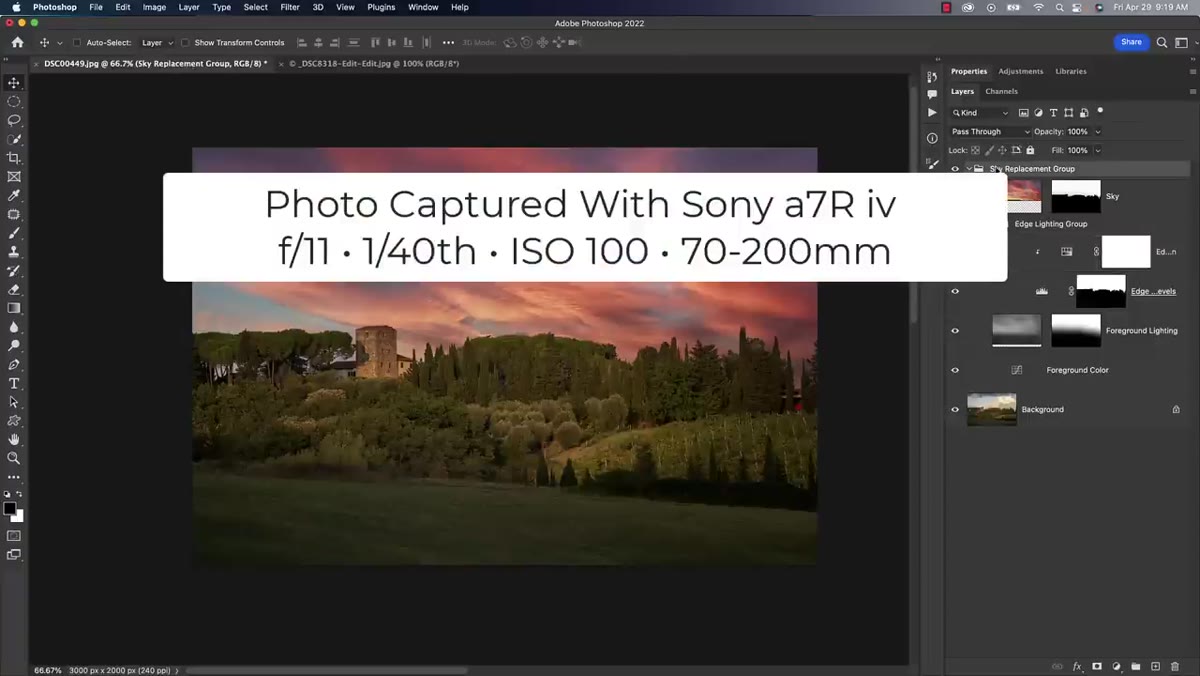 Sky replacement group being deleted in the Layers panel
If you already have a sky replacement group in your Layers panel from a previous attempt, delete it first and start clean. Matt does exactly this so you can see the full workflow without any inherited settings muddying the results. From the top menu, go to Edit > Sky Replacement to open the dialog.
Sky replacement group being deleted in the Layers panel
If you already have a sky replacement group in your Layers panel from a previous attempt, delete it first and start clean. Matt does exactly this so you can see the full workflow without any inherited settings muddying the results. From the top menu, go to Edit > Sky Replacement to open the dialog.
Starting fresh matters here because you want to see how the default settings actually behave before you start adjusting anything. If you’re working on a file someone else handed you, collapsed groups with sky replacement layers can carry settings you won’t even see unless you re-open the dialog.
Step 2: Choose a Sky With High Contrast Against Your Foreground
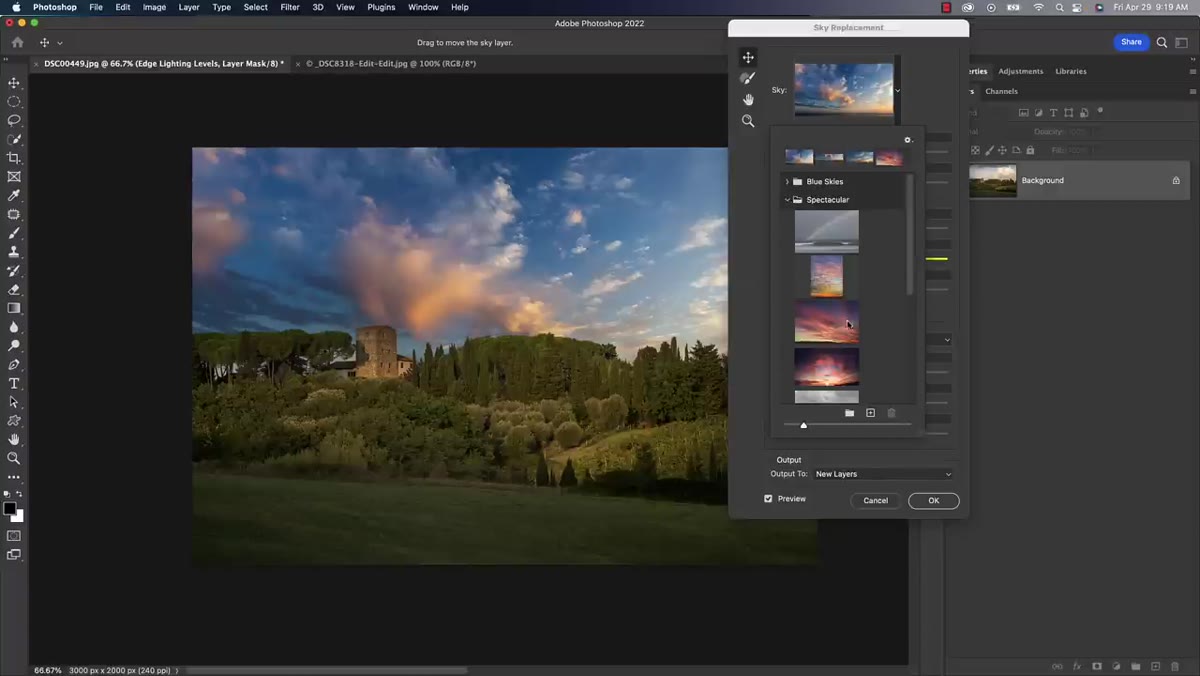 Sky replacement window open with Adobe spectacular skies section visible
Inside the Sky Replacement window, Matt navigates to Adobe’s built-in “Spectacular” sky presets and picks one that’s noticeably darker than the original sky in the photo. This isn’t an accident. He’s deliberately choosing a sky that creates a contrast problem at the edge, because that’s exactly the scenario where Edge Lighting earns its keep.
Sky replacement window open with Adobe spectacular skies section visible
Inside the Sky Replacement window, Matt navigates to Adobe’s built-in “Spectacular” sky presets and picks one that’s noticeably darker than the original sky in the photo. This isn’t an accident. He’s deliberately choosing a sky that creates a contrast problem at the edge, because that’s exactly the scenario where Edge Lighting earns its keep.
The rule he’s illustrating is straightforward: replacing a bright sky with another bright sky tends to look passable almost automatically. But swap in a dramatically darker sky, or vice versa, and that transition line becomes obvious. The foreground elements along the horizon carry the tonal memory of the original sky, and when the new sky doesn’t match that tone, your eyes catch the seam. Picking an extreme example is the fastest way to see what any setting actually does.
Step 3: Zoom In on the Horizon Edge
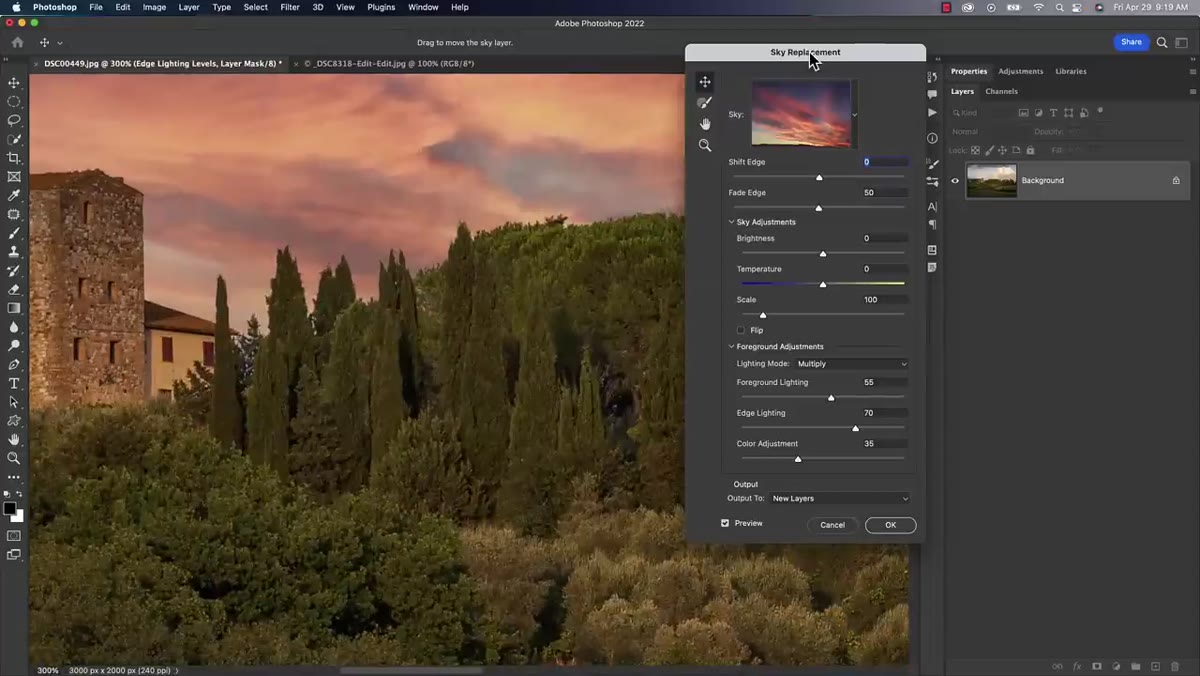 Zoomed in view showing halo artifact at sky-foreground edge
Use Command/Ctrl + Plus to zoom into the area where your sky meets the foreground. Hold the Spacebar to temporarily grab the Hand tool and pan around. You’re looking at the edge quality here, not the overall composition.
Zoomed in view showing halo artifact at sky-foreground edge
Use Command/Ctrl + Plus to zoom into the area where your sky meets the foreground. Hold the Spacebar to temporarily grab the Hand tool and pan around. You’re looking at the edge quality here, not the overall composition.
What you’ll likely see at this point, especially with a high-contrast sky swap, is a halo. It’s a thin, awkward fringe of brightness or mismatch sitting right at the boundary. It doesn’t mean your mask is wrong. It means the overall luminosity of the original sky is bleeding through around the edges, and no amount of mask refinement is going to fix that because the mask isn’t causing it.
Step 4: Set Edge Lighting to Zero First
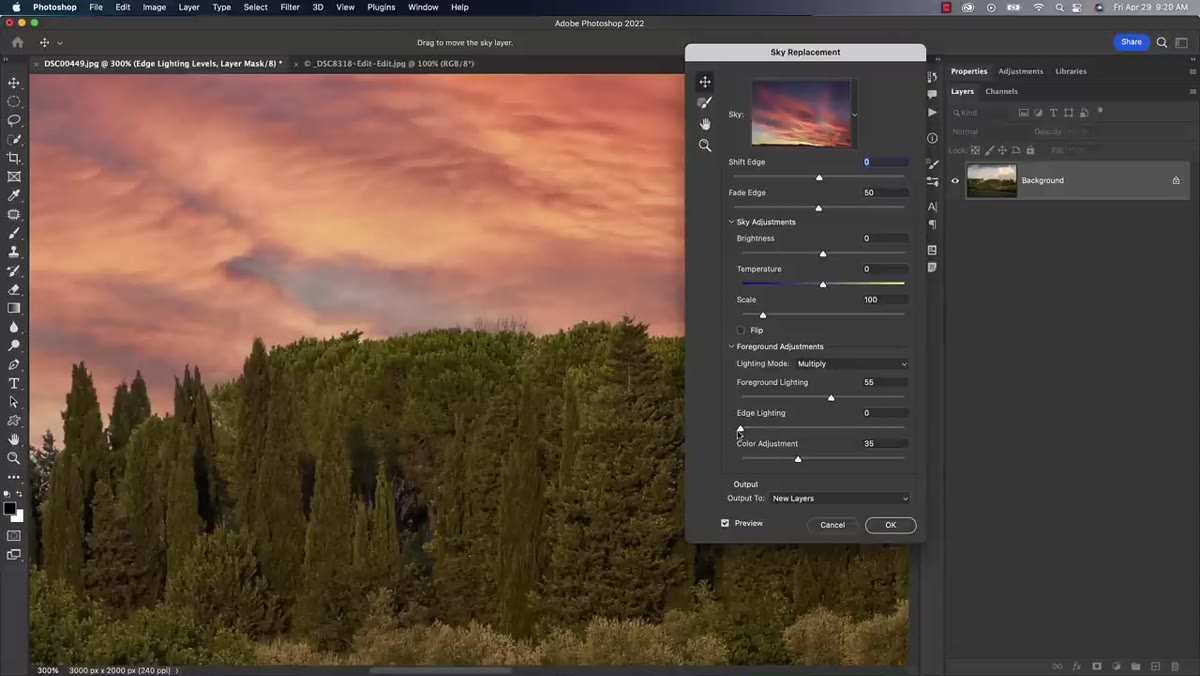 Edge Lighting slider pulled down to zero in the Sky Replacement dialog
Before you start dragging sliders up, pull the Edge Lighting slider all the way down to zero. Matt points out that Photoshop defaults this setting to around 70, which means it’s already been doing something to your image without you explicitly choosing it. Zero is your true baseline, the state where no edge lighting correction is being applied.
Edge Lighting slider pulled down to zero in the Sky Replacement dialog
Before you start dragging sliders up, pull the Edge Lighting slider all the way down to zero. Matt points out that Photoshop defaults this setting to around 70, which means it’s already been doing something to your image without you explicitly choosing it. Zero is your true baseline, the state where no edge lighting correction is being applied.
This matters because if you don’t know what zero looks like, you can’t accurately judge what any other value is actually doing. It’s a habit worth building for any new Photoshop setting: zero first, then sweep up to 100, then back. That back-and-forth comparison teaches you more in thirty seconds than reading a description would in five minutes.
Step 5: Increase Edge Lighting and Watch the Halo
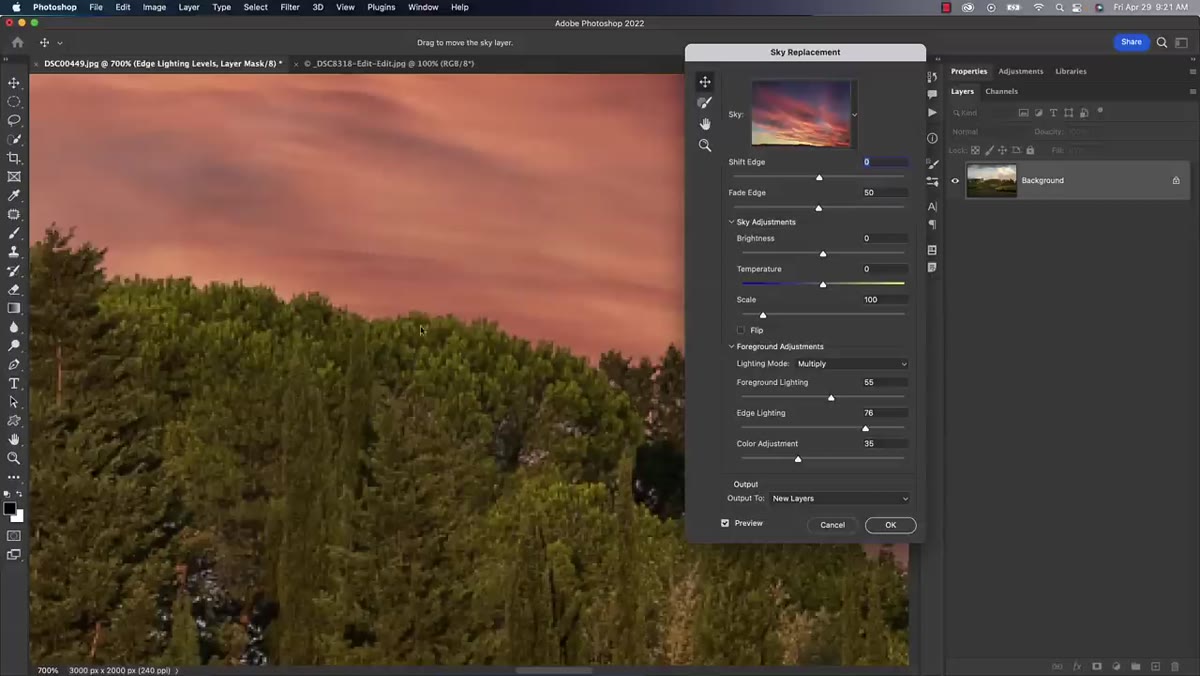 Edge Lighting slider being raised, halo visibly reducing at horizon edge
Now drag the Edge Lighting slider upward slowly and watch the horizon edge as you do. Two things happen. First, the halo starts to pull back and soften. Second, there’s a broader tonal shift happening where the foreground and the new sky start to negotiate a shared middle ground in terms of brightness.
Edge Lighting slider being raised, halo visibly reducing at horizon edge
Now drag the Edge Lighting slider upward slowly and watch the horizon edge as you do. Two things happen. First, the halo starts to pull back and soften. Second, there’s a broader tonal shift happening where the foreground and the new sky start to negotiate a shared middle ground in terms of brightness.
It’s not a magic fix, and cranking it to 100 isn’t always better than landing at 50 or 60. The right value depends on how extreme your original tone difference was. The goal is to find the point where the edge stops reading as a cutout and starts reading as a photograph. Zoom out occasionally to check your progress at a normal viewing distance, because edge tweaks that look great at 200% can look overdone at 100%.
Step 6: Commit and Evaluate the Full Composite
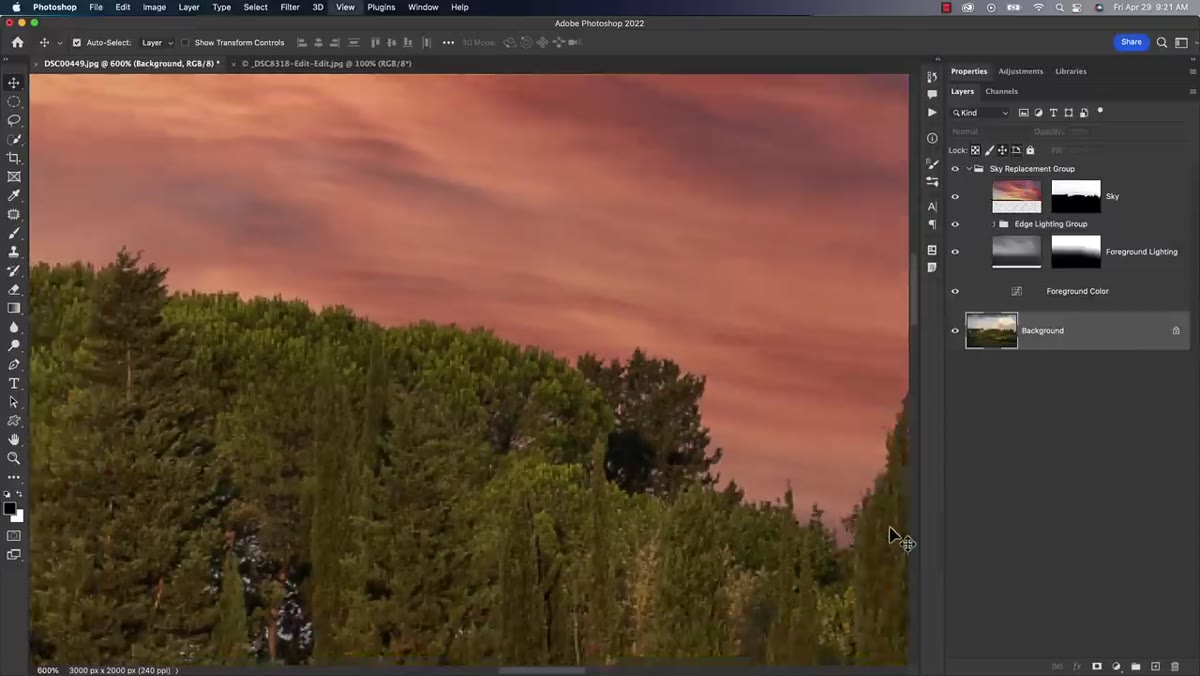 Dialog closed, final composite visible with sky replacement layers in panel
When the edge looks believable, click OK to commit the replacement. Photoshop generates a Sky Replacement group in your Layers panel with all the associated masks and adjustment layers. Now step back and look at the whole image.
Dialog closed, final composite visible with sky replacement layers in panel
When the edge looks believable, click OK to commit the replacement. Photoshop generates a Sky Replacement group in your Layers panel with all the associated masks and adjustment layers. Now step back and look at the whole image.
Matt is honest here in a way that I really appreciate: even with Edge Lighting working properly, you might still end up with a composite that looks like a composite. Edge Lighting solves the halo problem, but it can’t fix a creative mismatch. If your foreground subject is lit from a warm late-afternoon sun and your new sky is a cool stormy blue, that’s a lighting consistency problem and no slider in the sky replacement dialog is going to reconcile it.
The Part Matt Gets Right That Most Tutorials Skip
Here’s the thing I kept thinking about while going through this: Edge Lighting is useful, but the more important takeaway is learning to diagnose why a sky replacement looks bad before you start tweaking. I’ve watched people spend 45 minutes adjusting feathering and mask edges on a composite that looked fake purely because the sky they chose was tonally incompatible with the foreground. That’s not a masking problem. That’s a selection problem, and no amount of refinement fixes a wrong choice.
Matt’s point about matching the general brightness of the original sky is practical advice that I’d put above almost any technical tip. If you’re working with a high-contrast swap because you genuinely need that look, then Edge Lighting is your friend. If you’re fighting the tool to make an incompatible sky work, you’re probably better off choosing a different sky first.
The single most useful thing this tutorial teaches is the habit of going to zero before you adjust anything. It applies to Edge Lighting, to the Fade slider, to basically every parameter in Sky Replacement. You cannot calibrate a setting you’ve never seen at its baseline. Start at zero, watch what changes, and you’ll build intuition fast.
Watch the full tutorial on YouTube to see Matt walk through the before-and-after comparisons in real time. Seeing the halo appear and disappear as the slider moves is worth more than any screenshot.
Comments
Leave a Comment