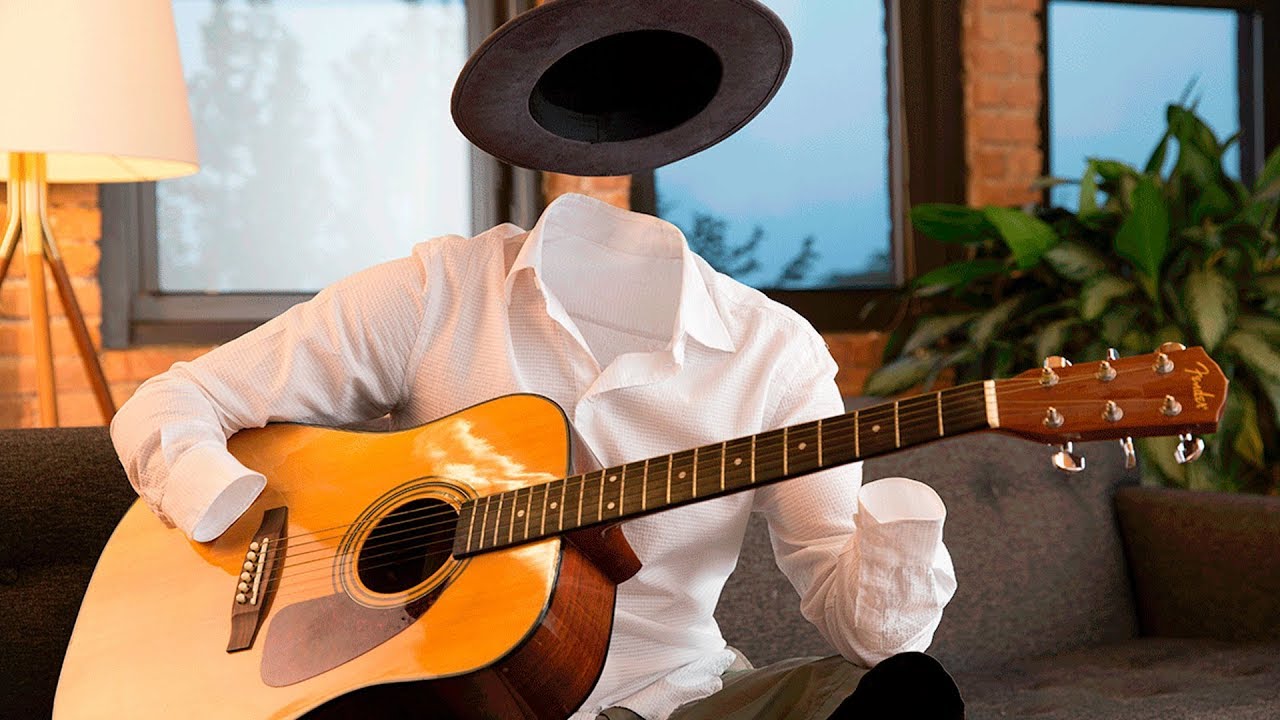
Somewhere between my third coffee and a slow Tuesday with no client deadlines, I fell down a Photoshop tutorial rabbit hole and landed on something genuinely useful. The invisibility effect. Not the lazy “reduce opacity to 50% and call it a ghost” trick. The real one, where a person appears to literally vanish from their clothes while still holding a guitar or wearing a hat. It’s the kind of thing that looks like it requires VFX software and a film crew, but it doesn’t. It requires a tripod, some patience, and Photoshop.
In this Aaron Nace (PHLEARN) tutorial, Watch the full tutorial on YouTube, Aaron walks through both the photography setup AND the Photoshop compositing process from start to finish. That’s the part I appreciated most. A lot of tutorials hand you pre-made assets and skip the hard question of how you actually capture this stuff in the real world. This one doesn’t.
What makes this technique click is the concept underneath it. You’re not erasing a person. You’re replacing visible body parts with photos of empty clothing in the exact same position. It’s a multi-image composite, and the key is that all the images come from the same locked-off camera. Once you understand that, the whole thing becomes logical rather than magical.
Step 1: Gather Your Gear Before You Shoot Anything
 caption: Aaron listing required gear including tripod and white shirt
Before you open Photoshop, the effect is made or broken during the shoot. You need a camera on a tripod - the camera cannot move between shots or the composite falls apart. A long-sleeve shirt in a solid light color (white is ideal) makes blending significantly easier later. A prop - a guitar, a book, anything the subject can interact with - sells the illusion. And Aaron recommends having a second person on set to help line things up, which is genuinely good advice. Eyeballing alignment alone is miserable.
caption: Aaron listing required gear including tripod and white shirt
Before you open Photoshop, the effect is made or broken during the shoot. You need a camera on a tripod - the camera cannot move between shots or the composite falls apart. A long-sleeve shirt in a solid light color (white is ideal) makes blending significantly easier later. A prop - a guitar, a book, anything the subject can interact with - sells the illusion. And Aaron recommends having a second person on set to help line things up, which is genuinely good advice. Eyeballing alignment alone is miserable.
For capturing the shots, Aaron uses tethered shooting with Capture One, which lets you overlay a reference image on top of your live view. This means you can see whether your sleeve is sitting in the same position as it was in the base shot. If you’re not set up for tethered shooting, he suggests using paper tape or a dry-erase marker on the back of your LCD screen to mark key positions. Not glamorous, but effective.
Step 2: Shoot Your Base Image First
 caption: Aaron sitting on couch holding guitar in base pose
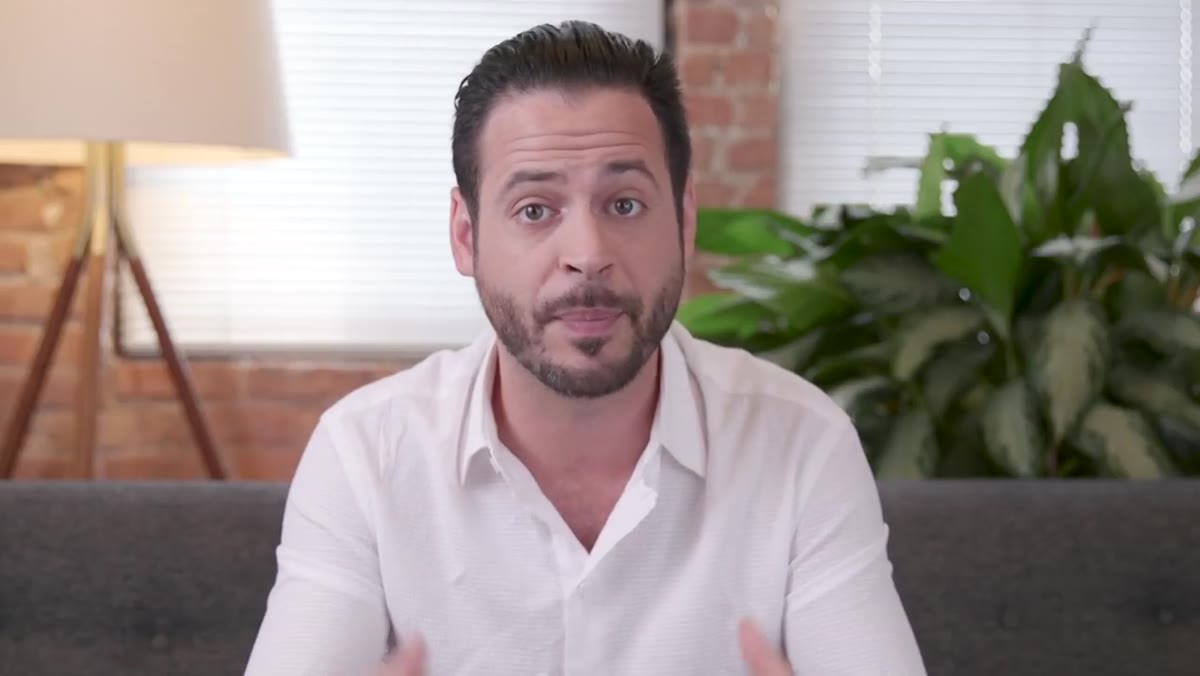
The base image is the photo that establishes the full scene. Subject is visible, fully posed, interacting with props. This is what the final image will “feel” like in terms of framing, lighting, and environment. Everything else you shoot after this is supporting material for the composite.
caption: Aaron sitting on couch holding guitar in base pose
The base image is the photo that establishes the full scene. Subject is visible, fully posed, interacting with props. This is what the final image will “feel” like in terms of framing, lighting, and environment. Everything else you shoot after this is supporting material for the composite.
For this tutorial, Aaron is sitting on a couch holding a guitar with both hands, wearing a hat. Those are four or five separate areas where his body is visible - each one needs its own replacement shot. Think of the base image as your map. It tells you exactly what needs to be removed.
Step 3: Photograph Each Body Part Separately as Empty Clothing
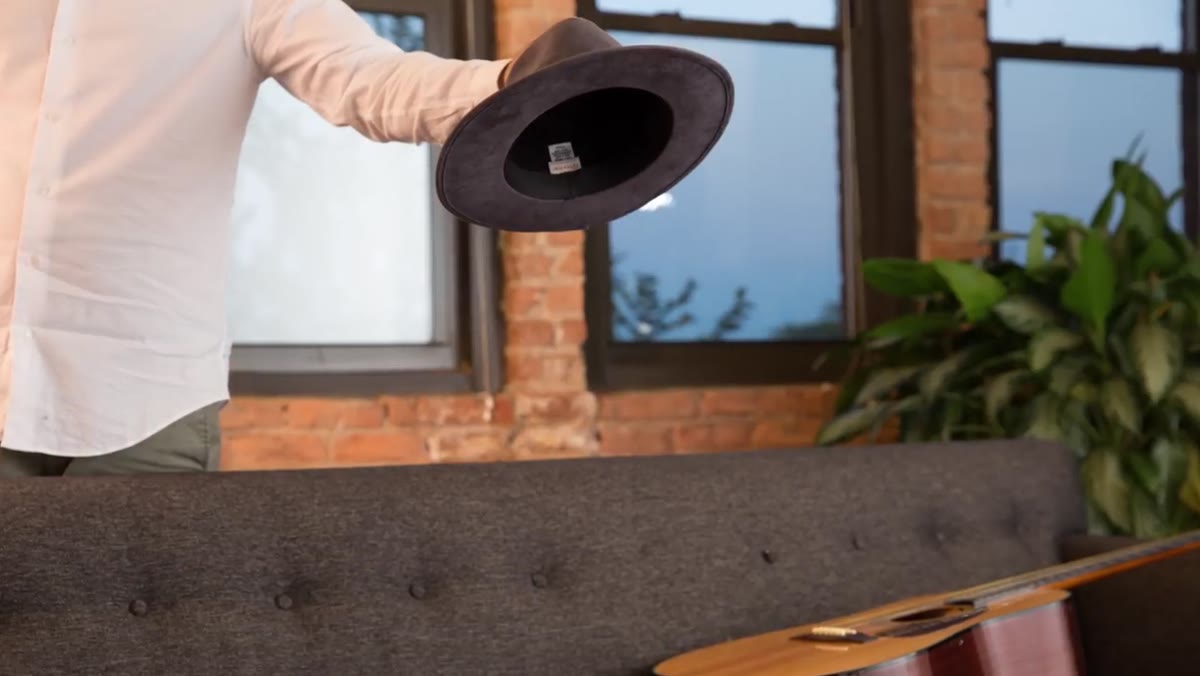
 caption: Shooting empty sleeve in same position as base image
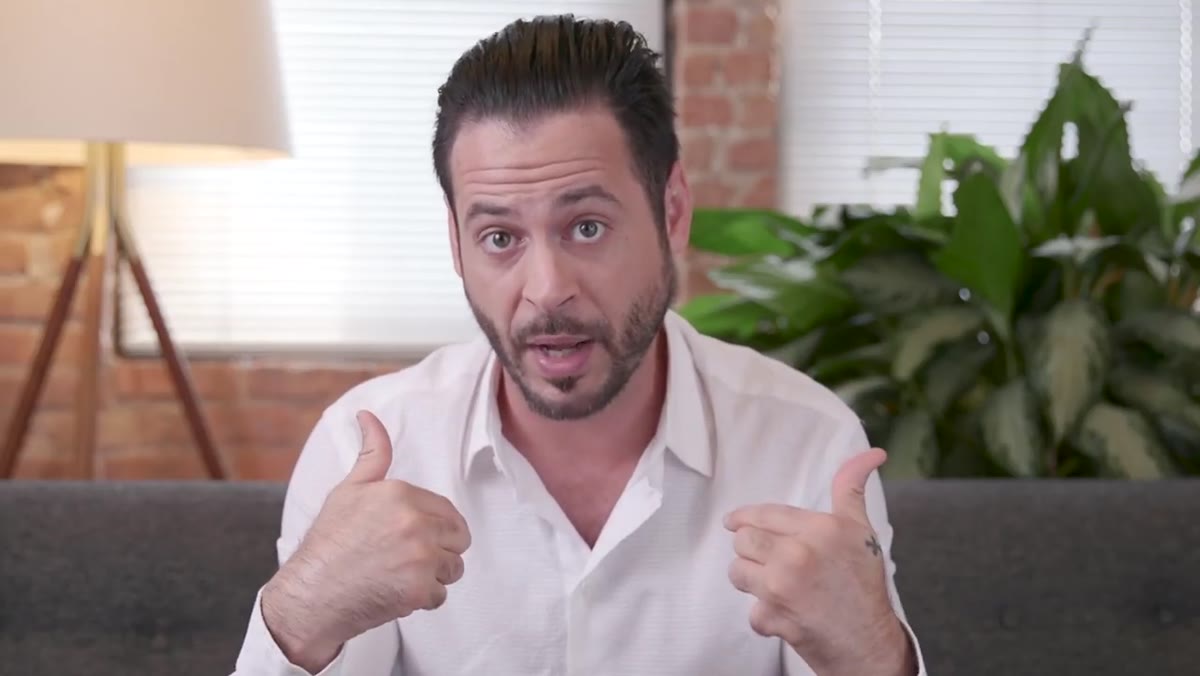
This is the core of the whole technique. For every visible body part in your base image, you take a second photo of just the clothing - no body inside it - in the same position and with the same camera settings. One shot for each hand, one for the collar, one for each pant leg, one for the hat if needed.
caption: Shooting empty sleeve in same position as base image
This is the core of the whole technique. For every visible body part in your base image, you take a second photo of just the clothing - no body inside it - in the same position and with the same camera settings. One shot for each hand, one for the collar, one for each pant leg, one for the hat if needed.
The sleeve needs to be hanging or positioned the way it would naturally fall if there were no arm inside it. That takes some fiddling. This is where having a second person really helps - someone can hold the fabric while you check the alignment against your reference frame on the tethered display. Lighting needs to match across all shots since the camera is locked off and you’re not changing any settings between frames.
Step 4: Stack All Your Images as Layers in Photoshop
 caption: Multiple photos open as layers in Photoshop panel
Once you’re back at your computer, open all of your images and stack them as layers in a single Photoshop document. The base image goes at the bottom. Each of the “empty clothing” shots sits above it. At this point nothing looks right - you’ve just got a pile of images. That’s fine. The next step is where it starts to come together.
caption: Multiple photos open as layers in Photoshop panel
Once you’re back at your computer, open all of your images and stack them as layers in a single Photoshop document. The base image goes at the bottom. Each of the “empty clothing” shots sits above it. At this point nothing looks right - you’ve just got a pile of images. That’s fine. The next step is where it starts to come together.
Label your layers clearly before you start masking. “Left hand sleeve,” “right hand sleeve,” “collar,” and so on. I know from painful personal experience that unlabeled layers in a complex composite will eventually cost you time you don’t have.
Step 5: Use Layer Masks to Reveal the Empty Clothing
 caption: Painting layer mask to blend empty sleeve over hand
This is where Photoshop does the heavy lifting. On each of your “empty clothing” layers, add a layer mask and paint with black to hide the parts you don’t need, revealing only the area where the body part should disappear. The goal is a seamless blend between the empty sleeve layer and the surrounding base image.
caption: Painting layer mask to blend empty sleeve over hand
This is where Photoshop does the heavy lifting. On each of your “empty clothing” layers, add a layer mask and paint with black to hide the parts you don’t need, revealing only the area where the body part should disappear. The goal is a seamless blend between the empty sleeve layer and the surrounding base image.
Because Aaron is wearing a white shirt against a relatively consistent background, the edges are forgiving. Solid colors and soft edges are your friends here. Patterned fabric or hard-edged shapes at the blend point will create obvious seams that are much harder to fix.
Step 6: Composite All Parts Together and Refine
 caption: Multiple masked layers combining into final invisible figure
Once each body part has been addressed, you step back and look at the full composite. This is when you start seeing the small misalignments - a sleeve that’s sitting slightly too high, a pant leg with a lighting mismatch at the edge. Aaron is honest about the fact that more limbs means more complexity. If this is your first attempt, consider a version with only one or two body parts to remove rather than going for the full disappearing act immediately.
caption: Multiple masked layers combining into final invisible figure
Once each body part has been addressed, you step back and look at the full composite. This is when you start seeing the small misalignments - a sleeve that’s sitting slightly too high, a pant leg with a lighting mismatch at the edge. Aaron is honest about the fact that more limbs means more complexity. If this is your first attempt, consider a version with only one or two body parts to remove rather than going for the full disappearing act immediately.
Refinements at this stage usually involve cleaning up mask edges with a soft brush and adjusting opacity on individual layers if the lighting between shots isn’t perfectly matched. Keep your original layers intact - never merge until you’re satisfied.
What I’d Add From Experience
The alignment problem is real and it’s underrated. Aaron mentions Capture One’s overlay feature almost in passing, but I’d put it in bold at the top of any prep list. The difference between having that overlay and not having it is the difference between a composite that takes an afternoon and one that takes a very long frustrated evening. If you don’t have Capture One, Adobe’s own tethering in Lightroom works fine. And if you’re shooting without any tether at all, use Aaron’s tape trick on the LCD - it sounds low-tech because it is, but it works.
One thing the transcript doesn’t get to (the tutorial goes further than what I’ve covered here) is the final color grading pass. Once all the layers are composited, a unified color grade or adjustment layer on top pulls everything into the same visual space. Without it, even a technically clean composite can feel like a collage.
The single most important thing to take away: this effect is built in-camera, not rescued in post. The photography setup, the locked tripod, the matching positions - those decisions determine whether the composite is easy or nearly impossible. Photoshop is just where you finish it.
Watch the full tutorial on YouTube to see Aaron walk through the complete process, including the parts of the shoot and composite work I haven’t covered here. It’s worth the full watch before you set up your tripod.
Comments
Leave a Comment