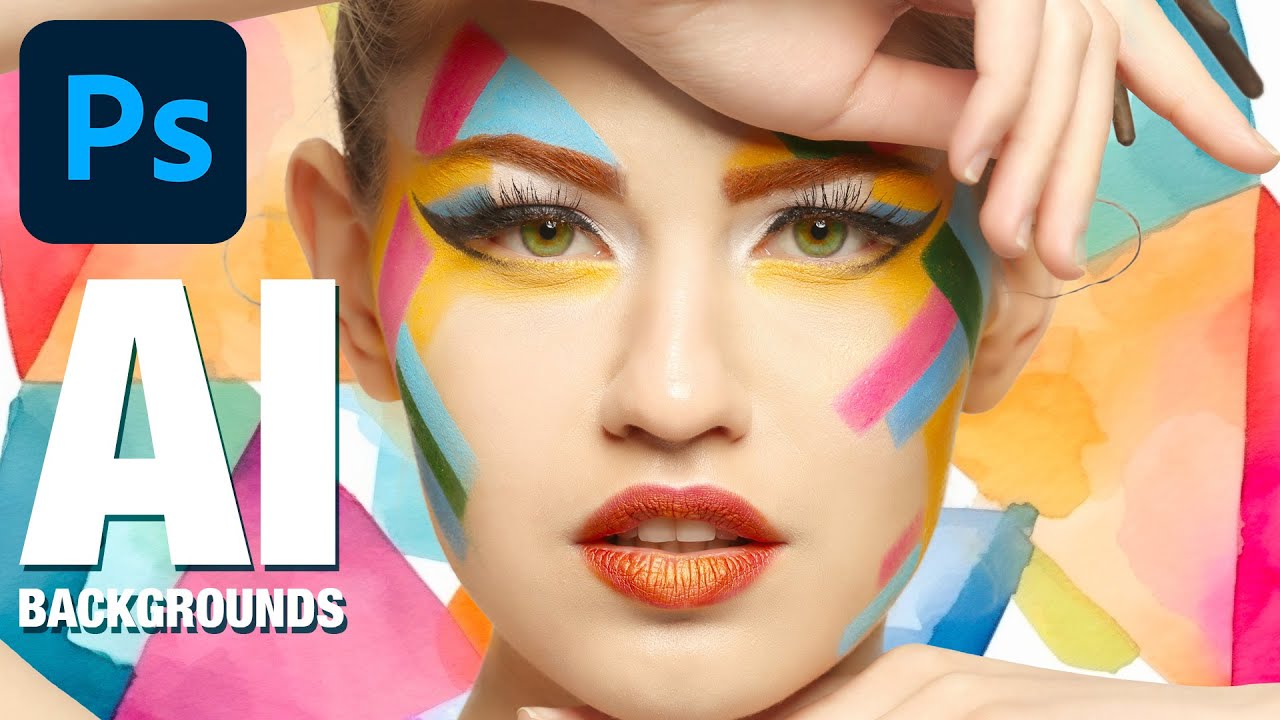
There’s a specific kind of frustration that hits when you’ve got a great portrait shot and a terrible background. You know the feeling. The subject is lit perfectly, the expression is exactly right, and then there’s… a white wall. Or worse, a beige wall. You could spend an hour digging through stock photo sites hoping to find something that doesn’t look immediately generic, or you could just generate exactly what you need from scratch in about five minutes. That second option is what finally sold me on bringing AI tools into my actual workflow, and it’s what Aaron Nace walks through in this tutorial from PHLEARN.
Watch the full tutorial on YouTube
The specific problem he’s solving is one I hit constantly in client work: a portrait with a plain white background that needs something behind it with visual weight and personality. His answer is to use Midjourney to generate a custom painted, geometric, watercolor-style background and then composite it into the portrait in Photoshop. No searching. No licensing fees. No settling. You just describe what you want and iterate until you get it. Here’s how it works.
Step 1: Get Set Up on Midjourney via Discord
 Midjourney website homepage with Get Started button visible
Midjourney doesn’t have a traditional app or web interface where you just log in and start clicking. It runs through Discord, which feels a little weird the first time but you get used to it fast. Head to midjourney.com, hit “Get Started,” and follow their quick start guide to join the Midjourney Discord server. Once you’re in the server, you’ll find a set of channels labeled something like “newbie rooms” where you can start generating images immediately for free.
Midjourney website homepage with Get Started button visible
Midjourney doesn’t have a traditional app or web interface where you just log in and start clicking. It runs through Discord, which feels a little weird the first time but you get used to it fast. Head to midjourney.com, hit “Get Started,” and follow their quick start guide to join the Midjourney Discord server. Once you’re in the server, you’ll find a set of channels labeled something like “newbie rooms” where you can start generating images immediately for free.
The free tier works fine for experimentation, but Aaron makes a good point: it gets noisy. You’re generating images in a shared public channel alongside thousands of other users, which means you have to scroll through a wall of other people’s generations to find your own. The paid subscription unlocks a private direct message thread with the Midjourney bot, which is a noticeably better experience if you’re using this for actual client work. It also runs a bit faster, which matters when you’re iterating through multiple prompt variations.
Step 2: Write Your First Prompt Using /imagine
 Discord message box with slash imagine command being typed
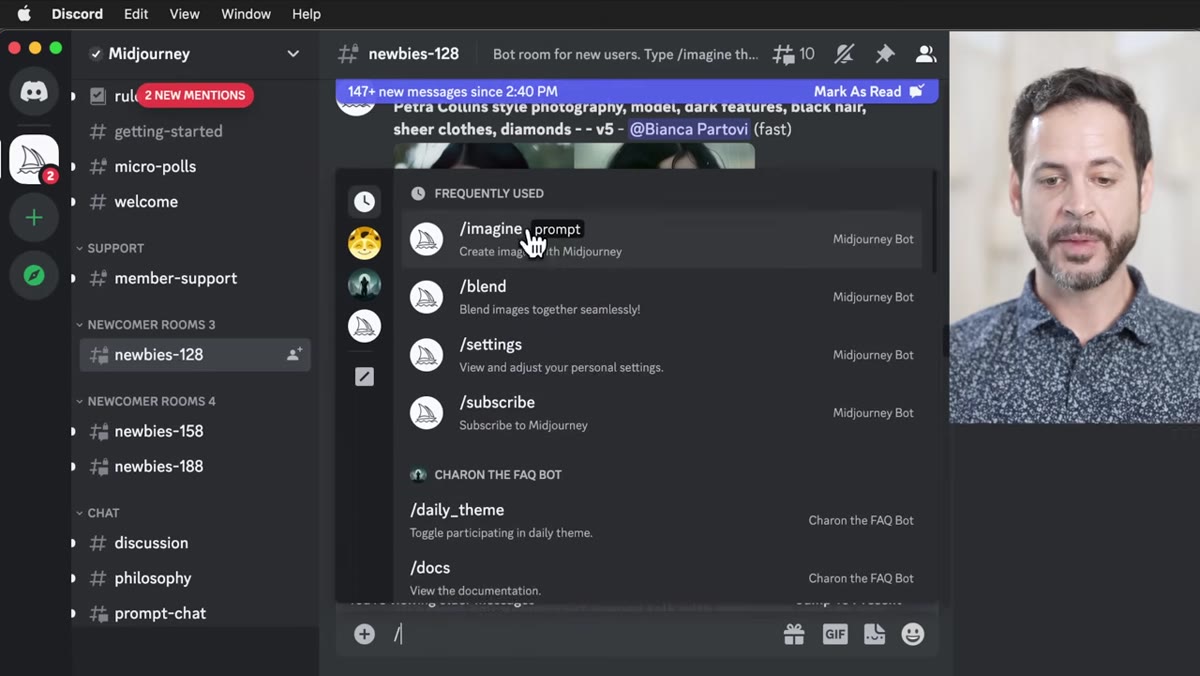
Inside Discord, whether you’re in a public newbie channel or your private Midjourney DM, you trigger image generation by typing a forward slash, selecting “imagine” from the command menu that pops up, and then typing your prompt. This is the part where a lot of people freeze up, but the key is to be descriptive about style, medium, and content without overthinking it.
Discord message box with slash imagine command being typed
Inside Discord, whether you’re in a public newbie channel or your private Midjourney DM, you trigger image generation by typing a forward slash, selecting “imagine” from the command menu that pops up, and then typing your prompt. This is the part where a lot of people freeze up, but the key is to be descriptive about style, medium, and content without overthinking it.
For this project, Aaron uses a prompt along the lines of “colorful geometric 2D rectangles and triangles, watercolor, on a white background.” The white background detail is important here because the goal is to eventually composite this onto a portrait, so you want something that’s going to be easier to work with in Photoshop rather than a busy, complex scene. Once you hit enter, Midjourney queues the generation and gets to work. It takes a minute, not instantly, but much faster than you’d expect given what it’s actually doing.
Step 3: Run Multiple Prompt Variations at Once
 Two separate prompts queued and generating simultaneously in Discord
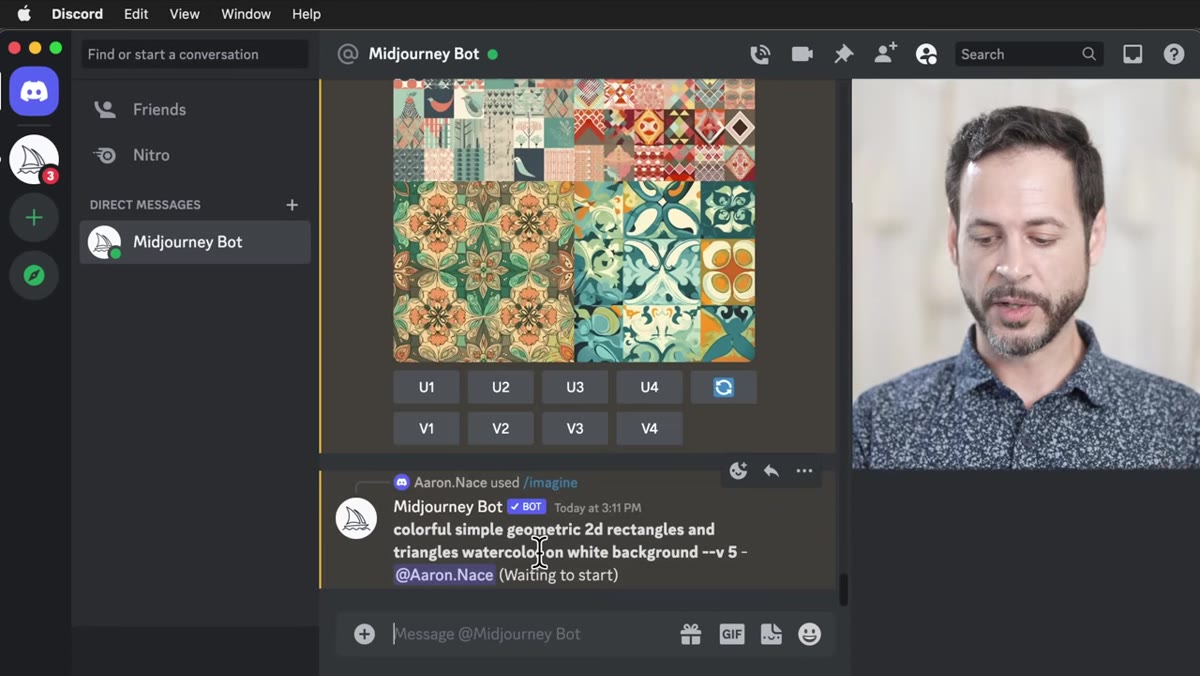
One of the smarter habits Aaron demonstrates is submitting more than one prompt before waiting to see results. While the first generation is running, he fires off a second prompt with a slightly different description, something like “colorful shapes, acrylic paint, white background, geometric.” The Midjourney bot handles both in parallel, so by the time you’ve finished typing your second prompt you might already have results from your first.
Two separate prompts queued and generating simultaneously in Discord
One of the smarter habits Aaron demonstrates is submitting more than one prompt before waiting to see results. While the first generation is running, he fires off a second prompt with a slightly different description, something like “colorful shapes, acrylic paint, white background, geometric.” The Midjourney bot handles both in parallel, so by the time you’ve finished typing your second prompt you might already have results from your first.
This is just good creative workflow. Waiting for one result before deciding whether to iterate is slow. Treating Midjourney like a creative sprint where you’re generating options simultaneously saves a lot of time, especially when you’re trying to find something that matches a specific artistic direction. Think of each prompt as a rough sketch, not a final decision.
Step 4: Review Results and Select Your Image
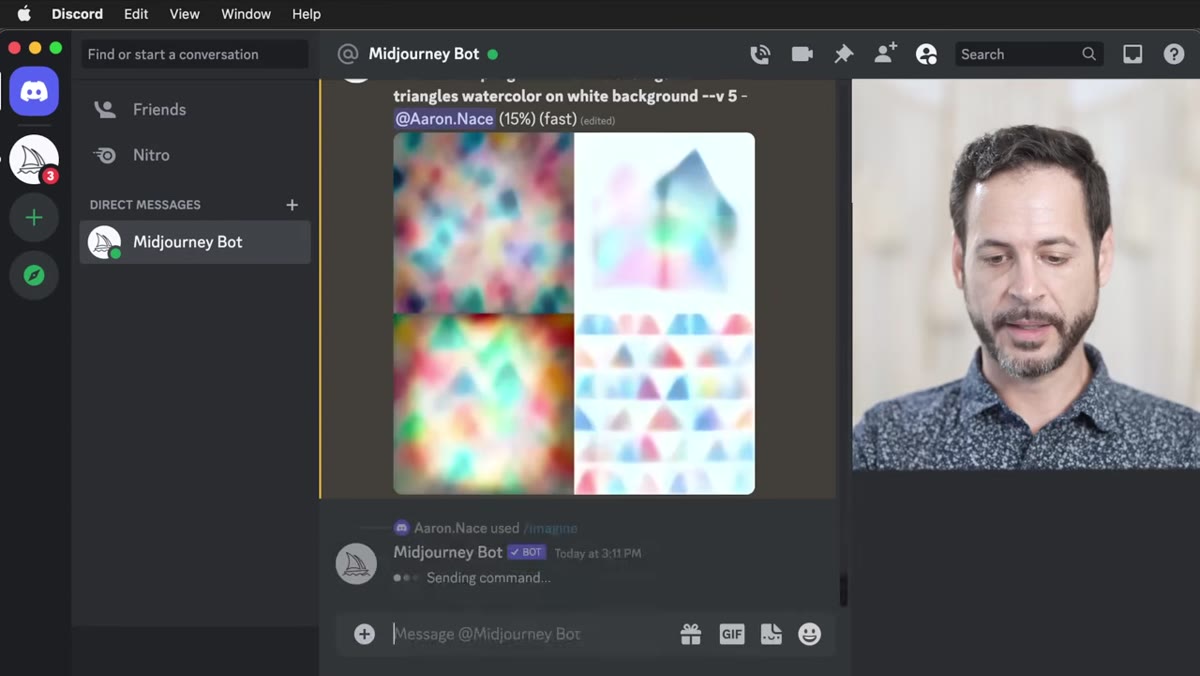 Midjourney returning a 2x2 grid of generated image options
Midjourney returns results as a 2x2 grid of four variations. From there you can upscale any of the four options (labeled U1 through U4) to get a full-resolution version, or you can generate new variations on any of them (V1 through V4) if one is close but not quite right. For background work like this, you’re looking for something with interesting color distribution, good composition across the full frame, and a style that’s going to complement rather than fight with your portrait subject.
Midjourney returning a 2x2 grid of generated image options
Midjourney returns results as a 2x2 grid of four variations. From there you can upscale any of the four options (labeled U1 through U4) to get a full-resolution version, or you can generate new variations on any of them (V1 through V4) if one is close but not quite right. For background work like this, you’re looking for something with interesting color distribution, good composition across the full frame, and a style that’s going to complement rather than fight with your portrait subject.
Once you’ve upscaled your preferred result, save it out of Discord like you would any other image. The resolution from Midjourney at this stage is solid enough to use in a composite without immediately running into quality issues, though you may want to upscale further depending on your final output size.
Step 5: Bring the Portrait and Background into Photoshop
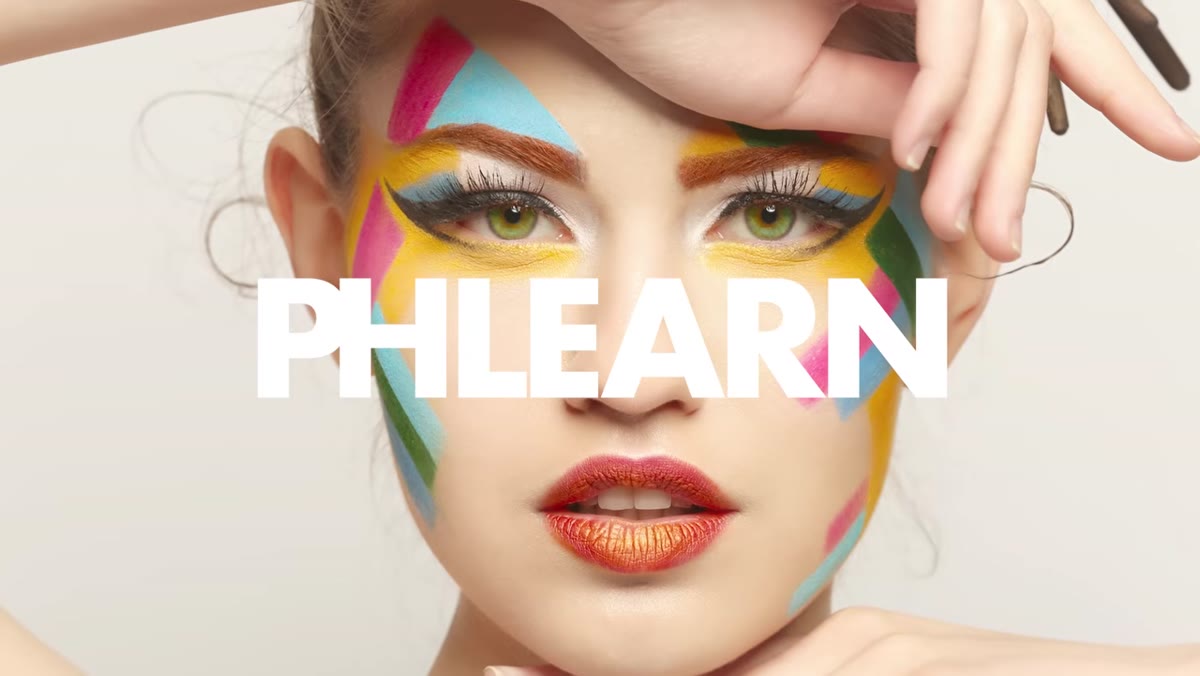 Original portrait with white background open in Photoshop
Open both your portrait and your Midjourney-generated background in Photoshop. The portrait Aaron is working with has an artistic, painterly quality already applied to the subject, which is part of why the background swap makes such a strong visual impact. Place your generated background on a layer beneath the portrait layer and scale it to fit the canvas.
Original portrait with white background open in Photoshop
Open both your portrait and your Midjourney-generated background in Photoshop. The portrait Aaron is working with has an artistic, painterly quality already applied to the subject, which is part of why the background swap makes such a strong visual impact. Place your generated background on a layer beneath the portrait layer and scale it to fit the canvas.
At this stage you’re setting up for compositing, which means your main job is creating a clean, convincing separation between the subject and whatever was behind them. If the portrait was shot on a white background, this is actually one of the easier setups to work with because the contrast between subject and background gives Photoshop’s selection tools a lot to grab onto.
Step 6: Composite the Subject Over the Generated Background
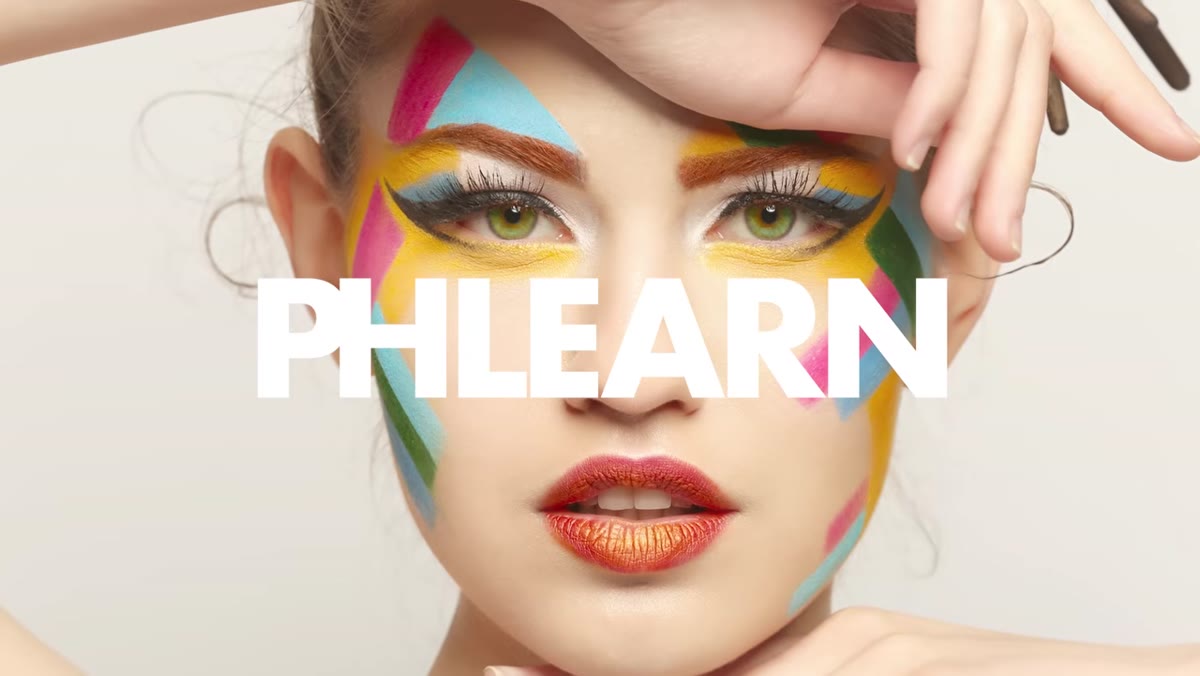 Portrait layer being masked to reveal new background underneath
The actual compositing work involves masking the background out of the portrait layer so the Midjourney image shows through. Depending on your version of Photoshop, you can use Select Subject, the Remove Background button in the Properties panel, or a manual Quick Selection followed by a layer mask. For a white background portrait, Select Subject followed by a mask refine using Select and Mask usually gets you 90% of the way there quickly.
Portrait layer being masked to reveal new background underneath
The actual compositing work involves masking the background out of the portrait layer so the Midjourney image shows through. Depending on your version of Photoshop, you can use Select Subject, the Remove Background button in the Properties panel, or a manual Quick Selection followed by a layer mask. For a white background portrait, Select Subject followed by a mask refine using Select and Mask usually gets you 90% of the way there quickly.
The remaining 10% is edge refinement, particularly around hair or any fine detail at the edges of your subject. Use the Refine Edge brush in the Select and Mask workspace to paint over those tricky areas and let Photoshop blend them naturally against the new background. Once the mask is clean, you can blend the two layers further with adjustments, matching the light or adding a subtle blur to the background to push depth.
What I’d Add: Use a Soft Light Layer to Unify the Colors
One thing I’ve started doing after generating AI backgrounds for composites is adding a color unification step that Aaron doesn’t cover here but makes a real difference. Take a merged snapshot of your composite, apply a heavy Gaussian blur so it’s just a wash of color, set that layer to Soft Light at around 20-30% opacity, and clip it to the portrait layer. It takes about 30 seconds and it does a lot of work to make the subject feel like they actually belong in front of the generated background rather than just sitting in front of it.
The weakest point in any composite is usually color consistency, and this trick costs you almost nothing in time while significantly raising the realism ceiling. It’s especially useful when your Midjourney background has strong, saturated hues that would otherwise read as obviously separate from the portrait.
The single biggest takeaway here is that your creative constraints are a lot narrower than they used to be. If you need a specific style, palette, or visual concept behind a portrait, you can describe it and have something usable in minutes. Midjourney isn’t replacing Photoshop skills, it’s giving those skills better raw material to work with. That’s a combination worth learning.
Watch the full tutorial on YouTube to see Aaron walk through the full composite from start to finish.
Comments
Leave a Comment