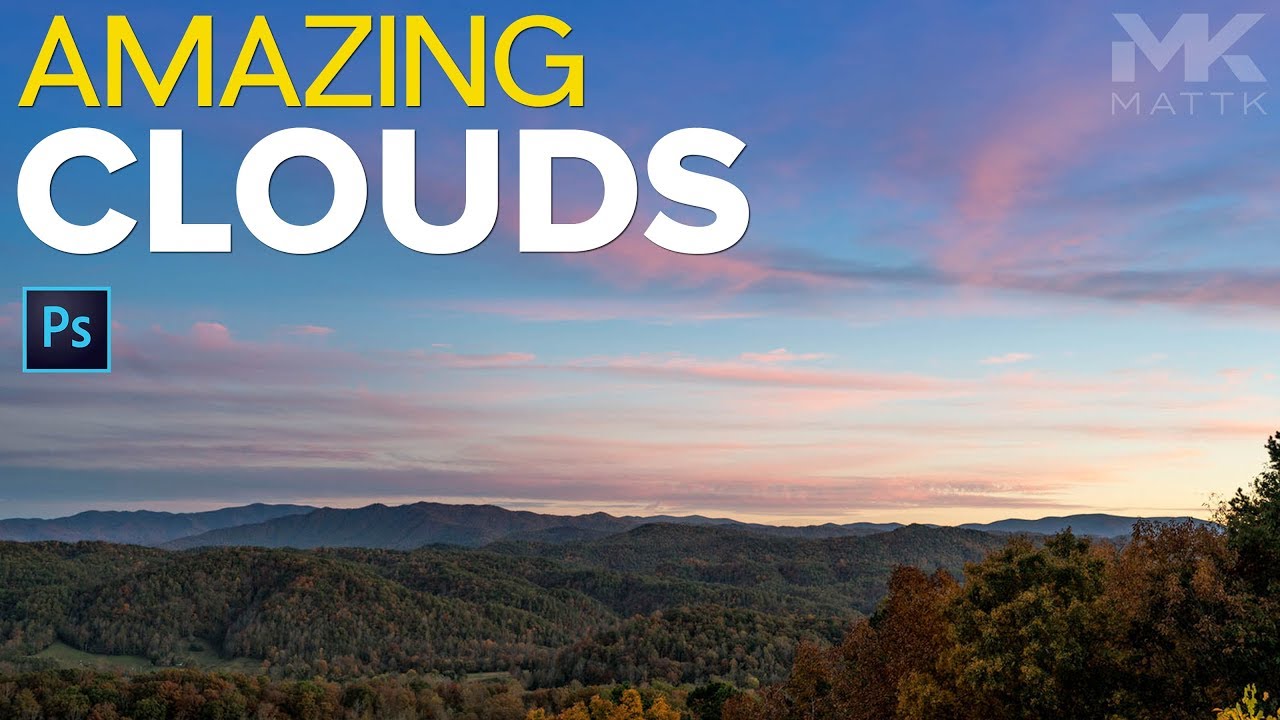
There’s a specific kind of outdoor photo that haunts me. Great composition, solid light, decent subject – and then a big, boring hole in the sky where the clouds just… gave up. You’ve seen it. Half the frame is moody and dramatic, and then there’s this bald patch on one side that looks like the atmosphere forgot to show up to work. For a long time my fix was either to swap the entire sky, which takes forever and has its own compositing nightmares, or to just accept the photo was what it was and move on.
Then I watched this Matt Kloskowski tutorial on fixing cloudy skies in Photoshop, and my workflow got embarrassingly simpler. Watch the full tutorial on YouTube before or after you read this – it’s short, punchy, and worth seeing in motion. The core idea is elegant: you already have the good clouds in the photo. You just need to stretch and clone the parts that are working into the parts that aren’t. No stock sky libraries. No masking a full horizon line. Just the lasso tool, free transform, and a little bit of eraser work.
What I love about this technique is that it works on the actual sky in the frame, so the light quality, color temperature, and film grain all match automatically. That’s the thing that kills most sky replacements – you can do everything right and it still looks like you pasted a postcard onto your photo.
Step 1: Make a Loose Lasso Selection Around the Best Part of Your Sky
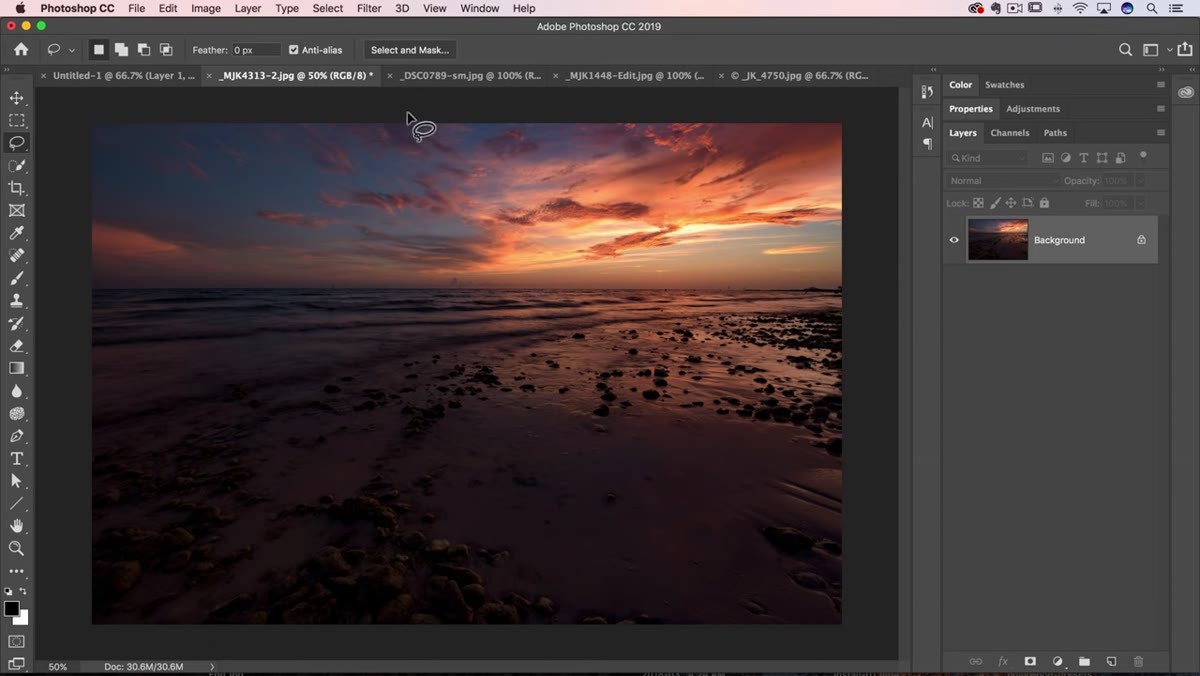 Freehand lasso selection drawn loosely around sky clouds
Grab the Lasso tool (L on your keyboard) and draw a rough, freehand selection around the area of sky that looks best – the part with the most interesting cloud texture and density. Don’t stress about precision here. This is not a selection you’d use to cut out hair. It can be sloppy and uneven. You’re essentially just telling Photoshop “somewhere in here is the good stuff I want to work with.”
Freehand lasso selection drawn loosely around sky clouds
Grab the Lasso tool (L on your keyboard) and draw a rough, freehand selection around the area of sky that looks best – the part with the most interesting cloud texture and density. Don’t stress about precision here. This is not a selection you’d use to cut out hair. It can be sloppy and uneven. You’re essentially just telling Photoshop “somewhere in here is the good stuff I want to work with.”
For most photos, this means selecting a large central or upper portion of the sky, avoiding the edges of the frame and the horizon line where the sky meets land, water, or buildings. Those boundary areas will cause headaches later.
Step 2: Feather the Selection by 50 Pixels
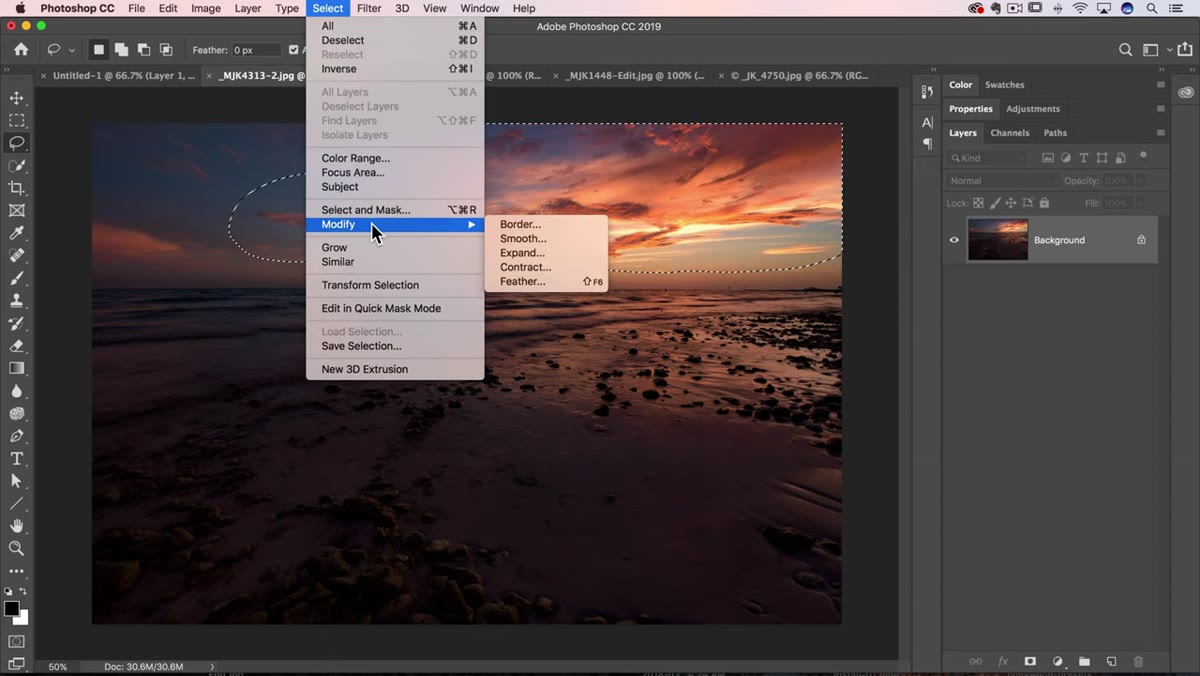 Feather dialog box open with 50 pixels entered
Once you’ve got your lasso selection, go to Select, then Modify, then Feather. Type in 50 pixels and hit OK. The marching ants won’t look any different after you do this, which makes it feel like nothing happened – but trust the process. That 50-pixel feather is what makes this whole technique look natural instead of like a cut-and-paste job. It creates a very gradual, soft falloff at the edges of your selection so there’s no hard line when you move or transform the layer.
Feather dialog box open with 50 pixels entered
Once you’ve got your lasso selection, go to Select, then Modify, then Feather. Type in 50 pixels and hit OK. The marching ants won’t look any different after you do this, which makes it feel like nothing happened – but trust the process. That 50-pixel feather is what makes this whole technique look natural instead of like a cut-and-paste job. It creates a very gradual, soft falloff at the edges of your selection so there’s no hard line when you move or transform the layer.
If you’re working on a very high-resolution file (think 40+ megapixels), you might want to push that feather value higher, somewhere around 80 to 100 pixels. The goal is a soft, invisible transition, not a specific number.
Step 3: Copy the Selection to Its Own Layer
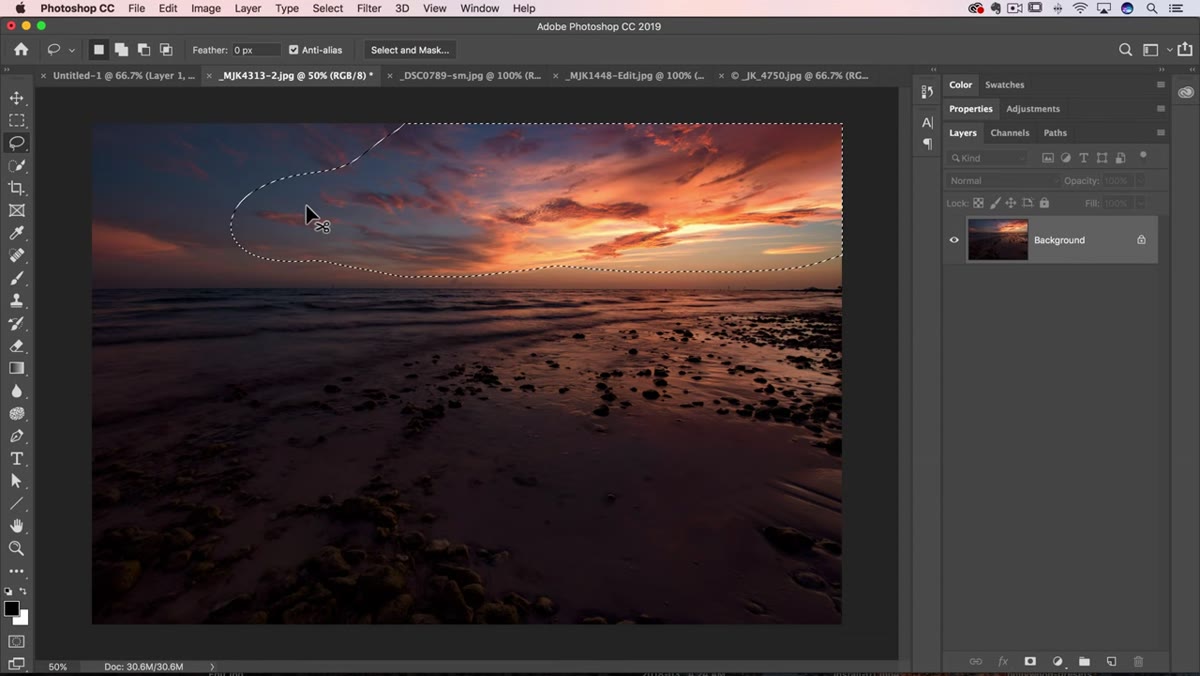 Layers panel showing new layer created from selection
With the feathered selection still active, press Command+J on Mac or Ctrl+J on PC. This lifts just the selected area and puts it on a new layer above your background. If you toggle off the background layer at this point, you’ll see a soft, cloud-shaped blob with gently faded edges sitting on a transparent canvas. That’s exactly what you want. The feathering you applied in the previous step is now baked into how that layer sits against the transparent background.
Layers panel showing new layer created from selection
With the feathered selection still active, press Command+J on Mac or Ctrl+J on PC. This lifts just the selected area and puts it on a new layer above your background. If you toggle off the background layer at this point, you’ll see a soft, cloud-shaped blob with gently faded edges sitting on a transparent canvas. That’s exactly what you want. The feathering you applied in the previous step is now baked into how that layer sits against the transparent background.
This new layer is what you’re going to stretch and reposition to fill the dead zones in your sky.
Step 4: Use Free Transform to Stretch the Clouds Where You Need Them
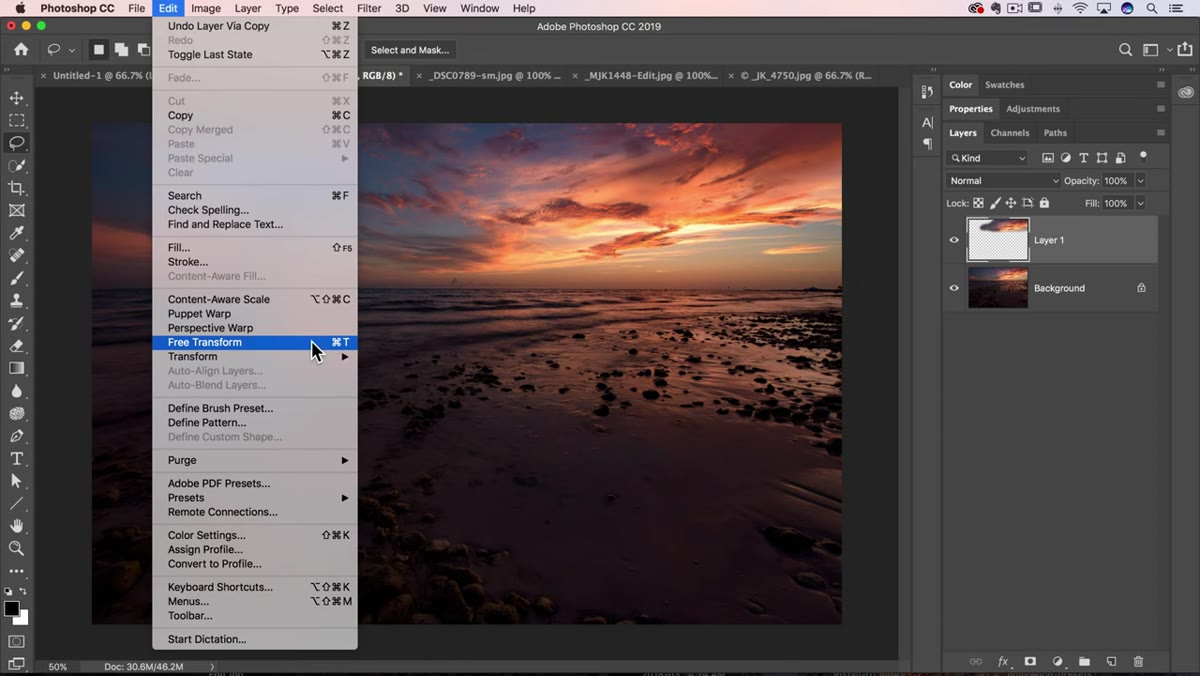 Free Transform handles visible around cloud layer being stretched
Press Command+T (Mac) or Ctrl+T (PC) to enter Free Transform mode. Here’s a note worth paying attention to: Photoshop changed its behavior in a recent version. Scaling is now proportional by default. If you want to stretch in only one direction – which you usually will here, since you want to push clouds horizontally to fill a gap on one side – hold down Shift to break the proportional constraint.
Free Transform handles visible around cloud layer being stretched
Press Command+T (Mac) or Ctrl+T (PC) to enter Free Transform mode. Here’s a note worth paying attention to: Photoshop changed its behavior in a recent version. Scaling is now proportional by default. If you want to stretch in only one direction – which you usually will here, since you want to push clouds horizontally to fill a gap on one side – hold down Shift to break the proportional constraint.
Drag the corner or edge handles to expand the cloud layer across the empty areas of your sky. You can push it wider, taller, or both. The soft feathered edges mean it blends into the surrounding sky rather than sitting on top of it like a patch. When you’re happy with the coverage, press Enter or click the checkmark in the toolbar to commit the transform.
Step 5: Blend the Edges with a Large, Soft Eraser
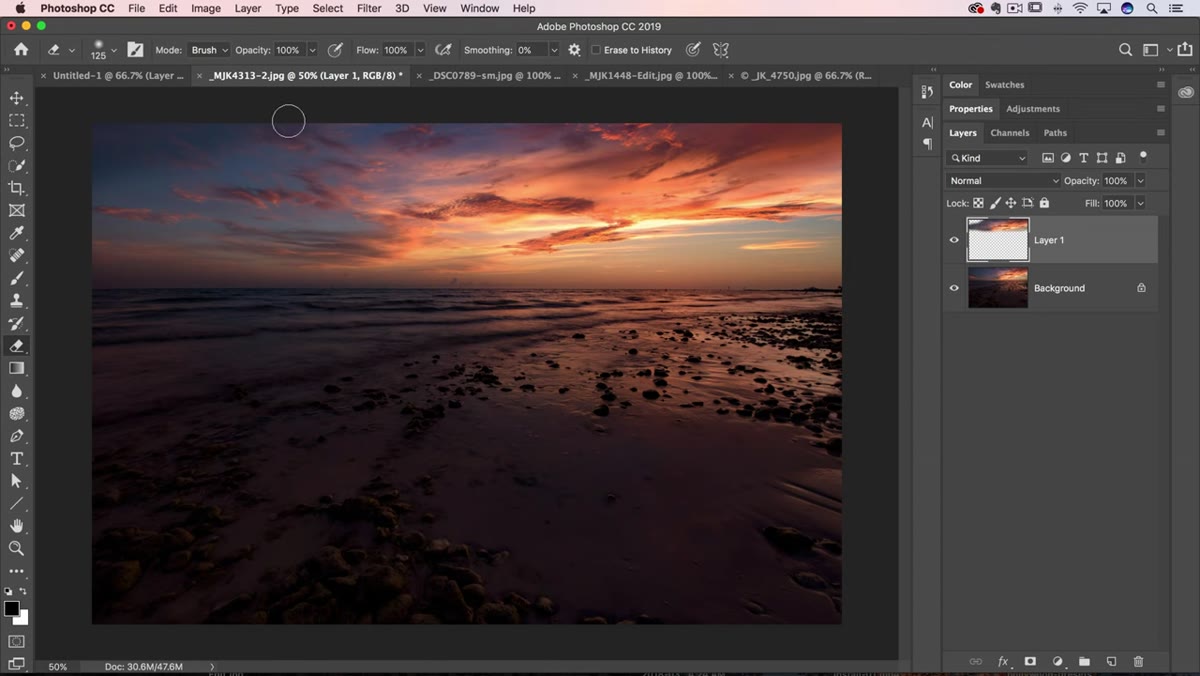 Eraser tool being used at low opacity to soften cloud layer edges
Even with the feathering, you might notice a subtle gradient or a slightly off-color patch where the copied layer overlaps the original sky. This is where the finishing work happens. Press E to grab the Eraser tool, drop the opacity down to around 30 to 40 percent, and make sure your brush hardness is set to zero – a fully soft brush. Use the right bracket key to scale the brush up until it’s large enough to cover a significant chunk of the sky in one stroke.
Eraser tool being used at low opacity to soften cloud layer edges
Even with the feathering, you might notice a subtle gradient or a slightly off-color patch where the copied layer overlaps the original sky. This is where the finishing work happens. Press E to grab the Eraser tool, drop the opacity down to around 30 to 40 percent, and make sure your brush hardness is set to zero – a fully soft brush. Use the right bracket key to scale the brush up until it’s large enough to cover a significant chunk of the sky in one stroke.
Then just chip away lightly at any areas where the edge of the copied layer is showing through. Short, overlapping strokes work better than one big swipe. You’re not trying to erase the layer, you’re just softening any places where the blend looks a little too obvious. A few passes and it should read as completely natural.
One Thing I’d Add From My Own Experience
Matt keeps this technique intentionally simple – and that’s the right call for most situations. But if you’re working on a client file or anything you need to revisit later, I’d swap the Eraser step for a layer mask instead. The result is identical, but the mask is non-destructive, meaning you can go back and adjust the blend without starting over. Just add a mask to your cloud layer and paint on it with a soft black brush at low opacity. Same visual result, way more flexibility.
Also worth flagging: this technique is specifically for photos where the sun isn’t visible in the frame. If the sun is in the shot, the light direction on the clouds is fixed and stretching them will create inconsistencies that are hard to hide. Same goes for reflections in water – a mirrored sky at the bottom of the frame means any change up top needs a matching change down below, which gets complicated fast.
The biggest thing this tutorial taught me is that you don’t always need new material to fix a photo. Sometimes the answer is already in the frame – you just need to move it around. The lasso-feather-transform workflow takes maybe three minutes once you’ve done it a couple of times, and it solves a problem that used to send me hunting through stock photo sites for a matching sky.
Watch the full tutorial on YouTube to see Matt walk through it live – seeing the before and after in motion makes the impact of each step a lot clearer.
Comments
Leave a Comment