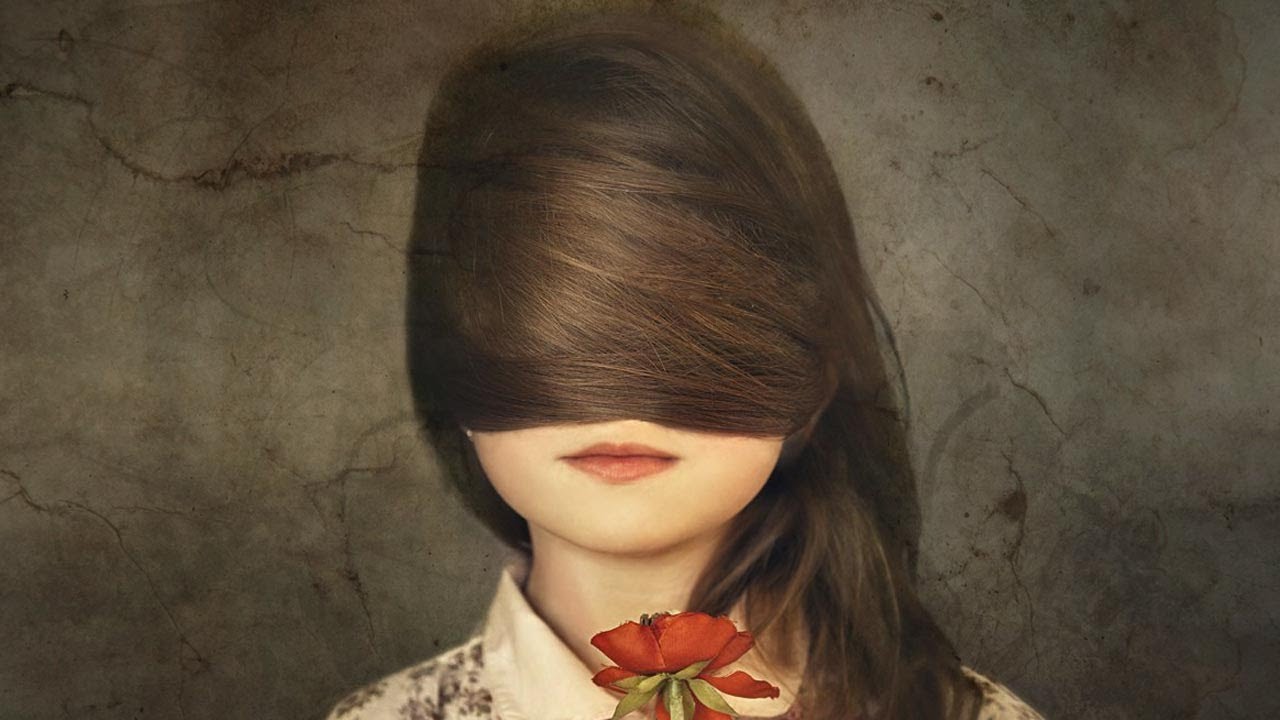
Plain backgrounds are a quiet problem. Not bad enough to scrap a photo, but noticeable enough that something feels off. I’ve had clients hand me portraits that are technically solid, well-lit, nicely composed, and the subject looks great. But the background is just… there. Flat. Lifeless. A wall that forgot to have a personality. Adding a photographic texture is one of the fastest ways to fix that, and it’s something I genuinely reach for more than I expected when I started freelancing.
In this Aaron Nace (PHLEARN) tutorial, Watch the full tutorial on YouTube, the technique is disarmingly simple. You’re stacking texture images over a portrait, then using a layer mask to reveal the texture only where you want it, keeping the subject’s face clean and natural. What I appreciate is that Aaron doesn’t just show you the how, he also pauses to explain the when. That context is what separates a technique you understand from a technique you actually use correctly.
The example portrait in the tutorial is a close-up of a young girl with great hair and color, but a background that could use some visual weight. It’s a relatable starting point. Here’s how to replicate the process from scratch.
Step 1: Open Your Portrait and Your Texture Files
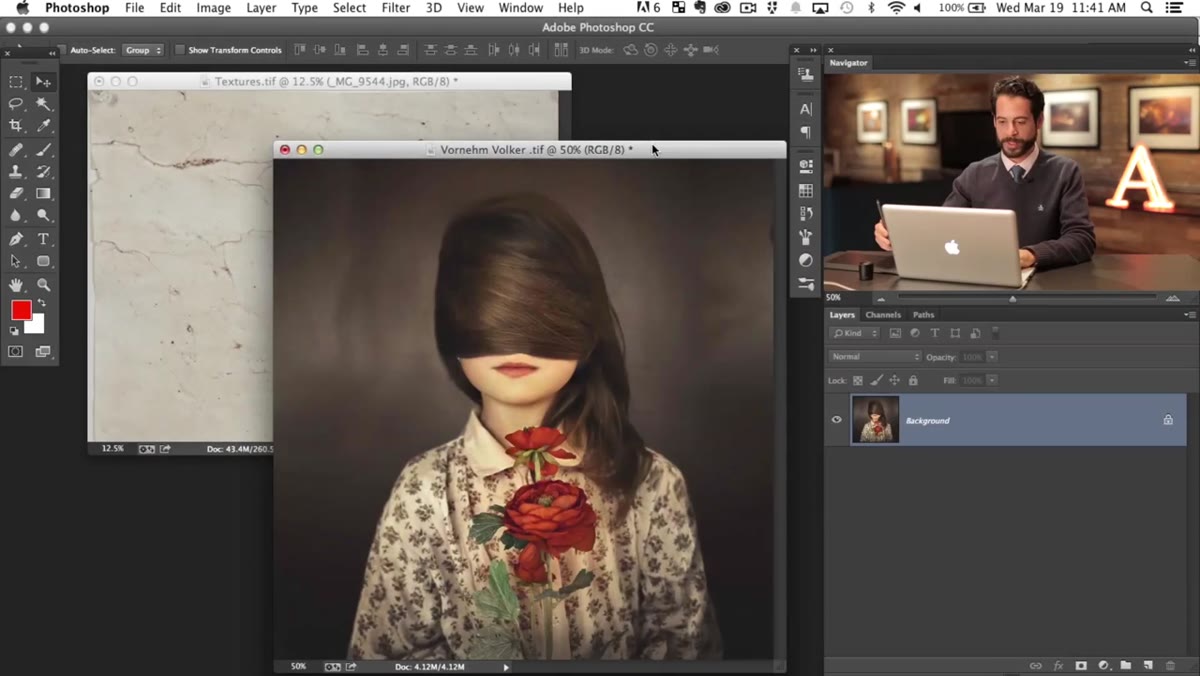 Portrait image open in Photoshop with plain background visible
Start with your portrait open in Photoshop. You’ll also want your texture images open as separate documents. Aaron uses a texture pack with multiple options, which is smart because not every texture will suit every image. Having a few to choose from means you can audition them rather than commit to the first one you try. Free texture resources like Unsplash or Brooke Shaden’s publicly shared packs are solid starting points if you don’t have your own.
Portrait image open in Photoshop with plain background visible
Start with your portrait open in Photoshop. You’ll also want your texture images open as separate documents. Aaron uses a texture pack with multiple options, which is smart because not every texture will suit every image. Having a few to choose from means you can audition them rather than commit to the first one you try. Free texture resources like Unsplash or Brooke Shaden’s publicly shared packs are solid starting points if you don’t have your own.
Keep both documents open simultaneously. You’ll be moving textures from one document into your portrait document, so having them side by side in Photoshop’s workspace saves a lot of back-and-forth.
Step 2: Select and Move Multiple Textures into Your Portrait Document
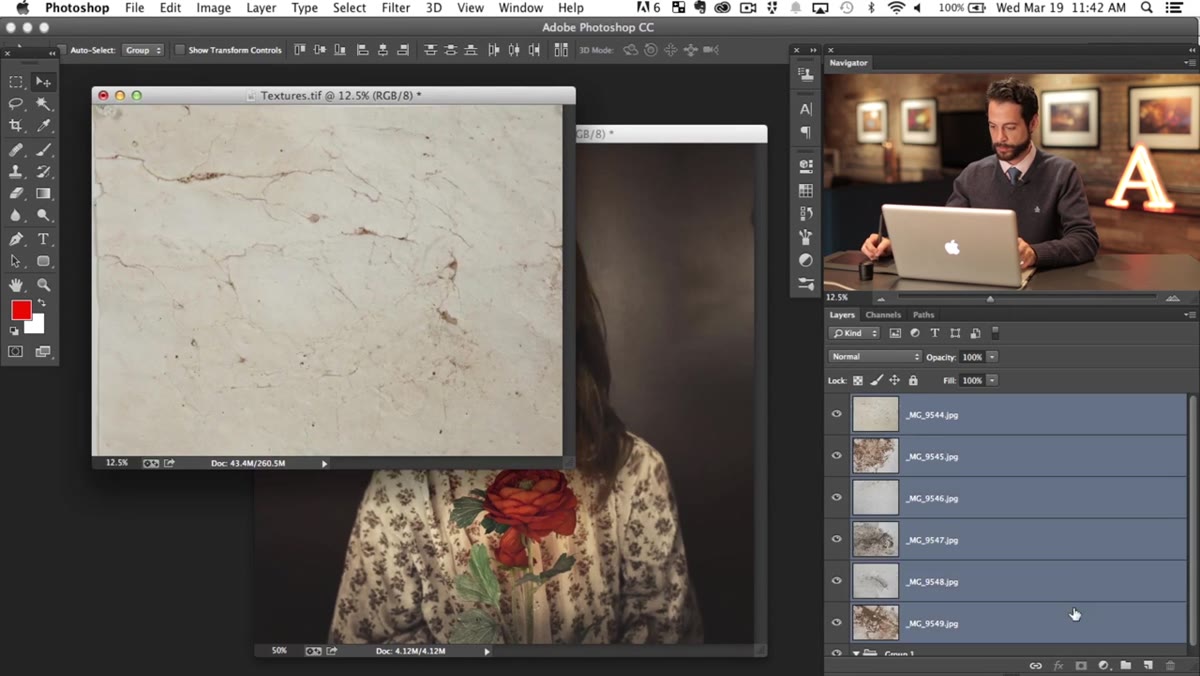 Multiple texture layers selected in Layers panel before dragging
In your texture document, hold Shift and click to select several texture layers at once. You don’t need to move them one at a time. Drag the selected layers directly into your portrait document. This brings them in as separate layers stacked above your background, which is exactly what you want.
Multiple texture layers selected in Layers panel before dragging
In your texture document, hold Shift and click to select several texture layers at once. You don’t need to move them one at a time. Drag the selected layers directly into your portrait document. This brings them in as separate layers stacked above your background, which is exactly what you want.
Once they’re in, you’ve got options. You can cycle through them later to see which one or combination reads best. Having multiple textures imported upfront means less interruption once you’re in the flow of the edit.
Step 3: Resize the Textures to Fit with Free Transform
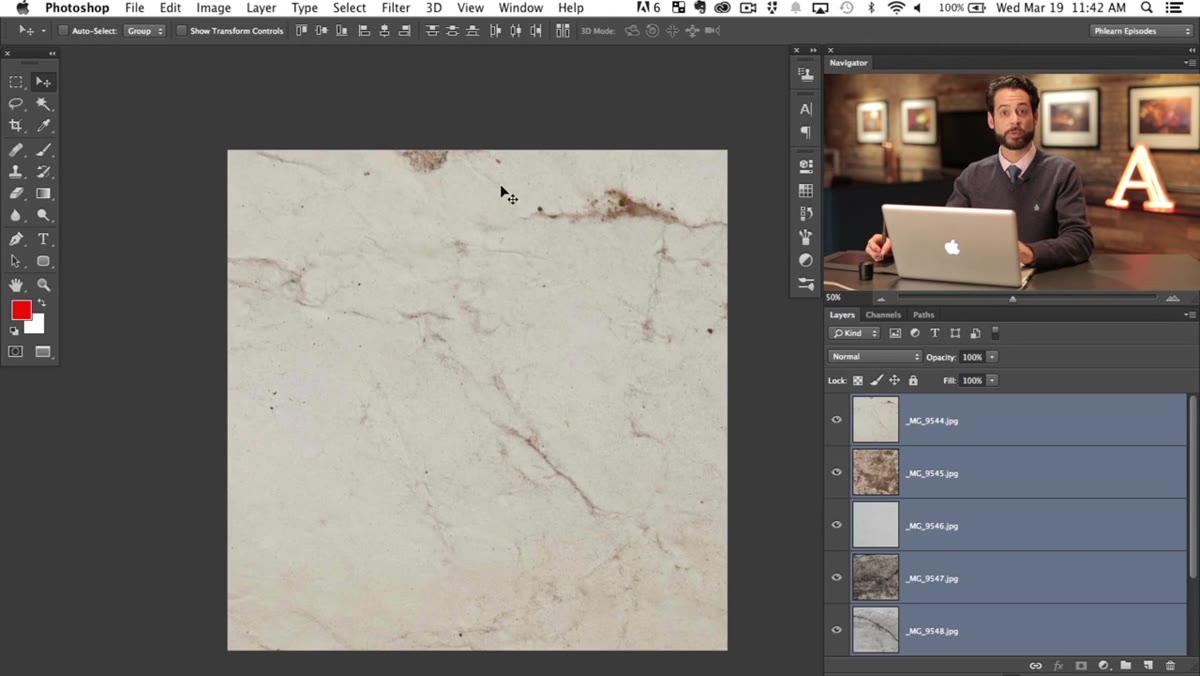 Transform dialog open with texture layer being scaled down
Hit F to go full screen so you can see the whole canvas clearly, then press Command+T (Ctrl+T on Windows) to open Free Transform. Your texture is probably larger than your portrait canvas, so you’ll need to scale it down. Click the chain link icon in the Transform options bar at the top to lock the aspect ratio, then drag a corner handle inward.
Transform dialog open with texture layer being scaled down
Hit F to go full screen so you can see the whole canvas clearly, then press Command+T (Ctrl+T on Windows) to open Free Transform. Your texture is probably larger than your portrait canvas, so you’ll need to scale it down. Click the chain link icon in the Transform options bar at the top to lock the aspect ratio, then drag a corner handle inward.
Here’s the thing though: Aaron actually unlocks the aspect ratio intentionally. Because these are background textures, not human subjects, a slight squish or stretch doesn’t really matter. You’re not going to offend a concrete wall by making it 5% narrower. Press Enter when it looks close enough to fill the area you need.
Step 4: Group All Your Texture Layers
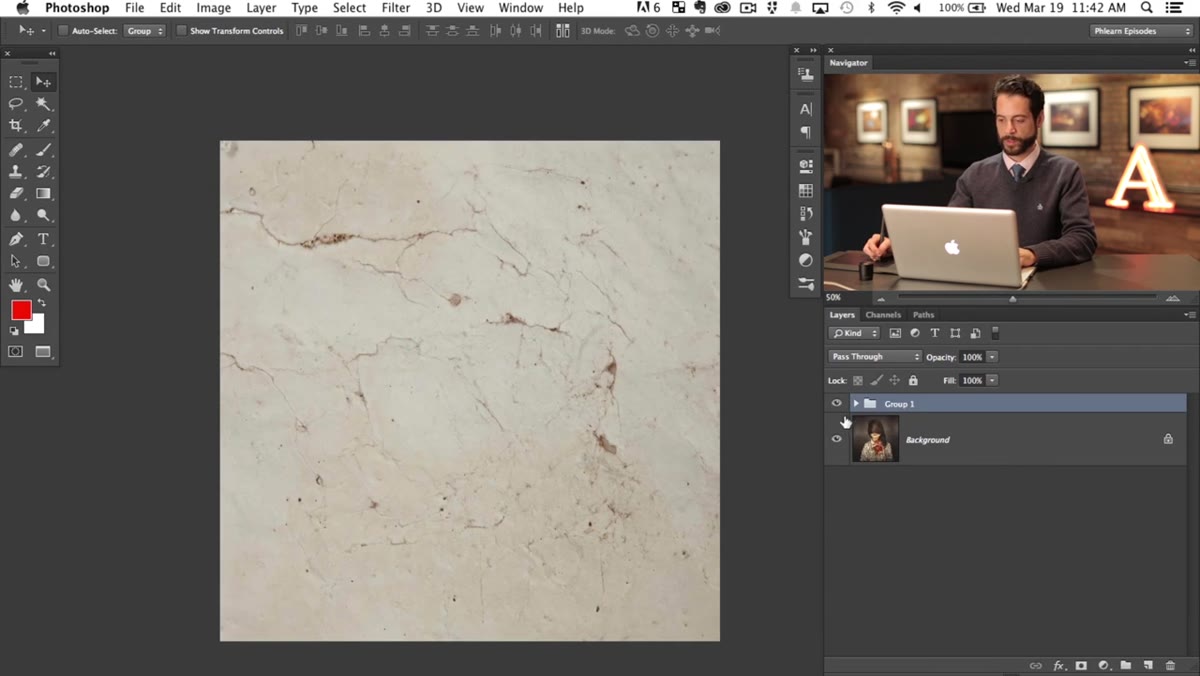 Layers panel showing texture layers grouped into a single group
Select all your texture layers in the Layers panel and press Command+G (Ctrl+G) to group them. This single step saves you a lot of headaches later. Instead of managing a mask on each individual texture layer, you’re going to put one mask on the group and control everything from there. It’s cleaner, and if you decide to swap a texture out later, the mask stays intact.
Layers panel showing texture layers grouped into a single group
Select all your texture layers in the Layers panel and press Command+G (Ctrl+G) to group them. This single step saves you a lot of headaches later. Instead of managing a mask on each individual texture layer, you’re going to put one mask on the group and control everything from there. It’s cleaner, and if you decide to swap a texture out later, the mask stays intact.
Name the group something obvious like “Textures” so your layer stack doesn’t become a mystery novel three edits later.
Step 5: Add a Black Layer Mask to the Group
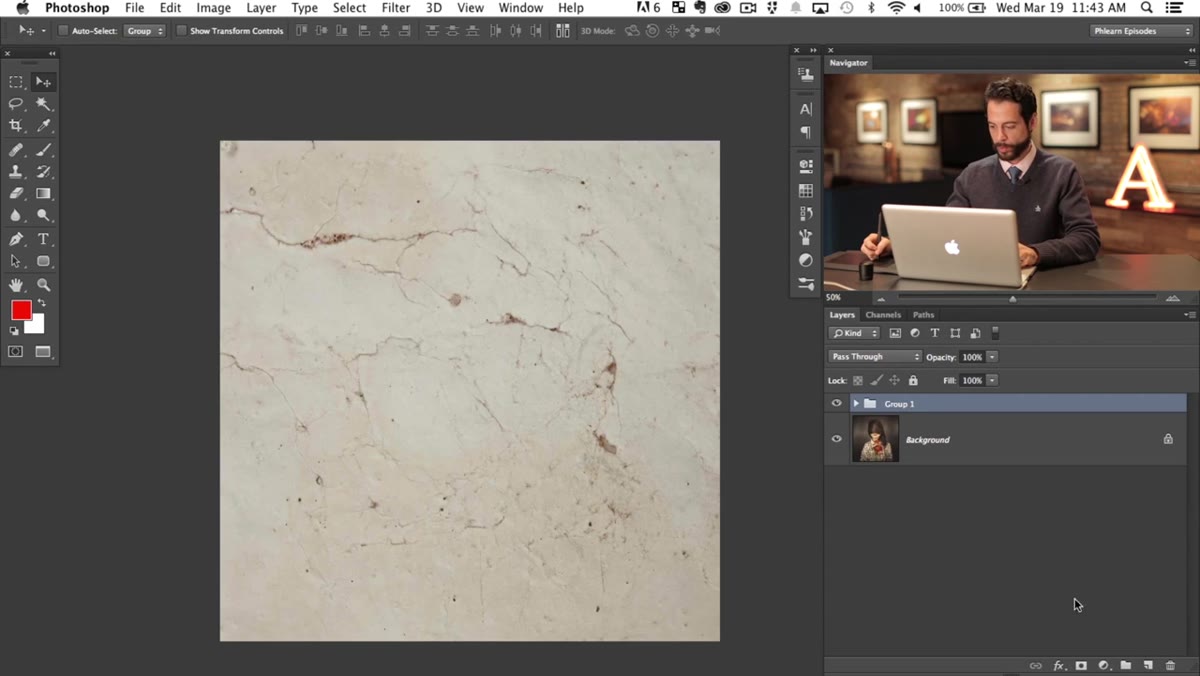 Black layer mask applied to texture group hiding all textures
This is the core of the technique. With your texture group selected, hold Alt (Option on Mac) and click the Add Layer Mask button at the bottom of the Layers panel. The Alt key is the important part. Without it, you get a white mask that reveals everything. With it, you get a black mask that hides everything. All your textures disappear instantly, which is exactly what you want.
Black layer mask applied to texture group hiding all textures
This is the core of the technique. With your texture group selected, hold Alt (Option on Mac) and click the Add Layer Mask button at the bottom of the Layers panel. The Alt key is the important part. Without it, you get a white mask that reveals everything. With it, you get a black mask that hides everything. All your textures disappear instantly, which is exactly what you want.
You’re starting from hidden and painting in the texture selectively, rather than starting from visible and trying to paint it away. That approach gives you much more control, especially around edges.
Step 6: Paint White to Reveal the Texture on the Background
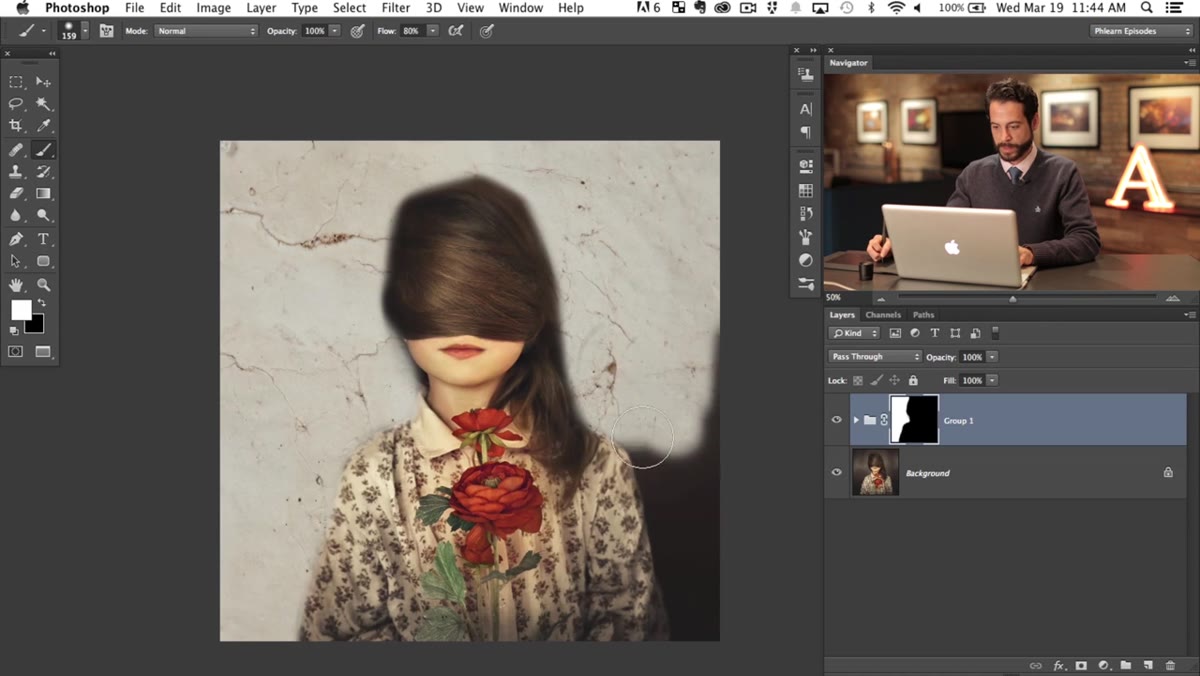 White brush painting on black mask to reveal background texture
Grab your Brush tool and set your foreground color to white. Make sure you have the layer mask selected in the Layers panel, not the layer thumbnail itself. Now paint over the background areas of your portrait. Where you paint white, the texture becomes visible. Where the mask stays black, the original photo shows through.
White brush painting on black mask to reveal background texture
Grab your Brush tool and set your foreground color to white. Make sure you have the layer mask selected in the Layers panel, not the layer thumbnail itself. Now paint over the background areas of your portrait. Where you paint white, the texture becomes visible. Where the mask stays black, the original photo shows through.
Work at a medium-to-large brush size for the open background areas, and tighten up to a smaller, softer brush as you approach the edges of your subject. Aaron’s philosophy here is practical: a little texture overlap onto the subject’s shoulders or hair isn’t catastrophic, and can actually look natural. What you want to avoid is texture creeping onto the face, where it reads as skin damage rather than artistic texture. Stay clean around the face, and let the rest breathe.
My Own Addition: Use Blend Modes to Dial in the Feel
Once your texture is masked in, it’s worth experimenting with blend modes on the texture group before you call it done. Multiply will darken the texture and add depth. Overlay or Soft Light will let the texture interact with the tones underneath for a more integrated look. I rarely leave the blend mode on Normal when working with textures over photographic backgrounds because Normal tends to look pasted-on rather than embedded.
Drop the group opacity down if the effect feels heavy. Somewhere between 60 and 85 percent is usually the sweet spot for keeping the texture present without overwhelming the subject. This is where the edit goes from “I added a texture” to “this image has atmosphere.”
One thing I’d add from my own workflow: duplicate your texture group before masking and toggle between a few layer blend mode options at different opacities. It takes an extra minute and it’s saved me from committing to the wrong look more times than I’d like to admit.
The biggest takeaway here is that layer masks give you permission to be non-destructive and specific at the same time. You’re not flattening texture over the whole image and hoping for the best. You’re sculpting where the effect lives. That control is what makes the difference between a texture that enhances a portrait and one that wrecks it.
Watch the full tutorial on YouTube to see Aaron walk through the full process with the actual image. His pacing is good and watching the mask paint in real time makes the technique click faster than any written walkthrough can.
Comments
Leave a Comment