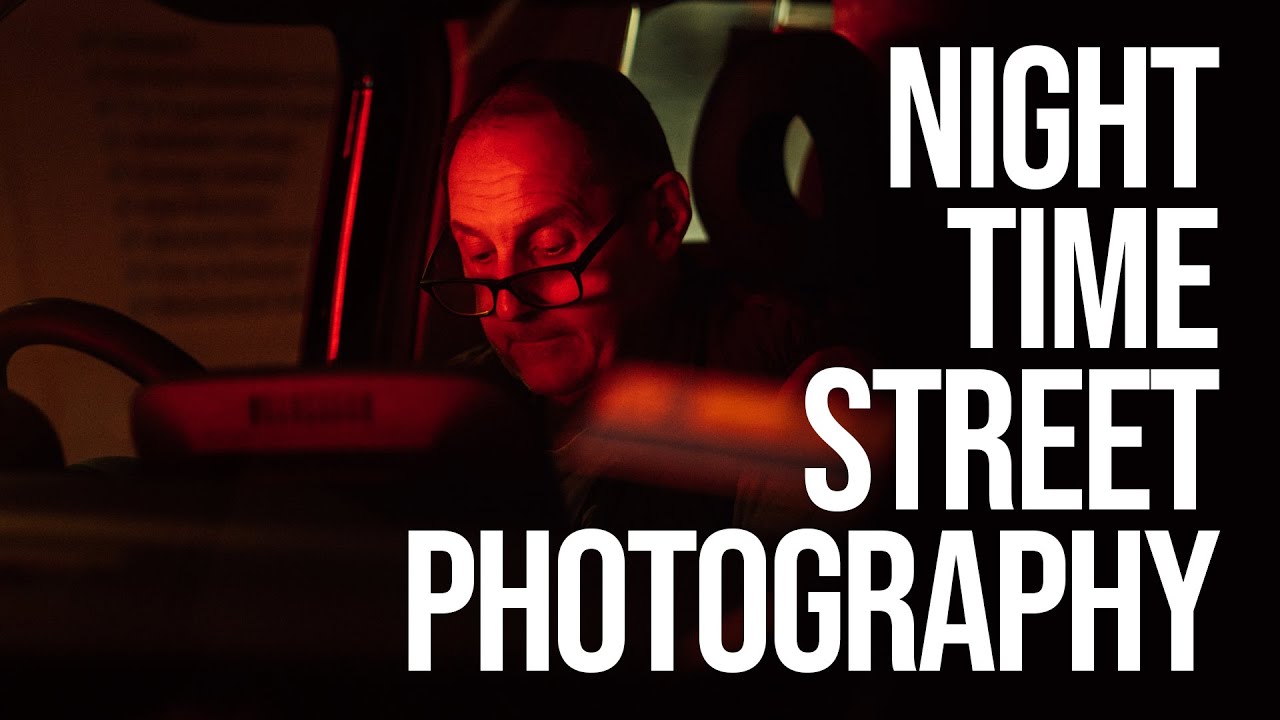
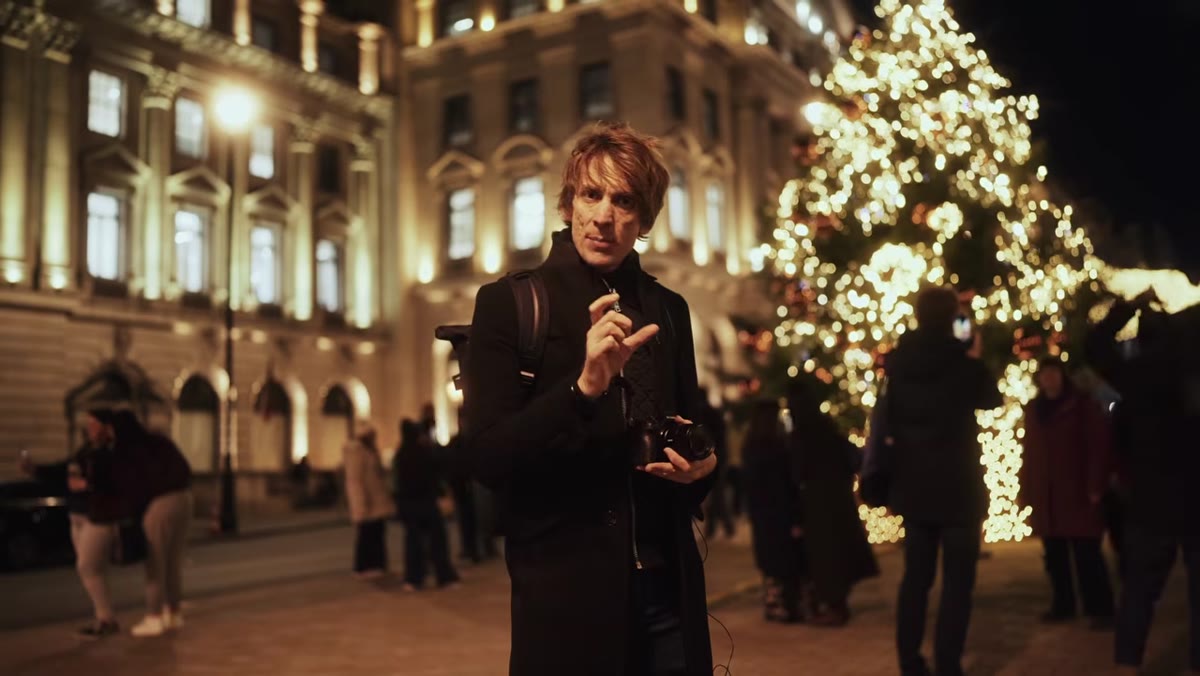
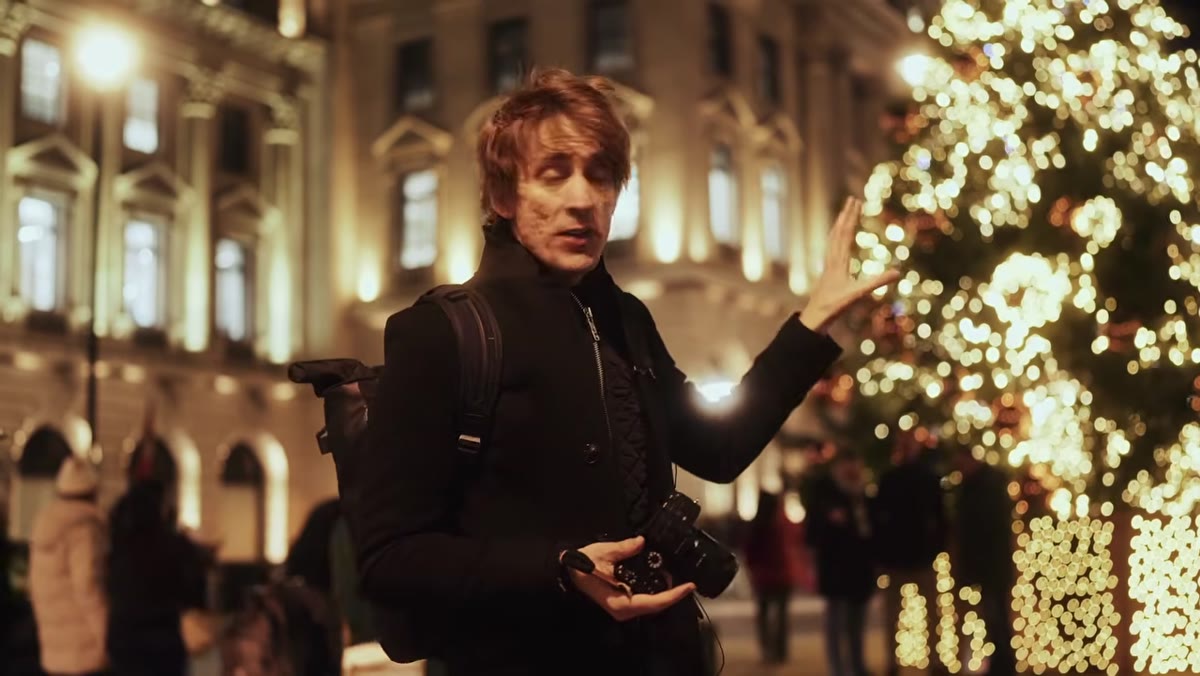
Winter used to wreck my shooting schedule. Not because I got lazy (okay, sometimes because I got lazy), but because the light disappeared before I even finished my second coffee. By the time I’d pack up my gear and head outside, the sun was already halfway into the ground and everything looked like a gray soup. I assumed good photography was a daylight-only activity, which meant I spent a lot of winters doing absolutely nothing useful with a camera. Then I stumbled onto Watch the full tutorial on YouTube from photographer Sean Tucker, where he walks through the streets of London at night and systematically dismantles every excuse I had for staying indoors.
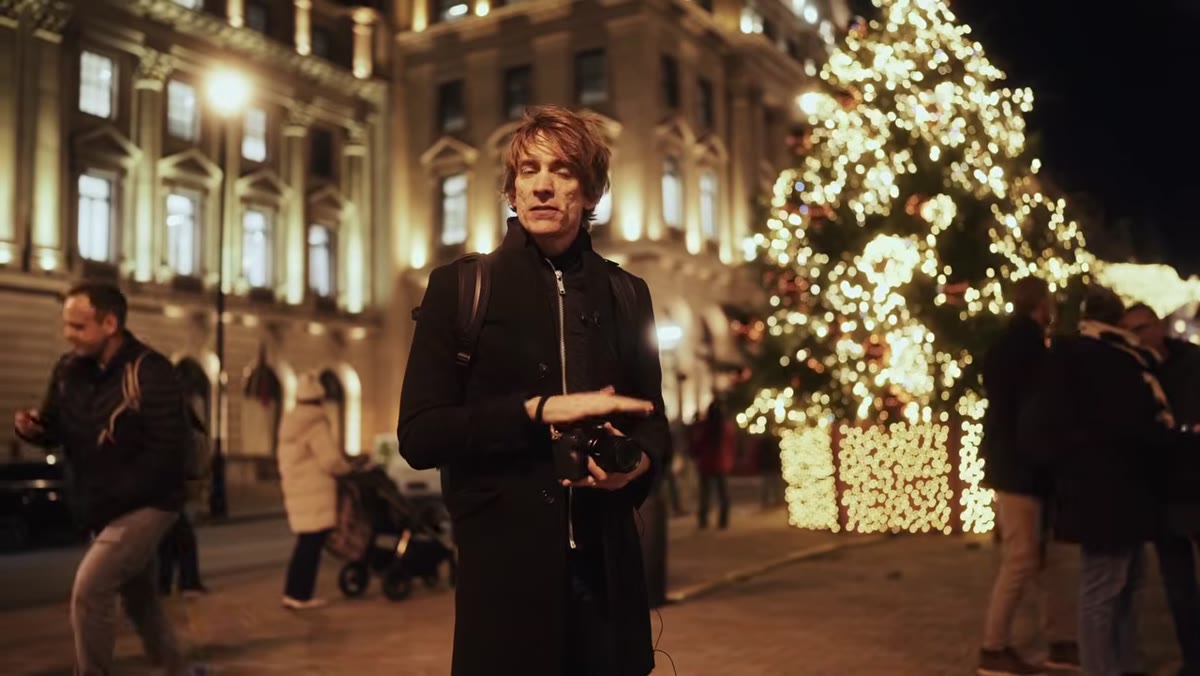
Tucker’s core argument is simple and a little embarrassing to hear because it’s so obvious once someone says it out loud: light is light. The artificial, multicolored, chaotic light of a city at night is still light, and it can still make extraordinary images. Winter cities, especially during the holiday season when Christmas lights are throwing color everywhere, are basically free lighting rigs. The trick is knowing how to expose for them instead of fighting them.
Step 1: Rethink the ISO Fear
 Photographer adjusting camera ISO settings on screen
A huge number of photographers avoid night shooting because they’ve convinced themselves that high ISO equals ruined images. Tucker pushes back on this hard, and honestly he’s right. When shooting in well-lit city environments at night, he rarely goes above ISO 800 and occasionally bumps to 1600. On any modern camera body, that’s still producing clean, usable files. The mental shift here is to stop treating night photography like you’re shooting in the dark, and start treating it like you’re shooting in selectively lit environments. Those are very different problems.
Photographer adjusting camera ISO settings on screen
A huge number of photographers avoid night shooting because they’ve convinced themselves that high ISO equals ruined images. Tucker pushes back on this hard, and honestly he’s right. When shooting in well-lit city environments at night, he rarely goes above ISO 800 and occasionally bumps to 1600. On any modern camera body, that’s still producing clean, usable files. The mental shift here is to stop treating night photography like you’re shooting in the dark, and start treating it like you’re shooting in selectively lit environments. Those are very different problems.
The reason ISO stays manageable is because of where Tucker points his camera. He’s not wandering down unlit alleys hoping for something interesting. He’s actively hunting pockets of light - neon signs, streetlights, shop windows, illuminated doorways. When you expose for those bright spots, your ISO doesn’t have to do as much heavy lifting.
Step 2: Choose Manual Mode and Own Your Exposure Triangle
 Camera manual mode settings displayed, shutter and aperture visible
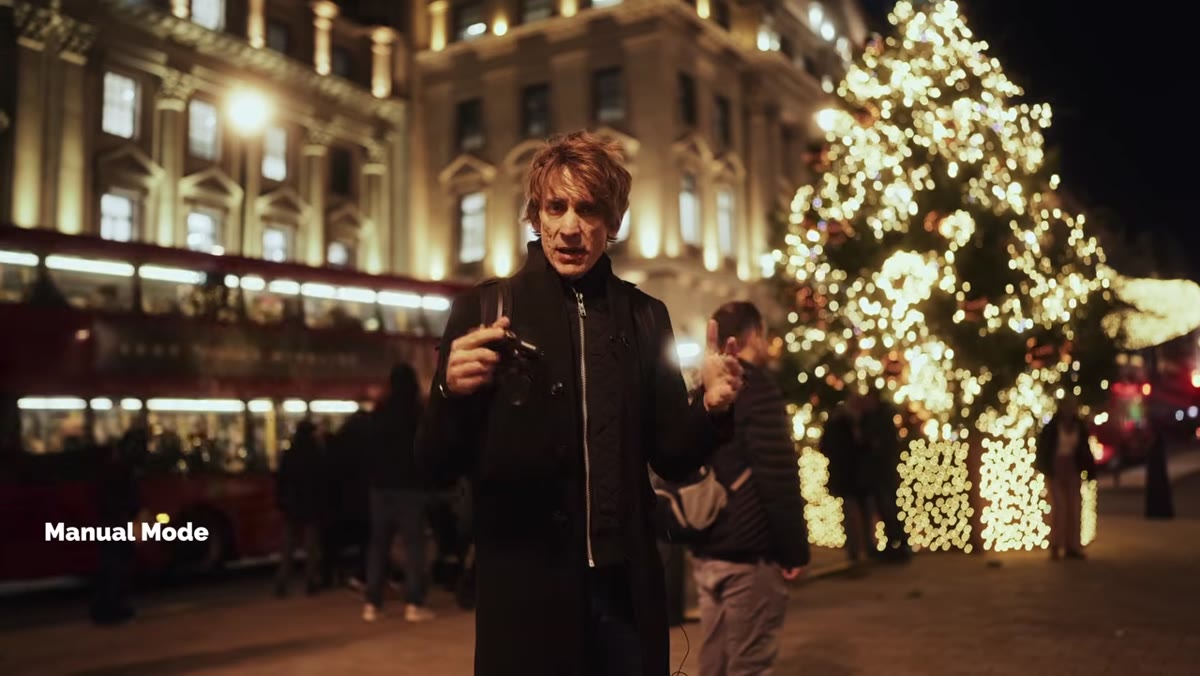
Tucker shoots in full manual mode at night, and he’s pretty clear about why. Aperture priority sounds convenient until your camera starts adjusting shutter speed on its own without you noticing, and suddenly you’ve got motion blur in shots where you didn’t want it. Manual mode keeps you in control of all three points of the exposure triangle simultaneously, which matters a lot more at night when the light is inconsistent and changes dramatically from one block to the next.
Camera manual mode settings displayed, shutter and aperture visible
Tucker shoots in full manual mode at night, and he’s pretty clear about why. Aperture priority sounds convenient until your camera starts adjusting shutter speed on its own without you noticing, and suddenly you’ve got motion blur in shots where you didn’t want it. Manual mode keeps you in control of all three points of the exposure triangle simultaneously, which matters a lot more at night when the light is inconsistent and changes dramatically from one block to the next.
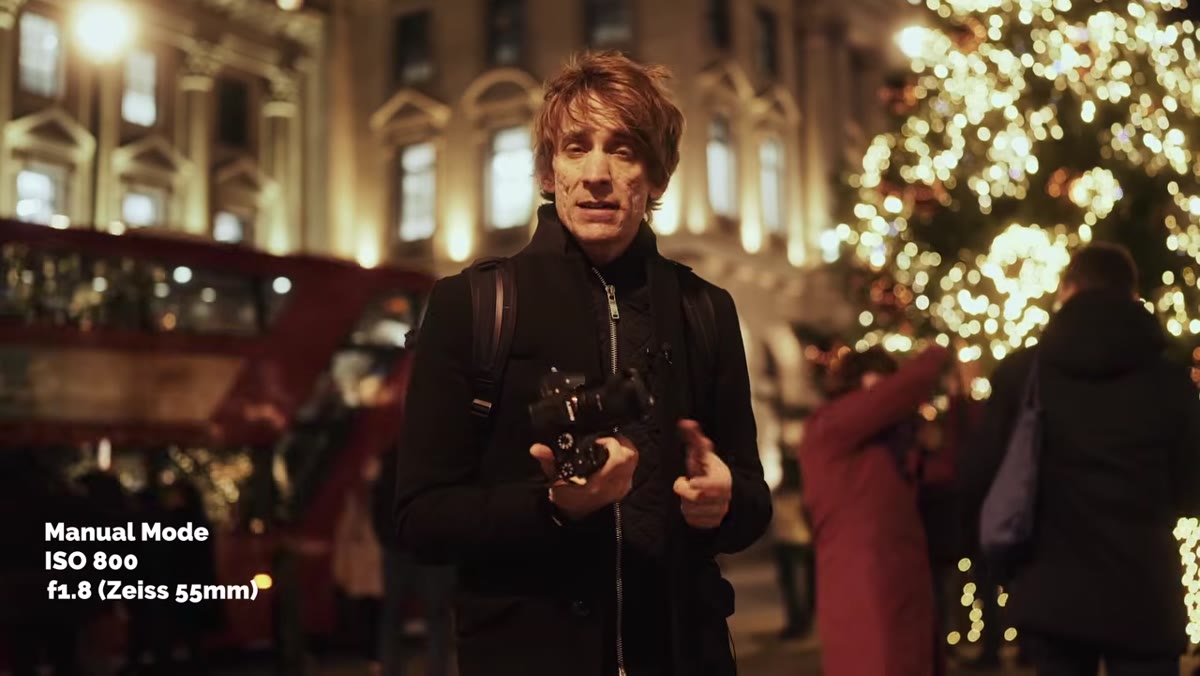
His settings for this shoot: ISO 800, aperture at f/1.8, and shutter speed dialed in around 1/80th to 1/100th of a second. He’s using shutter speed as the final fine-tuning dial, adjusting it to expose correctly for whatever light source he’s framing at that moment. This is the same discipline a lot of studio photographers use, just applied to a moving, unpredictable outdoor environment.
Step 3: Pick a Fast Prime Lens (and It Doesn’t Have to Be Expensive)
 Zeiss 55mm lens shown close up on camera body
Night street photography really does favor prime lenses with wide maximum apertures. Tucker is honest that he owns a 50mm f/1.2, which is a gorgeous piece of glass and also costs more than my laptop. But for this video he deliberately shoots on a Zeiss 55mm f/1.8 to prove the point that you don’t need to drop a mortgage payment to get good results. An f/1.8 aperture is plenty wide to gather enough light in a city environment.
Zeiss 55mm lens shown close up on camera body
Night street photography really does favor prime lenses with wide maximum apertures. Tucker is honest that he owns a 50mm f/1.2, which is a gorgeous piece of glass and also costs more than my laptop. But for this video he deliberately shoots on a Zeiss 55mm f/1.8 to prove the point that you don’t need to drop a mortgage payment to get good results. An f/1.8 aperture is plenty wide to gather enough light in a city environment.
The practical takeaway here is to check what 50mm-equivalent f/1.8 options exist for your specific camera system. Almost every major brand offers one, and they tend to be among the most affordable lenses in their lineups. It’s the classic nifty fifty situation. If you don’t own one yet, night street photography is probably the best argument for buying one.
Step 4: Apply the Focal Length Rule to Keep Images Sharp
 Camera screen showing shutter speed setting relative to focal length
This one is a fundamental rule that gets ignored constantly. Your shutter speed should never drop below the reciprocal of your focal length if you want sharp handheld images. Shooting a 50mm lens? Don’t go slower than 1/50th of a second. Shooting an 85mm? Stay above 1/85th. Tucker is shooting at around 1/80th to 1/100th with his 55mm, which keeps him safely in sharp territory while still allowing enough light in at f/1.8 and ISO 800.
Camera screen showing shutter speed setting relative to focal length
This one is a fundamental rule that gets ignored constantly. Your shutter speed should never drop below the reciprocal of your focal length if you want sharp handheld images. Shooting a 50mm lens? Don’t go slower than 1/50th of a second. Shooting an 85mm? Stay above 1/85th. Tucker is shooting at around 1/80th to 1/100th with his 55mm, which keeps him safely in sharp territory while still allowing enough light in at f/1.8 and ISO 800.
The reason this matters specifically at night is that you might be tempted to slow the shutter down to compensate for lower light. Resist that. Go slower and you start picking up camera shake and subject motion blur, neither of which is easy to fix in post. If your exposure triangle isn’t balancing properly at a safe shutter speed, raise the ISO before you touch the shutter.
Step 5: Expose for Highlights, Let the Shadows Be Dark
 City street at night showing bright lights and deep shadows in frame
This is arguably the most important conceptual shift in the whole tutorial. Tucker exposes for his light sources, not for the overall scene. That means the bright neon signs and illuminated storefronts are correctly exposed, and the darker areas between them fall away into deep shadow. He’s not trying to lift those shadows up. He’s letting them go.
City street at night showing bright lights and deep shadows in frame
This is arguably the most important conceptual shift in the whole tutorial. Tucker exposes for his light sources, not for the overall scene. That means the bright neon signs and illuminated storefronts are correctly exposed, and the darker areas between them fall away into deep shadow. He’s not trying to lift those shadows up. He’s letting them go.
This approach does two things at once. It keeps your highlights from blowing out, which is where all your detail lives in a night scene. And it gives your images that dramatic, high-contrast, cinematic quality that makes night street photography look so different from daytime shooting. Fighting the darkness is the wrong instinct. Leaning into it is where the interesting images come from.
What I’d Add From My Own Experience
Tucker is shooting with a purpose-built kit in London, which is a visually incredible city. If you’re working somewhere less architecturally dramatic (looking at you, suburban Texas strip malls), the principle still holds but you have to work harder to find your pockets of light. Gas station canopies, drive-through signs, parking lot lights, neon bar signs at 11pm - they’re all valid. I’ve gotten some genuinely interesting shots in a Whataburger parking lot at midnight that I wouldn’t trade for anything. The light doesn’t care about the zip code.
Also worth noting: if you shoot RAW, which you should be doing anyway, you have more flexibility to recover detail in those shadows than Tucker’s JPEG-friendly framing suggests. I’d still expose the way he describes, but knowing you have some latitude in post takes a bit of the pressure off when you’re learning.
The single biggest takeaway from this tutorial is also the least glamorous: stop waiting for better conditions. Night is not a problem to solve. It’s a different kind of light to work with. Tucker proves that with modest gear, disciplined manual settings, and a willingness to go look for the light rather than wish for more of it, winter becomes one of the more interesting seasons to be out shooting.
Watch the full tutorial on YouTube to see Tucker walk through actual street scenes and talk through composition and color alongside the technical settings covered here.
Comments (2)
I tried this on a client project yesterday and the results were way better than expected.
This is going in my reference folder. Incredibly useful.
Leave a Comment