There’s a specific kind of pain that comes from watching someone else work in Photoshop and realizing they’re doing in three clicks what takes you fifteen. I’ve been there more times than I’d like to admit. Back when I was just starting to take freelance work seriously, a friend watched me edit over my shoulder for about two minutes before quietly asking if I’d ever heard of layer masks. Reader, I had not. Not really. Not in the way that matters.
That’s exactly why I keep coming back to tutorials from Matt Kloskowski. He’s one of those instructors who doesn’t waste your time with theory — he shows you the stuff that actually changes how fast you work. In this Matt Kloskowski tutorial, Watch the full tutorial on YouTube, he runs through 10 of his favorite Photoshop tips, and while some of them I already knew, a handful genuinely made me stop, rewind, and immediately try them on a project I had open.
I’ve broken the whole thing down into a step-by-step walkthrough below so you can follow along without pausing and rewinding every thirty seconds. All the tips are in the order Matt covers them, with enough detail to actually use each one.
Step 1: Resize Your Brush Without Leaving the Canvas
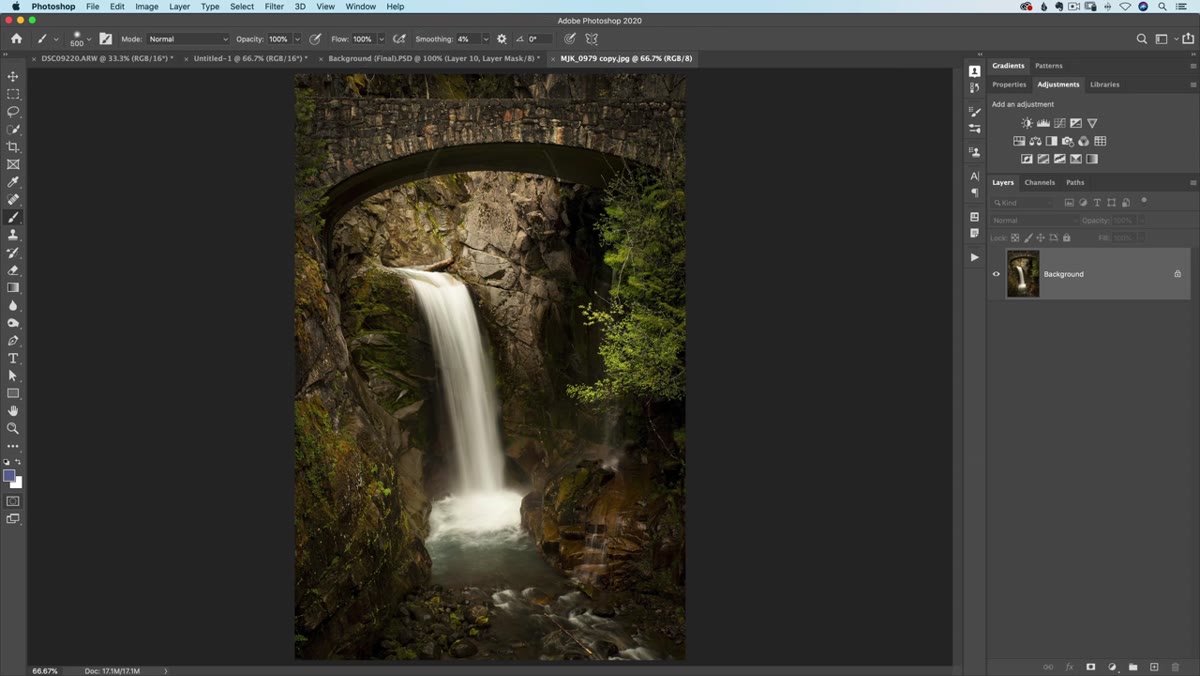 Brush resize using keyboard shortcut on canvas
This one sounds basic, but if you’re still going up to the options bar every time you need to change your brush size, you are leaving speed on the table. The square bracket keys – left bracket
Brush resize using keyboard shortcut on canvas
This one sounds basic, but if you’re still going up to the options bar every time you need to change your brush size, you are leaving speed on the table. The square bracket keys – left bracket [ to shrink, right bracket ] to grow – resize your brush without breaking your flow. Matt emphasizes this as a foundational shortcut because it keeps your hand on the canvas and your eye on the work. Pair it with Shift + [ and Shift + ] to step your hardness up or down, and you’ve basically eliminated two of the most common reasons people reach for the mouse mid-stroke.
Step 2: Use the Spacebar to Pan Without Switching Tools
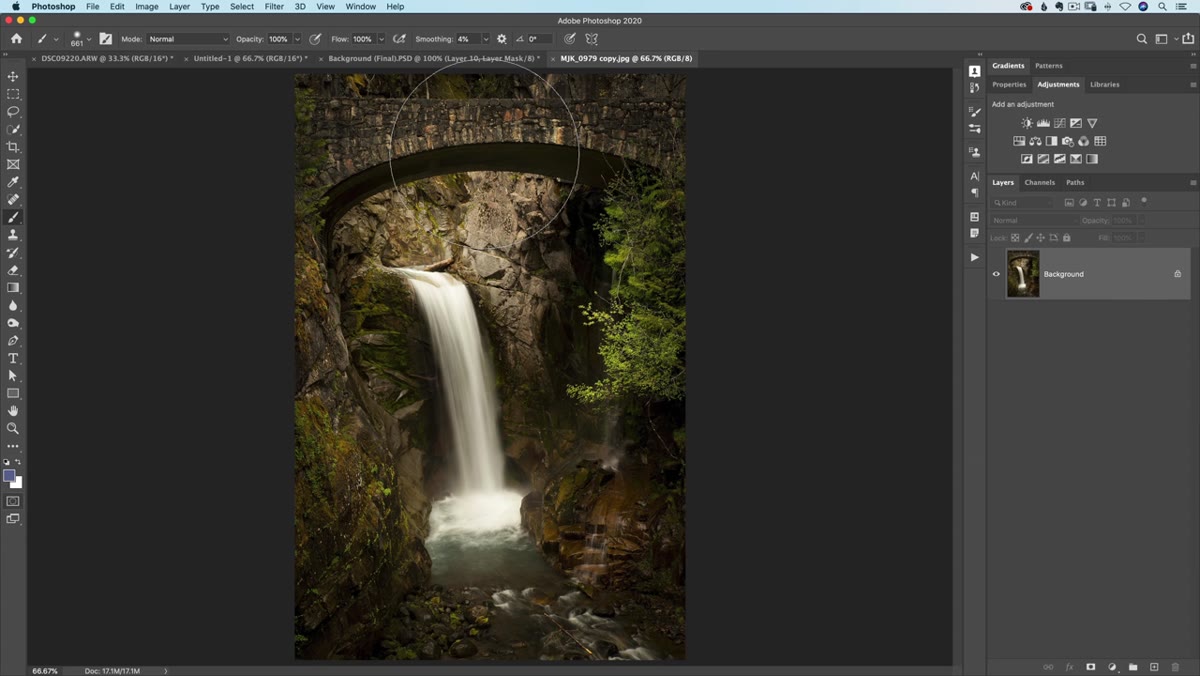 Spacebar pan technique while using the brush tool
Hold the spacebar at any point and your cursor temporarily becomes the Hand tool, letting you scroll around the canvas and then snap right back to whatever tool you were using the moment you let go. This is one of those things that sounds minor until you’ve used it for a week and then try to work on a machine where you forgot to set it up. It completely removes the need to zoom out, reposition, and zoom back in. You stay at your working zoom level the whole time.
Spacebar pan technique while using the brush tool
Hold the spacebar at any point and your cursor temporarily becomes the Hand tool, letting you scroll around the canvas and then snap right back to whatever tool you were using the moment you let go. This is one of those things that sounds minor until you’ve used it for a week and then try to work on a machine where you forgot to set it up. It completely removes the need to zoom out, reposition, and zoom back in. You stay at your working zoom level the whole time.
Step 3: Quickly Toggle Your Layer Mask On and Off
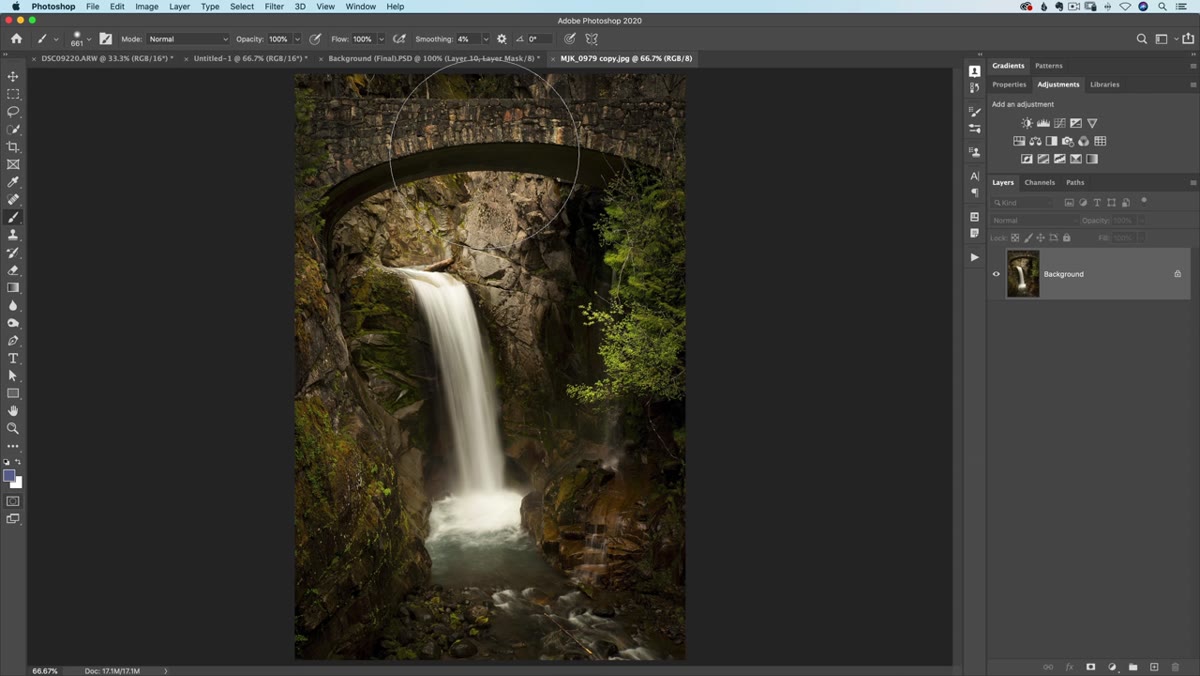 Layer mask being toggled off to reveal original layer
If you’re working with a layer mask and you want to see what the layer looks like without the mask applied – without deleting anything – hold
Layer mask being toggled off to reveal original layer
If you’re working with a layer mask and you want to see what the layer looks like without the mask applied – without deleting anything – hold Shift and click the mask thumbnail in the Layers panel. A red X appears on the mask to show it’s disabled, and your original layer comes back in full. Click it again to re-enable. This is incredibly useful when you’re trying to judge whether a mask is actually doing what you think it is, or when a client asks you to show them a before and after without flattening anything.
Step 4: Fill a Selection or Layer in One Keystroke
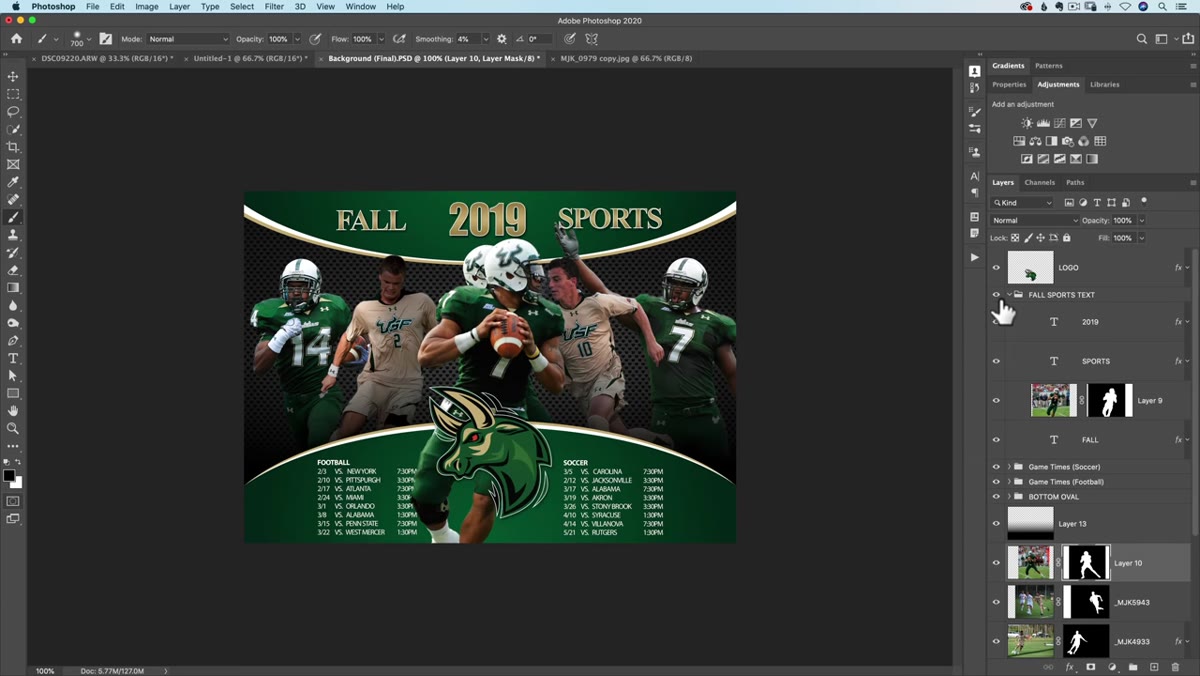 Fill dialog or shortcut being applied to a selection
Instead of going to Edit > Fill every single time, use
Fill dialog or shortcut being applied to a selection
Instead of going to Edit > Fill every single time, use Alt + Backspace (Windows) or Option + Delete (Mac) to fill with your foreground color, and Ctrl + Backspace / Command + Delete to fill with your background color. Matt points out this is one of those shortcuts that feels unnecessary until you’re doing it fifty times in a session. Combined with D to reset your foreground/background colors to black and white, and X to swap them, you’ve got a fast and clean workflow for masking, painting, and compositing.
Step 5: Use Free Transform to Scale from the Center
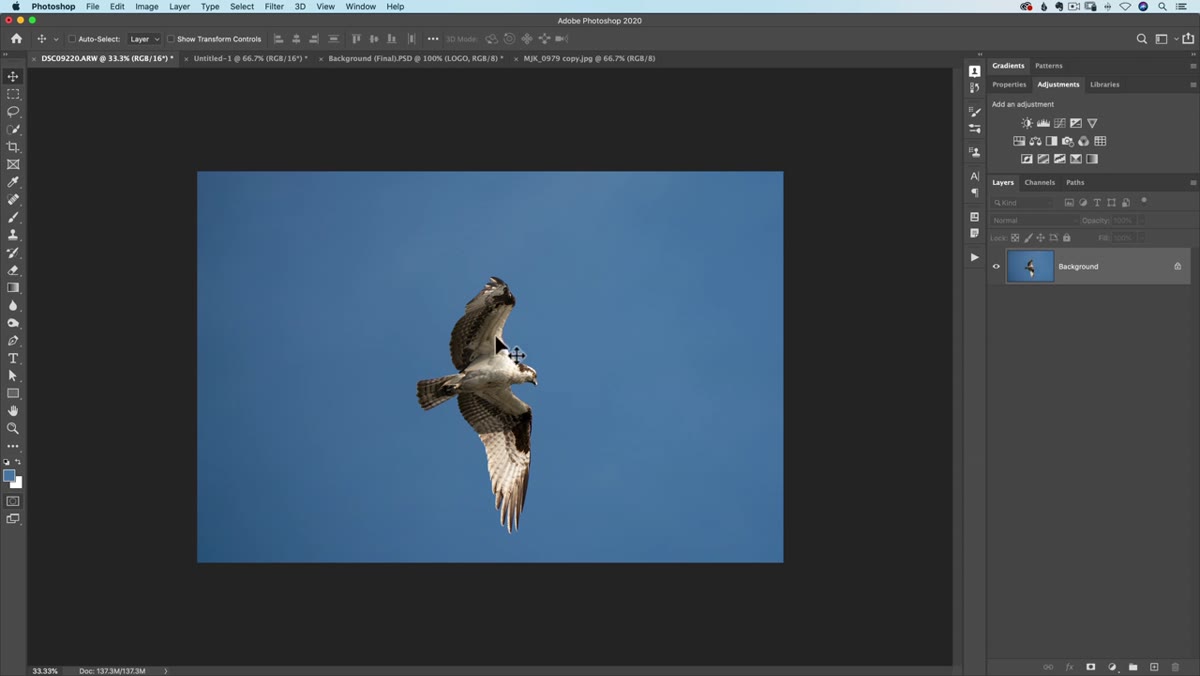 Free Transform scaling symmetrically from center point
When you hit
Free Transform scaling symmetrically from center point
When you hit Ctrl + T (or Cmd + T) to enter Free Transform, holding Alt (or Option) while dragging a corner handle scales from the center of the object outward, rather than from the corner. This matters when you want to resize something without it drifting across the canvas. Matt notes this is particularly useful for design work where symmetry and alignment are part of the composition. In newer versions of Photoshop, proportional scaling is the default, but the center-point trick is still not automatic, and it’s worth having locked in.
Step 6: Sample a Color from Anywhere on Screen While Painting
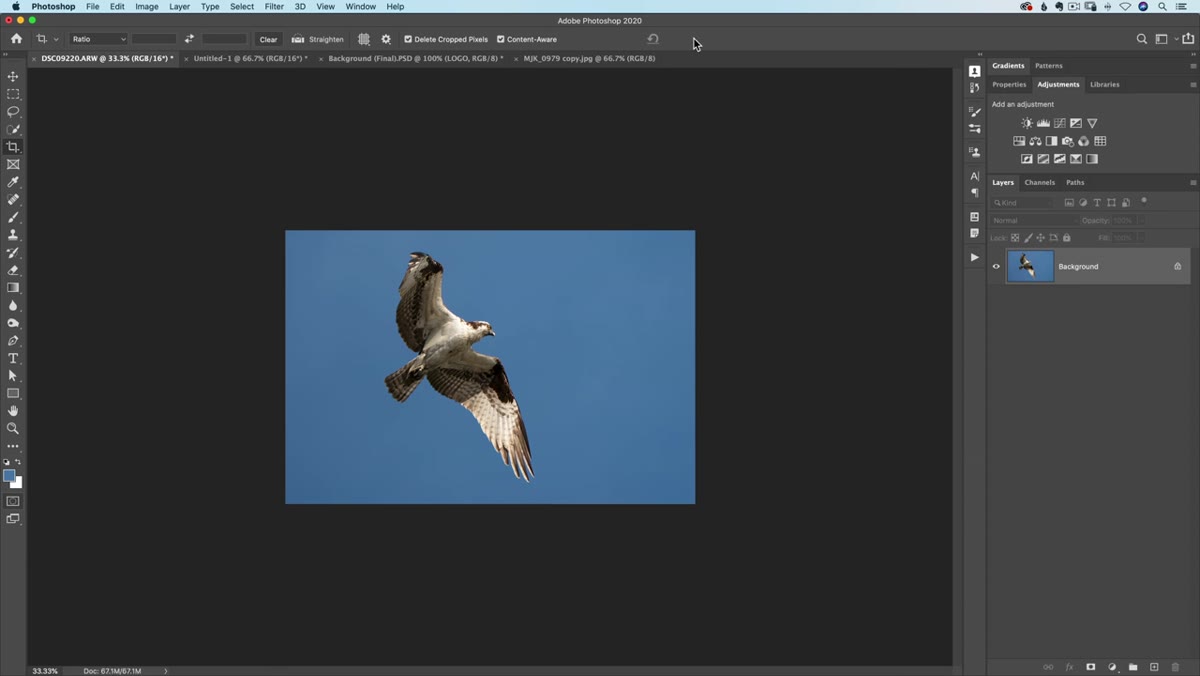 Eyedropper color sample being taken during a brush stroke
While you have the Brush tool active, hold
Eyedropper color sample being taken during a brush stroke
While you have the Brush tool active, hold Alt / Option and your cursor turns into the Eyedropper. Click anywhere to sample that color as your foreground. Release, and you’re painting with it immediately. No tool switching, no interruption. Matt uses this constantly during retouching and compositing to match tones on the fly. The one caveat: make sure you’ve got your sample size set to something reasonable in the options bar – “3 by 3 Average” is usually more accurate than a single pixel sample, which can grab noise instead of the actual tone you’re after.
Step 7: Scrubby Zoom for Faster Navigation
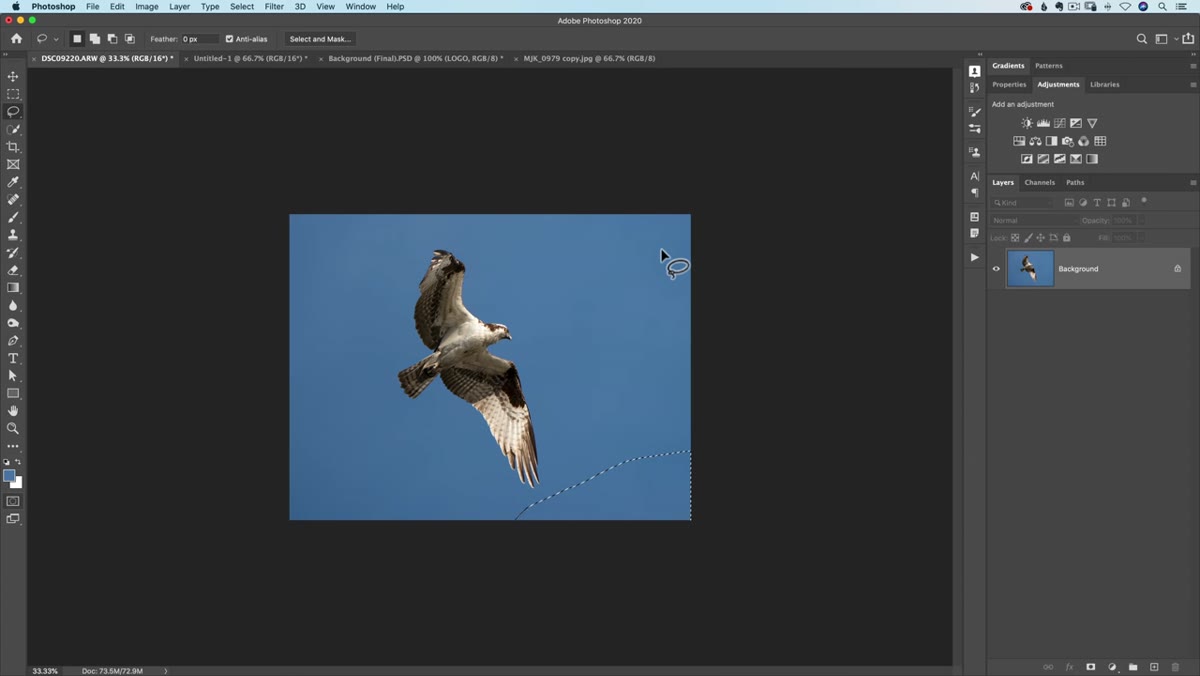 Scrubby zoom being used to zoom in and out fluidly
This one requires Scrubby Zoom to be enabled in the Zoom tool’s options bar. Once it is, you can click and drag left to zoom out, right to zoom in, fluidly and continuously. It feels more intuitive than the scroll wheel for a lot of work, especially on tablets. If you find it disorienting at first, give it a day. Matt mentions it as one of those things he forgot he was even using until he worked on someone else’s machine where it wasn’t set up.
Scrubby zoom being used to zoom in and out fluidly
This one requires Scrubby Zoom to be enabled in the Zoom tool’s options bar. Once it is, you can click and drag left to zoom out, right to zoom in, fluidly and continuously. It feels more intuitive than the scroll wheel for a lot of work, especially on tablets. If you find it disorienting at first, give it a day. Matt mentions it as one of those things he forgot he was even using until he worked on someone else’s machine where it wasn’t set up.
What I’d Add: Stack These With Action Shortcuts
Most of these tips are genuinely powerful on their own. But where they get interesting is when you start stacking them with recorded Actions for repetitive tasks. I do a lot of product photography cleanup work, and I’ve got an Action set up that applies a standard mask, drops to a specific zoom level, and positions me ready to paint – all triggered by a single function key. The individual shortcuts Matt covers are the building blocks for that kind of thing. If you’re not recording Actions yet, that’s the next thing worth learning after you’ve internalized what’s in this video.
The biggest thing this video hammered home for me is that speed in Photoshop isn’t about working harder or knowing more obscure features. It’s about removing the small frictions – the clicks, the menu dives, the tool switches – that break your concentration twenty times per hour. Each of these tips by itself saves maybe five seconds. Together, across a full editing session, they can shave thirty minutes off your day.
Watch the full tutorial on YouTube to see Matt walk through all 10 tips in his own workflow – seeing them in context is worth your time.
Comments
Leave a Comment