
There’s a specific flavor of creative paralysis I run into constantly. I’ve got a project in front of me, a concept I’m actually excited about, and absolutely zero idea how to start shooting it. The idea just sits there, bloated and shapeless, like I need to photograph “culture” or “community” and someone forgot to give me a map. That’s exactly the problem that got me watching this CreativeLive tutorial on photography mind mapping, and honestly, it fixed something I didn’t even realize was a workflow problem. Watch the full tutorial on YouTube
The technique the instructor walks through is embarrassingly simple, and that’s kind of the point. Mind mapping isn’t new. There are entire books and software platforms dedicated to it. But applying it specifically to photography planning, as a way to go from concept to concrete shot list, is one of those ideas that makes you feel like you’ve been doing things the hard way for years. Fifteen minutes with a pen and paper can turn an abstract topic into actual instructions you give yourself in the field.
I did this recently sitting at my usual corner table at the coffee shop, notebook open next to my cold brew, and it genuinely changed how I approached a freelance editorial shoot I’d been dreading. Here’s how the whole thing works.
Step 1: Write Your Core Concept in the Center
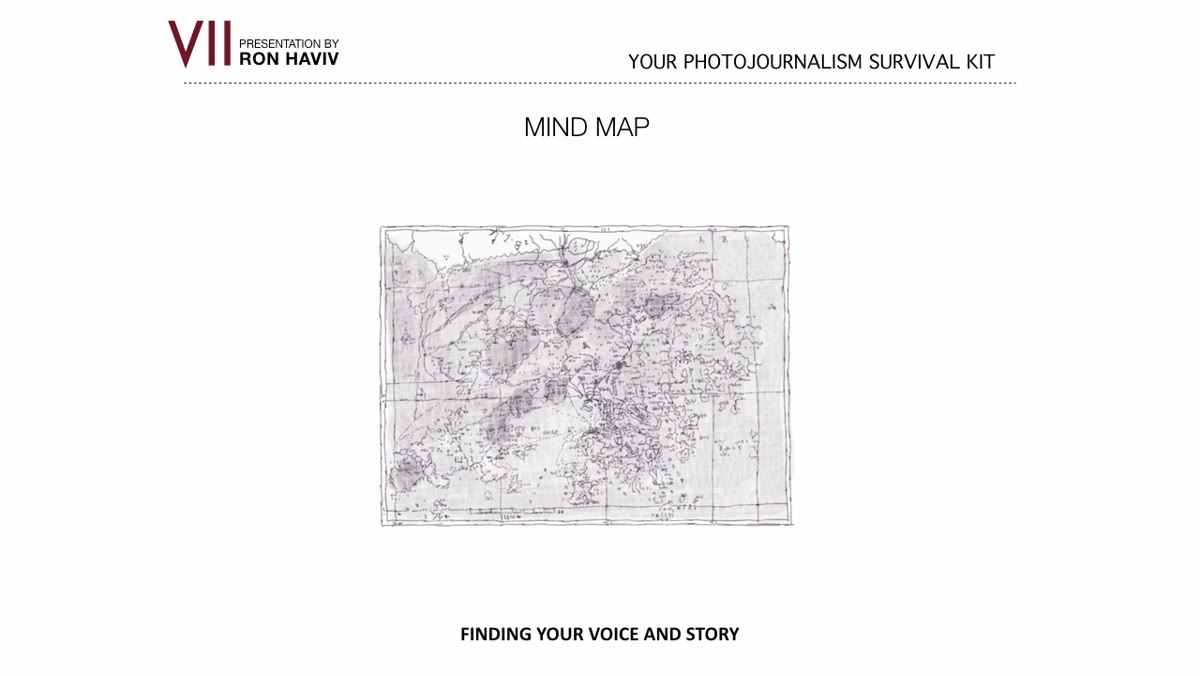 Instructor pointing to central topic on a sample mind map
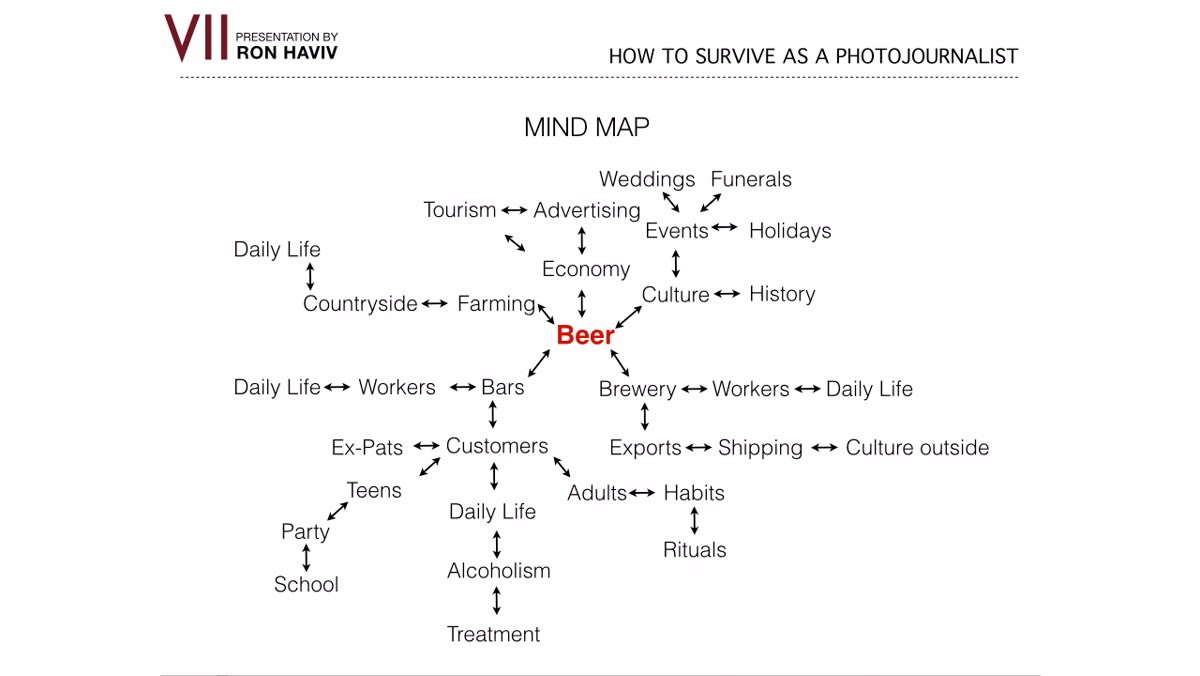
Start with a single word or short phrase that captures your assignment or project idea. This goes in the middle of your page. In the tutorial, the example used is simply “beer.” That’s it. No sentences, no qualifiers. Just the raw subject you’ve been tasked with or have chosen to explore. The constraint of one word forces you to commit to what the project is actually about, which is harder than it sounds when you’ve been going in circles.
Instructor pointing to central topic on a sample mind map
Start with a single word or short phrase that captures your assignment or project idea. This goes in the middle of your page. In the tutorial, the example used is simply “beer.” That’s it. No sentences, no qualifiers. Just the raw subject you’ve been tasked with or have chosen to explore. The constraint of one word forces you to commit to what the project is actually about, which is harder than it sounds when you’ve been going in circles.
Step 2: Branch Out With First Associations
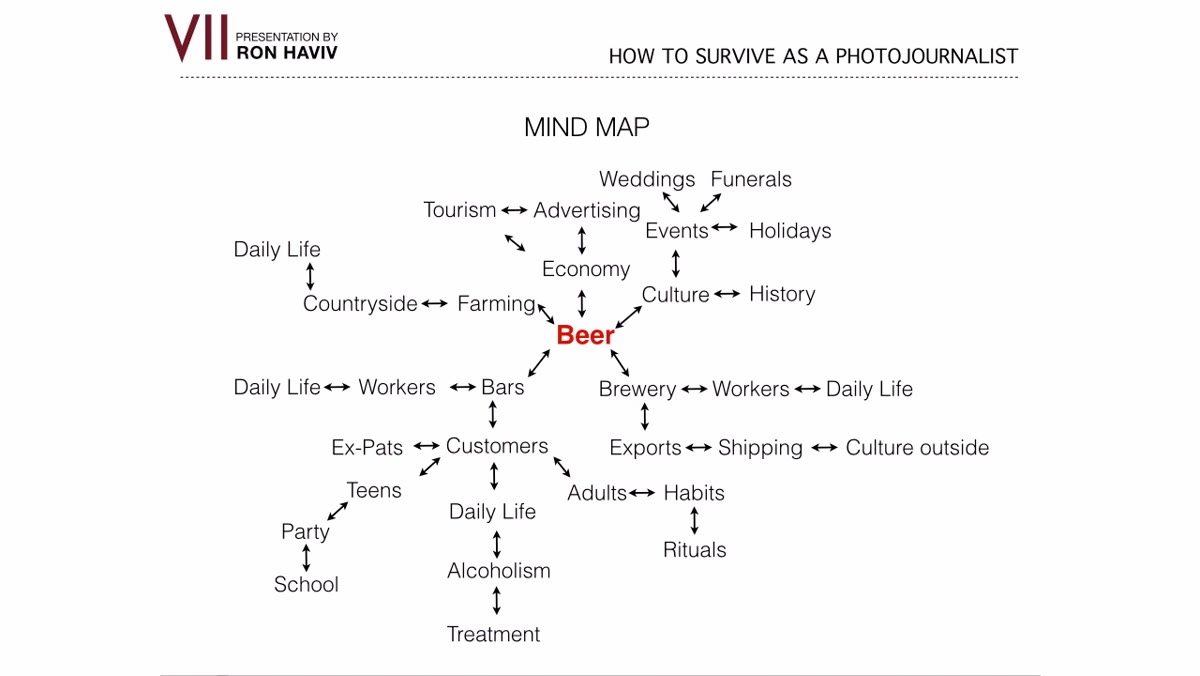 Mind map showing first-level branches like bars, brewery, culture, economy
From your central word, draw lines outward and write down every immediate association that comes to mind. Don’t edit yourself here. The tutorial example shows branches going to things like bars, breweries, culture, and economy, all radiating out from “beer.” Think of this as a fast, messy brainstorm. You’re not committing to anything yet. You’re just getting the obvious stuff out of your head and onto the page so you can see what you’re actually working with.
Mind map showing first-level branches like bars, brewery, culture, economy
From your central word, draw lines outward and write down every immediate association that comes to mind. Don’t edit yourself here. The tutorial example shows branches going to things like bars, breweries, culture, and economy, all radiating out from “beer.” Think of this as a fast, messy brainstorm. You’re not committing to anything yet. You’re just getting the obvious stuff out of your head and onto the page so you can see what you’re actually working with.
Spend maybe five minutes here. The goal isn’t a complete list, it’s a starting structure. You’ll fill in the gaps as you keep going.
Step 3: Go Deeper on Each Branch
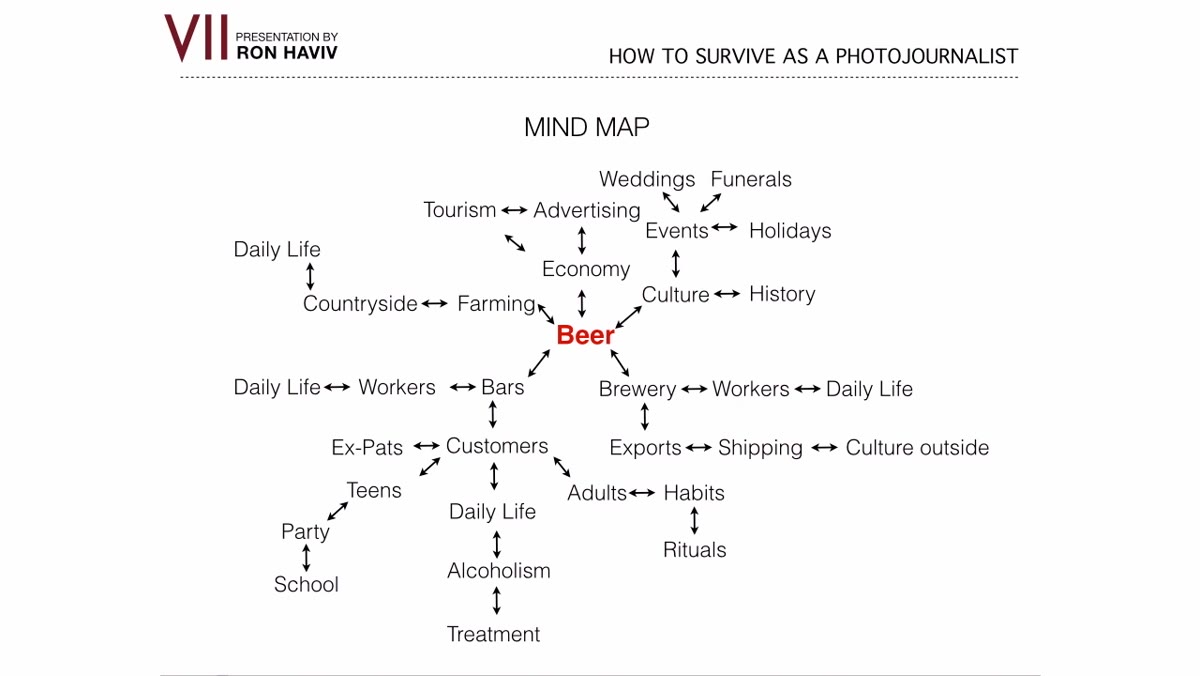 Second-level branches expanding from culture and economy nodes
Take each of your first-level branches and extend them further. If you wrote “culture,” what does that break into? Local drinking culture, craft beer identity, bar community? If you wrote “economy,” maybe that means local breweries as small businesses, distribution networks, bar employment. Each of these second-level ideas is getting more specific, and specific is where photographs actually live. You can’t photograph “economy.” You can photograph a bar owner counting receipts at closing time.
Second-level branches expanding from culture and economy nodes
Take each of your first-level branches and extend them further. If you wrote “culture,” what does that break into? Local drinking culture, craft beer identity, bar community? If you wrote “economy,” maybe that means local breweries as small businesses, distribution networks, bar employment. Each of these second-level ideas is getting more specific, and specific is where photographs actually live. You can’t photograph “economy.” You can photograph a bar owner counting receipts at closing time.
This is where the tutorial makes a point that stuck with me. Sometimes you start mapping and you land on a branch that suddenly feels more interesting than your original concept. That’s not a detour, that’s the exercise working. You can pivot your whole project toward that new direction and then start a fresh map from there.
Step 4: Identify the Angle You Actually Want to Shoot
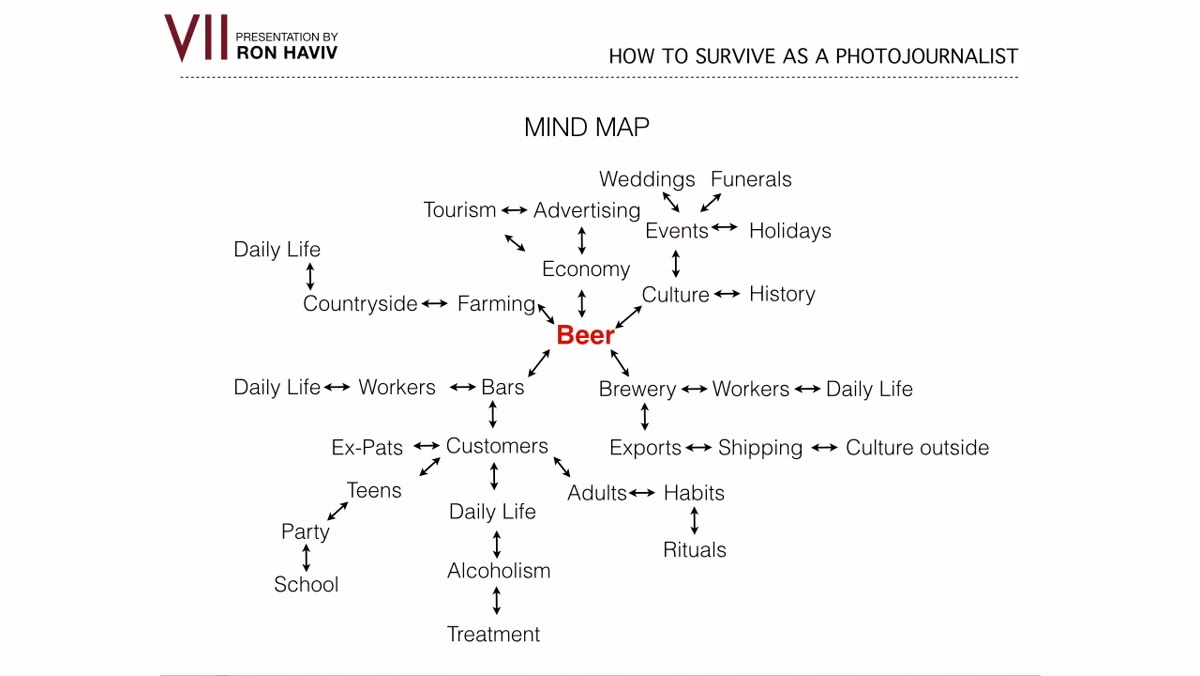 Instructor circling a specific sub-topic as the focused story direction
Once you’ve mapped a couple layers deep, step back and look at the whole thing. One of those branches is probably pulling at you more than the others. In the tutorial, the example zooms in on the effect of beer on teenagers specifically. That’s a much tighter, more narratable story than “beer” in general, and it points directly toward specific scenes you need to capture.
Instructor circling a specific sub-topic as the focused story direction
Once you’ve mapped a couple layers deep, step back and look at the whole thing. One of those branches is probably pulling at you more than the others. In the tutorial, the example zooms in on the effect of beer on teenagers specifically. That’s a much tighter, more narratable story than “beer” in general, and it points directly toward specific scenes you need to capture.
Pick your angle and circle it. This is your actual project, not the broad topic you started with. Everything else on the map is context, potential future work, or material that might support the main story. For now, you’re narrowing your focus.
Step 5: Build Your Shot List From the Map
 Shot list emerging from zoomed-in branch showing teens at school, party, home
This is where the mind map earns its keep. Take your chosen angle and start listing the specific images you need to make the story work visually. The tutorial example breaks “beer and teens” into teens at school, teens at a party, teens at home. These aren’t abstract ideas anymore. These are locations, scenarios, and moments you can actually go out and photograph.
Shot list emerging from zoomed-in branch showing teens at school, party, home
This is where the mind map earns its keep. Take your chosen angle and start listing the specific images you need to make the story work visually. The tutorial example breaks “beer and teens” into teens at school, teens at a party, teens at home. These aren’t abstract ideas anymore. These are locations, scenarios, and moments you can actually go out and photograph.
Write these down as a shot list, not as map branches. At this point you’re done brainstorming and you’re building a production document. These are your minimum requirements for telling the story. The instructor frames it as giving yourself instructions, and that framing is useful. You’re not guessing when you show up to shoot. You have a checklist.
Step 6: Treat the Shot List as a Structure, Not a Script
 Instructor explaining the map is a starting point, not a rigid endpoint
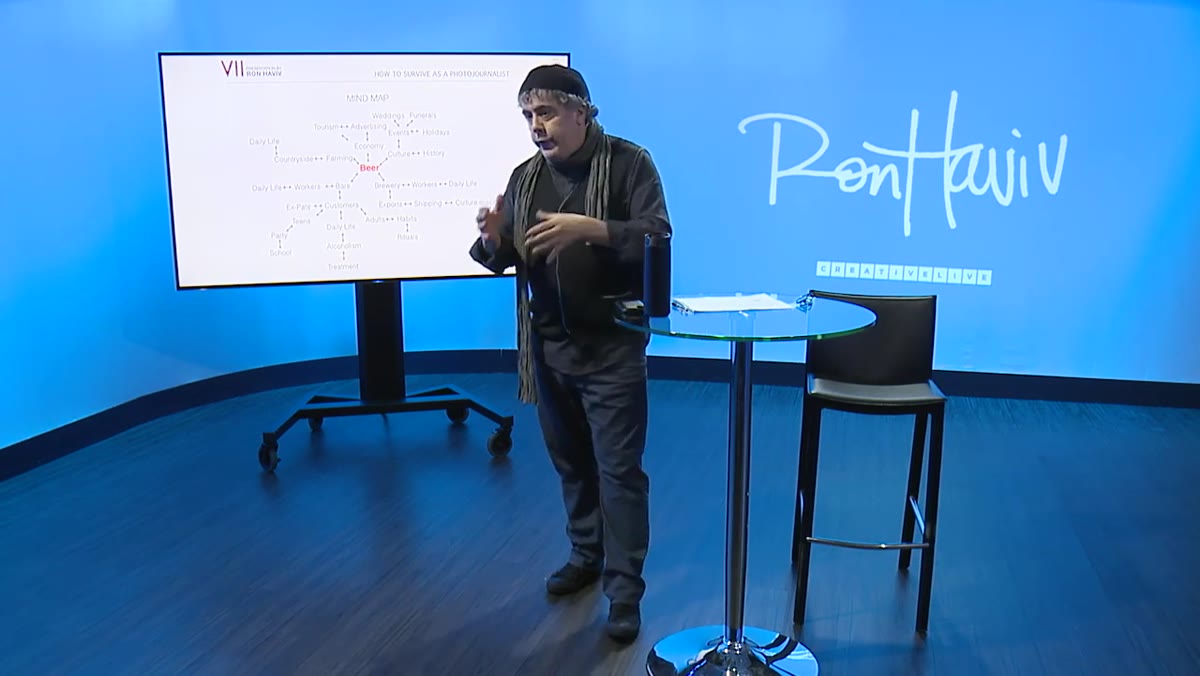
The last thing the tutorial emphasizes is that the mind map and shot list are a framework, not a ceiling. Once you’re in the field, the work will take you places you didn’t anticipate, and that’s the whole point of being a photographer. The map gets you moving. It handles the paralysis problem. But if you show up to shoot teens at a house party and stumble onto something unexpected and more powerful than what’s on your list, you go there.
Instructor explaining the map is a starting point, not a rigid endpoint
The last thing the tutorial emphasizes is that the mind map and shot list are a framework, not a ceiling. Once you’re in the field, the work will take you places you didn’t anticipate, and that’s the whole point of being a photographer. The map gets you moving. It handles the paralysis problem. But if you show up to shoot teens at a house party and stumble onto something unexpected and more powerful than what’s on your list, you go there.
The structure exists so you’re never standing around wondering what to do next. It doesn’t exist to stop you from being curious.
The Part They Didn’t Cover (But I Learned Anyway)
I’d add one extension to this technique that’s made it more useful for me personally. After I build the map and pull my shot list, I do a quick reverse check. I look at each shot and ask whether it could visually stand alone as a single image that communicates something, or whether it only makes sense in a sequence. That distinction changes how I prioritize on a shoot. If I only get three images from the day, which three would carry the story? The mind map doesn’t answer that automatically, but it gives you enough material to make the call deliberately rather than by accident.
Also, do this on paper first. I’ve tried it in apps. There’s something about the physical act of drawing lines and writing by hand that makes the free-association faster and less precious. You’re not formatting, you’re thinking.
The single most important thing this technique does is eliminate the moment where a big, vague concept makes you freeze. You start with one word, you branch out, and within fifteen minutes you have something that functions like a production plan. That’s the whole promise, and it actually delivers.
Watch the full tutorial on YouTube to see the example mind map walked through in real time and hear the instructor talk through how she uses this on long-form editorial projects.
Comments
Leave a Comment