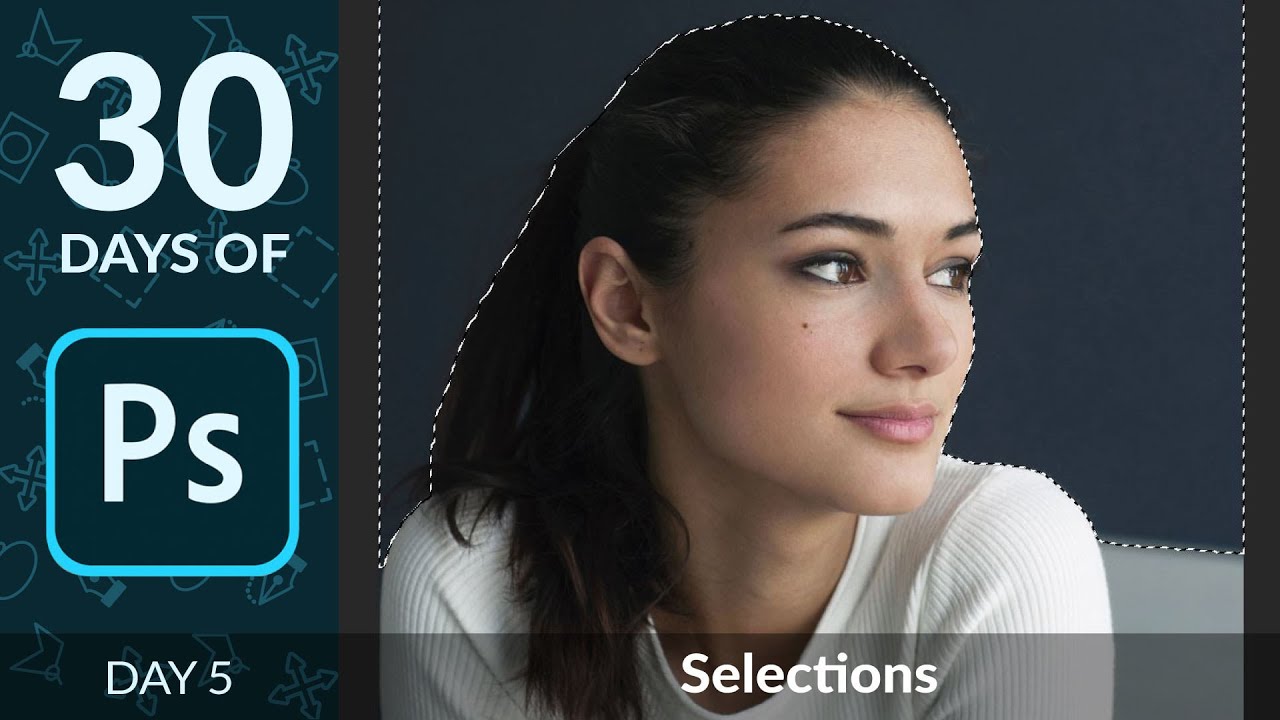
Here’s a confession: for an embarrassingly long time, I was just painting over things I didn’t want in my images. Like, literally using a brush and hoping for the best. My early freelance work looked fine on screen and absolutely fell apart the second a client zoomed in. The problem wasn’t my eye for design. It was that I had no real grip on selections, which meant every edit I made was either global (affecting the whole image) or a crime scene.
Selections are the thing in Photoshop. They’re the difference between surgical precision and swinging a sledgehammer at your image. Once you understand how to isolate parts of a photo, every other skill, color grading, retouching, compositing, multiplies in usefulness. Watch the full tutorial on YouTube from Aaron Nace over at PHLEARN, who covers this in his 30 Days of Photoshop series. Day 5 is dedicated entirely to selections, and it’s one of those tutorials where you finish it and immediately reopen a project you thought was done.
What I like about how Aaron teaches this is that he doesn’t just show you the tools. He shows you how they behave, which is a different thing entirely. Here’s the full walkthrough so you can follow along.
Step 1: Get Familiar With the Marquee Tools
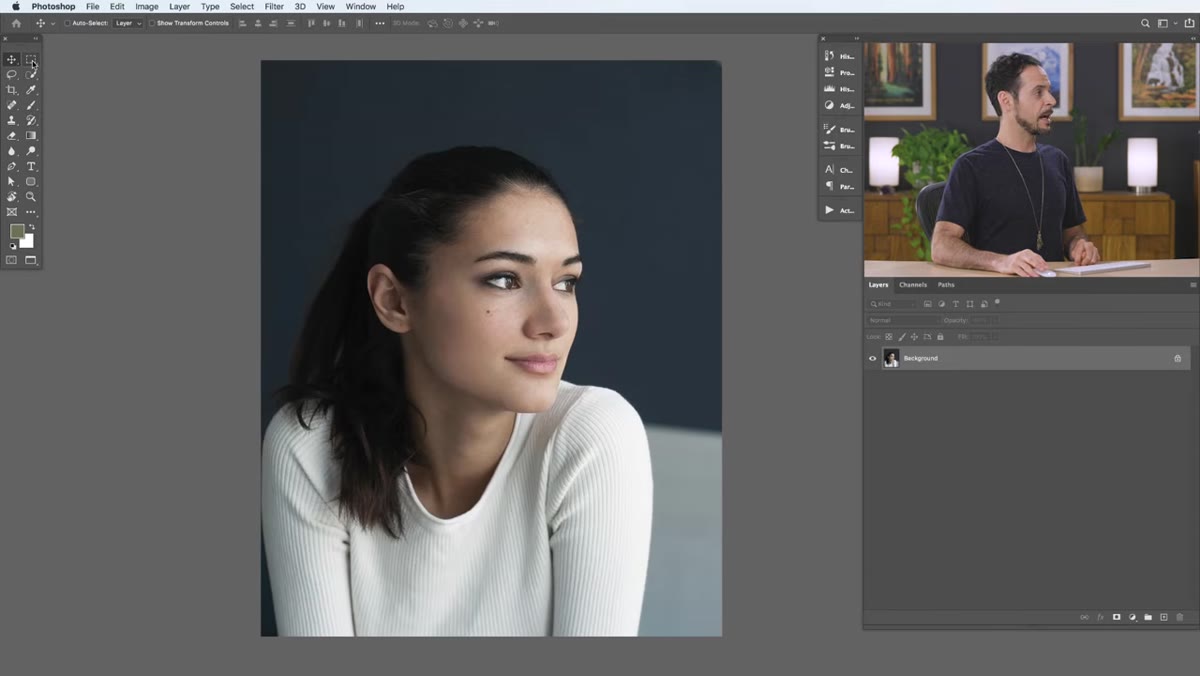 Toolbar showing marquee tool options in Photoshop
Your selection toolkit starts at the very top of the Tools panel. Click and hold on the marquee icon and you’ll see four options: Rectangular, Elliptical, Single Row, and Single Column. For most practical work, you’ll live in the Rectangular Marquee (keyboard shortcut: M). Click and drag across your canvas to draw a selection. It’s as straightforward as it sounds, but don’t sleep on it. A clean rectangular selection is still the fastest way to isolate a sky, a product, or a block of color for a quick edit.
Toolbar showing marquee tool options in Photoshop
Your selection toolkit starts at the very top of the Tools panel. Click and hold on the marquee icon and you’ll see four options: Rectangular, Elliptical, Single Row, and Single Column. For most practical work, you’ll live in the Rectangular Marquee (keyboard shortcut: M). Click and drag across your canvas to draw a selection. It’s as straightforward as it sounds, but don’t sleep on it. A clean rectangular selection is still the fastest way to isolate a sky, a product, or a block of color for a quick edit.
Once you’ve drawn your selection, go to Select > Deselect (or just hit Command/Ctrl + D) to clear it. That shortcut is going on a sticky note on your monitor right now. Trust me.
Step 2: Fill a Selection to See It in Action
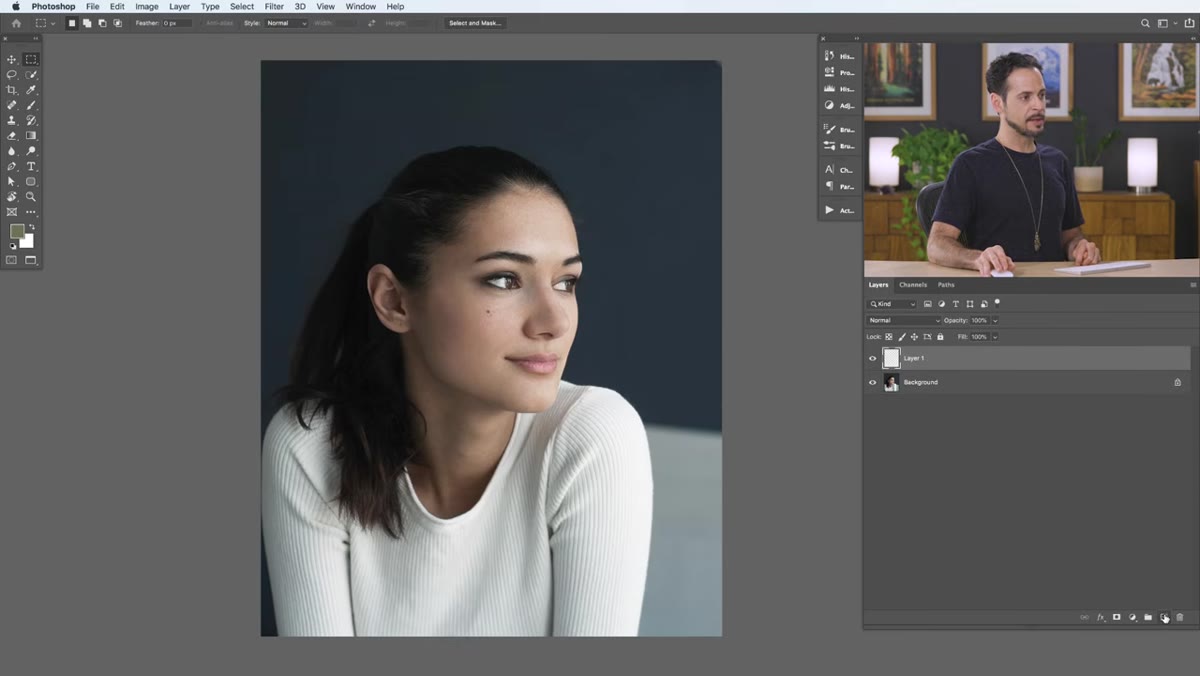 Rectangular selection filled with white on new layer
Before you can really appreciate selections, you need to see what they do. Make a new layer (Shift + Command/Ctrl + N), draw a rectangular selection, then go to Edit > Fill. Choose White from the Contents dropdown and hit OK. Deselect with Command/Ctrl + D. Now grab the Move tool (V) and push that white block around. That white rectangle exists only where your selection told Photoshop to put it.
Rectangular selection filled with white on new layer
Before you can really appreciate selections, you need to see what they do. Make a new layer (Shift + Command/Ctrl + N), draw a rectangular selection, then go to Edit > Fill. Choose White from the Contents dropdown and hit OK. Deselect with Command/Ctrl + D. Now grab the Move tool (V) and push that white block around. That white rectangle exists only where your selection told Photoshop to put it.
This exercise sounds basic, but it hammers home something important: selections control where your edits land, not what your edits are. The selection is the fence. Everything you do with paint, fill, filters, or adjustments happens inside that fence, on whatever layer you’re currently working on.
Step 3: Use the Spacebar Trick While Drawing
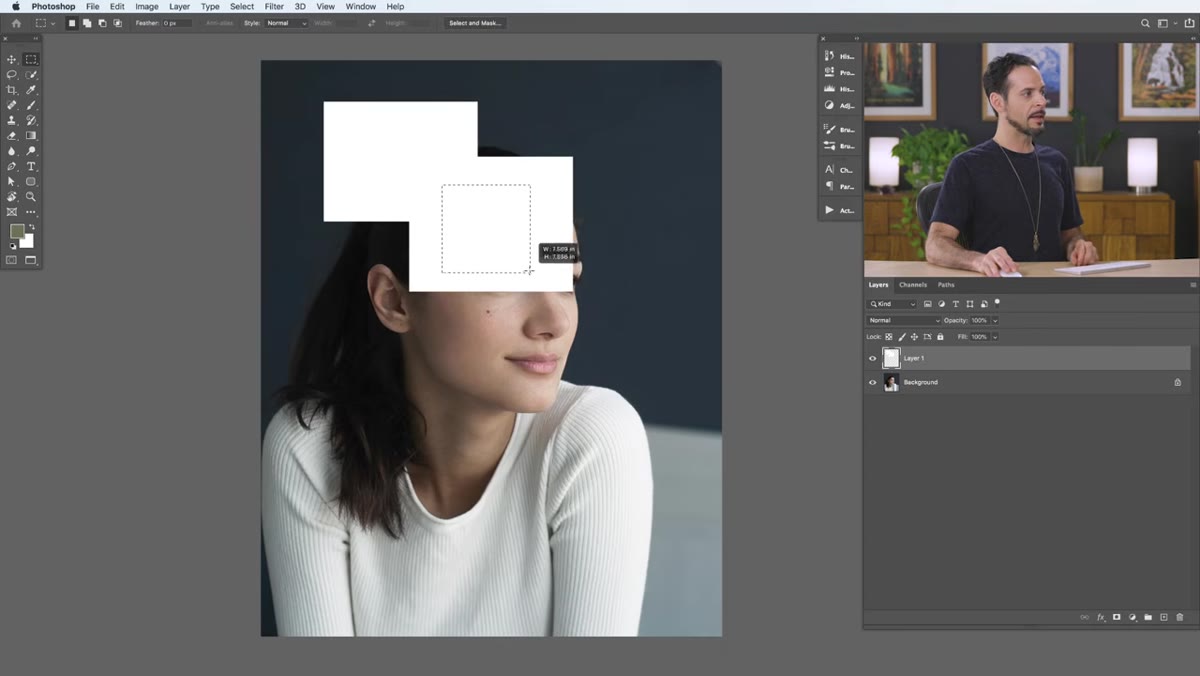 Selection being repositioned mid-draw using spacebar
Here’s the one that made me feel like an idiot for not knowing sooner. While you’re actively drawing a marquee selection (mouse button still held down), hold the Spacebar. This lets you reposition the selection on the fly before you commit to it. Release Spacebar, and you’re back to resizing. This is a small thing that saves a lot of frustration, especially when you’re trying to center something precisely.
Selection being repositioned mid-draw using spacebar
Here’s the one that made me feel like an idiot for not knowing sooner. While you’re actively drawing a marquee selection (mouse button still held down), hold the Spacebar. This lets you reposition the selection on the fly before you commit to it. Release Spacebar, and you’re back to resizing. This is a small thing that saves a lot of frustration, especially when you’re trying to center something precisely.
Combine it with Shift held down while dragging, and your rectangular selection snaps to a perfect square. So: Shift constrains the shape, Spacebar moves it while you’re building it. You can even hold both at once to move a perfectly square selection around before you let go. Practice this once and it becomes muscle memory.
Step 4: Understand That Selections and Layers Are Independent
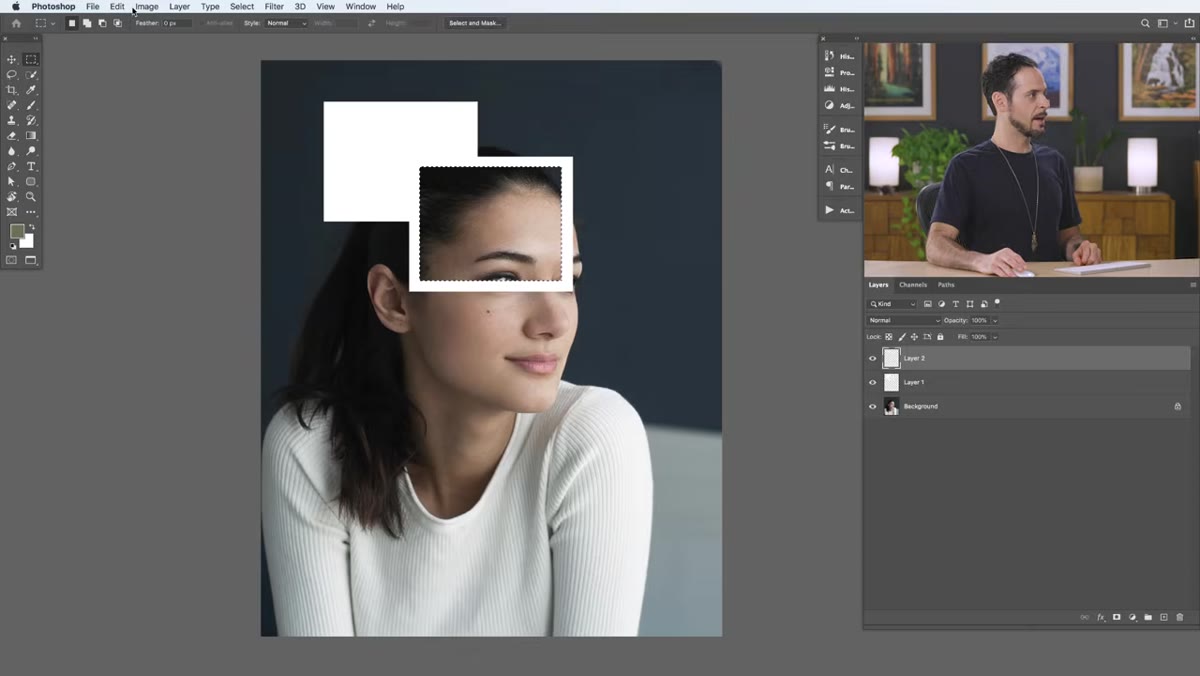 Same selection active across two separate layers
This is a concept that trips up a lot of people early on. A selection stays active regardless of which layer you switch to. So you can draw a selection, hop to a different layer, and fill or delete or paint, and the selection still constrains everything you do. It doesn’t belong to a layer. It belongs to the canvas state.
Same selection active across two separate layers
This is a concept that trips up a lot of people early on. A selection stays active regardless of which layer you switch to. So you can draw a selection, hop to a different layer, and fill or delete or paint, and the selection still constrains everything you do. It doesn’t belong to a layer. It belongs to the canvas state.
Aaron demonstrates this by filling the same selection on two different layers with different colors. Then he uses the Move tool to show they’re completely separate objects that just happen to share the same original boundary. This matters a lot once you’re doing composites or any kind of layered work. Your selection is a temporary stencil, not a permanent property of any layer.
Step 5: Add to and Subtract From Selections
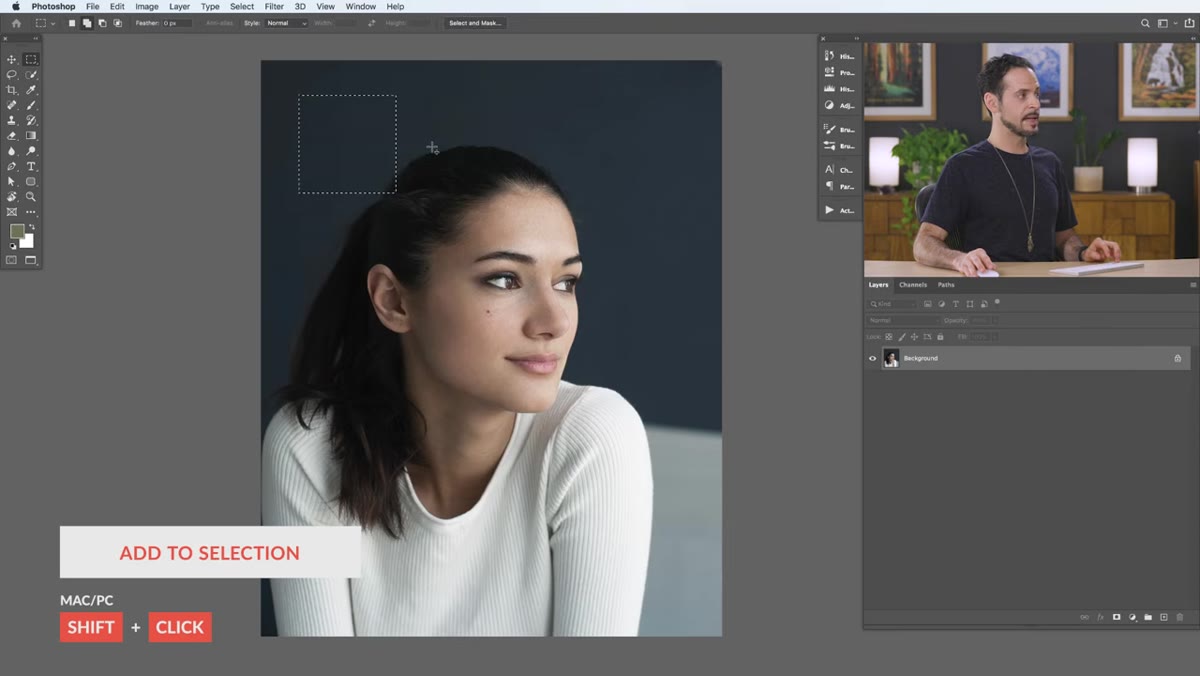 Plus sign cursor indicating selection being added to
A single marquee selection is rarely enough. Photoshop gives you modifier keys to build complex selections out of simple ones. Hold Shift while drawing a new marquee to add it to your existing selection. You’ll see a small plus sign appear next to your cursor confirming you’re in “add” mode. This lets you select multiple disconnected areas at once.
Plus sign cursor indicating selection being added to
A single marquee selection is rarely enough. Photoshop gives you modifier keys to build complex selections out of simple ones. Hold Shift while drawing a new marquee to add it to your existing selection. You’ll see a small plus sign appear next to your cursor confirming you’re in “add” mode. This lets you select multiple disconnected areas at once.
Hold Alt (Option on Mac) while drawing to subtract from an existing selection, useful for knocking out areas you accidentally included. The minus sign cursor tells you you’re in subtract mode. Between these two modifiers, you can build surprisingly complex selection shapes out of basic rectangular and elliptical marquees without touching anything more advanced.
A Note From Someone Who Skipped This Stuff Early On
I spent a long time avoiding proper selections because they felt tedious. Especially coming from making graphics quickly, I just wanted to get to the interesting part. What I eventually learned, the hard way during a late-night freelance job for a client who needed fast turnaround, is that sloppy selection habits compound. Every edit built on a bad selection looks slightly off, and you end up spending twice as long fixing things that could’ve been right the first time.
The marquee tools feel almost too simple, which is why people rush past them to the Lasso or Quick Select. Don’t. These are the foundation. Once you really understand how selection logic works, how adding, subtracting, and layer independence all interact, the fancier tools just become faster ways to do the same thing. The mental model is what matters, and Aaron’s tutorial builds it clearly.
The single most important thing to take away from this tutorial is that selections are how Photoshop knows where to listen. Every powerful edit you want to make, isolating color, compositing subjects, retouching specific areas, starts with a selection. Get comfortable building them, modifying them, and switching layers while they’re active, and you’ll stop fighting Photoshop and start actually working with it.
Watch the full tutorial on YouTube to see Aaron walk through saving and loading selections and cutting a subject out of a background, which picks up right where this breakdown leaves off.
Comments
Leave a Comment