Overlays in Photoshop Don't Have to Look Cheap — Here's How to Actually Use Them

Overlays in Photoshop Don't Have to Look Cheap — Here's How to Actually Use Them

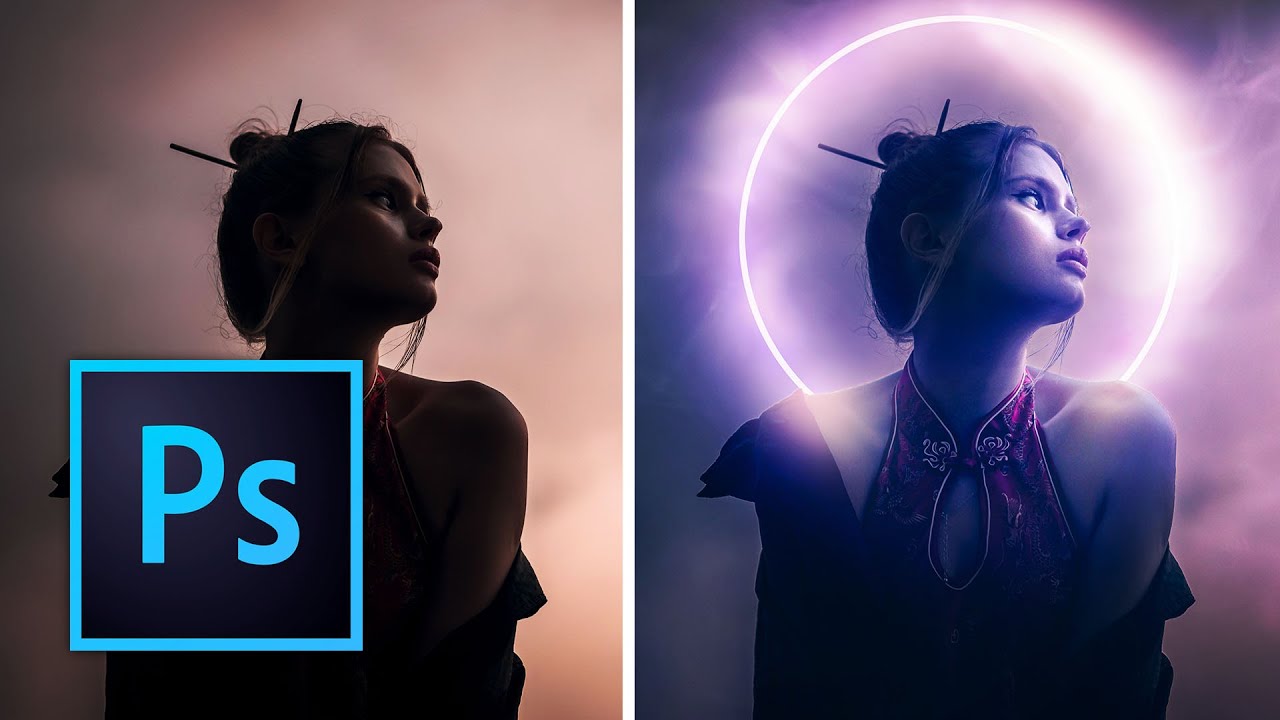
There’s a specific kind of embarrassment that only designers know. Someone asks you to add some “dramatic lighting” to a photo, and you spend forty-five minutes fiddling with Curves and Gradient Maps, fighting Photoshop like it personally offended you. Then you find out there’s a five-minute method using overlays that would have gotten you 90% of the way there in a fraction of the time. That’s basically my origin story with overlays.
The GFX100RF Is a Weird Camera — Here's How It Actually Works

The GFX100RF Is a Weird Camera — Here's How It Actually Works

I’ll be honest: when someone first described the GFX100RF to me at a coffee shop here in Austin, I nodded like I knew exactly what they were talking about and then immediately looked it up on my phone under the table. Medium format? Fixed lens? Rangefinder style? It sounded like someone had described a camera by committee. But the more I dug into it, the more I realized the confusion isn’t a bug, it’s genuinely a weird and interesting camera that borrows from several traditions without fully committing to any of them.

Cutting Out Cowboys and Making Composites Actually Look Real in Photoshop

Cutting Out Cowboys and Making Composites Actually Look Real in Photoshop

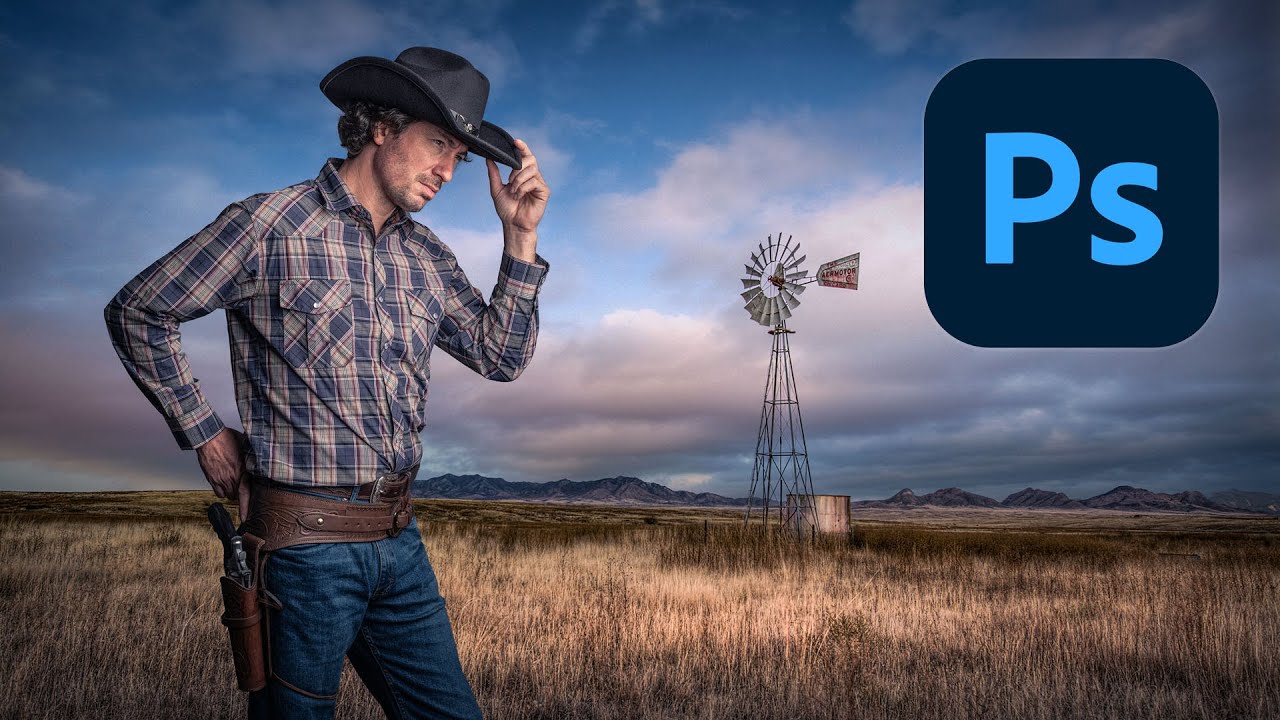
There’s a specific kind of embarrassment reserved for the moment a friend watches you work in Photoshop and says, “wait, why are you doing it that way?” I know this feeling intimately. I once spent three days on a composite, obsessing over edge detail and color matching, only to have someone show me a cleaner approach in about twenty minutes. The culprit both times: I was rushing the foundational stuff. Bad selection, no smart objects, baked-in adjustments I couldn’t undo.

Making Rain in Photoshop That Actually Looks Like Rain (Not TV Static)

Making Rain in Photoshop That Actually Looks Like Rain (Not TV Static)

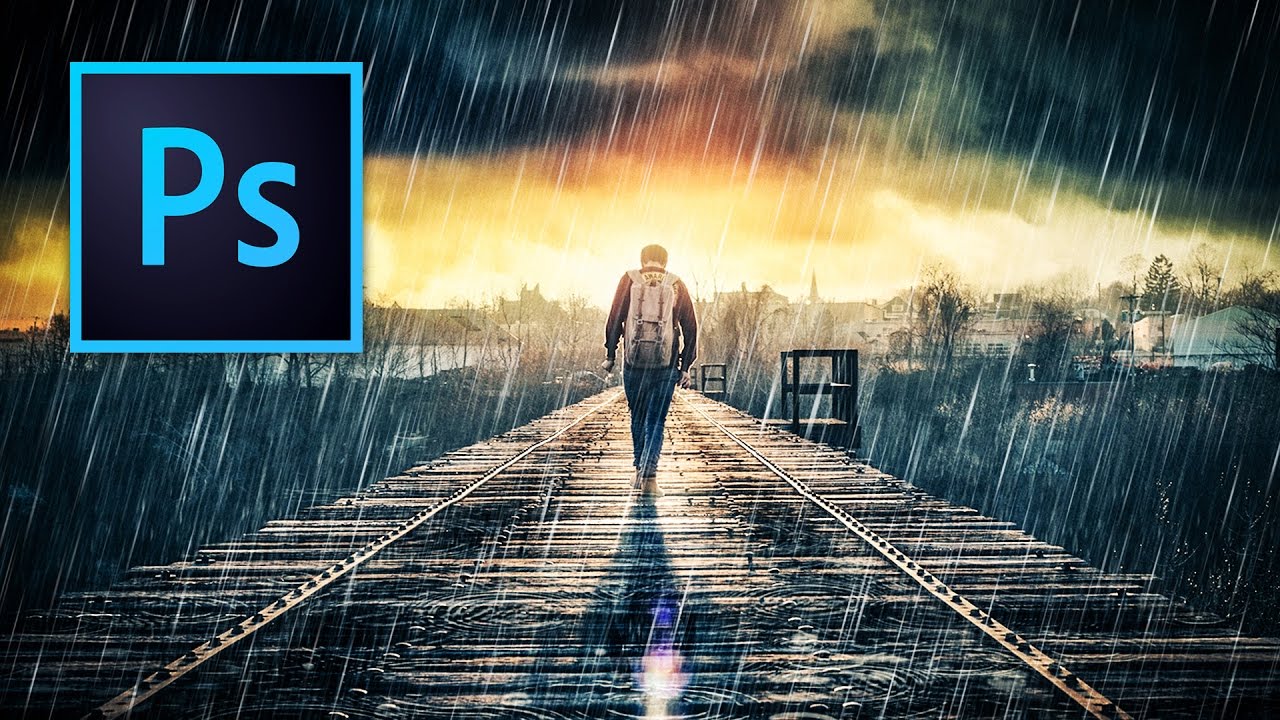
There’s a certain kind of client request that makes every freelance designer’s eye twitch a little: “Can you just make this photo look more dramatic?” No notes, no reference image, just vibes. I’ve been handed sunny, flat, completely unremarkable stock photos and asked to make them feel cinematic. Rain is one of the fastest ways to get there, and for a long time I was doing it the slow, ugly way.

Stop Waiting for Perfect Light — Shoot Wide Open Instead

Stop Waiting for Perfect Light — Shoot Wide Open Instead

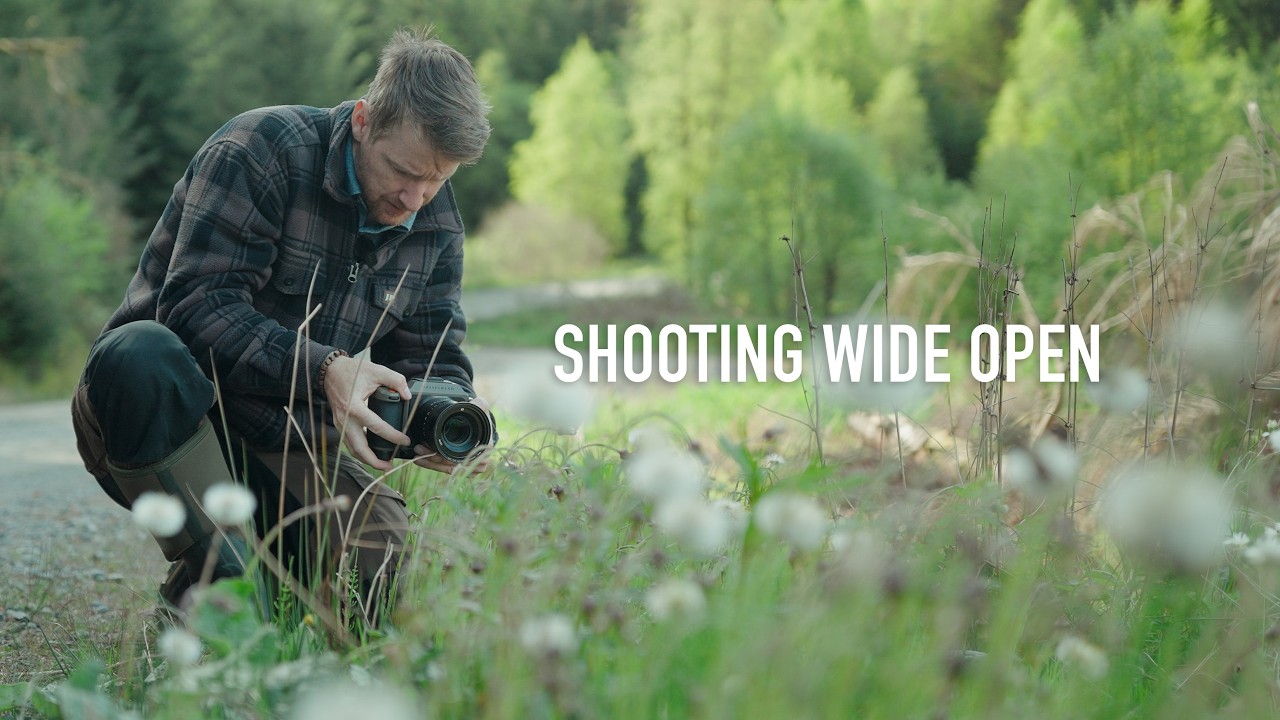
There’s a specific kind of creative block I run into about once a month. I’ve got a shoot, I’ve got a location, and nothing looks interesting. I’m staring at perfectly fine subject matter thinking “this is fine” while producing work that is, in fact, extremely fine. Mediocre. Safe. The kind of stuff that fills a hard drive and never sees the light of a portfolio. The fix, more often than not, isn’t a new plugin or a fancier Photoshop technique.

Stop Faking It: How to Actually Change a Background in Photoshop Without It Looking Like a Middle School Collage

Stop Faking It: How to Actually Change a Background in Photoshop Without It Looking Like a Middle School Collage

Background swapping is one of those Photoshop jobs that sounds simple until you’re three hours deep, your subject looks like they were cut out with safety scissors, and the client is asking for “just a quick update.” I’ve been there more times than I care to admit. The dirty secret is that pulling a clean selection is only half the battle. The part most tutorials skip is making the foreground belong in the new background.

Fake Shadows That Actually Fool People: What I Learned From Kelvin Designs

Fake Shadows That Actually Fool People: What I Learned From Kelvin Designs

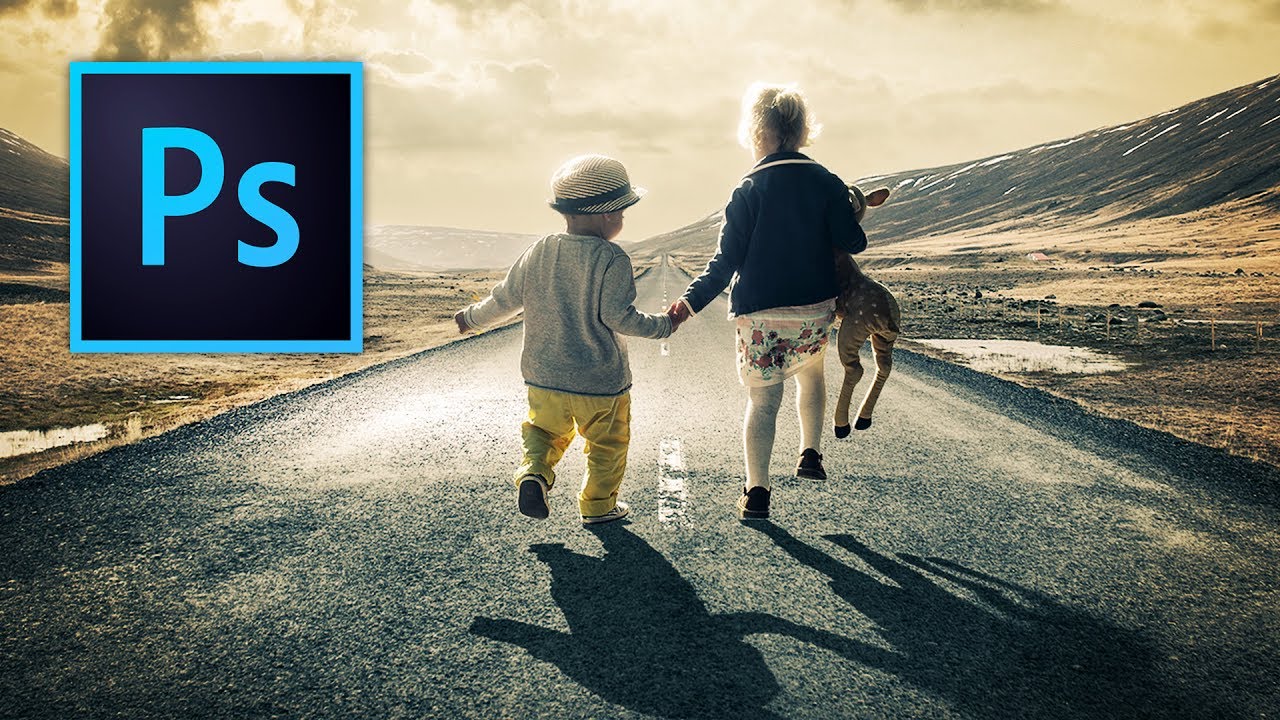
There’s a specific kind of embarrassment that comes from sending a client a composite where the shadow falls in the completely wrong direction. The subject looks like they’re lit from the left, and the shadow is pointing left too. Rookie mistake, but I made it more than once before I started being deliberate about it. Shadows are one of those things that your eye catches immediately when they’re wrong, even if the person looking can’t explain why the image feels off.

RAW Brushes in Photoshop Are Doing Work I Didn't Know I Was Missing

RAW Brushes in Photoshop Are Doing Work I Didn't Know I Was Missing

I’ll be honest: for a long time I treated Adobe Camera Raw like a waiting room. You know, the place you sit in before you get to the “real” work in Photoshop. Open file, nudge exposure, click “Open Image,” never look back. It wasn’t until I watched a friend turn around a badly lit portrait in about eight minutes, entirely inside Camera Raw, that I started paying closer attention to what that workspace could actually do.

Stop Blowing Out Your Skies: How to Blend Exposures in Photoshop Like a Landscape Pro

Stop Blowing Out Your Skies: How to Blend Exposures in Photoshop Like a Landscape Pro

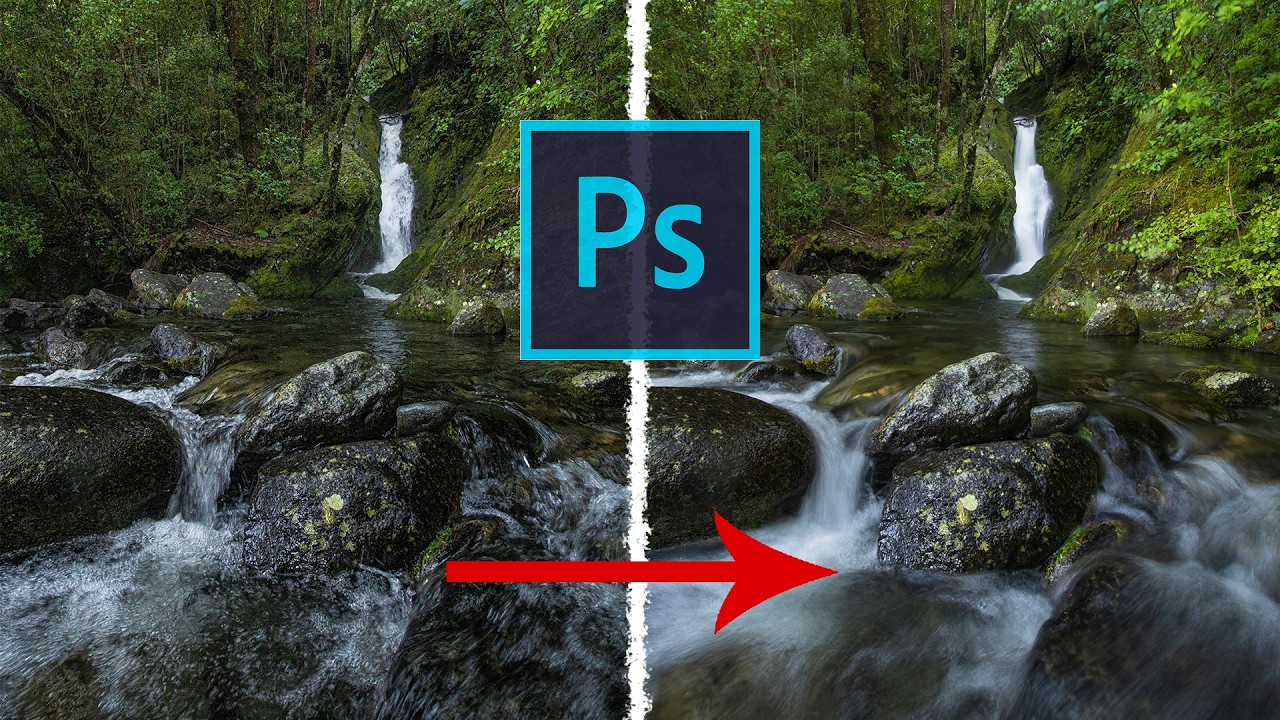
There’s a specific kind of frustration that comes with shooting a waterfall. You either get the water looking like liquid silk with a slow shutter speed, and your rocks and leaves turn into a motion-blurred mess, or you freeze everything sharp and the water looks like it’s made of plastic. For the longest time I thought the only fix was “get better at picking one.” Turns out the real fix is about five minutes of Photoshop work, and I’d been ignoring it because “exposure blending” sounded more complicated than it is.

How to Add Cinematic Light Blur Effects to Portraits Without Destroying Your Original Image

How to Add Cinematic Light Blur Effects to Portraits Without Destroying Your Original Image

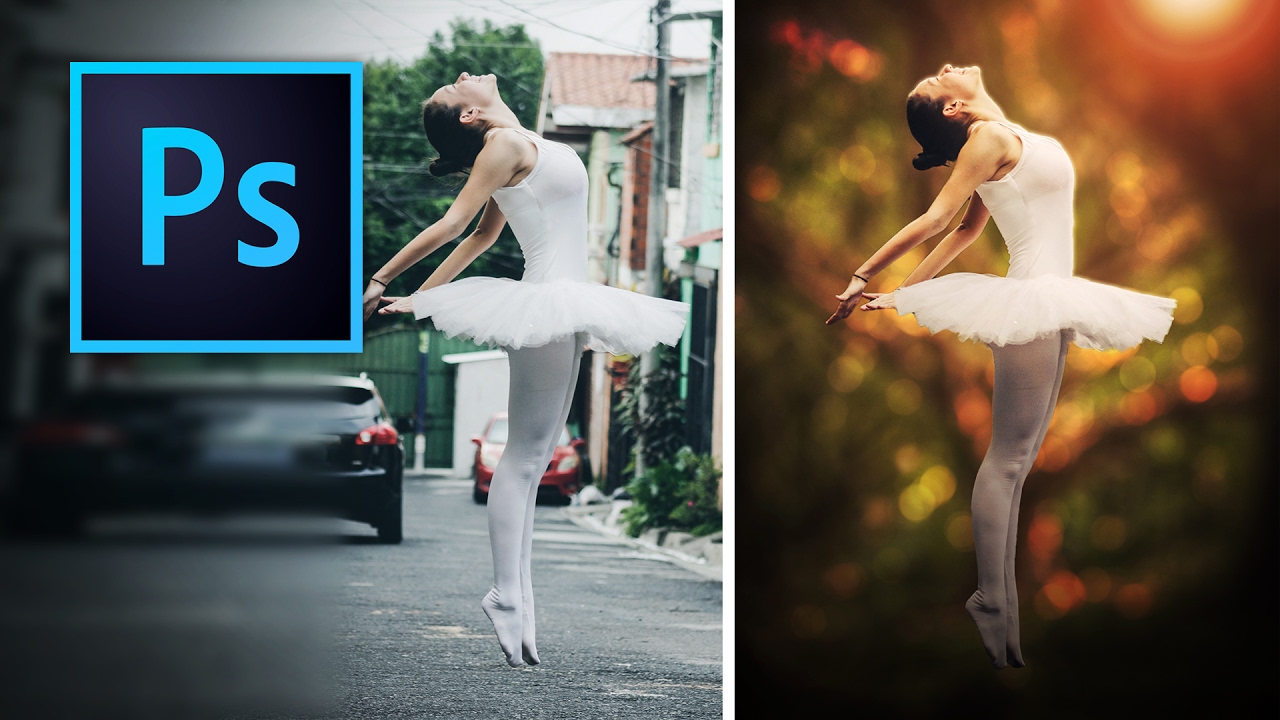
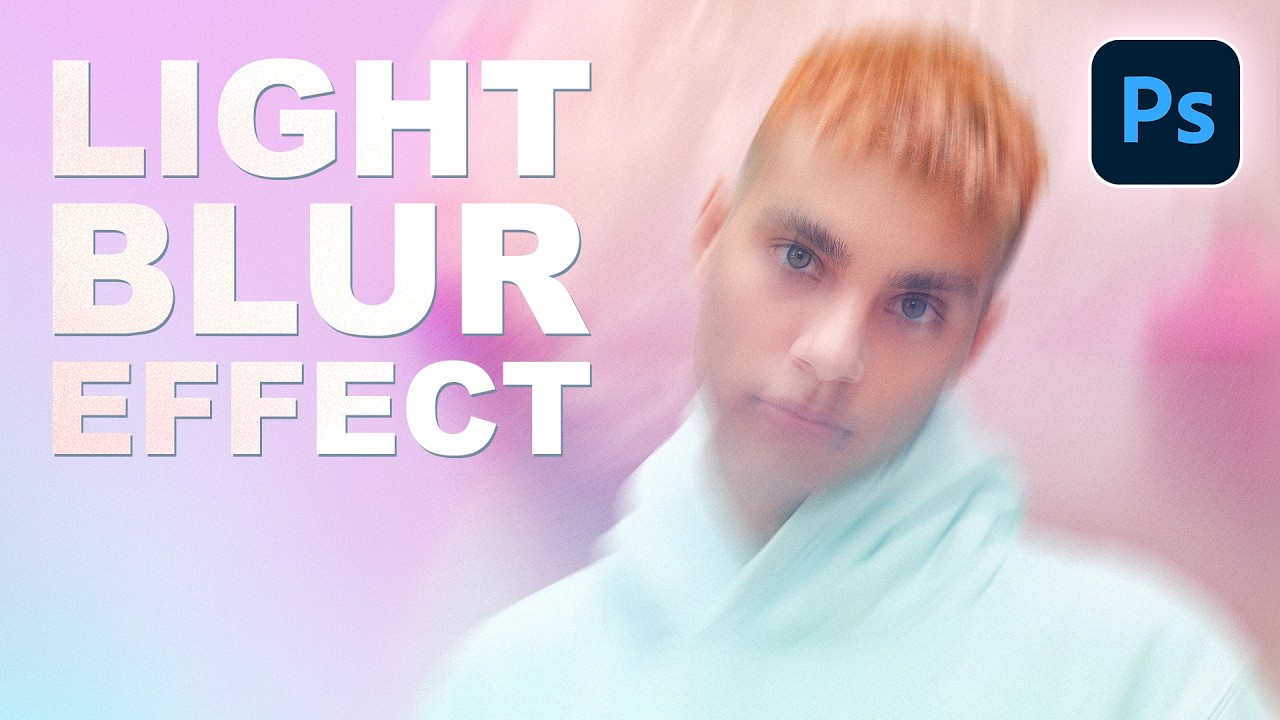
There’s a specific kind of composite that shows up constantly in editorial photography, album covers, and high-end portrait work. The subject is sharp, the background is this gorgeous smear of color and light, and the whole thing feels cinematic without trying too hard. For a long time I was faking that look with Gaussian Blur and hoping nobody noticed. It always looked a little flat, a little lazy. Then I watched this PHLEARN tutorial and realized I’d been ignoring one of Photoshop’s most underrated tools.

Transform Any Photo with Textures in Photoshop: A Practical Breakdown

Transform Any Photo with Textures in Photoshop: A Practical Breakdown

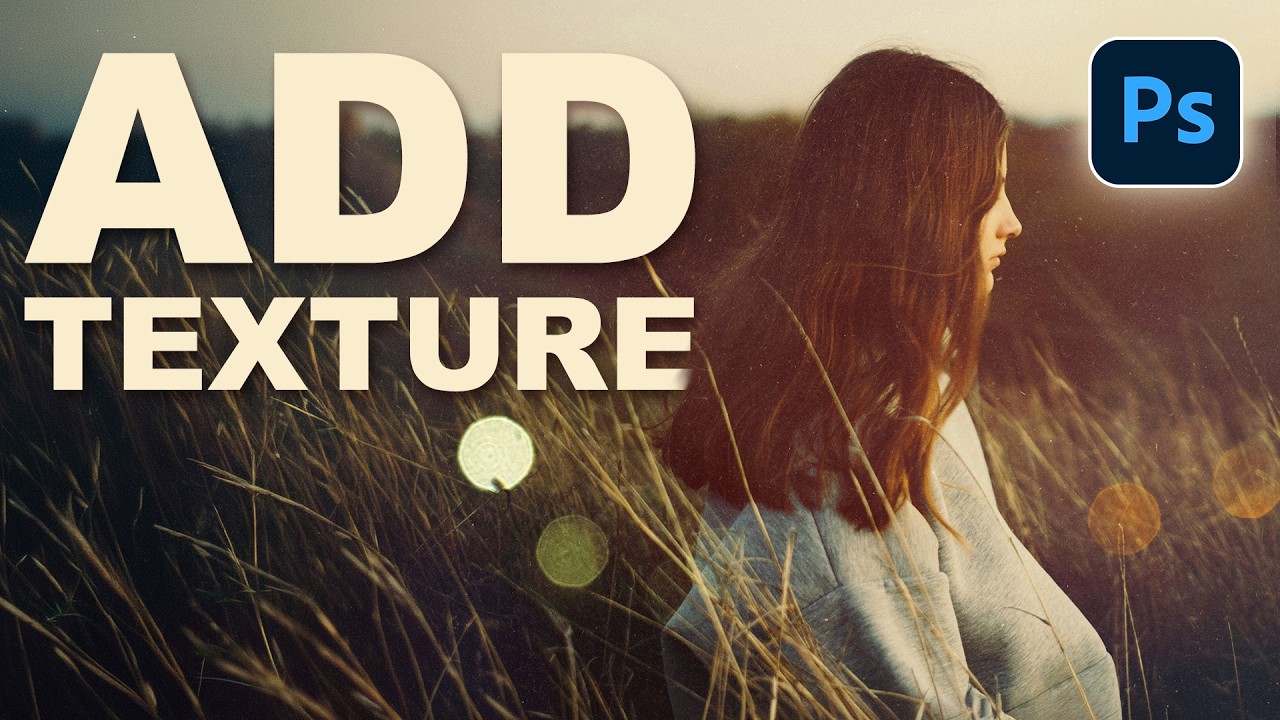
There’s a specific kind of flatness that happens when a photo is technically correct but visually boring. Good exposure, decent composition, and somehow it still looks like a stock image nobody bought. I ran into this constantly early in my freelance work, spending way too long adding drama in the wrong places, like overcooked contrast or aggressive vignettes, when the real fix was sitting one layer above the photo the whole time.

Stop Nuking Eye Color: A Better Way to Change Eyes in Photoshop

Stop Nuking Eye Color: A Better Way to Change Eyes in Photoshop

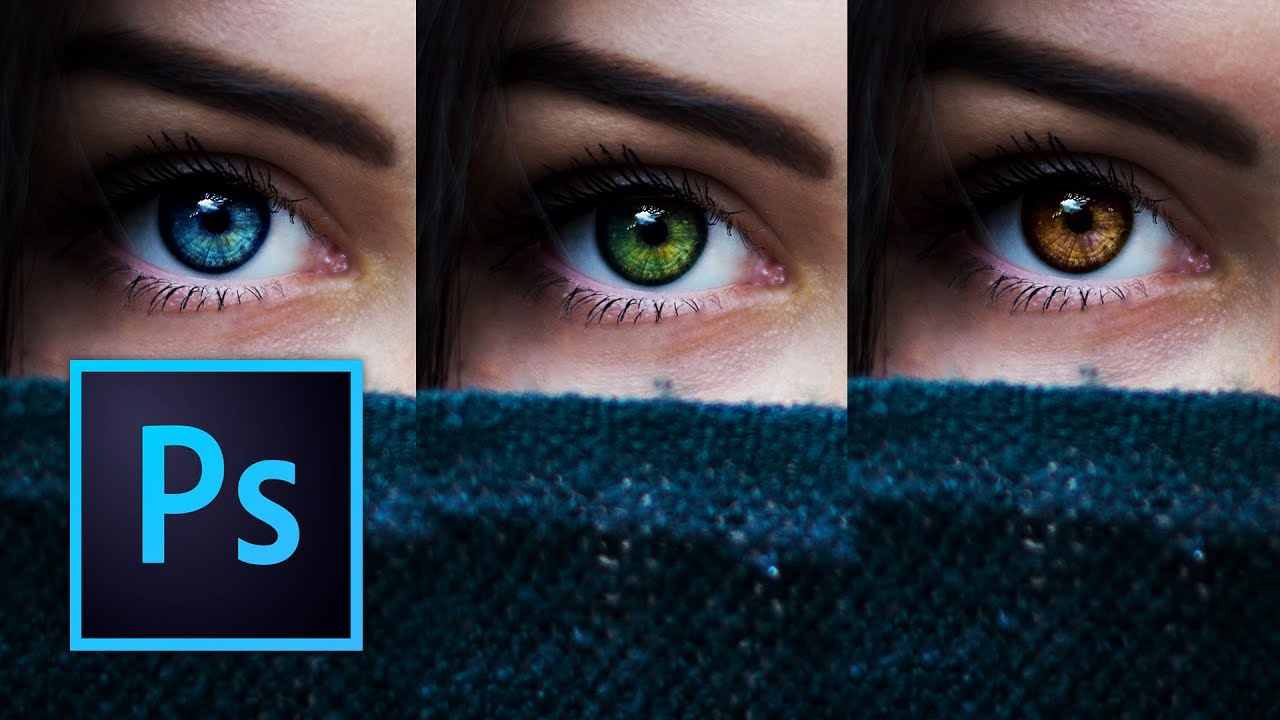
I used to change eye color in Photoshop the lazy way. Hue/Saturation adjustment layer, clip it, drag the slider, call it a day. It works, technically. It also looks like you swapped someone’s eyes with a cartoon character’s. Clients notice. You notice. And then you spend twenty minutes trying to dial it back until it looks passably human, which mostly defeats the purpose. The smarter approach involves a more deliberate mask and a color-mixing method that actually respects how eyes catch light.