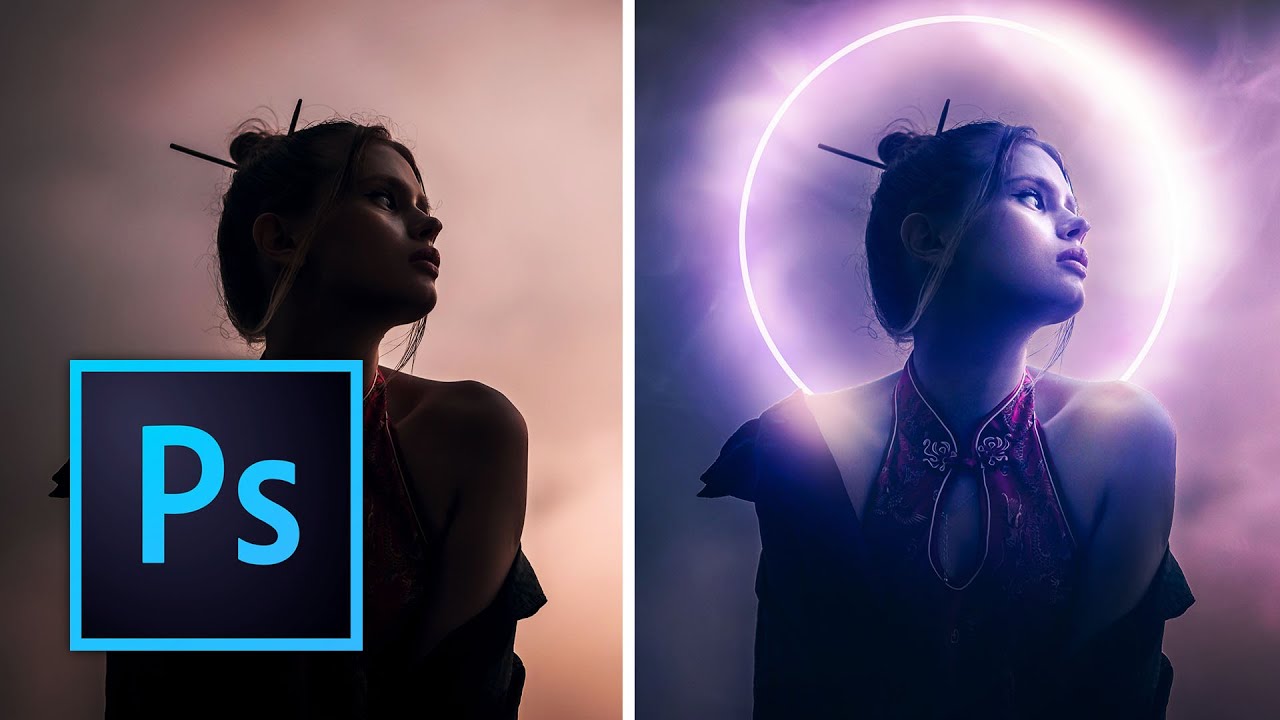
There’s a specific kind of embarrassment that only designers know. Someone asks you to add some “dramatic lighting” to a photo, and you spend forty-five minutes fiddling with Curves and Gradient Maps, fighting Photoshop like it personally offended you. Then you find out there’s a five-minute method using overlays that would have gotten you 90% of the way there in a fraction of the time. That’s basically my origin story with overlays. I used to treat them as a crutch for beginners, which is exactly the kind of gatekeeping that keeps people doing things the slow, painful way.
That changed when I watched Watch the full tutorial on YouTube from Kelvin Designs, which walks through four progressively complex overlay techniques in a single sitting. Kelvin goes from single-overlay basics all the way to Photoshop’s Neural Filters and Camera Raw color work. What I appreciate about his approach is that he doesn’t gatekeep either. He gives you free overlays to work with, walks you through setup from scratch, and builds the complexity gradually so you’re not lost by the third technique.
Here’s the full walkthrough so you can follow along whether or not you’re watching the video.
Step 1: Set Up Your Photoshop Workspace
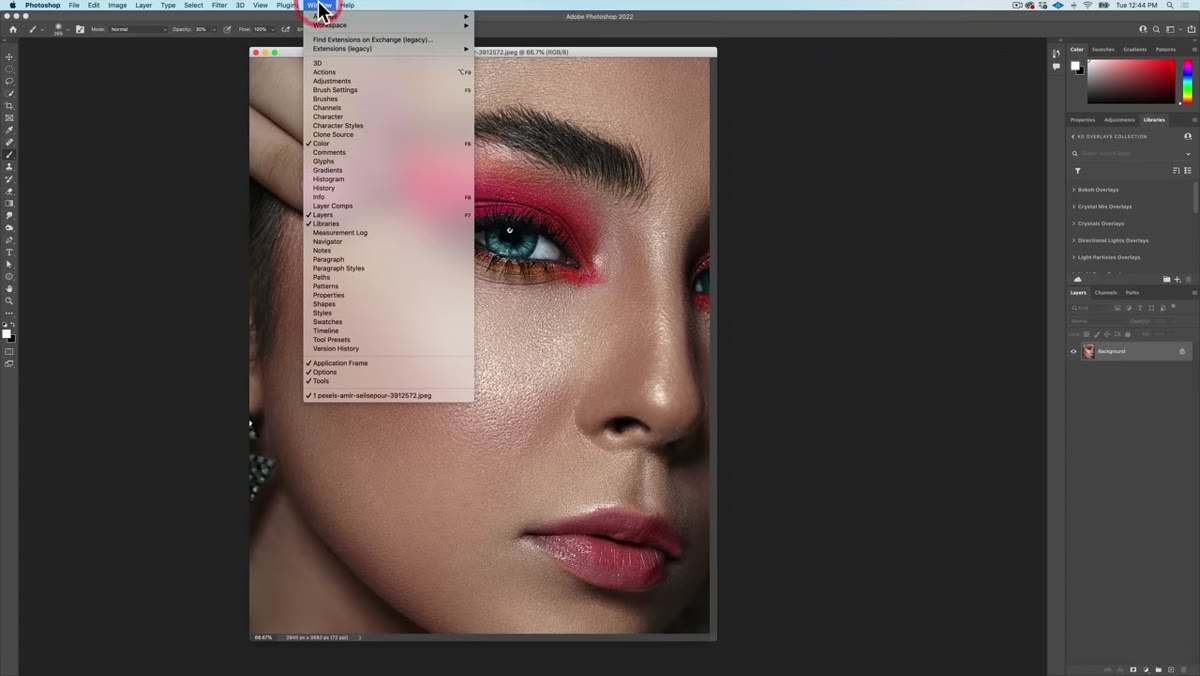 Photoshop workspace reset to Essentials default layout
Before anything else, get your workspace into a known state. Kelvin recommends going to the Window menu, enabling Application Frame (this hides your desktop and other distractions), then navigating to Workspace and selecting Essentials. If things still look off, hit “Reset Essentials.” This matters more than it sounds. A cluttered workspace is where tutorials go sideways fast because you’re hunting for panels that aren’t where the instructor’s are.
Photoshop workspace reset to Essentials default layout
Before anything else, get your workspace into a known state. Kelvin recommends going to the Window menu, enabling Application Frame (this hides your desktop and other distractions), then navigating to Workspace and selecting Essentials. If things still look off, hit “Reset Essentials.” This matters more than it sounds. A cluttered workspace is where tutorials go sideways fast because you’re hunting for panels that aren’t where the instructor’s are.
While you’re at it, use Command/Ctrl + Plus to zoom into your image, and Command/Ctrl + Option + Minus to shrink the image within a larger canvas window. This gives you breathing room around the photo without zooming out so far you lose detail. Small thing, genuinely useful.
Step 2: Add Overlays to Your Creative Cloud Library
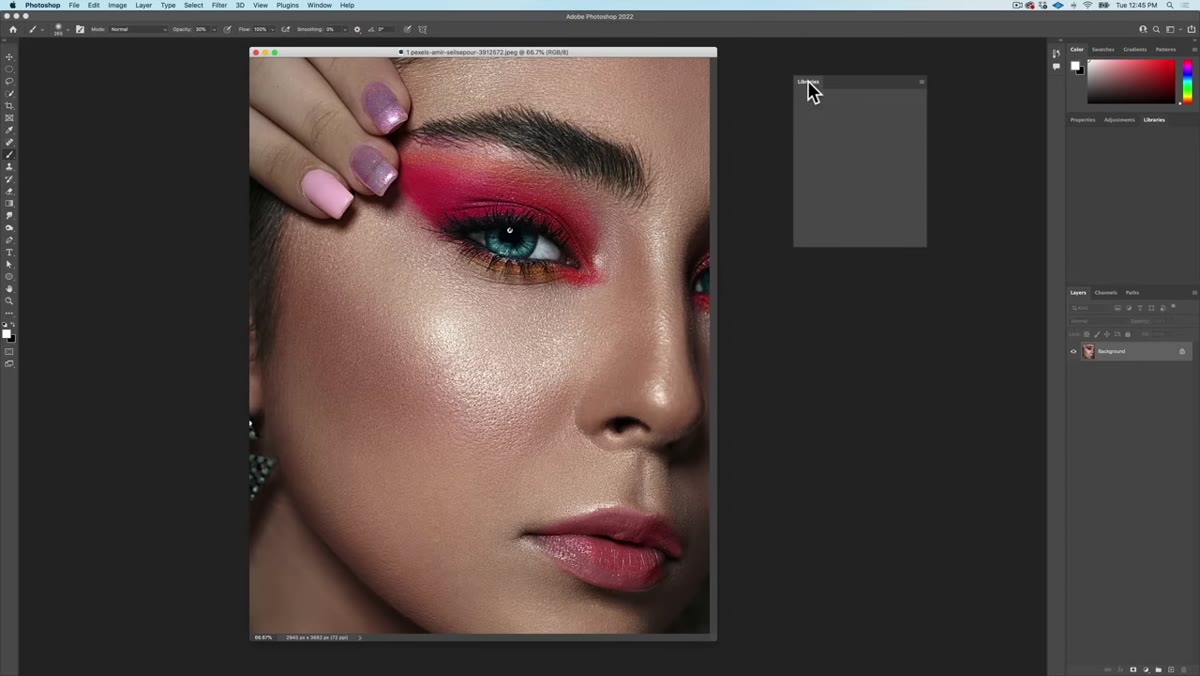 Dragging overlay files into a new Creative Cloud Library group
This is the organizational step most tutorials skip, and it’s the one you’ll thank yourself for later. Rather than hunting through folders every time you need an overlay, Kelvin adds his overlays directly into a Creative Cloud Library group. Create a new group in the Libraries panel (name it something you’ll actually remember), then drag your overlay files from Finder or File Explorer directly into that group.
Dragging overlay files into a new Creative Cloud Library group
This is the organizational step most tutorials skip, and it’s the one you’ll thank yourself for later. Rather than hunting through folders every time you need an overlay, Kelvin adds his overlays directly into a Creative Cloud Library group. Create a new group in the Libraries panel (name it something you’ll actually remember), then drag your overlay files from Finder or File Explorer directly into that group.
Photoshop uploads them to the cloud, which means you can access them from any machine connected to your Creative Cloud account. If you’ve ever lost assets to a hard drive failure or had to recreate a resource from scratch on a client deadline, you understand why this step isn’t optional.
Step 3: Place the Overlay and Change the Blend Mode
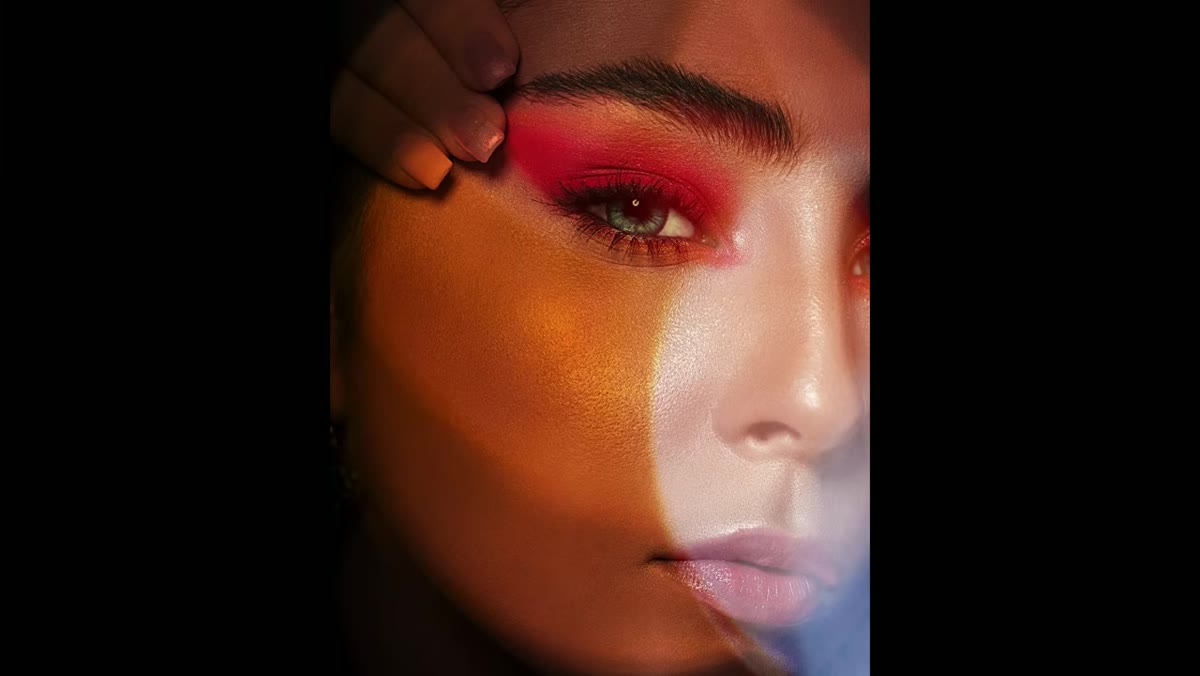 Before and after showing dramatic lighting added with single overlay
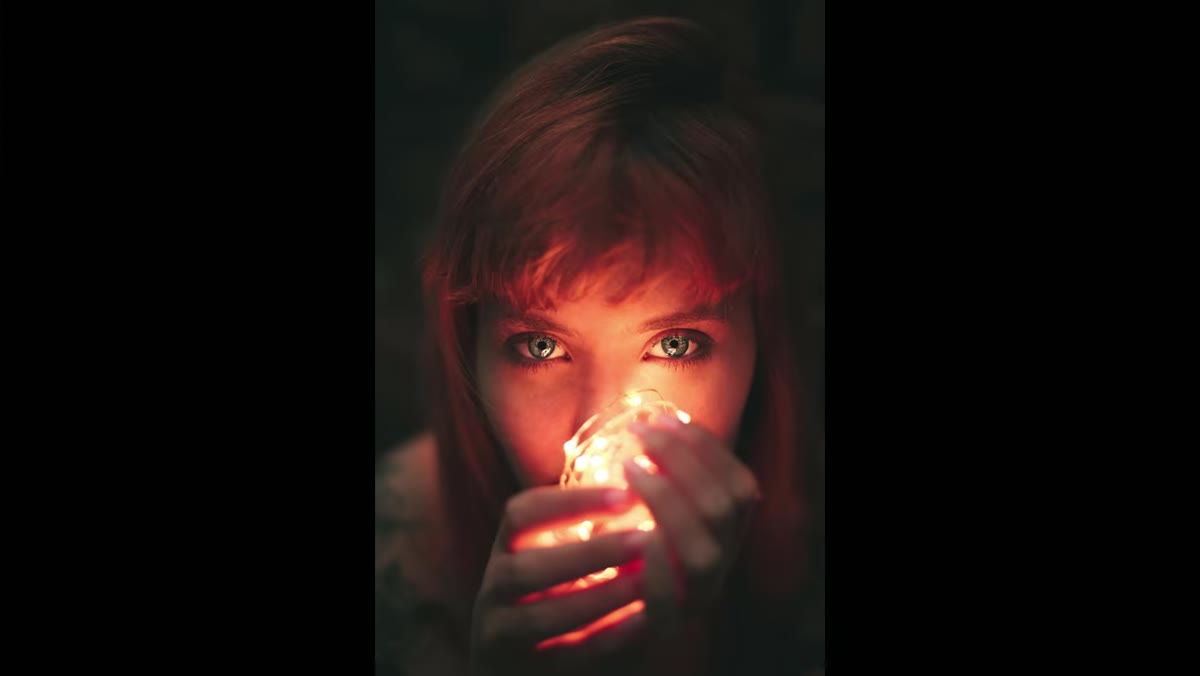
For the first project, the goal is adding dramatic lighting to a photo using a single overlay. Drag your chosen overlay from the Libraries panel onto your image. Photoshop will place it as a Smart Object, which is what you want. Resize it to cover your image using Free Transform (Command/Ctrl + T).
Before and after showing dramatic lighting added with single overlay
For the first project, the goal is adding dramatic lighting to a photo using a single overlay. Drag your chosen overlay from the Libraries panel onto your image. Photoshop will place it as a Smart Object, which is what you want. Resize it to cover your image using Free Transform (Command/Ctrl + T).
Here’s where the magic is embarrassingly simple. Change the layer’s blend mode. Kelvin keeps it to a single blend mode change and the photo transforms. Screen and Overlay are the two you’ll reach for most often with light-based overlays. Screen ignores dark pixels and lets light through. Overlay increases contrast and punches both highlights and shadows. Try both and see which reads better on your specific image. There’s no universal answer.
Step 4: Stack Multiple Overlays for a Richer Effect
 Before and after of second project using multiple layered overlays
The second project introduces something that levels up your results quickly: stacking multiple overlays rather than relying on a single one. Bring in a second overlay above the first, place and size it the same way, and again experiment with blend modes independently on each layer.
Before and after of second project using multiple layered overlays
The second project introduces something that levels up your results quickly: stacking multiple overlays rather than relying on a single one. Bring in a second overlay above the first, place and size it the same way, and again experiment with blend modes independently on each layer.
The key insight here is that each overlay contributes something different. One might add warmth and light streaks. Another might add texture or haze. When they interact through blend modes, the combinations get genuinely interesting. Opacity is your friend here too. If a layer is too heavy, pull it back to 50-70% before you decide it’s wrong. A lot of people reject overlays that would have worked fine at lower opacity.
Step 5: Use Neural Filters to Create Depth-Aware Shadows
 After image showing shadow skewing around objects with depth awareness
This is the technique I hadn’t seen done this cleanly before. Photoshop’s Neural Filters include a depth map tool that understands the three-dimensional structure of a scene, which you can then use to make an overlay’s shadow behave like it’s actually falling across the objects in the photo rather than sitting flat on top.
After image showing shadow skewing around objects with depth awareness
This is the technique I hadn’t seen done this cleanly before. Photoshop’s Neural Filters include a depth map tool that understands the three-dimensional structure of a scene, which you can then use to make an overlay’s shadow behave like it’s actually falling across the objects in the photo rather than sitting flat on top.
The result is a shadow that warps and skews around subjects the way real shadows do. It looks complex. The process isn’t. Apply your overlay, then use the Neural Filters panel (Filter > Neural Filters) to access the depth-based options. Kelvin walks you through making the shadow conform to the depth information Photoshop extracts from the image automatically. If you’ve been doing this manually with Warp and a lot of swearing, this will feel like cheating in the best possible way.
Step 6: Finish with Glow Actions, Smoke Overlays, and Camera Raw
 Final project after image with colorful glow and mist effects applied
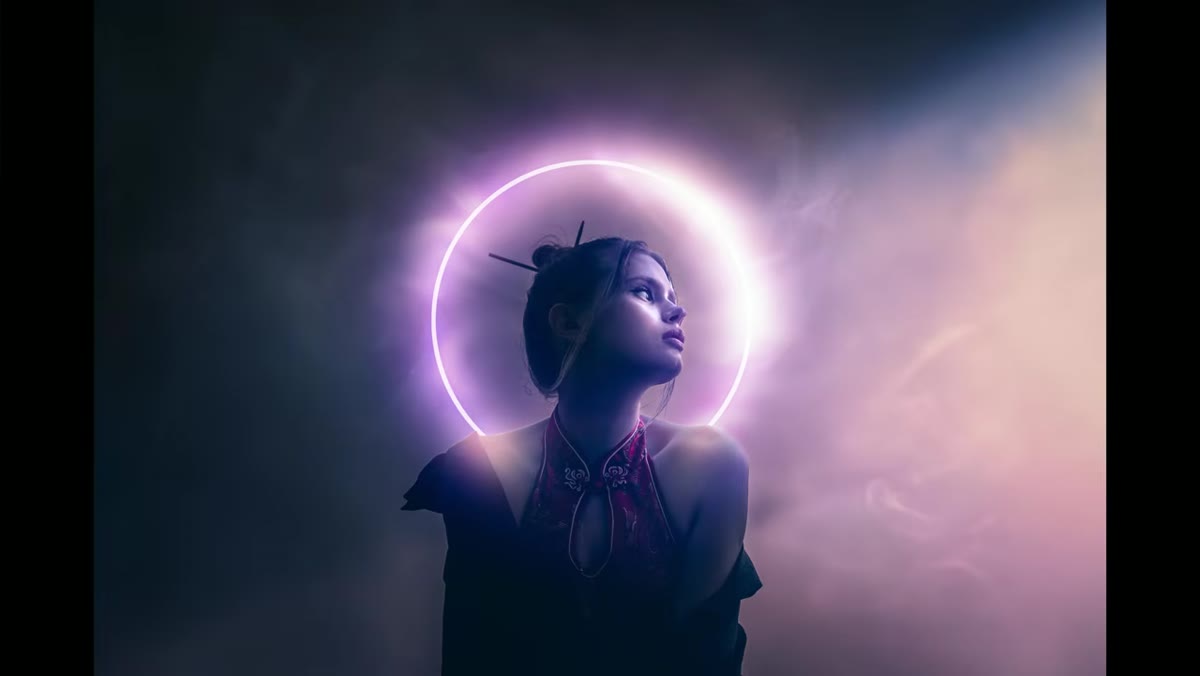
The fourth project is the most layered. It combines glow actions (pre-built Photoshop actions that add luminous light effects), smoke or mist overlays for atmosphere, and Camera Raw for final color work. Think of it as three passes: the glow action sets a mood, the smoke overlay adds physical atmosphere, and Camera Raw ties the whole thing together with color grading.
Final project after image with colorful glow and mist effects applied
The fourth project is the most layered. It combines glow actions (pre-built Photoshop actions that add luminous light effects), smoke or mist overlays for atmosphere, and Camera Raw for final color work. Think of it as three passes: the glow action sets a mood, the smoke overlay adds physical atmosphere, and Camera Raw ties the whole thing together with color grading.
Camera Raw as a filter (Filter > Camera Raw Filter) gives you non-destructive access to things like HSL sliders, tone curves, and the color mixer without leaving Photoshop. For composite work with overlays, it’s the step that makes everything feel like it belongs in the same scene rather than looking like a photo with stuff pasted on top.
What I’d Add From My Own Experience
The thing Kelvin doesn’t have time to get into is how much your source photo affects overlay behavior. I’ve spent real time trying to get a light overlay to land on a flat, overcast photo and it just doesn’t pop the same way as it does on an image with strong existing contrast. Overlays amplify what’s already there. If you start with a flat image, do a quick Curves boost to add some contrast before you bring in the overlay. You’ll get dramatically better results and you’ll spend less time wondering why the overlay looks muddy.
Also: always place overlays as Smart Objects. Always. Future-you will want to swap them out or resize without quality loss, and past-you will have made that easy or hard depending on this one choice.
The single most important thing this tutorial teaches is that overlays aren’t a shortcut for lazy designers. They’re a workflow tool, and like any tool, the results scale with how well you understand the mechanics underneath them. Blend modes, layer stacking, depth information, Camera Raw color work. None of that is beginner territory, but Kelvin makes it approachable without dumbing it down.
Watch the full tutorial on YouTube and download the free overlays he’s included in the description. Put them in a Library group like he shows. Then actually try all four projects, not just the first one.
Comments (4)
The before and after really sells it. Incredible difference.
Love this. I referenced a similar technique in one of my recent posts. Always good to see other perspectives.
Applied this to my portfolio shots and the improvement is noticeable.
Excellent tutorial. I'd add that from a landscape standpoint, this technique is incredibly versatile.
Leave a Comment