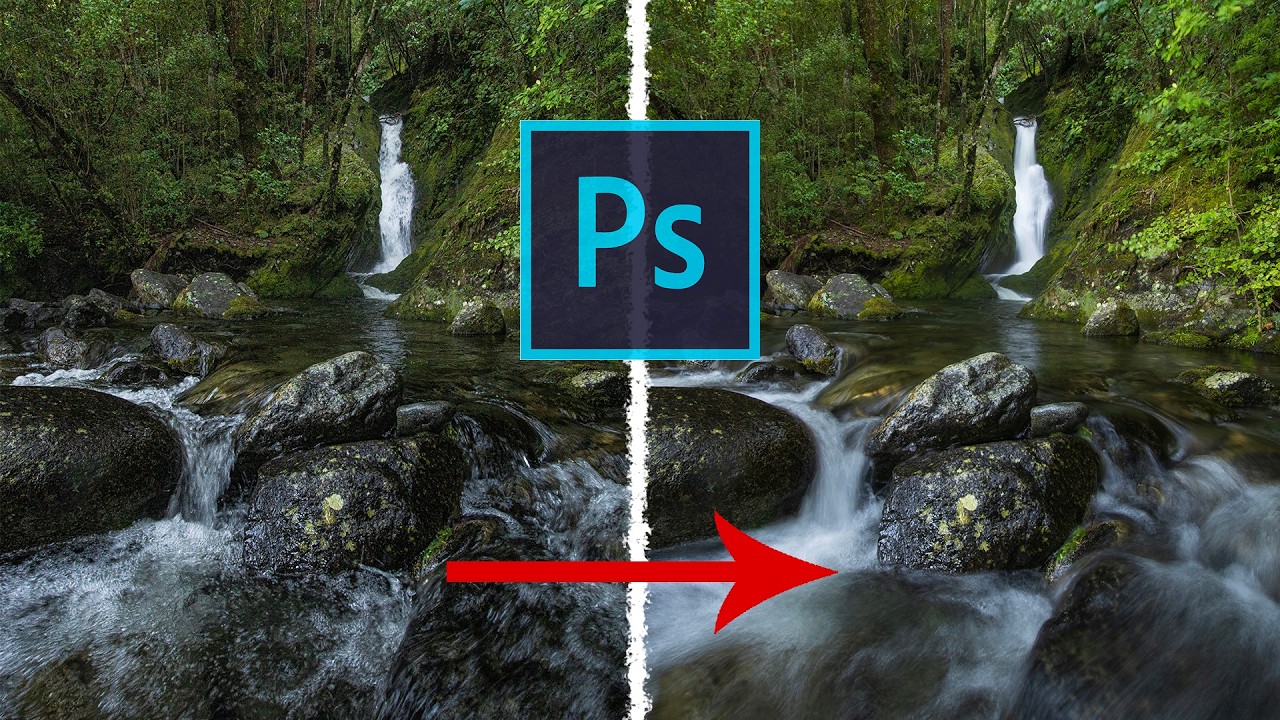
There’s a specific kind of frustration that comes with shooting a waterfall. You either get the water looking like liquid silk with a slow shutter speed, and your rocks and leaves turn into a motion-blurred mess, or you freeze everything sharp and the water looks like it’s made of plastic. For the longest time I thought the only fix was “get better at picking one.” Turns out the real fix is about five minutes of Photoshop work, and I’d been ignoring it because “exposure blending” sounded more complicated than it is.
In this William Patino tutorial, he walks through exactly how to handle this using layer masks, and it’s one of those techniques that’s embarrassingly straightforward once you see it done. Watch the full tutorial on YouTube if you want to follow along with his actual raw files. The core idea: shoot two frames at different shutter speeds, stack them in Photoshop, then paint through one layer to reveal the best parts of the other. That’s it. No plugins, no sky replacement wizardry, no three-day rabbit hole. Just layers and a brush.
What sold me on actually sitting down and learning this properly is how many situations it applies to beyond waterfalls. Moving leaves, birds in flight, astrophotography where you want a sharp landscape but silky star trails. Basically any time reality refuses to cooperate with a single exposure setting, this technique is your backup plan.
Step 1: Capture Both Exposures in the Field
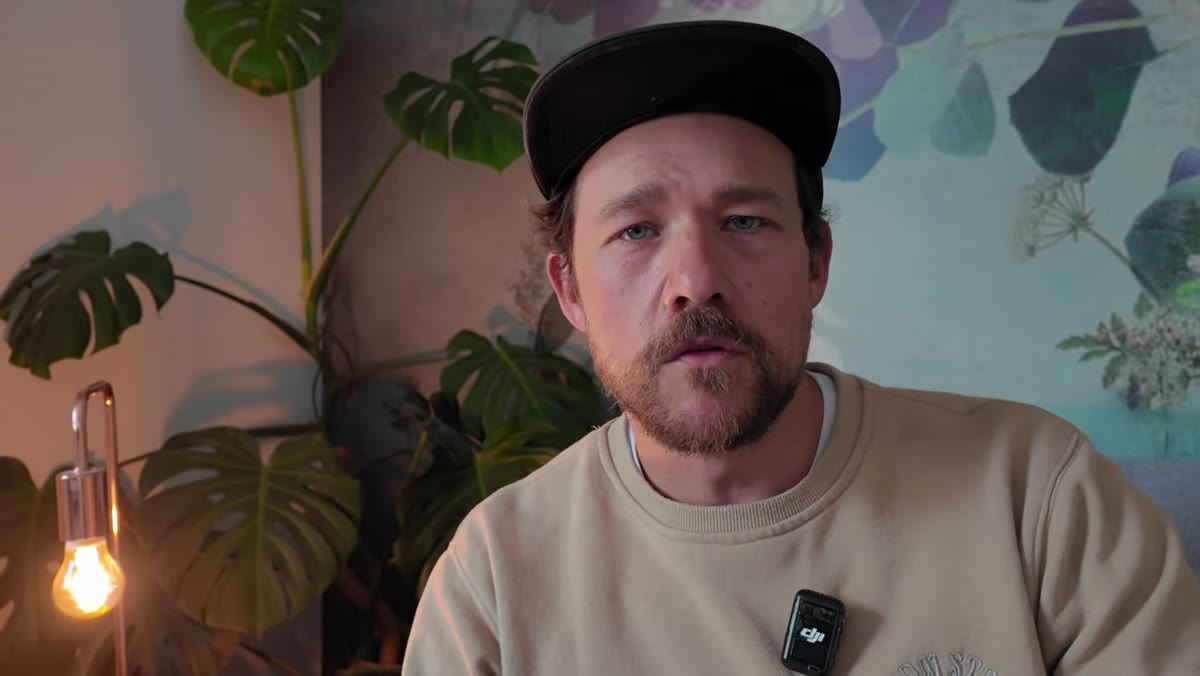 Photographer setting up shots at a waterfall scene
Before you touch Photoshop, you need to do the right thing out in the field. Shoot your scene at two different shutter speeds: one fast enough to freeze everything sharp (rocks, leaves, the whole scene), and one slow enough to give you that smooth, flowing water effect. Use a tripod so the frames align. If the camera moves between shots, the whole stack falls apart when you try to blend it.
Photographer setting up shots at a waterfall scene
Before you touch Photoshop, you need to do the right thing out in the field. Shoot your scene at two different shutter speeds: one fast enough to freeze everything sharp (rocks, leaves, the whole scene), and one slow enough to give you that smooth, flowing water effect. Use a tripod so the frames align. If the camera moves between shots, the whole stack falls apart when you try to blend it.
Patino is working with a waterfall scene here, and the logic is simple. One frame locks everything in place. The other gives the water that painterly blur. Both exposures live on your memory card, and now it’s time to combine them.
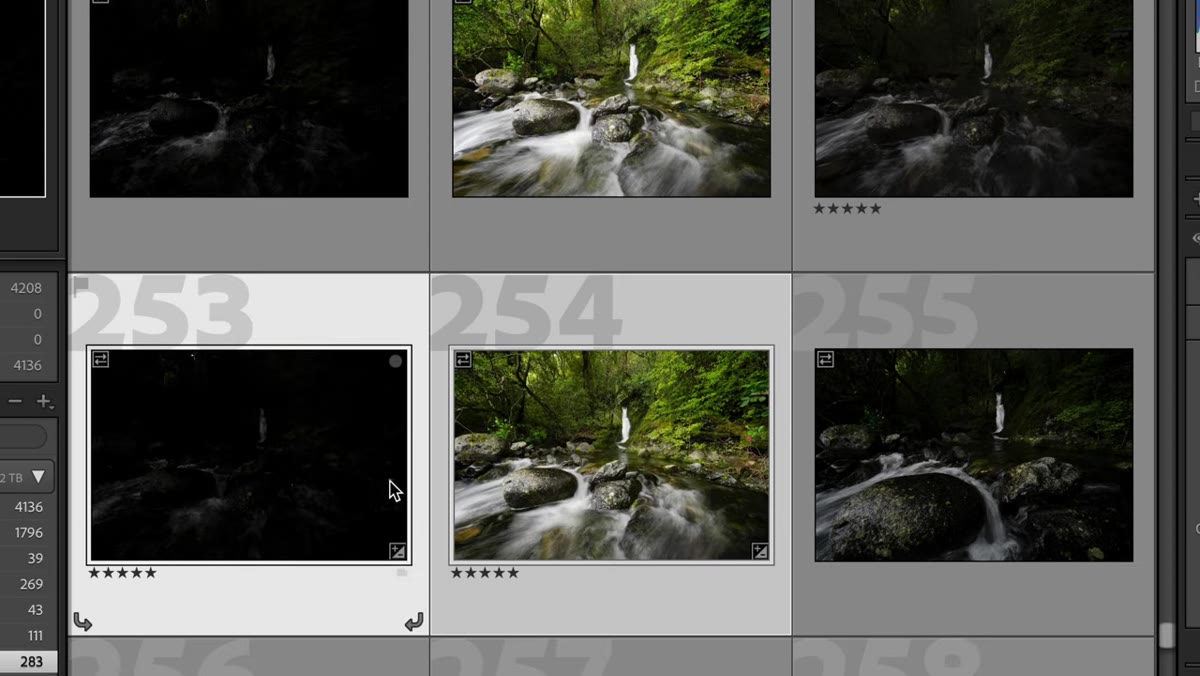
Step 2: Open Both Raw Files as Layers in Photoshop
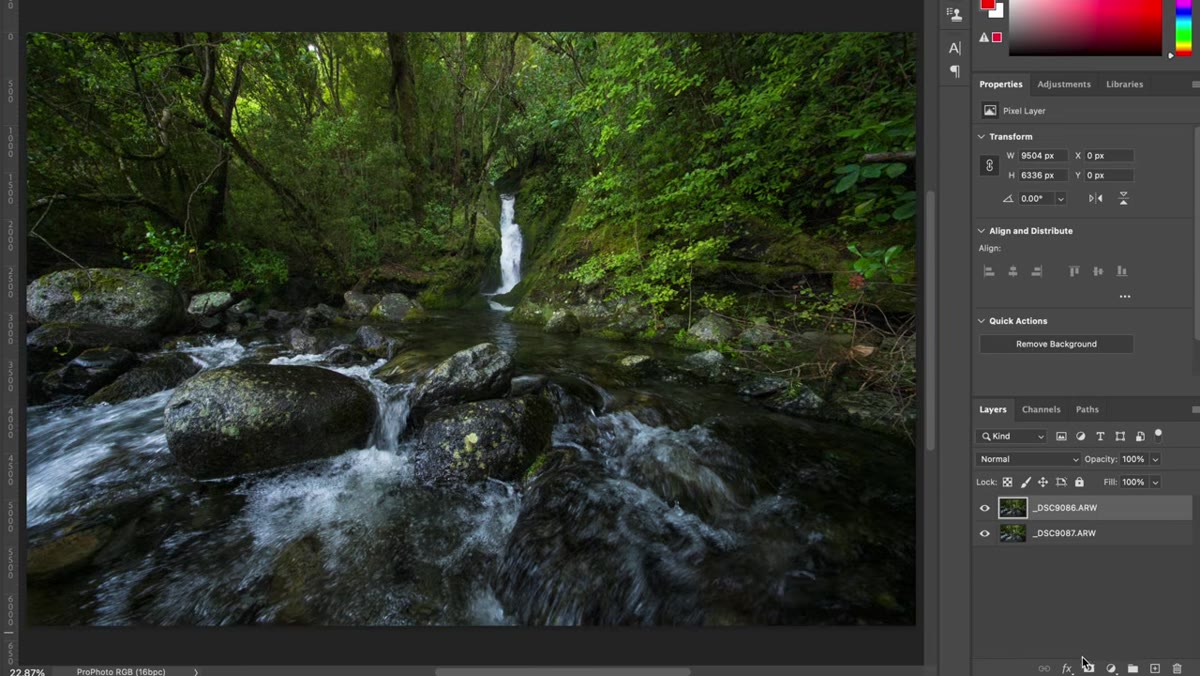
 Two raw files stacked as layers in the Photoshop layers panel
If you’re coming from Lightroom, select both files, right-click, and choose Edit In > Open as Layers in Photoshop. If you’re working directly with raw files, you can drag them both into an open Photoshop document and they’ll land as separate layers, one sitting on top of the other.
Two raw files stacked as layers in the Photoshop layers panel
If you’re coming from Lightroom, select both files, right-click, and choose Edit In > Open as Layers in Photoshop. If you’re working directly with raw files, you can drag them both into an open Photoshop document and they’ll land as separate layers, one sitting on top of the other.
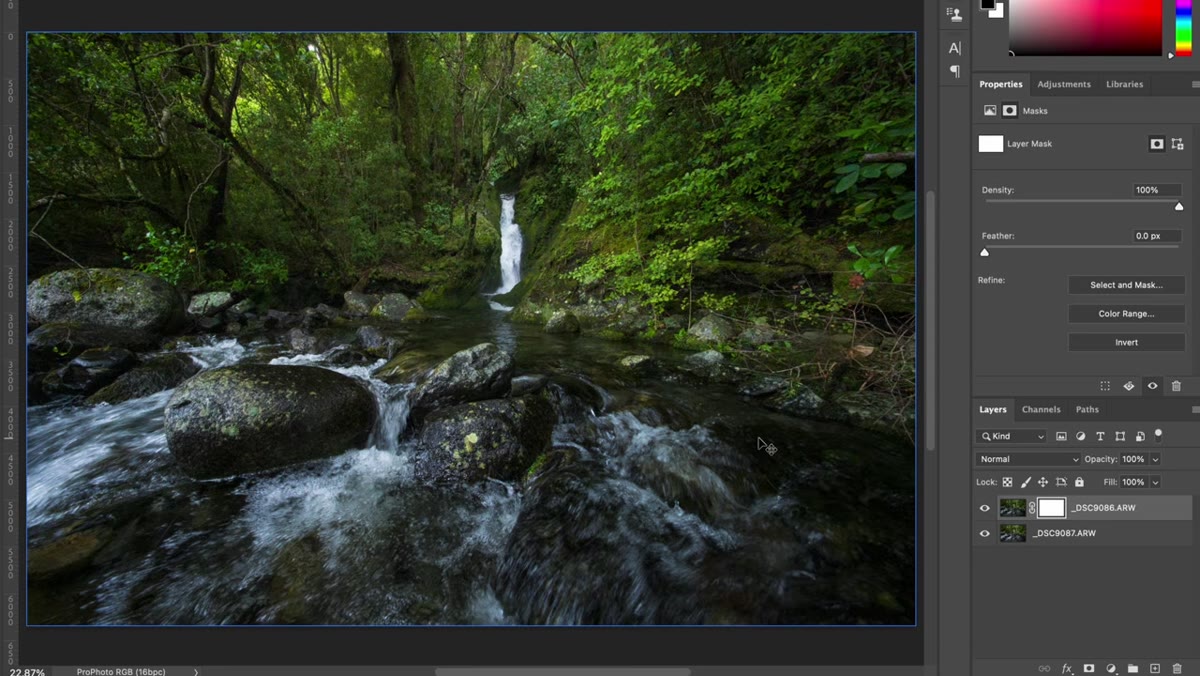
In the layers panel, you’ll see two layers. The top layer should be your sharp, fast-shutter exposure. The layer underneath is your slow-shutter frame with the silky water. Think of it like a deck of cards where you can only see whichever card is on top. Right now, the slow-shutter layer is completely hidden. Your job is to selectively punch a hole through the top layer to reveal just the water below.
Step 3: Add a Layer Mask to the Top Layer
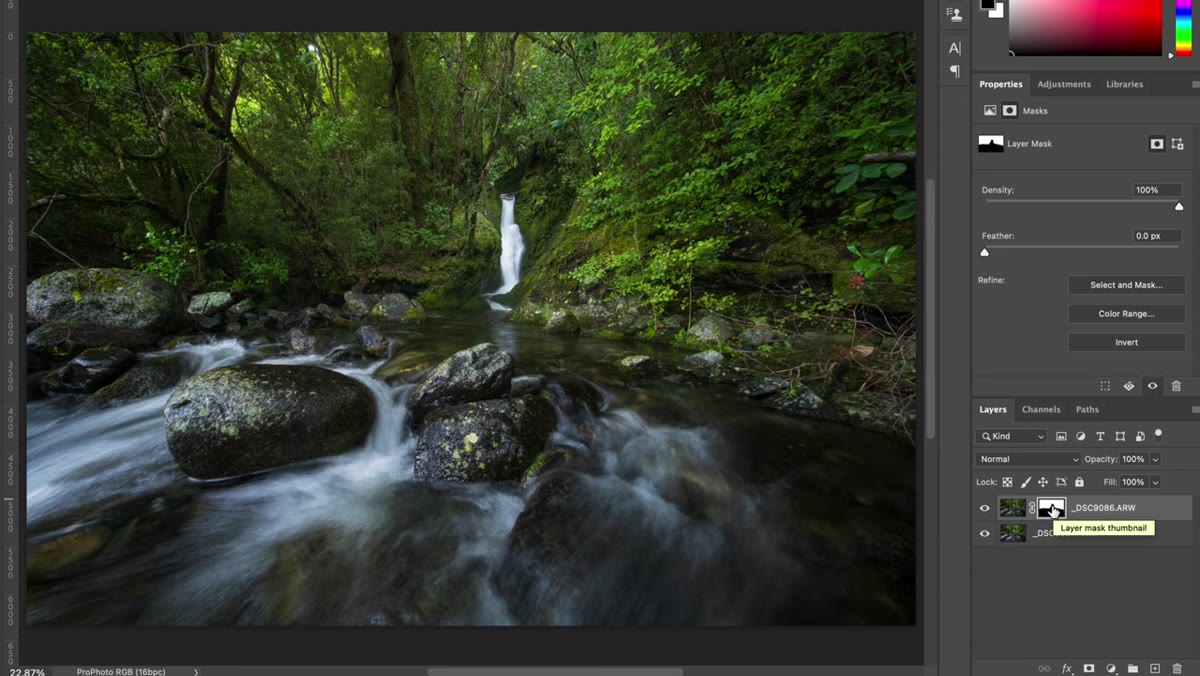
 Layer mask thumbnail added to the top layer in the layers panel
With your top (sharp) layer selected, click the layer mask button at the bottom of the layers panel. It looks like a rectangle with a circle cut out of it. This adds a white thumbnail next to your layer in the panel.
Layer mask thumbnail added to the top layer in the layers panel
With your top (sharp) layer selected, click the layer mask button at the bottom of the layers panel. It looks like a rectangle with a circle cut out of it. This adds a white thumbnail next to your layer in the panel.
Here’s the mental model Patino uses, and it’s the one that finally made masking click for me: the white mask is closed curtains. Everything is hidden. Black paint opens the curtains and lets the layer below show through. That’s the whole system. White conceals, black reveals. Tattoo that on your brain and layer masking becomes intuitive instead of mysterious.
Step 4: Paint Black to Reveal the Slow-Shutter Water
 Black brush being painted over the waterfall area on the layer mask
Press B to grab the Brush tool. Make sure your foreground color is set to black (press X to toggle between black and white if it’s wrong). Before you start painting, check your brush settings at the top of the screen. For this kind of blending, you want Flow and Opacity both at 100%. No feathering around the subject here, just clean, full coverage.
Black brush being painted over the waterfall area on the layer mask
Press B to grab the Brush tool. Make sure your foreground color is set to black (press X to toggle between black and white if it’s wrong). Before you start painting, check your brush settings at the top of the screen. For this kind of blending, you want Flow and Opacity both at 100%. No feathering around the subject here, just clean, full coverage.
Now click the white mask thumbnail in the layers panel to make sure it’s selected (not the layer itself), and start painting over the water area in your photo. You’re not painting on the image. You’re painting on the mask. Every stroke of black opens that “curtain” and reveals the slow-shutter water from the layer beneath. Paint the waterfall, paint the rocks in the water, paint any areas where motion looked good in the slower frame. Leave the trees and leaves alone since those went blurry in the slow exposure and you want them sharp.
Step 5: Check Your Mask for Gaps and Edges
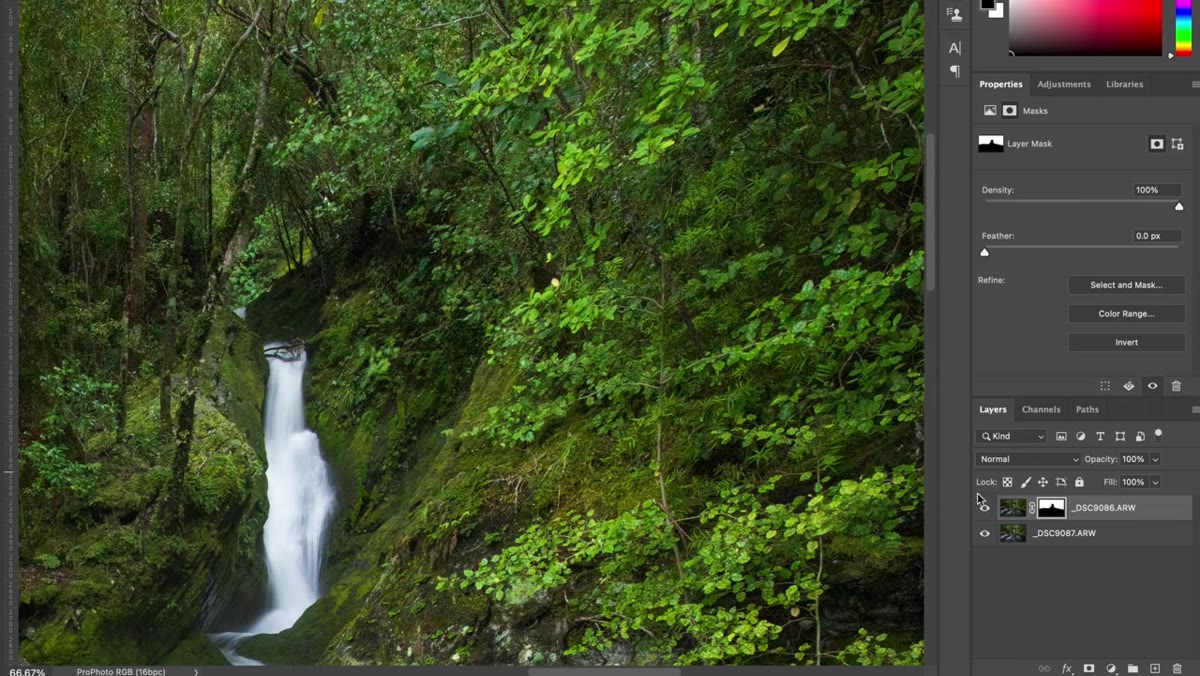
 Alt/Option-click showing the black and white layer mask in full view
Hold Option (Mac) or Alt (PC) and click the mask thumbnail in the layers panel. This switches your view to show the mask itself in black and white, so you can see exactly where you’ve painted. Any white areas are still showing the top (sharp) layer. Black areas are revealing the layer beneath.
Alt/Option-click showing the black and white layer mask in full view
Hold Option (Mac) or Alt (PC) and click the mask thumbnail in the layers panel. This switches your view to show the mask itself in black and white, so you can see exactly where you’ve painted. Any white areas are still showing the top (sharp) layer. Black areas are revealing the layer beneath.
Use this view to find gaps you missed, especially around the edges of rocks or near the base of the waterfall. It’s easy to miss small slivers when you’re painting in normal view. Once everything looks clean, Option/Alt-click the mask thumbnail again to return to your normal composite view and double-check the result looks natural at the transition edges.
Step 6: Toggle Layers to Verify the Blend
 Toggling layer visibility to compare sharp versus blurred leaves
Click the eye icon next to the top layer to toggle it on and off. This shows you what your image would look like using only the slow-shutter exposure, and it’s a quick sanity check. The leaves and background vegetation should look sharp when the top layer is visible, and blurry when it’s off. The water should look silky in both cases because that’s what you’ve revealed through the mask.
Toggling layer visibility to compare sharp versus blurred leaves
Click the eye icon next to the top layer to toggle it on and off. This shows you what your image would look like using only the slow-shutter exposure, and it’s a quick sanity check. The leaves and background vegetation should look sharp when the top layer is visible, and blurry when it’s off. The water should look silky in both cases because that’s what you’ve revealed through the mask.
If something looks off, go back to the mask, check your paint coverage, and fill any problem areas. The whole process is non-destructive, so nothing is permanent until you flatten.
Where I’d Push This Further
One thing the tutorial doesn’t get into but I’ve found genuinely useful: you don’t have to use a hard-edged brush for every blend. For landscape shots where the transition zone between a sharp foreground and a blurred sky is a soft, natural line, a large brush with 0% hardness can give you a smoother blend that doesn’t look like a cut-and-paste job.
Also, if your two frames are even slightly misaligned because of wind or camera movement, run Edit > Auto-Align Layers before you start masking. Photoshop does a surprisingly good job of correcting minor shifts, and it’ll save you from weird ghosting at the edges of rocks or branches.
If there’s one thing worth internalizing from Patino’s tutorial, it’s this: layer masks aren’t a compositing trick. They’re how working photographers handle the actual limitations of a camera sensor. A single exposure almost never captures everything. Masking is just the tool you use to build the image your eye actually saw.
Watch the full tutorial on YouTube to see the technique applied to a real waterfall scene with Patino’s actual raw files available to download and practice with.
Comments (3)
Just used this on a wedding shoot edit. Client was thrilled.
Printing this out and pinning it next to my monitor. That good.
Well explained. I think my audience would really benefit from this — mind if I link to it?
Leave a Comment