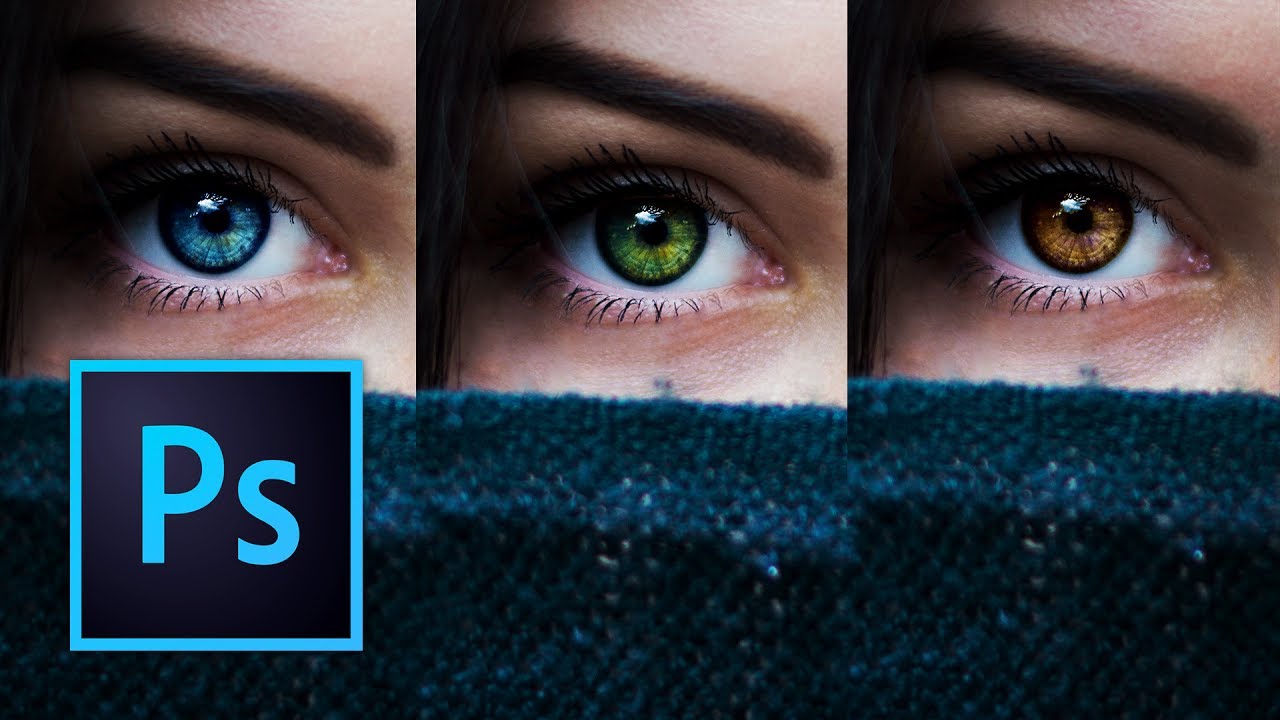
I used to change eye color in Photoshop the lazy way. Hue/Saturation adjustment layer, clip it, drag the slider, call it a day. It works, technically. It also looks like you swapped someone’s eyes with a cartoon character’s. Clients notice. You notice. And then you spend twenty minutes trying to dial it back until it looks passably human, which mostly defeats the purpose.
The smarter approach involves a more deliberate mask and a color-mixing method that actually respects how eyes catch light. In this Kelvin Designs tutorial on YouTube, Calvin walks through his full process for changing eye color in a way that preserves all the texture and depth that makes eyes look real. It’s a bit more involved than dragging a slider, but the result is night-and-day different. I’ve been doing it the lazy way for years, so watching this felt a little embarrassing. Let me save you the same experience.
The technique also applies beyond eyes. Any time you need to shift color on something detailed, this general approach, which leans on a tight mask and thoughtful color relationships, is worth having in your toolkit.
Step 1: Download the Source Files and Open the Color Wheel
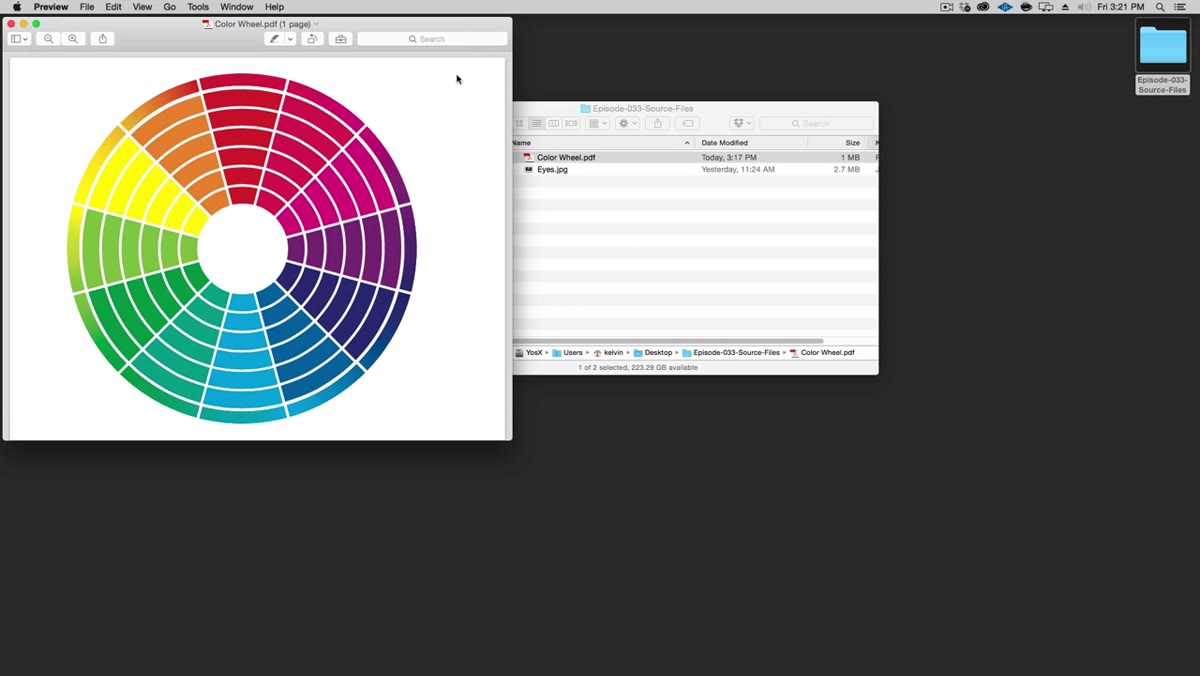 Color wheel PDF open alongside eye photo in Photoshop
Calvin’s website (kelvindesigns.com) has free source files for this tutorial, including the eye photo and a color wheel PDF. Grab those before you start. The color wheel isn’t decoration. Understanding which colors sit opposite each other on that wheel is foundational to making a color shift look believable rather than painted-on. If you’re changing a brown eye to blue, for example, knowing the relationship between warm and cool tones helps you anticipate what adjustments will feel natural versus what will look synthetic.
Color wheel PDF open alongside eye photo in Photoshop
Calvin’s website (kelvindesigns.com) has free source files for this tutorial, including the eye photo and a color wheel PDF. Grab those before you start. The color wheel isn’t decoration. Understanding which colors sit opposite each other on that wheel is foundational to making a color shift look believable rather than painted-on. If you’re changing a brown eye to blue, for example, knowing the relationship between warm and cool tones helps you anticipate what adjustments will feel natural versus what will look synthetic.
Open the eye photo in Photoshop and keep the color wheel somewhere you can reference it. It’s the kind of thing that seems like optional context until you’re staring at a result that looks wrong and you can’t figure out why.
Step 2: Zoom In to Working Resolution
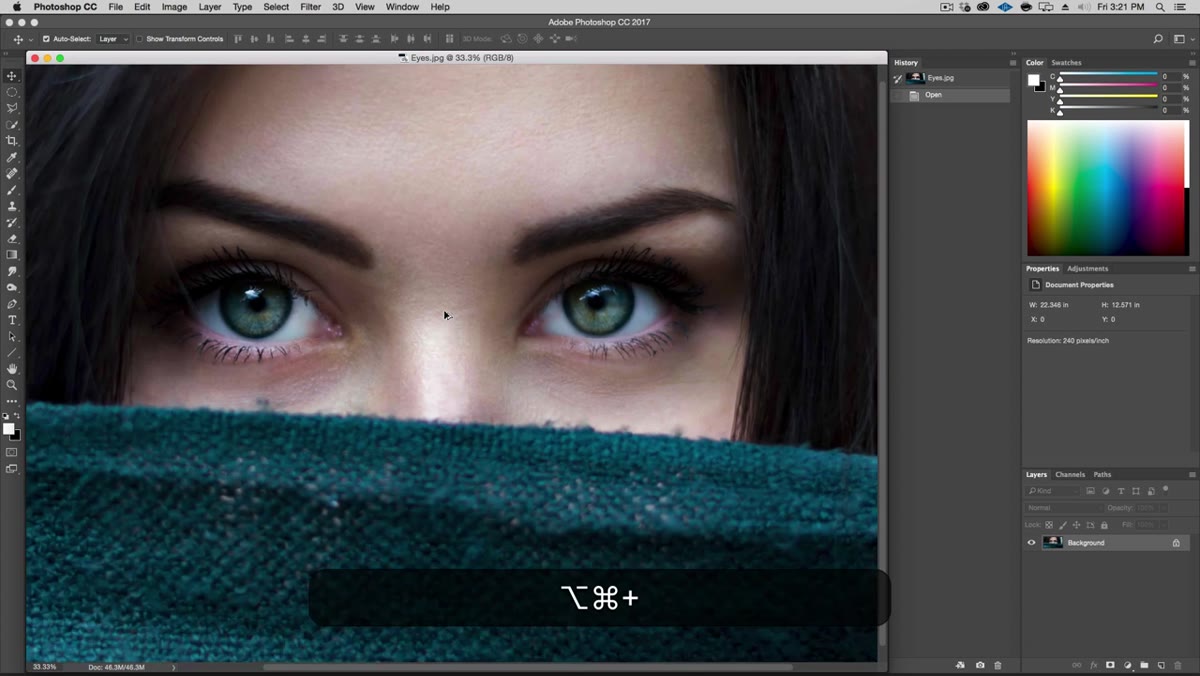 Zoomed-in view of eye at 200% in Photoshop
Before you touch the mask, zoom in to around 200%. On a Mac, that’s Command + Alt + Plus. On PC, Control + Alt + Plus. Working at this zoom level when you’re painting a detailed mask is non-negotiable on high-resolution photos. If you try to paint the iris selection while zoomed out to fit-on-screen, you’ll end up with a sloppy edge that bleeds into the white of the eye or cuts off part of the iris. Garbage in, garbage out.
Zoomed-in view of eye at 200% in Photoshop
Before you touch the mask, zoom in to around 200%. On a Mac, that’s Command + Alt + Plus. On PC, Control + Alt + Plus. Working at this zoom level when you’re painting a detailed mask is non-negotiable on high-resolution photos. If you try to paint the iris selection while zoomed out to fit-on-screen, you’ll end up with a sloppy edge that bleeds into the white of the eye or cuts off part of the iris. Garbage in, garbage out.
Calvin works at 200% throughout the masking phase. It feels slow at first, but it’s the reason his final selection looks clean without any obvious boundary artifacts.
Step 3: Set Up Your Brush for Detail Work
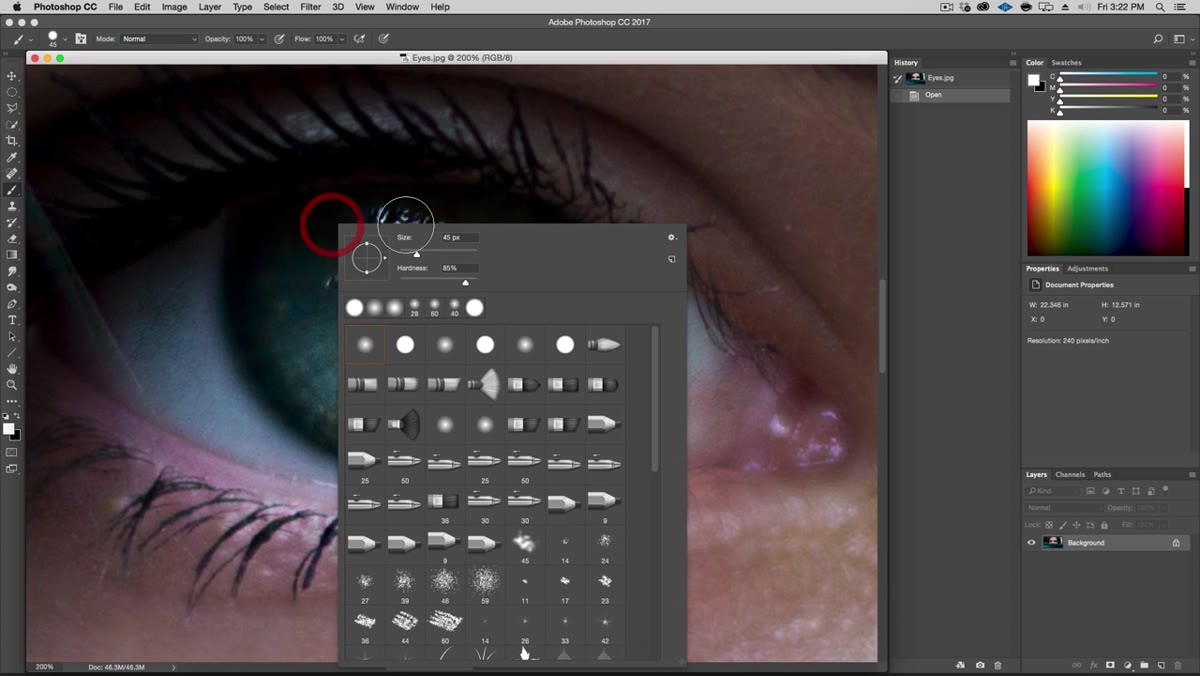 Brush tool settings panel showing size and hardness values
Switch to the Brush tool and right-click on the canvas to pull up the brush settings. Calvin’s go-to for detailed masking on high-res photos is a size of 45 and a hardness of 85. That hardness keeps the edge crisp enough to follow the iris boundary without being so hard that it creates a harsh, stamped-out look. You might go slightly smaller on extreme close-ups, but 45/85 is a solid default to start from.
Brush tool settings panel showing size and hardness values
Switch to the Brush tool and right-click on the canvas to pull up the brush settings. Calvin’s go-to for detailed masking on high-res photos is a size of 45 and a hardness of 85. That hardness keeps the edge crisp enough to follow the iris boundary without being so hard that it creates a harsh, stamped-out look. You might go slightly smaller on extreme close-ups, but 45/85 is a solid default to start from.
Press D to reset your foreground and background colors to black and white. This matters because in Quick Mask mode, what you paint and what those colors mean are directly linked. Get this wrong and you’ll spend ten minutes wondering why your mask is inverted.
Step 4: Build the Selection Using Quick Mask Mode
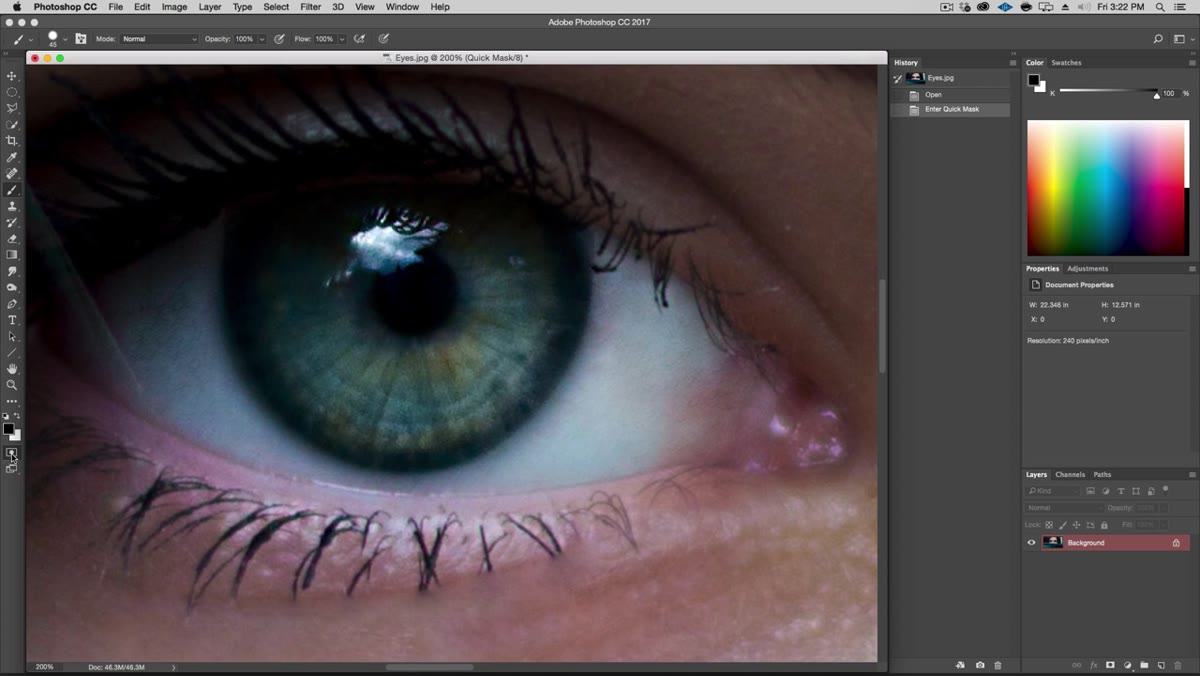 Quick Mask mode active with pink overlay on eye area
Click the Quick Mask button near the bottom of the toolbar (or press Q). This is where the actual selection gets built. In Quick Mask, painting with black adds to your selection (shown as a pink/red overlay on screen) and painting with white removes from it. Press X to toggle between the two.
Quick Mask mode active with pink overlay on eye area
Click the Quick Mask button near the bottom of the toolbar (or press Q). This is where the actual selection gets built. In Quick Mask, painting with black adds to your selection (shown as a pink/red overlay on screen) and painting with white removes from it. Press X to toggle between the two.
Calvin’s method here is efficient: click once to place a point, then hold Shift and click again to draw a straight line between them. Work your way around the iris in segments rather than trying to freehand the whole circle. It sounds tedious but takes maybe two minutes per eye once you’re comfortable with the rhythm. You can use white to clean up any rough corners afterward, again with Shift+click to keep things tidy.
Step 5: Exit Quick Mask and Check Your Selection
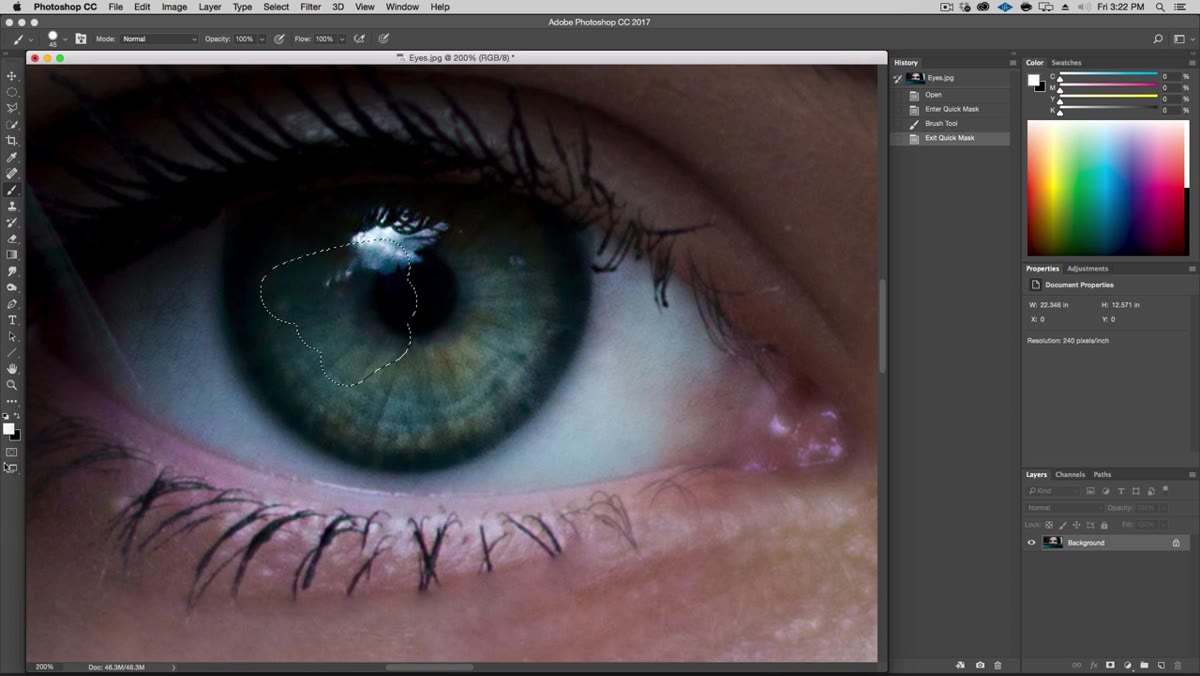 Marching ants selection visible around iris after exiting Quick Mask
Press Q again to exit Quick Mask. You should see the familiar marching ants selection around the iris. If something looks off, you can go right back into Quick Mask (press Q) and keep refining. The nice thing about this workflow is it’s completely non-destructive at this stage. Nothing has been committed yet.
Marching ants selection visible around iris after exiting Quick Mask
Press Q again to exit Quick Mask. You should see the familiar marching ants selection around the iris. If something looks off, you can go right back into Quick Mask (press Q) and keep refining. The nice thing about this workflow is it’s completely non-destructive at this stage. Nothing has been committed yet.
Once you’re satisfied with the first eye, move to the second one. Make sure you’re painting with black (press D if you’re unsure), enter Quick Mask again, and repeat the Shift+click polygon method. Take your time on the curve of the iris. The closer this selection is to reality, the more convincing the final color change.
Step 6: Repeat the Mask on the Second Eye
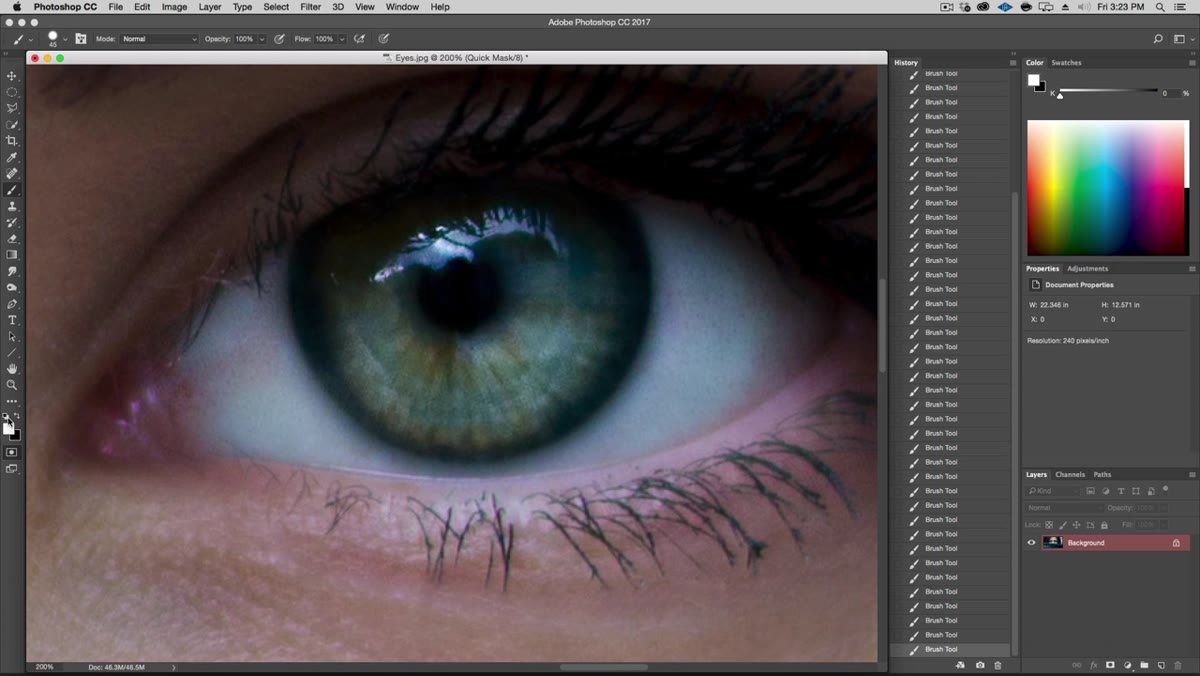 Second eye being masked in Quick Mask mode with brush tool active
With the first eye masked, navigate over to the second eye without exiting or losing your selection. Calvin goes back into Quick Mask for the second eye and builds the same kind of precise polygon selection. Keep your steps short between Shift+clicks. Longer gaps between points mean bigger deviations from a natural curve, which shows up as a slightly angular selection that won’t hold up at high resolution.
Second eye being masked in Quick Mask mode with brush tool active
With the first eye masked, navigate over to the second eye without exiting or losing your selection. Calvin goes back into Quick Mask for the second eye and builds the same kind of precise polygon selection. Keep your steps short between Shift+clicks. Longer gaps between points mean bigger deviations from a natural curve, which shows up as a slightly angular selection that won’t hold up at high resolution.
If you need to smooth out a section, switch to white and Shift+click along the area you want to soften. It’s basically an eraser with a straight-line constraint, which is more control than a free-drag erase gives you.
A Note on Mask Quality From Someone Who Learned This the Hard Way
I spent a long time treating the mask as the boring part before the interesting color work starts. That’s exactly backwards. A mediocre mask with a brilliant color adjustment still looks mediocre. The edge is where the eye (the human one, looking at your work) is drawn, and any sloppiness there reads immediately as “edited.”
The Quick Mask method Calvin uses gives you something that a simple Lasso or Magic Wand selection doesn’t: granular control with the full brush engine at your disposal. You can soften, tighten, add, subtract. You’re essentially painting your selection rather than drawing it. For anything with an organic, curved boundary like an iris, that flexibility matters.
If I’d internalized this years earlier I’d have stopped reaching for the Magic Wand like a first instinct and started thinking about masks as a craft in themselves. They are.
The single biggest thing this tutorial reinforced for me is that realistic color changes live or die on the quality of the selection underneath them. The color work is almost secondary. Get the mask right, and the rest of the technique has something solid to build on.
Watch the full tutorial on YouTube to see Calvin finish the color application and see how the color wheel plays into the final adjustments. Worth the full watch.
Comments (4)
Hands down the best explanation I've found on this topic.
This is exactly what I needed. Bookmarked for future reference.
Love how you break this into manageable steps instead of one giant wall of text.
Ran through this tutorial twice and my edits are way more consistent now.
Leave a Comment