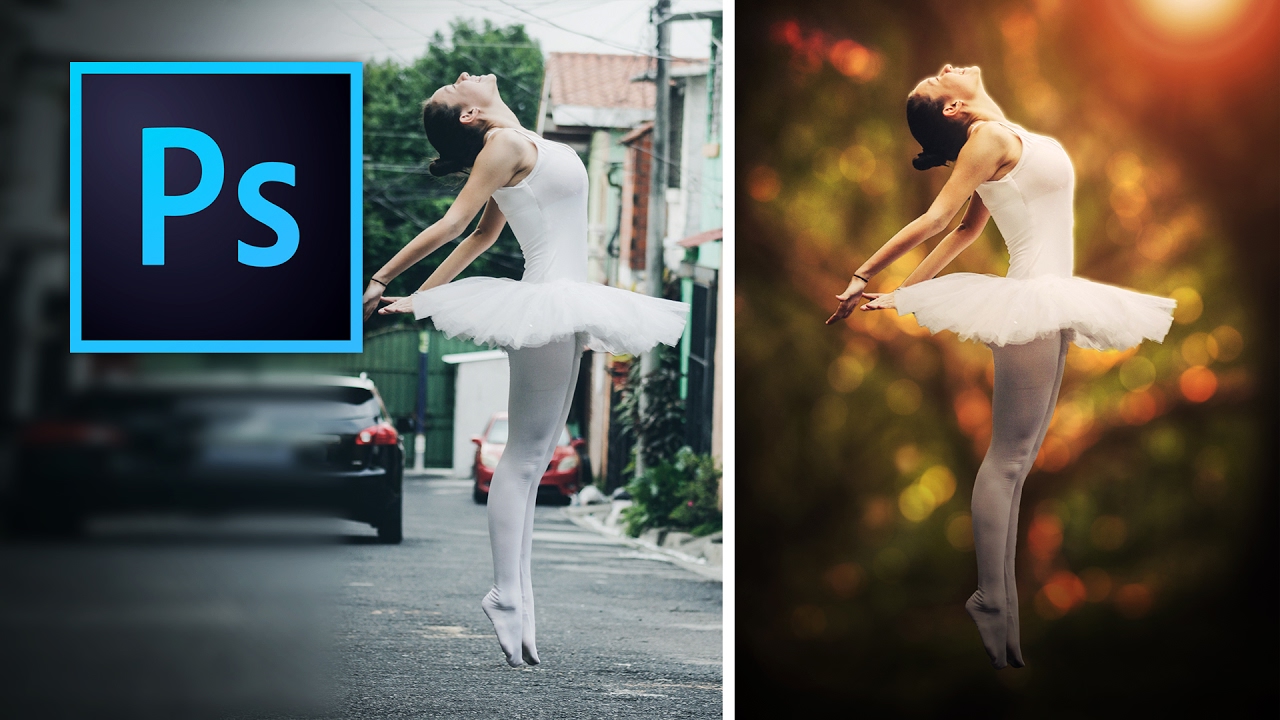
Background swapping is one of those Photoshop jobs that sounds simple until you’re three hours deep, your subject looks like they were cut out with safety scissors, and the client is asking for “just a quick update.” I’ve been there more times than I care to admit. The dirty secret is that pulling a clean selection is only half the battle. The part most tutorials skip is making the foreground belong in the new background. That’s what separates a convincing composite from something that looks like a bad album cover from 2003.
Watch the full tutorial on YouTube
In this Kelvin Designs tutorial, Kelvin walks through replacing the background behind a dancer photo, dropping her into a forest scene. What makes it worth your time is that he doesn’t stop at the selection. He gets into how to integrate the foreground element with the new background so the whole thing reads as a single image rather than two photos arguing with each other. Here’s the full breakdown so you can follow along without pausing every 15 seconds.
Step 1: Open Both Images and Get Organized
 Forest and dancer images open side by side in Photoshop
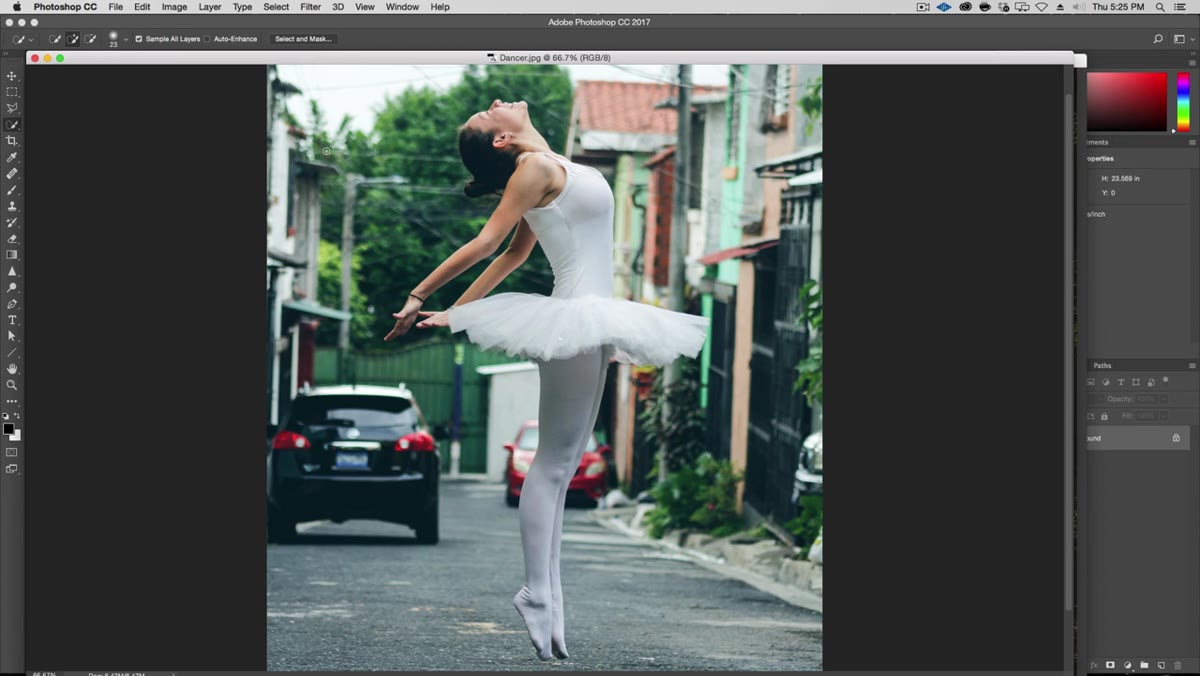
Start with both source files open in Photoshop at the same time. You want the subject image (the dancer) and the replacement background (the forest) both visible and accessible. This sounds obvious, but having them tiled or tabbed so you can quickly reference both will save you from a lot of back-and-forth confusion mid-workflow. Zoom into your subject image first using Command/Ctrl + Plus to get a read on what you’re working with. Look at the edges, the hair, the areas where background color bleeds close to the subject. That initial assessment shapes which tools you reach for.
Forest and dancer images open side by side in Photoshop
Start with both source files open in Photoshop at the same time. You want the subject image (the dancer) and the replacement background (the forest) both visible and accessible. This sounds obvious, but having them tiled or tabbed so you can quickly reference both will save you from a lot of back-and-forth confusion mid-workflow. Zoom into your subject image first using Command/Ctrl + Plus to get a read on what you’re working with. Look at the edges, the hair, the areas where background color bleeds close to the subject. That initial assessment shapes which tools you reach for.
Step 2: Use the Quick Selection Tool to Isolate the Background
 Quick Selection tool active, painting selection over busy background
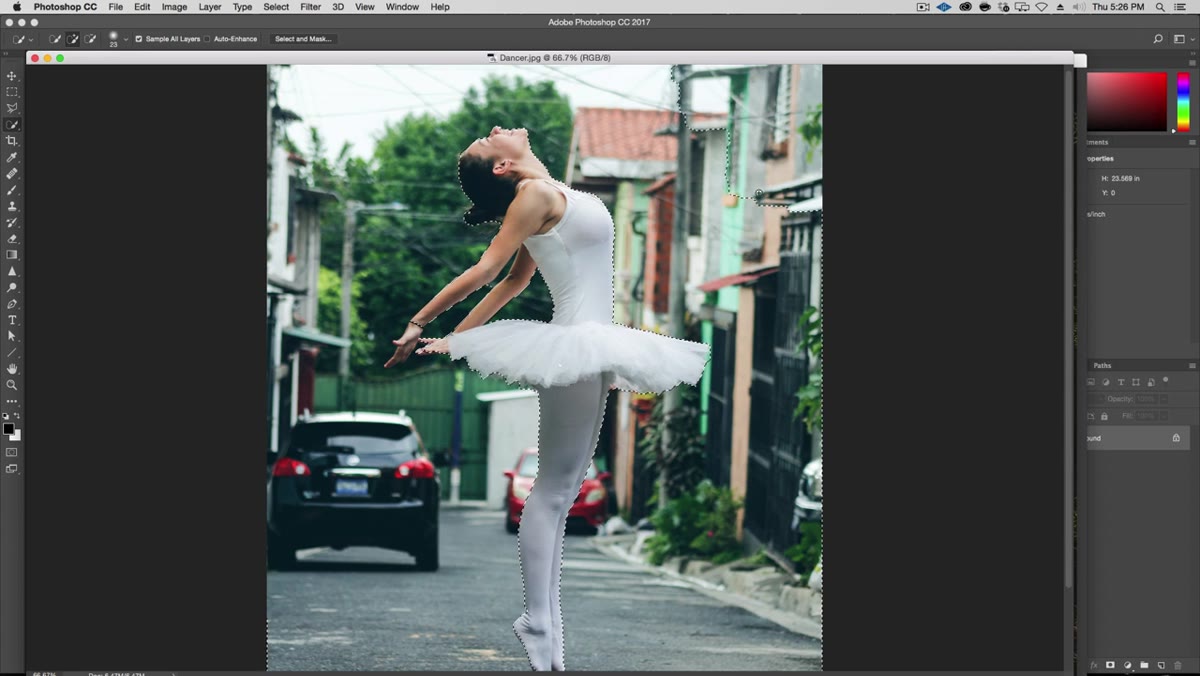
Grab the Quick Selection tool from the toolbar (it lives with the Magic Wand, shortcut W). Here’s the counterintuitive move Kelvin uses: instead of selecting the subject, he selects the background. On an image where the background is varied but slightly out of focus, this often produces a cleaner initial result because the tool has more tonal variation to grip onto. Paint over the background areas with the tool, building up the selection in passes.
Quick Selection tool active, painting selection over busy background
Grab the Quick Selection tool from the toolbar (it lives with the Magic Wand, shortcut W). Here’s the counterintuitive move Kelvin uses: instead of selecting the subject, he selects the background. On an image where the background is varied but slightly out of focus, this often produces a cleaner initial result because the tool has more tonal variation to grip onto. Paint over the background areas with the tool, building up the selection in passes.
When the tool inevitably grabs part of your subject, hold Alt/Option to flip into subtract mode and paint those areas back out. You’re essentially teaching Photoshop where the edges are through addition and subtraction. Take your time around hands, fingers, and feet, because those are the spots that will betray a lazy selection immediately.
Step 3: Supplement the Selection with the Lasso Tool
 Polygonal Lasso adding to selection around car and background edges
The Quick Selection tool is smart but not infallible, especially where the subject color is close to the background color. For larger obvious areas of background that the tool missed or mangled, switch to the Polygonal Lasso tool and hold Shift to add to the existing selection. This is a great combo: Quick Selection for the smart edge-detection work, Lasso for the brute-force cleanup of dead simple areas like a flat wall, a car, or a patch of pavement.
Polygonal Lasso adding to selection around car and background edges
The Quick Selection tool is smart but not infallible, especially where the subject color is close to the background color. For larger obvious areas of background that the tool missed or mangled, switch to the Polygonal Lasso tool and hold Shift to add to the existing selection. This is a great combo: Quick Selection for the smart edge-detection work, Lasso for the brute-force cleanup of dead simple areas like a flat wall, a car, or a patch of pavement.
Don’t try to make it perfect at this stage. Get to roughly 90% clean and move on. Chasing pixel-perfect edges with the lasso at this point is a time trap. The refinement step coming up is where fine edges actually get handled properly.
Step 4: Adjust Your Brush Size for Tighter Areas
 Smaller brush being used around dancer’s hand and fingers
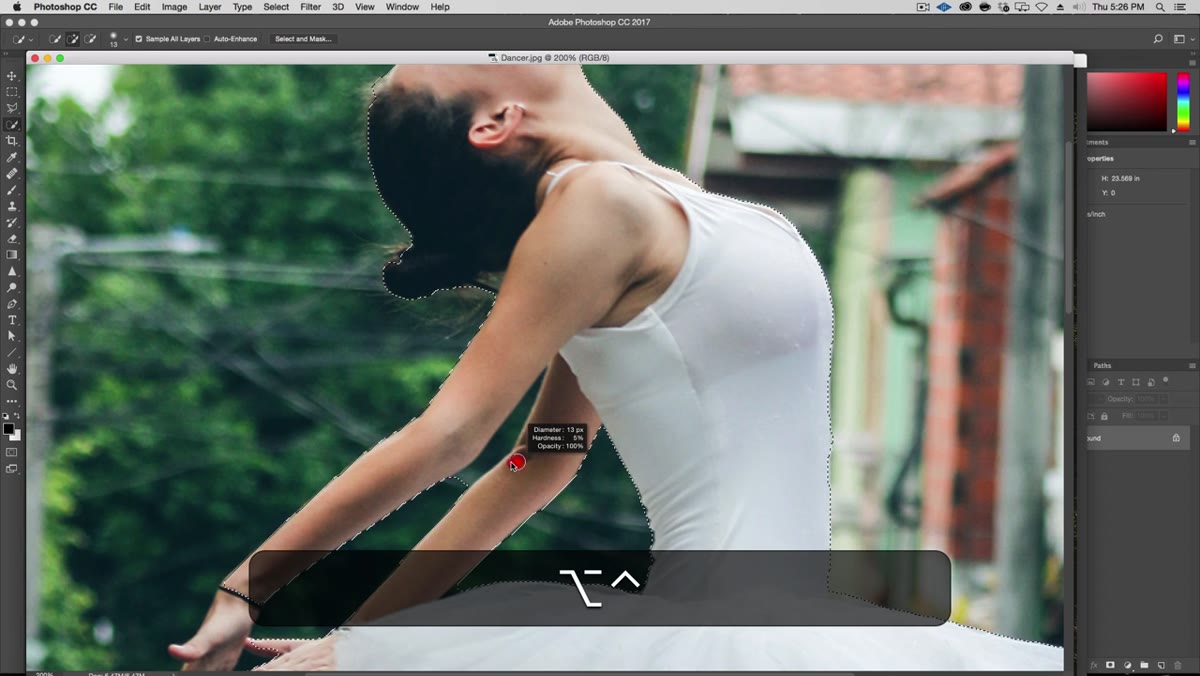
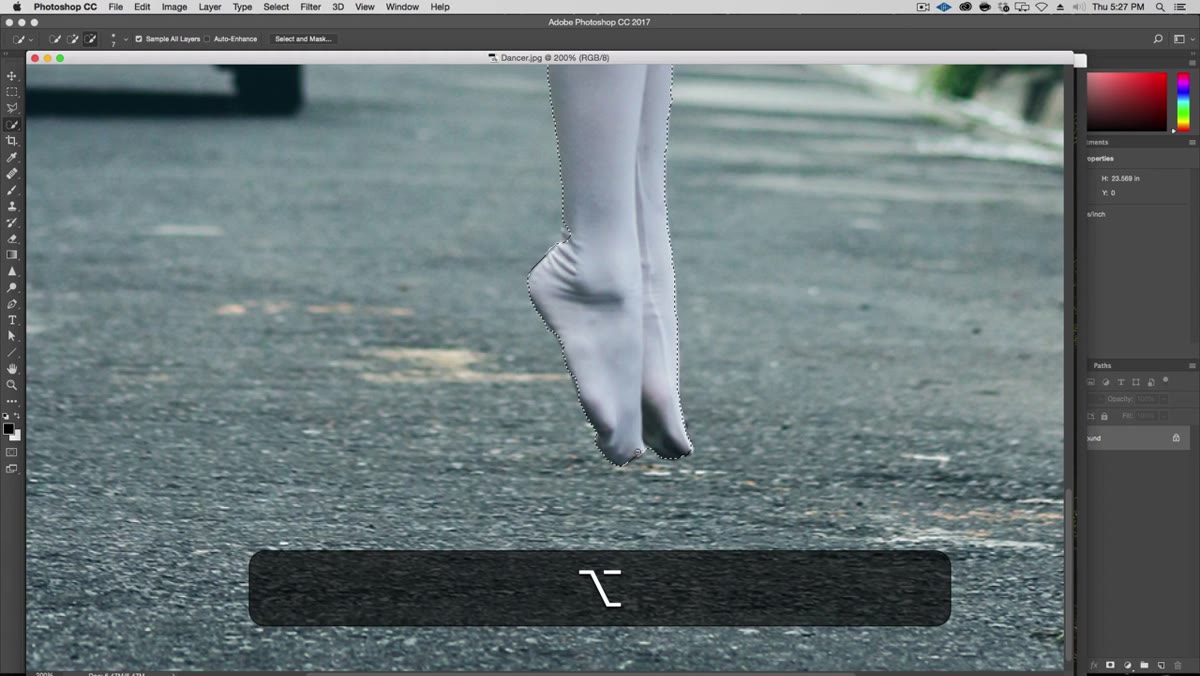
When working around detailed areas like fingers or flyaway fabric, shrink your Quick Selection brush way down. Hold Ctrl + Alt (PC) or Control + Option (Mac) and drag left to reduce brush size. A smaller brush gives you more precision and is less likely to jump across a thin gap and grab something it shouldn’t. Kelvin spends real time here on the hands, and that’s the right call. Hands are where amateur composites fall apart. Nail the hand selection and the rest feels more forgivable.
Smaller brush being used around dancer’s hand and fingers
When working around detailed areas like fingers or flyaway fabric, shrink your Quick Selection brush way down. Hold Ctrl + Alt (PC) or Control + Option (Mac) and drag left to reduce brush size. A smaller brush gives you more precision and is less likely to jump across a thin gap and grab something it shouldn’t. Kelvin spends real time here on the hands, and that’s the right call. Hands are where amateur composites fall apart. Nail the hand selection and the rest feels more forgivable.
Step 5: Move into Quick Mask Mode for Edge Cleanup
 Quick Mask mode activated, red overlay showing selection on subject
Once you have a working selection, enter Quick Mask mode by pressing Q. This switches your view so the selected area stays visible and everything else gets covered in a red overlay (or vice versa, depending on your settings). Now you can paint directly on the mask using a regular brush. Paint with black to add to the masked area, white to subtract. This is where you handle the semi-transparent stuff like motion blur, thin fabric, or any edge that has genuine softness to it. Trying to get those with selection tools alone is fighting the wrong battle. Quick Mask mode lets you paint them in with actual brush control.
Quick Mask mode activated, red overlay showing selection on subject
Once you have a working selection, enter Quick Mask mode by pressing Q. This switches your view so the selected area stays visible and everything else gets covered in a red overlay (or vice versa, depending on your settings). Now you can paint directly on the mask using a regular brush. Paint with black to add to the masked area, white to subtract. This is where you handle the semi-transparent stuff like motion blur, thin fabric, or any edge that has genuine softness to it. Trying to get those with selection tools alone is fighting the wrong battle. Quick Mask mode lets you paint them in with actual brush control.
Step 6: Invert the Selection and Set Up Your Layers
 Before and after comparison showing dramatic background change result
Once your mask is dialed in, exit Quick Mask (press Q again) and invert the selection so your subject is selected rather than the background. Command/Ctrl + Shift + I does that. Then use this selection to create a layer mask on your subject layer. This is the moment you’ve been building toward. Drag your background image into the same document and position it below the masked subject layer. The dancer now sits in front of the forest, at least technically.
Before and after comparison showing dramatic background change result
Once your mask is dialed in, exit Quick Mask (press Q again) and invert the selection so your subject is selected rather than the background. Command/Ctrl + Shift + I does that. Then use this selection to create a layer mask on your subject layer. This is the moment you’ve been building toward. Drag your background image into the same document and position it below the masked subject layer. The dancer now sits in front of the forest, at least technically.
The visual integration is what you work on from here: matching light direction, adding shadow beneath the subject, adjusting the color grading so both layers share a common tone. Kelvin covers this in the full tutorial and it’s genuinely the part that makes the whole thing click.
One Thing I’d Add From My Own Experience
Here’s something I learned the hard way on a composite job years ago: always convert your subject layer to a Smart Object before you start transforming it. If you scale the dancer down to fit the new scene and then your client wants her bigger again, you get your quality back without degrading the pixels. Without it, you’re destructively scaling and every resize chips away at the edge quality you just spent all that time refining. It takes two seconds, right-click the layer and choose Convert to Smart Object, and it’s bought you an unlimited undo on transforms.
The other quick win is adding a subtle gradient or vignette over the composite as a whole. When both layers share the same darkening toward the edges, they start to feel like they were shot together. It’s a cheat, but compositing is full of honest cheats.
The single biggest lesson from this tutorial is that selection quality alone won’t save a composite. The extra step of actually integrating your foreground into the new environment is what makes the difference between something that looks manipulated and something that makes people ask how you shot it. Technique gets you the cutout. Craft gets you the illusion.
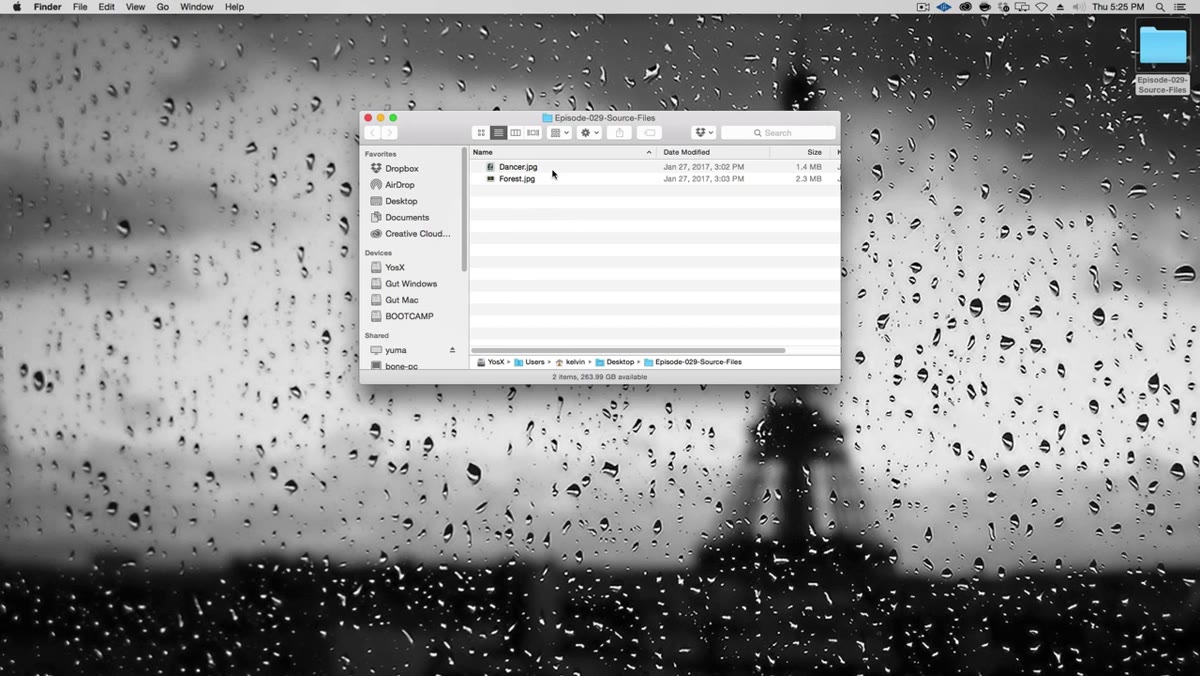
Watch the full tutorial on YouTube and grab the source files from Kelvin’s site so you can follow along with the same dancer and forest images used here.
Comments (5)
Never thought of approaching it this way. Really creative.
This is fantastic. I've been recommending this approach to my readers too.
Just subscribed. If the rest of your content is this good, I'm in.
This saved me so much time on my last edit. Wish I'd found this sooner.
Simple but effective. Sometimes that's all you need.
Leave a Comment