I’ll be honest: when someone first described the GFX100RF to me at a coffee shop here in Austin, I nodded like I knew exactly what they were talking about and then immediately looked it up on my phone under the table. Medium format? Fixed lens? Rangefinder style? It sounded like someone had described a camera by committee. But the more I dug into it, the more I realized the confusion isn’t a bug, it’s genuinely a weird and interesting camera that borrows from several traditions without fully committing to any of them. In this tutorial from the creator, the fundamentals of the GFX100RF get unpacked in a way that actually makes the camera’s design logic click.
Watch the full tutorial on YouTube
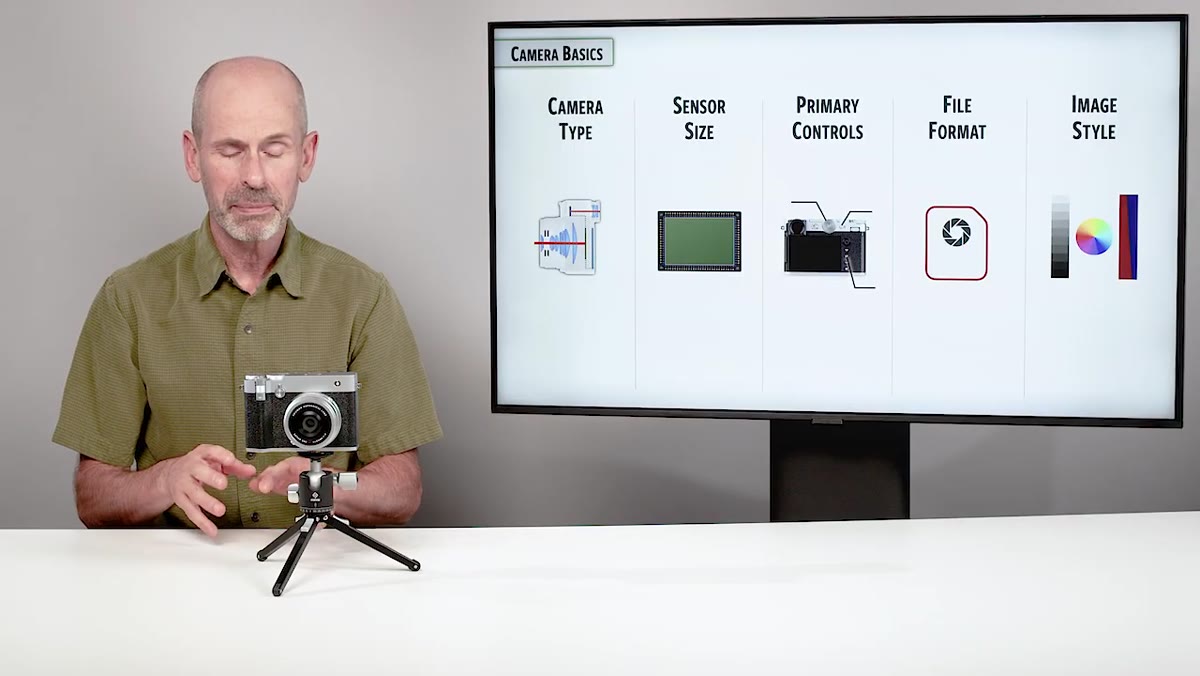
Understanding what kind of camera something is matters more than people give it credit for. It shapes your expectations, your shooting habits, your file handling, your whole workflow. Get that wrong and you’ll fight the tool constantly. This breakdown covers sensor size, primary controls, file format considerations, and image style, and I’m walking through each piece here so you can follow along without needing to pause and rewind every thirty seconds.
Step 1: Understand What Category of Camera You’re Actually Dealing With
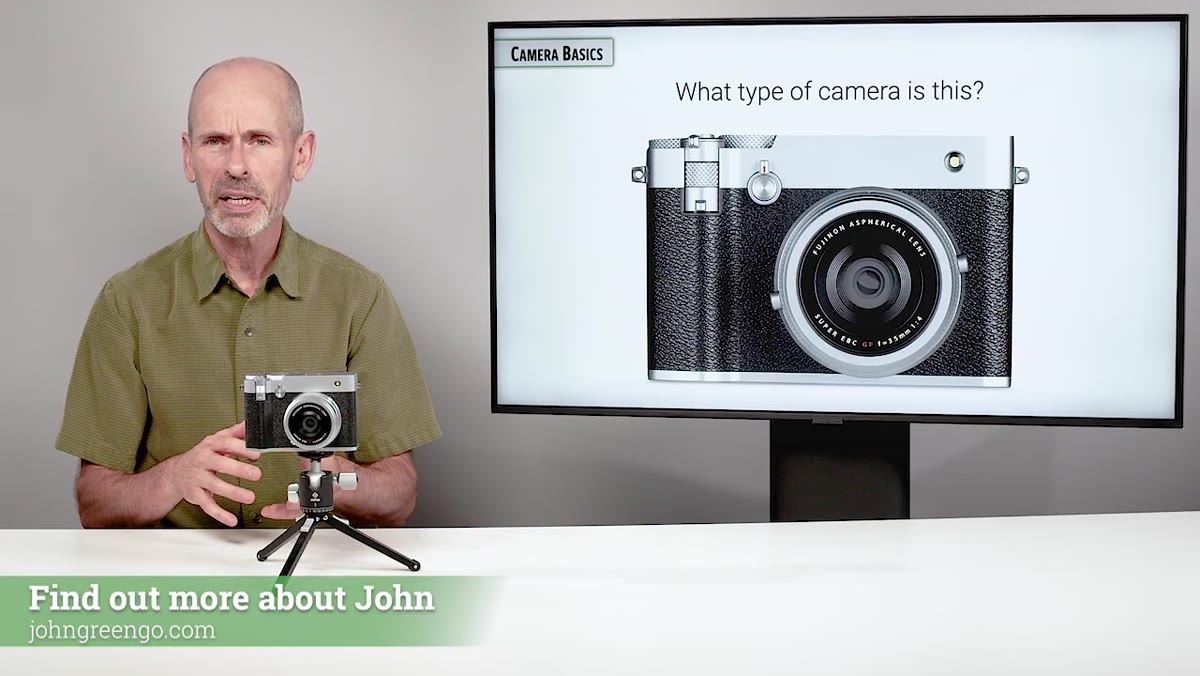 Creator explaining the GFX100RF falls across multiple camera categories
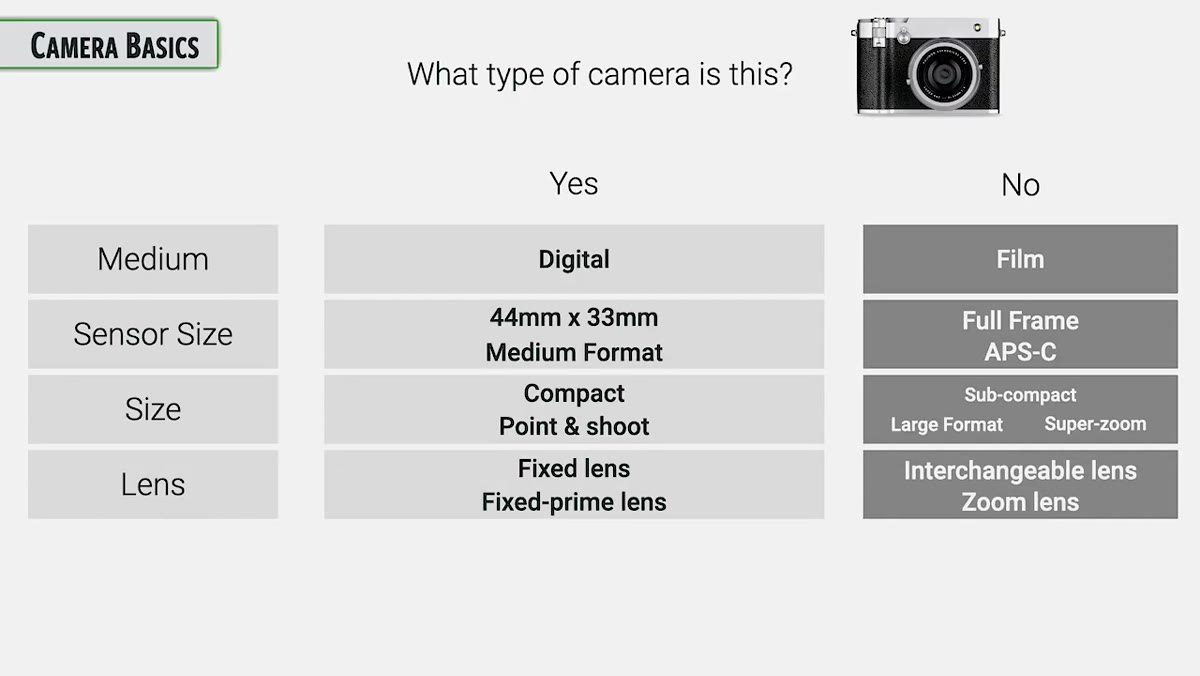
The GFX100RF doesn’t fit neatly into one box, and trying to force it into one will mess with your head. It’s a digital camera with a sensor measuring approximately 44 by 33 millimeters, which puts it firmly in medium format territory. But it’s also surprisingly compact, has a fixed lens you can’t swap out, uses an electronic viewfinder, and is technically mirrorless. That’s a lot of descriptors fighting for top billing.
Creator explaining the GFX100RF falls across multiple camera categories
The GFX100RF doesn’t fit neatly into one box, and trying to force it into one will mess with your head. It’s a digital camera with a sensor measuring approximately 44 by 33 millimeters, which puts it firmly in medium format territory. But it’s also surprisingly compact, has a fixed lens you can’t swap out, uses an electronic viewfinder, and is technically mirrorless. That’s a lot of descriptors fighting for top billing.
The most useful shorthand the tutorial lands on is this: it’s a compact medium format fixed lens camera. Burn that into your brain before you touch any settings. Every decision Fujifilm made with this camera flows from that identity, and once you accept it, the quirks start making sense instead of feeling like design failures.
Step 2: Get Clear on the “Rangefinder Style” Thing Before It Trips You Up
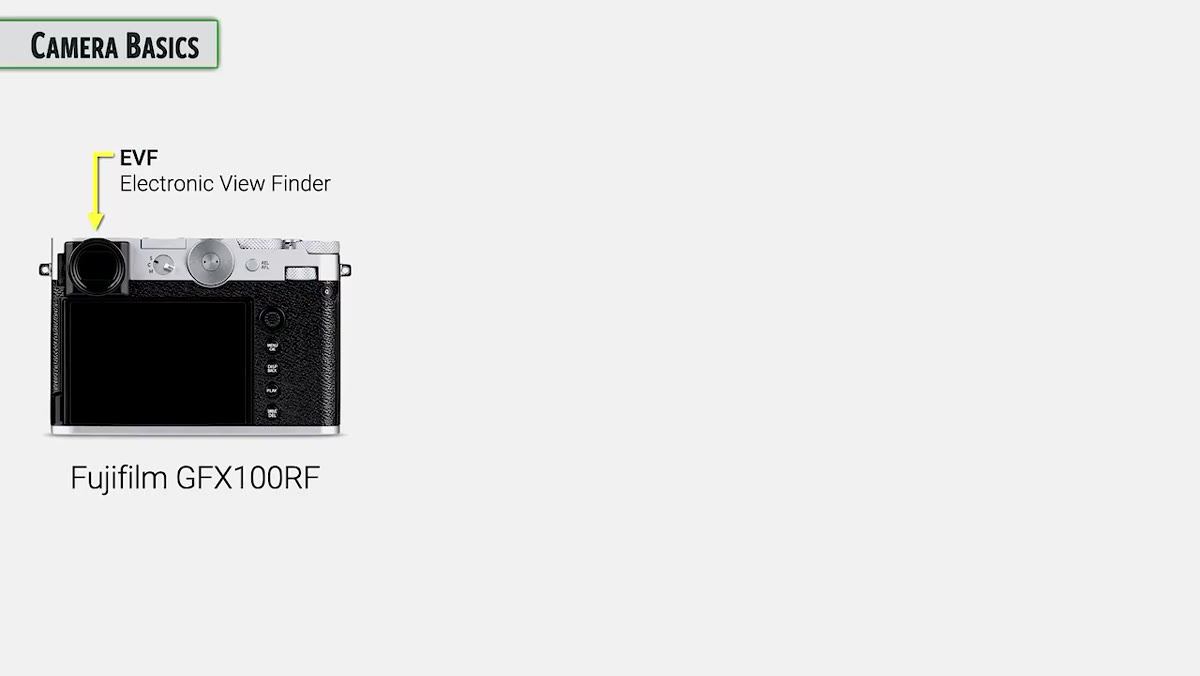 Viewfinder position in upper left corner of the GFX100RF body
The word “rangefinder” is in the spirit of this camera’s name, and that’s going to raise expectations it can’t fully meet. Classic rangefinder cameras, the Leica M series being the most famous example, have the viewfinder positioned in the upper left corner of a boxy, flat-topped body. They also use a manual focus system where you align two overlapping image patches to achieve focus. That overlapping patch system is the actual “rangefinder” part.
Viewfinder position in upper left corner of the GFX100RF body
The word “rangefinder” is in the spirit of this camera’s name, and that’s going to raise expectations it can’t fully meet. Classic rangefinder cameras, the Leica M series being the most famous example, have the viewfinder positioned in the upper left corner of a boxy, flat-topped body. They also use a manual focus system where you align two overlapping image patches to achieve focus. That overlapping patch system is the actual “rangefinder” part.
The GFX100RF has the upper-left viewfinder and the boxy flat-top silhouette. It does not have the manual patch-alignment focus system. It also lets you see outside your image frame, which is a genuine rangefinder-style feature. So: rangefinder aesthetics, yes. Rangefinder focus mechanics, no. The tutorial is careful to call it “rangefinder style” rather than an actual rangefinder, and that distinction will save you a lot of confusion if you’re coming from Leica territory or just reading the spec sheets too fast.
Step 3: Learn What the Fixed Prime Lens Actually Means for Your Shooting
 Fixed prime lens on the GFX100RF described during camera type breakdown
Fixed lens means no swapping glass. Prime lens means no zoom. Together, they mean you are committed to one focal length, one field of view, every single time you pick this camera up. For some photographers that’s liberating. For others it’s the thing that keeps them up at night.
Fixed prime lens on the GFX100RF described during camera type breakdown
Fixed lens means no swapping glass. Prime lens means no zoom. Together, they mean you are committed to one focal length, one field of view, every single time you pick this camera up. For some photographers that’s liberating. For others it’s the thing that keeps them up at night.
The upside is that Fujifilm can design that one lens specifically for that one sensor with no compromises for mount compatibility or interchangeability. The tutorial mentions that Fujifilm publishes the full optical formula for this lens, showing all the elements and their proximity to the sensor, and that level of optimization simply isn’t possible with an interchangeable lens system like the G Mount. You’re trading flexibility for precision, and on a medium format sensor, that precision matters.
Step 4: Pay Attention to the Optical Formula and Lens-to-Sensor Distance
 Optical element diagram showing lens profile and proximity to sensor
This is the kind of technical detail that’s easy to skim past but actually explains a lot about image quality. Because the lens is permanently married to the sensor, Fujifilm can position the rear element much closer to the sensor than they could with a removable lens that needs a standardized flange distance. That changes how light hits the sensor, especially toward the edges and corners of the frame.
Optical element diagram showing lens profile and proximity to sensor
This is the kind of technical detail that’s easy to skim past but actually explains a lot about image quality. Because the lens is permanently married to the sensor, Fujifilm can position the rear element much closer to the sensor than they could with a removable lens that needs a standardized flange distance. That changes how light hits the sensor, especially toward the edges and corners of the frame.
If you’ve ever shot medium format and noticed the corner performance of some lenses isn’t as sharp or even as the center, part of that is flange distance constraints. The GFX100RF sidesteps that problem entirely. When you’re working with 100 megapixels and planning to push files hard in post, corner-to-corner consistency is not a minor footnote.
Step 5: Treat the File Format Discussion as Non-Negotiable
 Creator emphasizing file format importance before camera basics walkthrough
The tutorial flags file format as potentially more important on this camera than on any other. That’s a strong claim, and it’s worth sitting with. At 100 megapixels, the difference between shooting compressed raw, lossless compressed raw, and uncompressed raw isn’t just a storage question. It’s a question about what your files can actually handle when you’re doing heavy retouching, exposure recovery, or large-format output.
Creator emphasizing file format importance before camera basics walkthrough
The tutorial flags file format as potentially more important on this camera than on any other. That’s a strong claim, and it’s worth sitting with. At 100 megapixels, the difference between shooting compressed raw, lossless compressed raw, and uncompressed raw isn’t just a storage question. It’s a question about what your files can actually handle when you’re doing heavy retouching, exposure recovery, or large-format output.
Before you get deep into learning the controls and the menu system, nail down your file format decision. Factor in your storage, your processing pipeline, and what the final deliverable actually needs to be. Getting this wrong on a 100-megapixel camera is a much more expensive mistake than getting it wrong on a 24-megapixel body.
Step 6: Understand Fujifilm’s Image Style Approach Before You Shoot Anything
 Image style and Fuji’s distinctive approach mentioned in section overview
Fujifilm does things differently when it comes to image style, and the tutorial makes a point of addressing it early rather than treating it as an afterthought. Their Film Simulation modes aren’t just Instagram-style filters slapped on top of a neutral base. They’re baked into how the camera processes color, contrast, and tone, and they behave differently depending on whether you’re shooting JPEG or raw.
Image style and Fuji’s distinctive approach mentioned in section overview
Fujifilm does things differently when it comes to image style, and the tutorial makes a point of addressing it early rather than treating it as an afterthought. Their Film Simulation modes aren’t just Instagram-style filters slapped on top of a neutral base. They’re baked into how the camera processes color, contrast, and tone, and they behave differently depending on whether you’re shooting JPEG or raw.
If you’re a raw-only shooter who plans to handle everything in Lightroom or Photoshop, you might think this doesn’t apply to you. It still does, because the Film Simulation you select affects the raw preview embedded in your file, which is what you see when you first import. It also affects how Fujifilm’s own software renders the raw. Understanding this upfront means you’re not mystified later when your files look different across different apps.
Where My Experience Adds a Wrinkle
Coming from a background where I was doing mostly compositing and digital manipulation work, the idea of a camera this opinionated about its own identity took some adjustment. I’m used to thinking of cameras as input devices and then doing everything “real” in Photoshop. But the GFX100RF’s combination of file size, lens optimization, and image style system means the decisions you make in camera have downstream consequences that are harder to reverse than they would be on a smaller-sensor body. This is not a camera you want to treat as a capture-now-fix-later machine. Get the fundamentals right before you shoot, and your editing workflow will thank you for it.
The single biggest thing this tutorial taught me is that the GFX100RF rewards photographers who understand exactly what it is before they try to use it. It’s not trying to be everything. It’s a compact medium format fixed lens camera that does a very specific set of things exceptionally well. Work with that identity instead of against it, and the camera opens up. Fight it, and you’ll be frustrated by a tool that was actually built with a lot of intentional logic behind every constraint.
Comments (5)
The before and after really sells it. Incredible difference.
Great article! I actually covered something related on my site — the photography angle is really complementary to this.
Love how you break down complex stuff into manageable steps.
Never thought of approaching it this way. Really creative.
This saved me so much time on my last edit. Wish I'd found this sooner.
Leave a Comment