There’s a specific kind of creative block I run into about once a month. I’ve got a shoot, I’ve got a location, and nothing looks interesting. I’m staring at perfectly fine subject matter thinking “this is fine” while producing work that is, in fact, extremely fine. Mediocre. Safe. The kind of stuff that fills a hard drive and never sees the light of a portfolio. The fix, more often than not, isn’t a new plugin or a fancier Photoshop technique. It’s a constraint.
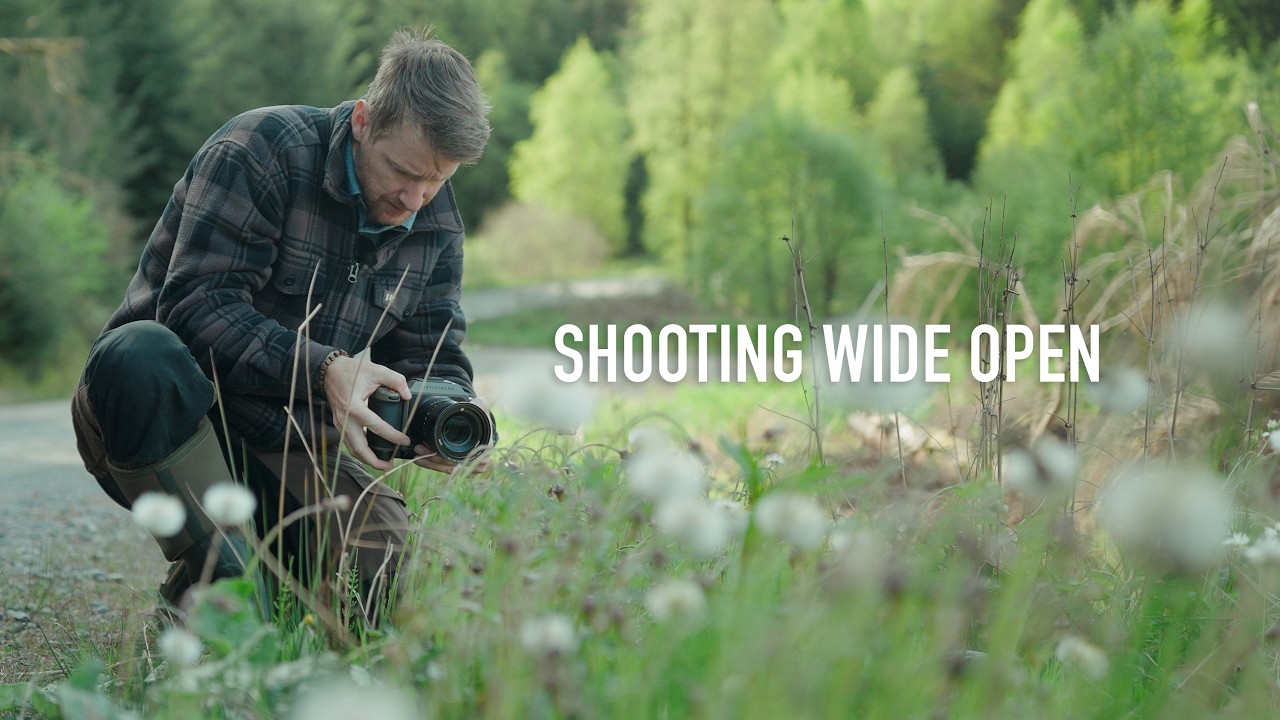
That’s exactly what caught my attention in this Thomas Heaton tutorial, Watch the full tutorial on YouTube, where he commits to shooting everything wide open during a forest drive in Scotland. No stopping down, no safe middle-aperture compromises. Just f/2.5 and a willingness to look closer than usual. What follows is one of the more quietly useful lessons I’ve seen on finding creative traction when a location refuses to cooperate. And yes, there’s plenty here that feeds directly into how you approach your editing, because the images you bring back from a constraint-led shoot look completely different to process than your standard landscape fare.
The whole setup is wonderfully chaotic. He’s got a camping permit for a one-way gravel track that closes at 4pm, he misses his allocated bay, and the forest itself is Forestry Commission spruce plantation. Not exactly calendar photo territory. But instead of packing it in, he leans into the one creative rule he’s set himself, and things get genuinely interesting.
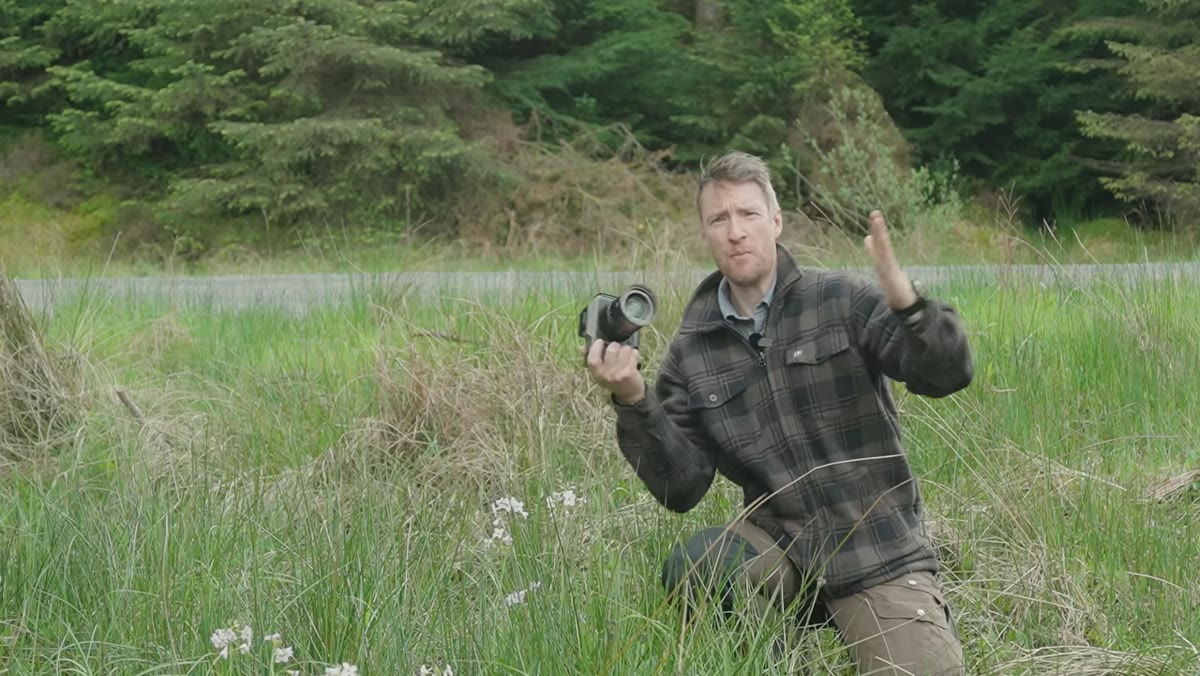
Step 1: Commit to a Single Aperture and Don’t Negotiate With Yourself
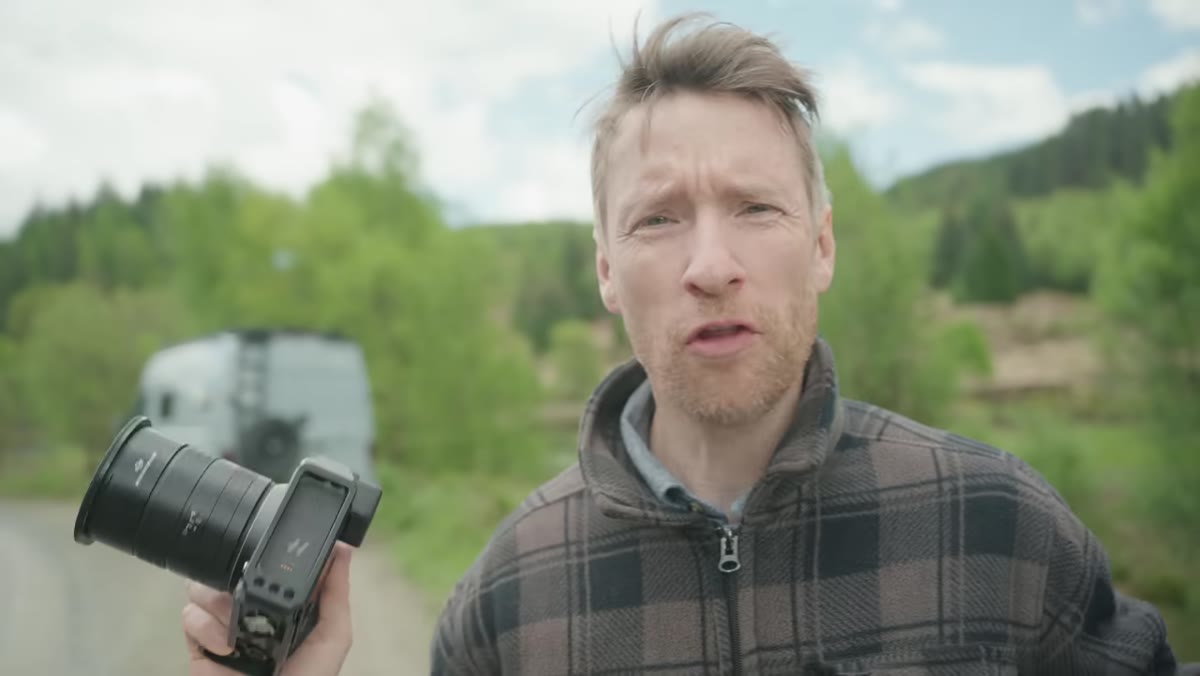 Thomas Heaton announcing his wide-open-only shooting challenge
The technique starts before you touch the camera. Pick your widest aperture, whether that’s f/1.8, f/2, f/2.5, whatever your lens opens to, and decide that’s the only setting you’re using for the entire session. No “just this once I’ll stop down because the light is nice.” The constraint is the point. When you remove the option to play it safe, your eye starts working differently almost immediately.
Thomas Heaton announcing his wide-open-only shooting challenge
The technique starts before you touch the camera. Pick your widest aperture, whether that’s f/1.8, f/2, f/2.5, whatever your lens opens to, and decide that’s the only setting you’re using for the entire session. No “just this once I’ll stop down because the light is nice.” The constraint is the point. When you remove the option to play it safe, your eye starts working differently almost immediately.
Heaton makes this decision because the location isn’t giving him grand landscape opportunities. But the constraint works in any context. I’ve started doing this on lunch breaks near my usual coffee shop haunt in Austin, and the sidewalk becomes a genuinely interesting place when you’re hunting for subjects that reward shallow depth of field.
Step 2: Drop Your Gaze and Look Beneath the Frame You’d Normally Shoot
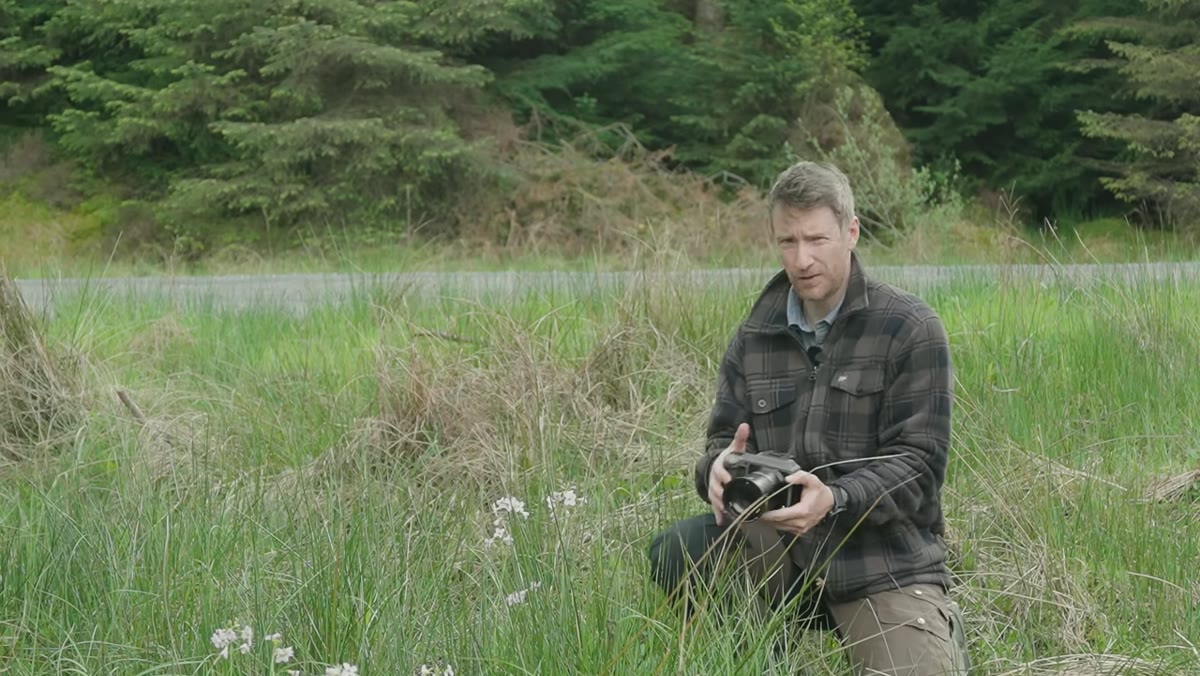
 Heaton scanning low grass and wildflowers in the forest undergrowth
Once you’ve committed to wide open, the next shift is directional. Stop looking at the middle distance. The photogenic stuff in an unphotogenic location is almost always at your feet, or just above ground level, in the texture and detail that you’d normally walk past without registering. Heaton spots wildflowers in long grass and immediately recognizes them as exactly the kind of subject that rewards this approach.
Heaton scanning low grass and wildflowers in the forest undergrowth
Once you’ve committed to wide open, the next shift is directional. Stop looking at the middle distance. The photogenic stuff in an unphotogenic location is almost always at your feet, or just above ground level, in the texture and detail that you’d normally walk past without registering. Heaton spots wildflowers in long grass and immediately recognizes them as exactly the kind of subject that rewards this approach.
This is the part that changes what comes into Lightroom and Photoshop later. Close-focus wide-open shots have a completely different tonal and tonal character to standard landscapes. The bokeh-heavy backgrounds give you a lot more flexibility when you’re masking, and the compressed tonal range means you’re often working with more delicate adjustments than you would with a stopped-down scene. Get used to the look in-camera, because it’ll influence how you edit.
Step 3: Use Live View Instead of the Eyepiece for Low-Angle Work
 Camera in live view mode held low in the grass for composition
Here’s one Heaton mentions that sounds small but changes everything practically: switch to live view when you’re shooting close to the ground or at an awkward angle. Trying to peer through an eyepiece when your camera is in the grass is a one-way ticket to a sore neck and compositions you can’t actually evaluate properly. Live view lets you hold the camera low, tilt the screen, and actually see what you’re getting.
Camera in live view mode held low in the grass for composition
Here’s one Heaton mentions that sounds small but changes everything practically: switch to live view when you’re shooting close to the ground or at an awkward angle. Trying to peer through an eyepiece when your camera is in the grass is a one-way ticket to a sore neck and compositions you can’t actually evaluate properly. Live view lets you hold the camera low, tilt the screen, and actually see what you’re getting.
From an editing standpoint, this matters too. When you shoot on live view at ground level, you tend to get more intentional foreground-to-background relationships because you can actually see the depth of field rendering in real time. That means less time in Photoshop trying to rescue a composition that didn’t quite work, and more time working with the image that was already thought through.
Step 4: Shoot Through Foreground Elements, Not Around Them
 Lens positioned close to grass blades with flowers visible behind
This is the move that separates interesting wide-open shots from ones that just look soft. Don’t clear the foreground. Shoot through it. Position your lens so there’s something between you and your subject, whether that’s grass, stems, leaves, or branches. At f/2 or f/2.5, those near elements become soft color washes that frame your sharp subject without competing with it.
Lens positioned close to grass blades with flowers visible behind
This is the move that separates interesting wide-open shots from ones that just look soft. Don’t clear the foreground. Shoot through it. Position your lens so there’s something between you and your subject, whether that’s grass, stems, leaves, or branches. At f/2 or f/2.5, those near elements become soft color washes that frame your sharp subject without competing with it.
The practical instruction here is to get the lens as close as it will focus to whatever is nearest to you, then find your actual subject behind that. You’re stacking planes of focus rather than just pointing at a thing and shooting. In post-processing, these layered shots have a natural luminosity and separation that you’d otherwise spend 20 minutes trying to fake with masking and blur filters.
Step 5: Work the Minimum Focus Distance of Your Lens
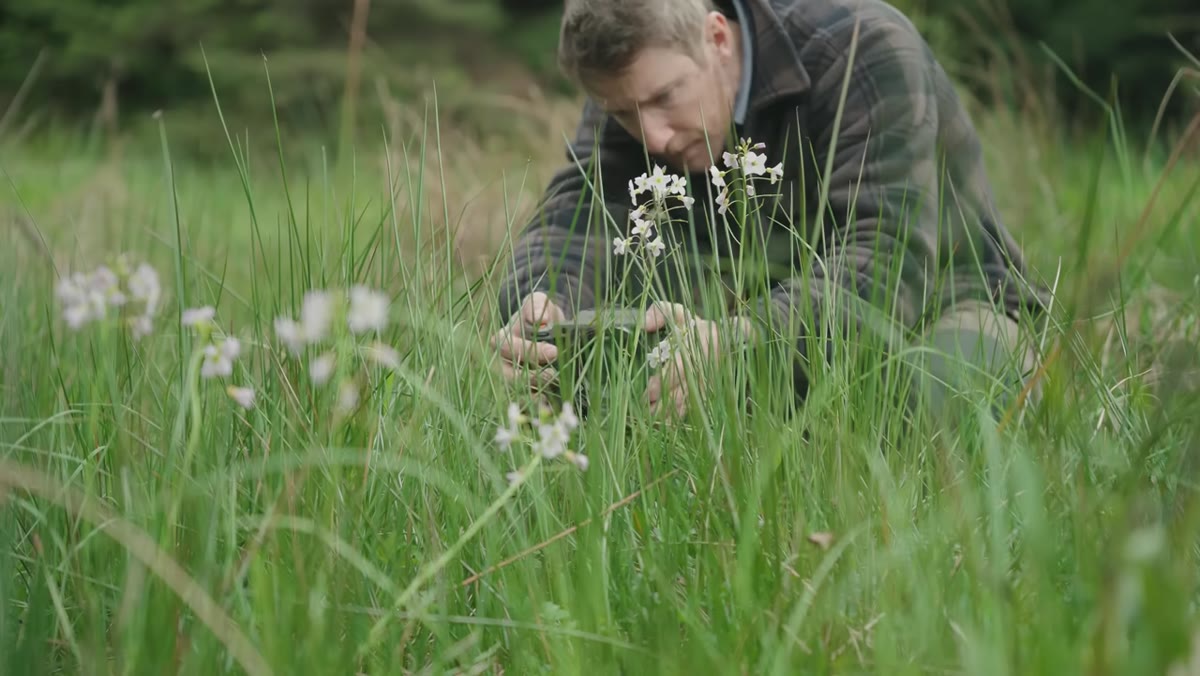
 Heaton holding camera close to wildflowers at minimum focus distance
Every lens has a minimum focus distance, the closest point at which it will still lock focus. Wide open, working at or near that minimum distance is where the magic happens. You get maximum subject magnification, maximum background separation, and those beautiful rendering characteristics that make people assume you’re using a macro lens when you’re not.
Heaton holding camera close to wildflowers at minimum focus distance
Every lens has a minimum focus distance, the closest point at which it will still lock focus. Wide open, working at or near that minimum distance is where the magic happens. You get maximum subject magnification, maximum background separation, and those beautiful rendering characteristics that make people assume you’re using a macro lens when you’re not.
Get familiar with where your lens stops cooperating. Move in slowly until the subject blurs out, then pull back just enough to regain sharpness. That’s your sweet spot. In terms of editing these images, you’ll often find the colors are richer and the contrast is naturally lower, so a slight curves lift in the shadows and a targeted HSL adjustment to the greens goes a long way.
What I’d Add From My Own Workflow
The constraint principle Heaton is using here translates directly into Photoshop work, and I mean that literally, not metaphorically. I’ve started running similar “one tool only” sessions in Photoshop when I’m in a creative rut: one adjustment layer, or only Curves, or no masks, only blend modes. It sounds arbitrary, and it is, but arbitrary constraints force problem-solving in a way that an open canvas never does. The results aren’t always usable, but the techniques I stumble onto usually are.
If you bring back a batch of wide-open close-focus shots from a session like Heaton’s, try editing them with one restriction in place too. Only dodging and burning, no Curves. Or only HSL adjustments, no Exposure slider. The images will push back in interesting ways and you’ll learn something about what the file actually contains rather than just reaching for your usual moves.
The single biggest takeaway from this tutorial is simple: interesting photography isn’t about interesting locations. It’s about the decision to look differently at whatever’s in front of you. A gravel track through a spruce plantation becomes a genuinely compelling portfolio session when you commit to a constraint and follow it honestly. That’s a lesson that applies every time you open a camera or a Photoshop file.
Watch the full tutorial on YouTube to see Heaton work through the full session, including the camping logistics disaster that frames the whole thing.
Comments (2)
Quality content like this is rare. Keep it up.
I tried this on a client project yesterday and the results were way better than expected.
Leave a Comment