Stop the Fringe: Three Ways to Clean Up Messy Selection Edges in Photoshop

Stop the Fringe: Three Ways to Clean Up Messy Selection Edges in Photoshop

Fringe is the enemy. That gross little halo of color that clings to your subject after you’ve cut them out - the ghost of the background they came from - has killed more composites than any other single thing in my workflow. I’ve been there a dozen times: I spend an hour on a careful selection, drop the subject onto a new background, zoom out to admire my work, and there it is.
Steal Light From Your Own Image: Aaron Nace's Channel-Based Lighting Trick

Steal Light From Your Own Image: Aaron Nace's Channel-Based Lighting Trick

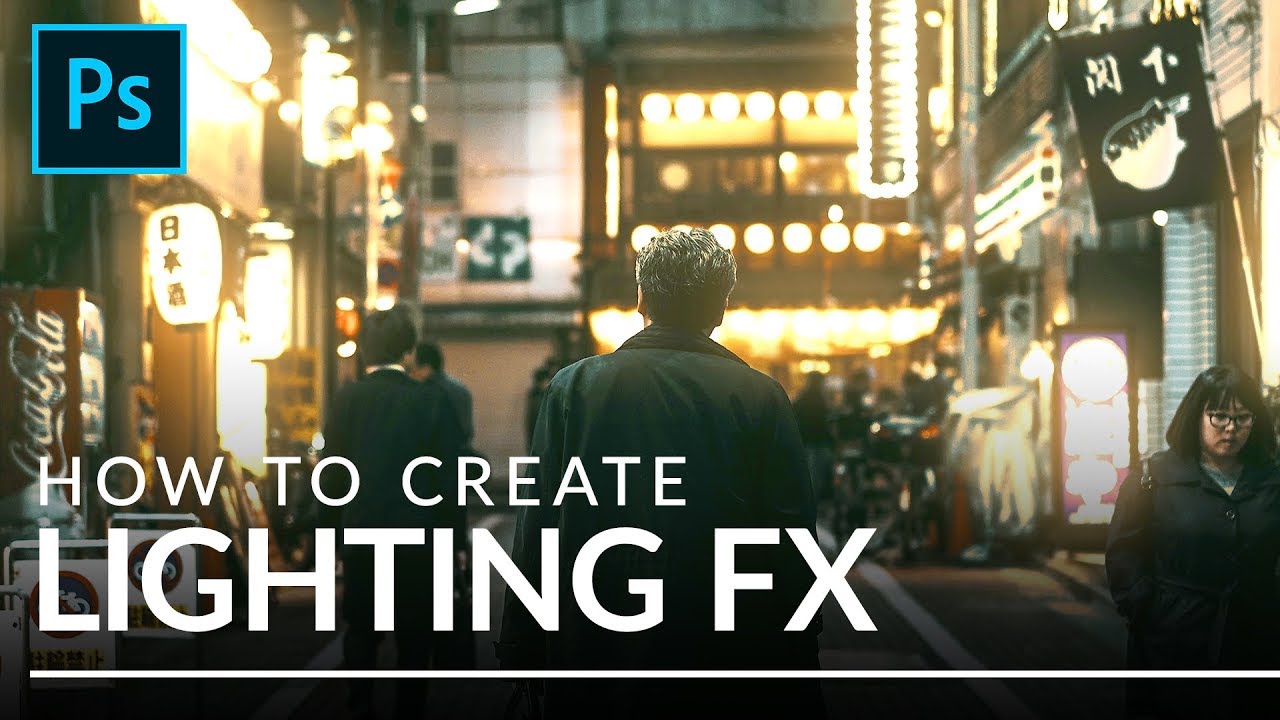
There’s a specific kind of frustration that comes from staring at a photo that’s almost great. The composition is solid, the subject is sharp, but the light feels flat and lifeless, like the scene was lit by a dentist’s office. I’ve been there more times than I’d like to admit, and my usual fix was to slap a Color Balance adjustment layer on it and hope for the best. Spoiler: it never looked great.

Rough, Fast, and Good Enough: How to Composite in Photoshop Without Losing Your Mind

Rough, Fast, and Good Enough: How to Composite in Photoshop Without Losing Your Mind

A few years back, I spent three full days on a composite. Three days of careful pen tool paths, obsessive masking, color matching that made my eyes water. A friend looked at it, nodded, then sat down and knocked out something that looked equally convincing in about twenty minutes using a workflow I’d never even considered. I wanted to flip my desk. Instead, I went home, opened YouTube, and started paying closer attention to how people who actually move fast think about this stuff.

Blend Two Exposures Into One Perfect Landscape Shot (No Filters Required)

Blend Two Exposures Into One Perfect Landscape Shot (No Filters Required)

I’m a freelance designer who mostly lives in the land of composites, logos, and whatever a client needs done by Thursday. But landscape photography editing crosses my desk more than you’d think, and the number one problem people bring me is the same every time: the sky looks great but the foreground is a muddy mess, or vice versa. Graduated ND filters solve this in the field, but what happens when you’re halfway up a hill and you left your filters in the car?

Painting Away Beards in Photoshop: The Manual Method That Actually Works

Painting Away Beards in Photoshop: The Manual Method That Actually Works

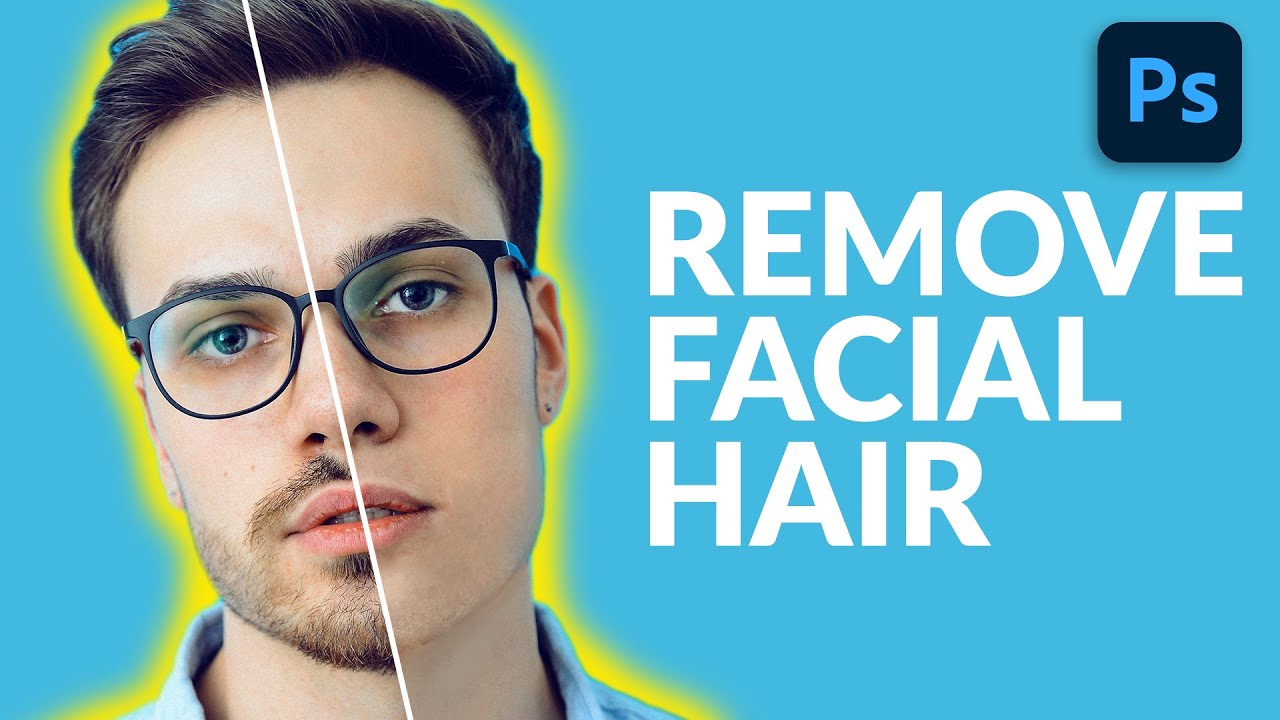
Retouching facial hair is one of those jobs that sounds simple until you’re forty-five minutes deep and your subject looks like they lost a fight with a rubber eraser. I’ve had clients send me portraits where the brief is something like “can you just clean him up a bit” - and that phrase, “clean him up,” almost always means removing a beard, a patch of stubble, or some combination of both.

When the Light Dies, You Adapt: Long Exposure Black and White Landscape Techniques from Thomas Heaton

When the Light Dies, You Adapt: Long Exposure Black and White Landscape Techniques from Thomas Heaton

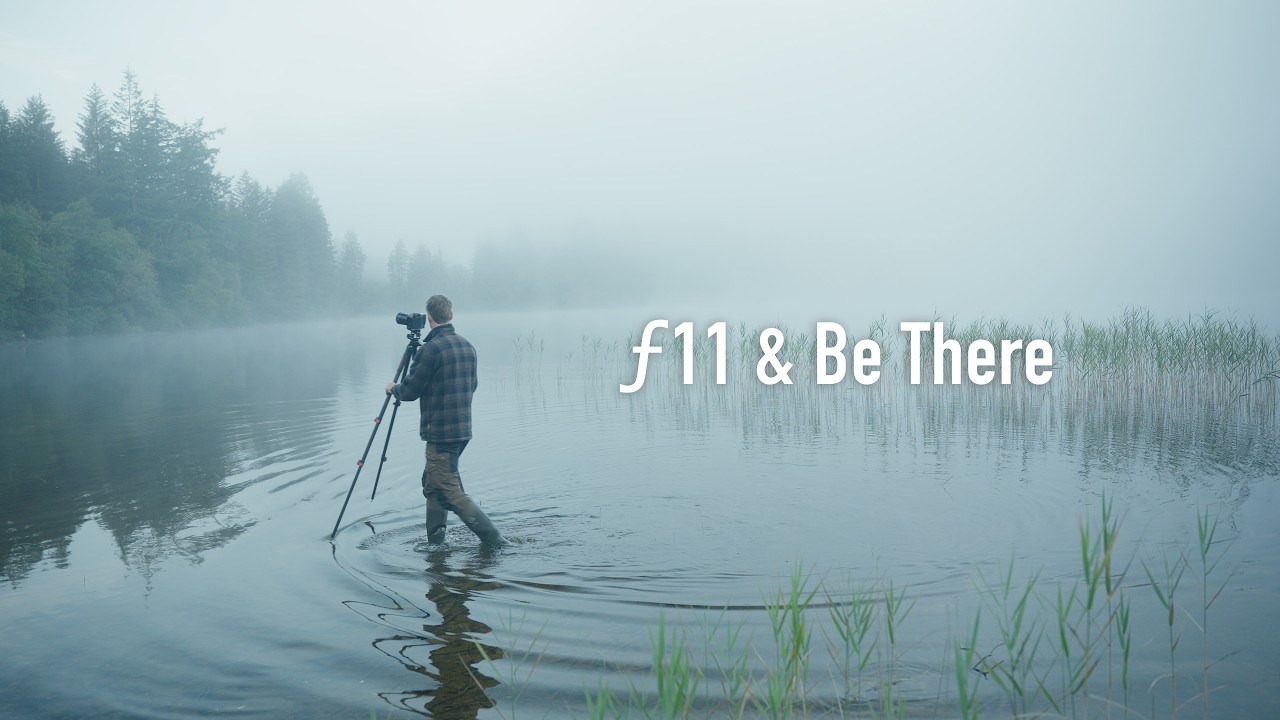
There’s a moment every photographer knows. You’ve hiked to the spot, the scene is gorgeous, and then the wind picks up and kills any hope of a mirror-flat reflection. You either pack up or you adapt. I’ve packed up. I’ve also stood there like an idiot waiting for calm water that never came. What I hadn’t fully internalized until recently is that adapting isn’t a consolation prize — it’s a legitimate creative decision that the best landscape photographers make constantly, often producing stronger work than the original plan would have.

Stop Faking Glow Effects: Here's How to Build a Real Cinematic Light Bloom in Photoshop

Stop Faking Glow Effects: Here's How to Build a Real Cinematic Light Bloom in Photoshop

There’s a specific flavor of photo edit that I used to spend embarrassing amounts of time chasing. You’ve seen it. That soft, warm, almost-overexposed bloom around highlights that makes a photo look like it was shot on film that’s slightly too happy about itself. I kept trying to fake it by cranking up a Gaussian blur on a duplicated layer and hoping for the best. The result was always the same: muddy, flat, and sad.

Smudge Tool Redemption: How to Add Moody Atmosphere to a Portrait in Photoshop

Smudge Tool Redemption: How to Add Moody Atmosphere to a Portrait in Photoshop

There’s a particular kind of client image that sits in my queue and stresses me out: the one that’s technically perfect but feels weirdly flat. Sharp, well-exposed, good composition. And yet something about it just doesn’t breathe. I’ve wasted more hours than I’d like to admit throwing adjustment layers at that problem, hoping a curves tweak or a color grade would somehow inject life into a photograph that needs something more textural.

Adobe Broke Save As and Here's How to Get It Back

Adobe Broke Save As and Here's How to Get It Back

If you’ve been using Photoshop long enough to have a muscle memory for certain workflows, you know how disorienting it is when Adobe quietly reshuffles something fundamental. A few weeks back, that’s exactly what happened with Save As, and the fallout was loud. Adobe changed how saving copies of files works, and if you were the kind of person who opened a RAW file, made some edits, and hit Save As to kick out a JPEG, you suddenly found yourself staring at a dialog box that seemed to be missing half its options.

Fake Fire That Actually Looks Real: A Photoshop Compositing Trick Worth Stealing

Fake Fire That Actually Looks Real: A Photoshop Compositing Trick Worth Stealing

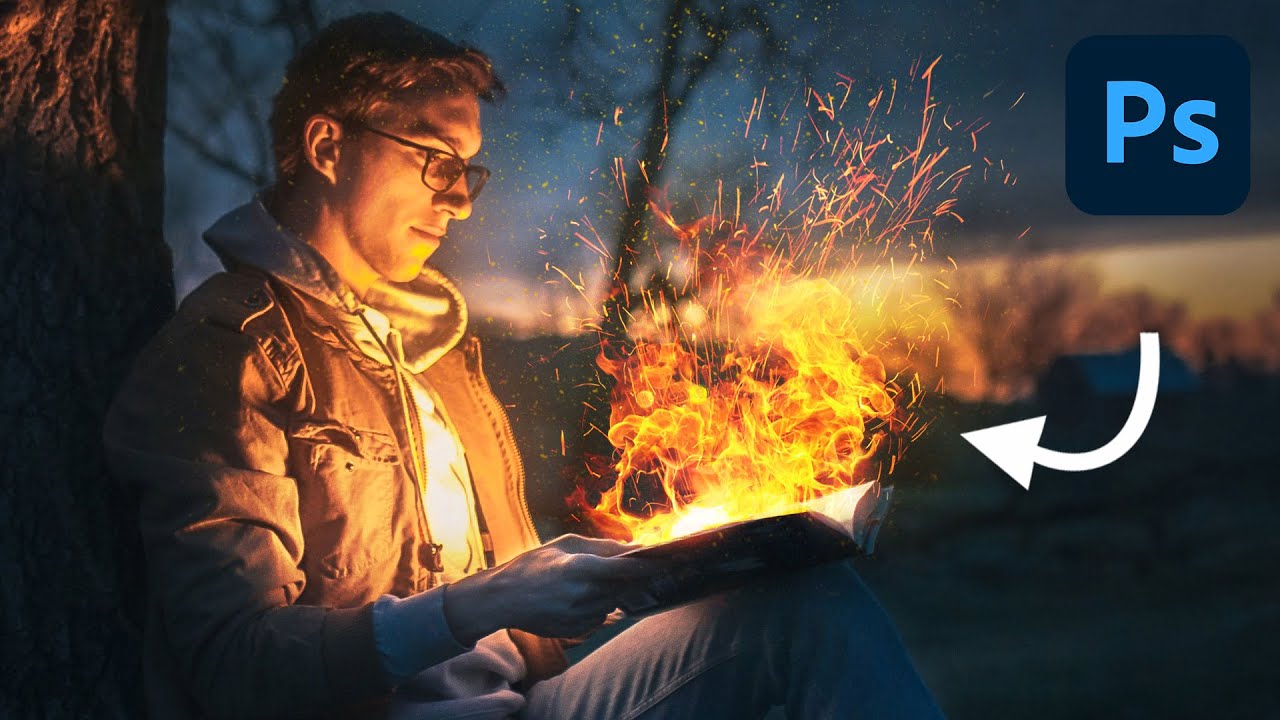
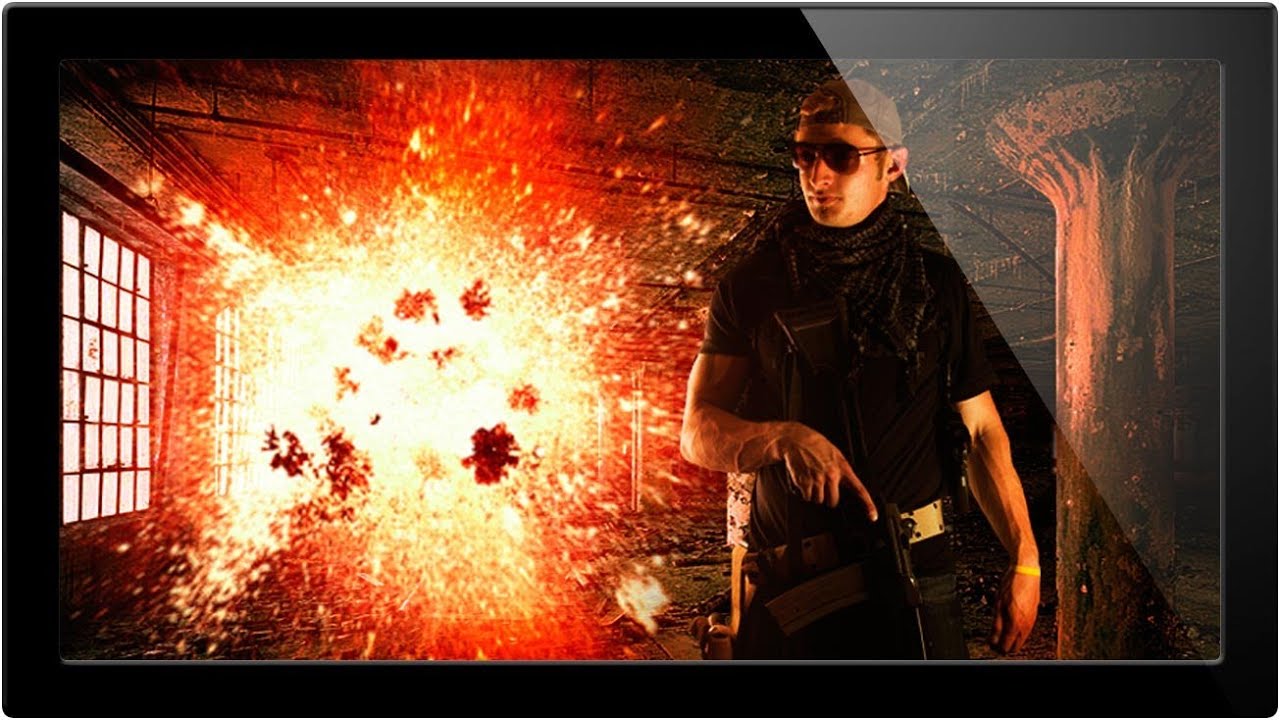
I’ve spent embarrassing amounts of time trying to manufacture drama in composite images. Explosions, sparks, light leaks — you name it, I’ve probably botched it. Fire especially has this reputation for being one of those effects that either looks jaw-dropping or immediately screams “I found a free brush pack on DeviantArt.” So when I stumbled on this Aaron Nace (PHLEARN) tutorial on creating realistic fire in Photoshop, I fully expected another overcomplicated mess of filters and adjustment layers.

How to Edit a Fall Landscape Like You Actually Know What You're Doing (A Lightroom + Photoshop Breakdown)

How to Edit a Fall Landscape Like You Actually Know What You're Doing (A Lightroom + Photoshop Breakdown)

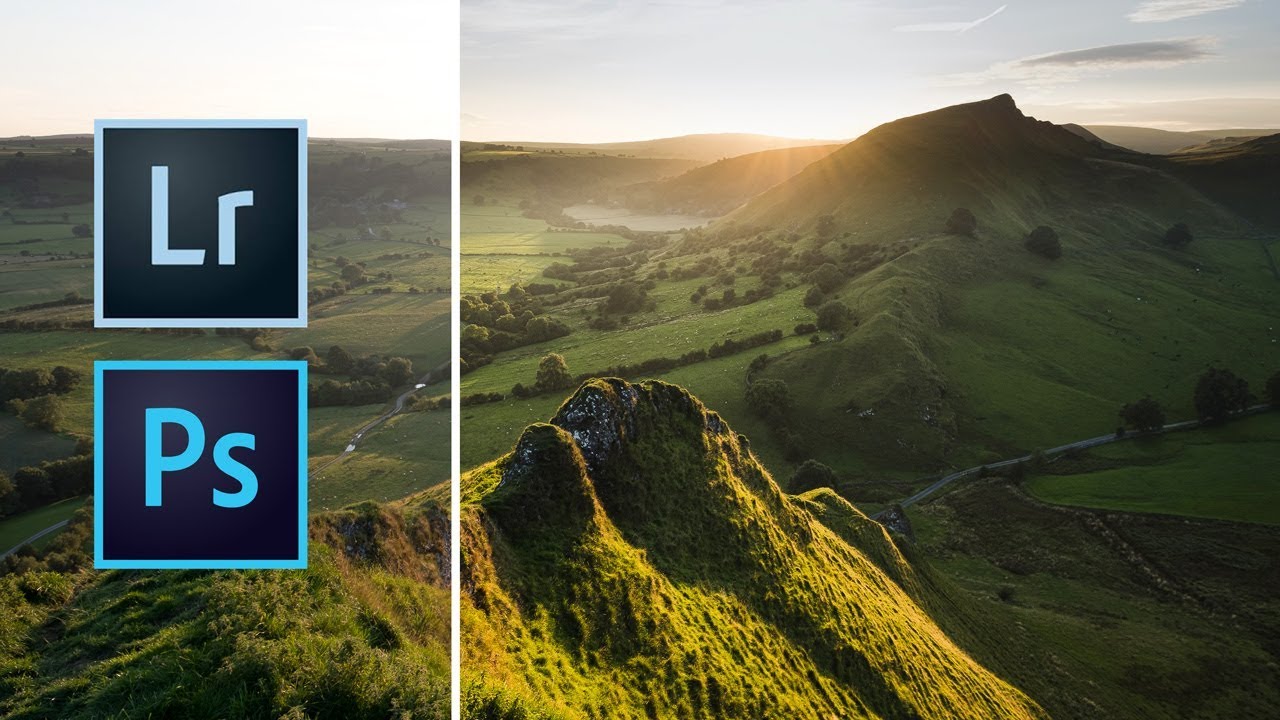
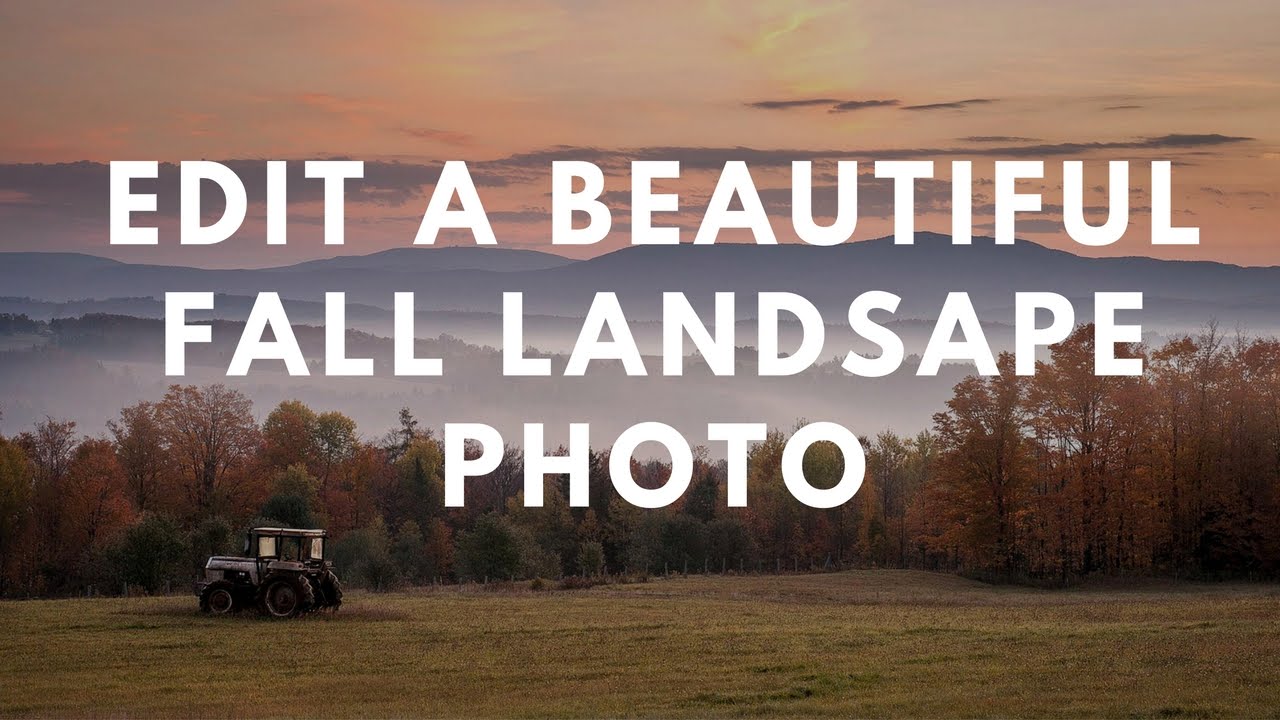
Fall photos are deceptively tricky. You’d think all that warm color does half the work for you, but if you’ve ever pulled a raw file of autumn foliage into Lightroom and just stared at it like it owes you money, you know exactly what I’m talking about. The sky is blown out, the shadows are muddy, and the colors look more “dying hospital plant” than “peak New England October.” I’ve been there more times than I’d like to admit.

Steal This Trick: How to Slap Textures onto Photos and Logos Without Making a Mess

Steal This Trick: How to Slap Textures onto Photos and Logos Without Making a Mess

Client work has a funny way of humbling you. I can’t count the number of times someone has handed me a logo or a portrait and said “make it feel more… gritty? Vintage? Lived-in?” and I’ve sat there staring at a flat layer like it owes me money. Adding texture sounds simple until you’re actually doing it and everything either looks like you rubbed sandpaper on a JPEG or the effect is so subtle it may as well not exist.