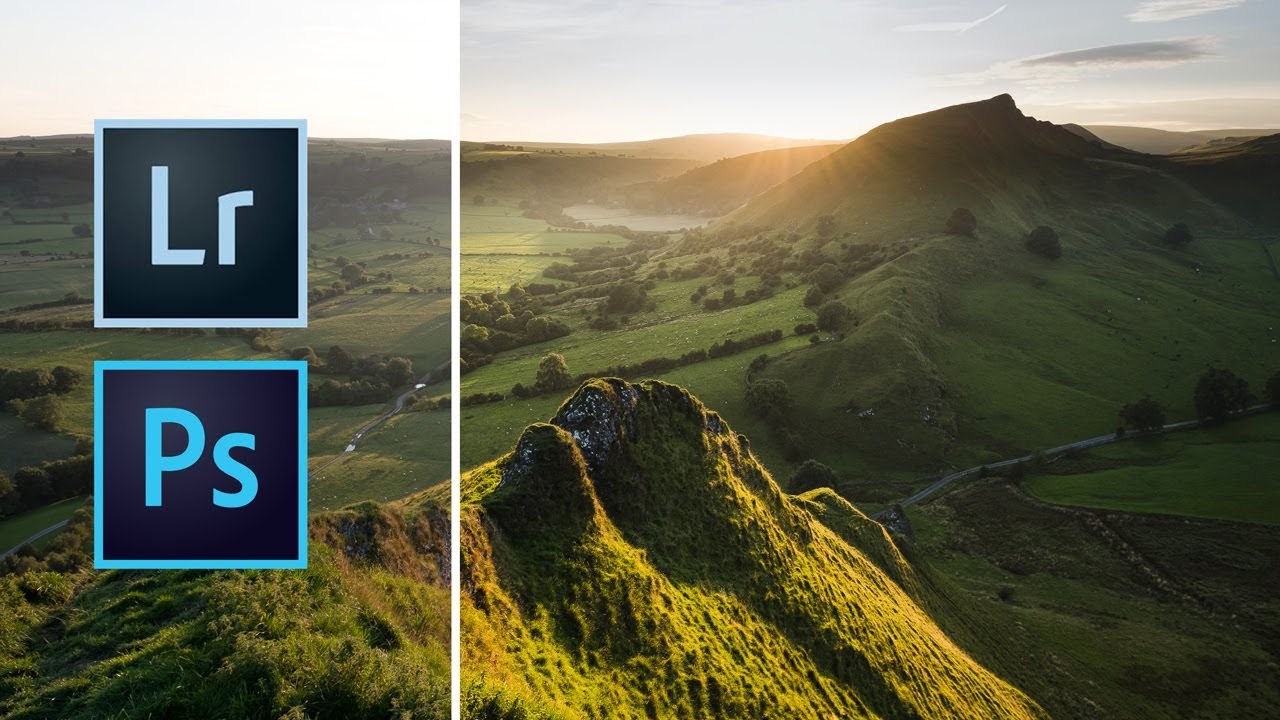
I’m a freelance designer who mostly lives in the land of composites, logos, and whatever a client needs done by Thursday. But landscape photography editing crosses my desk more than you’d think, and the number one problem people bring me is the same every time: the sky looks great but the foreground is a muddy mess, or vice versa. Graduated ND filters solve this in the field, but what happens when you’re halfway up a hill and you left your filters in the car? Or, in Nigel Danson’s case, didn’t bring them at all?
In this Nigel Danson tutorial, he walks through a real shoot from the Peak District where he had no filters, a setting sun, and a nasty lens flare problem. His solution was to take two separate exposures and use his literal finger to block the sun in one of them, then blend both shots in Lightroom and Photoshop. The result was the most-liked image he’d posted on Instagram at the time. If a guy shooting handheld on a hillside with his finger in the frame can pull this off, there’s really no excuse for the rest of us.
What I love about this approach is that it’s not precious. It’s not “get the perfect shot in camera.” It’s “know your tools, improvise in the field, fix it in post.” Ansel Adams reportedly considered the darkroom half of his creative process. Dodging, burning, masking the sky. Lightroom is just a cleaner version of that. Let’s get into how it actually works.
Step 1: Capture Two Exposures in the Field
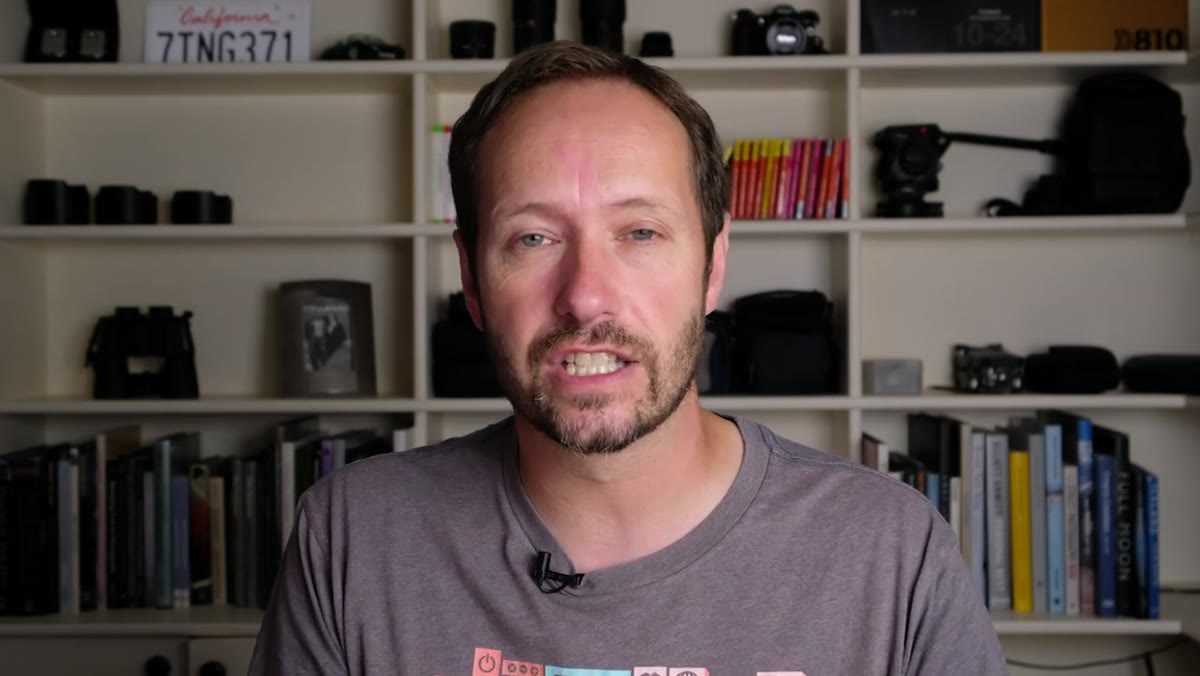
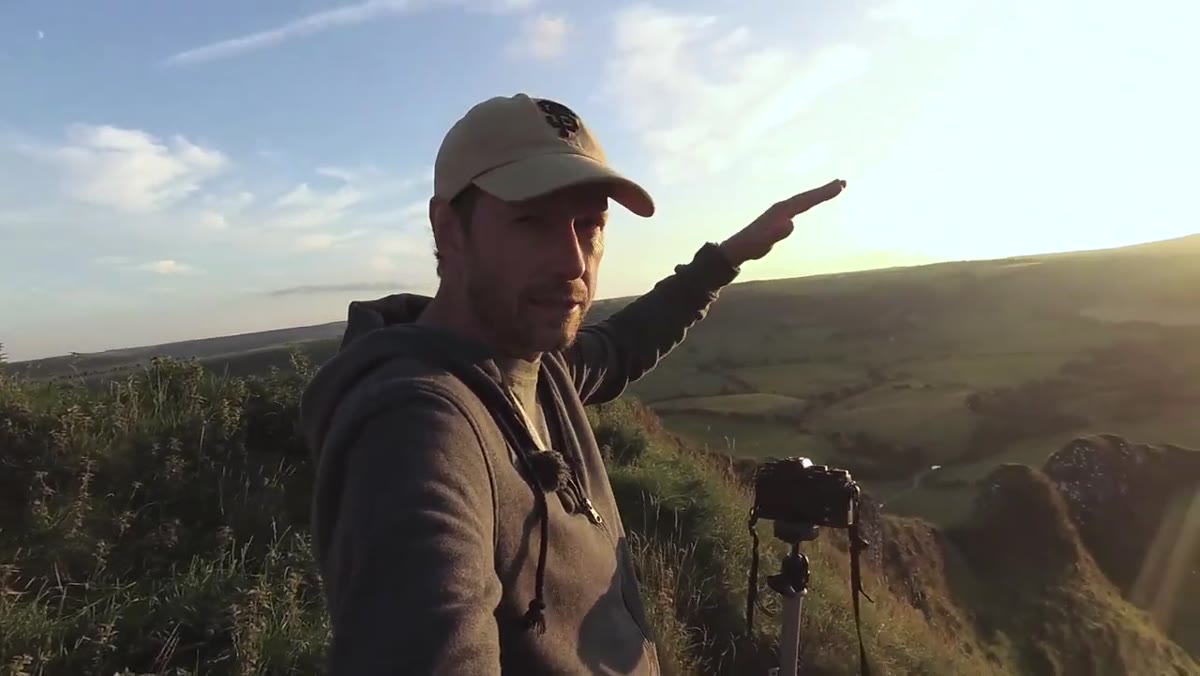 Nigel at hilltop explaining his two-exposure plan
The whole technique depends on getting two shots from exactly the same position. One exposed for the foreground (with a hand or finger blocking the sun to kill lens flare), and one exposed for the sky the way you actually want it to look. If you’re on a tripod, this is straightforward. If you’re handholding like Nigel was, keep your feet planted and don’t shift your weight between shots. The difference in alignment only needs to be a few pixels for Photoshop to handle it, but the more stable you are, the smoother the blend will be.
Nigel at hilltop explaining his two-exposure plan
The whole technique depends on getting two shots from exactly the same position. One exposed for the foreground (with a hand or finger blocking the sun to kill lens flare), and one exposed for the sky the way you actually want it to look. If you’re on a tripod, this is straightforward. If you’re handholding like Nigel was, keep your feet planted and don’t shift your weight between shots. The difference in alignment only needs to be a few pixels for Photoshop to handle it, but the more stable you are, the smoother the blend will be.
The lens flare trick is genuinely useful. Instead of scrapping a shot because the sun is blowing out your foreground with ghosting, just block it. You’ll composite it away later. It feels a little janky in the moment, but the image won’t care.
Step 2: Import and Edit Both Raws in Lightroom
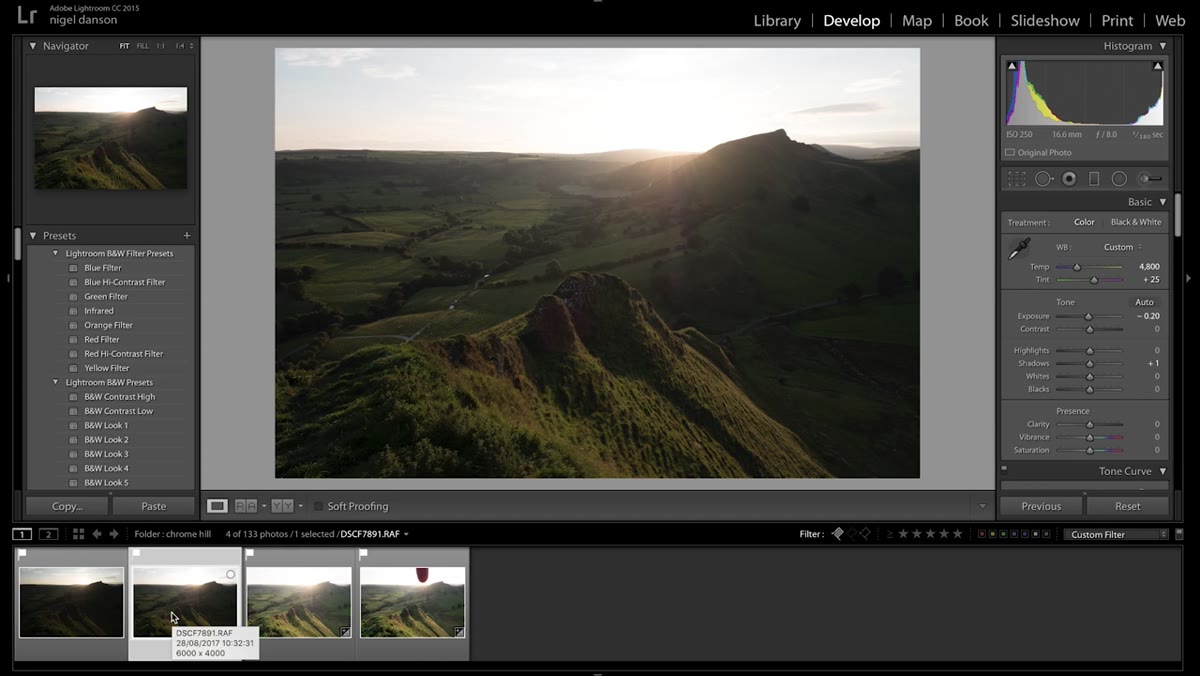
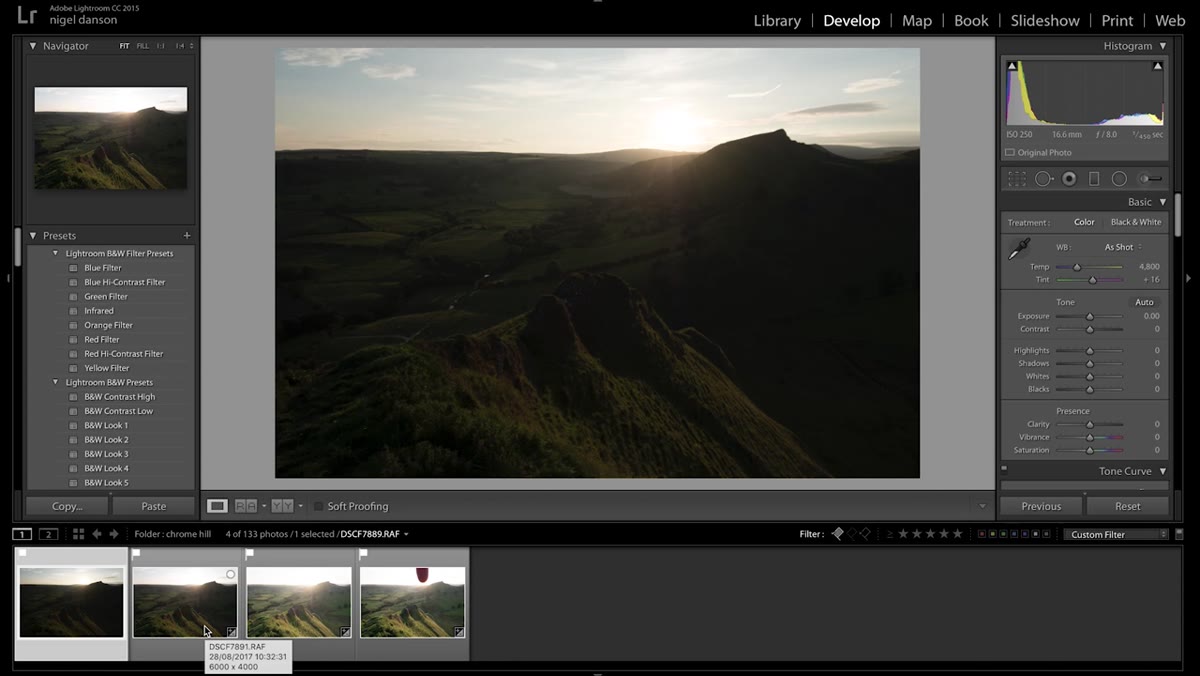 Four RAW images shown in Lightroom library grid view
Once you’re back at your desk, import both exposures into Lightroom as you normally would. Nigel works with four images total here, two foreground options and two sky options, so he can pick the best version of each. Once you’ve picked your two keepers, edit them separately. The foreground exposure gets its own treatment, pulling up shadows, adjusting white balance, doing whatever it needs. The sky exposure gets edited to look exactly how you want the upper half of the final image to look.
Four RAW images shown in Lightroom library grid view
Once you’re back at your desk, import both exposures into Lightroom as you normally would. Nigel works with four images total here, two foreground options and two sky options, so he can pick the best version of each. Once you’ve picked your two keepers, edit them separately. The foreground exposure gets its own treatment, pulling up shadows, adjusting white balance, doing whatever it needs. The sky exposure gets edited to look exactly how you want the upper half of the final image to look.
Don’t try to make either image look like the finished product on its own. Treat them as raw ingredients. The sky shot can look weirdly bright in the foreground area and that’s fine. You’re only keeping the top half of it anyway.
Step 3: Send Both Images to Photoshop as Layers
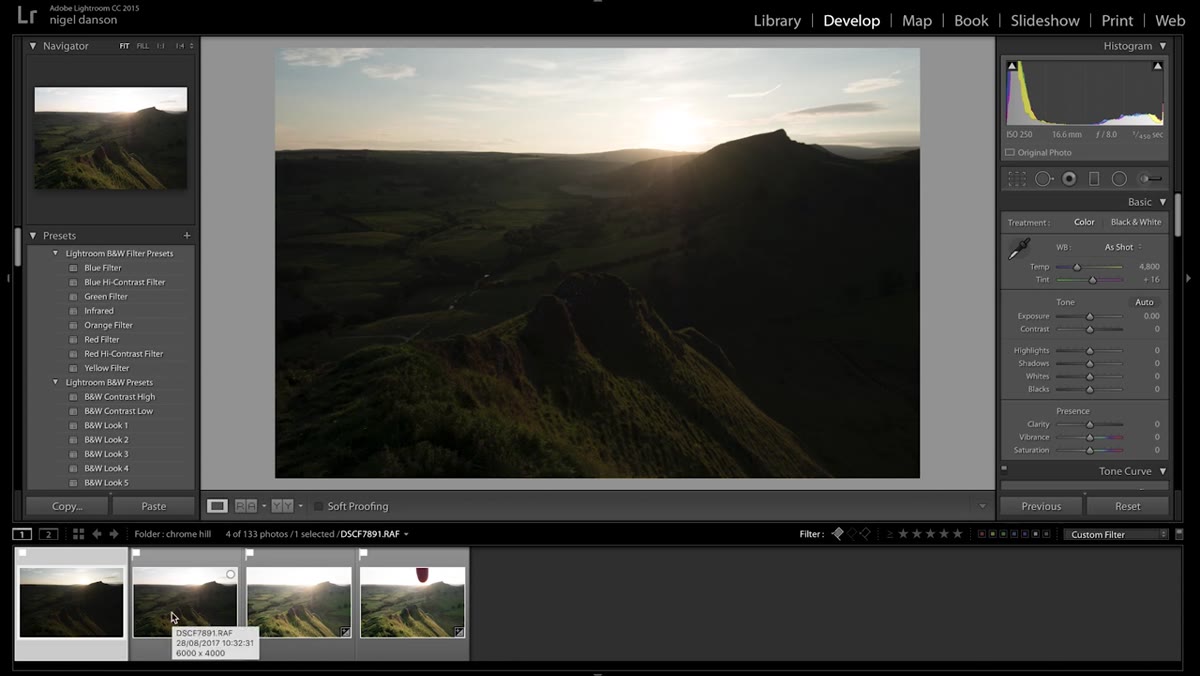 Lightroom module showing selected images ready for export
Select both edited images in Lightroom, right-click, and choose “Edit In > Open as Layers in Photoshop.” This is one of those features I genuinely think not enough people know about. It sends both files directly into a single Photoshop document, stacked as separate layers, with all your Lightroom edits baked in. No exporting, no dragging files around, no manually aligning anything.
Lightroom module showing selected images ready for export
Select both edited images in Lightroom, right-click, and choose “Edit In > Open as Layers in Photoshop.” This is one of those features I genuinely think not enough people know about. It sends both files directly into a single Photoshop document, stacked as separate layers, with all your Lightroom edits baked in. No exporting, no dragging files around, no manually aligning anything.
Photoshop should auto-align the layers if there’s any slight movement between shots. You can run this manually via Edit > Auto-Align Layers if needed, using the Auto projection setting. Once aligned, you’re ready to mask.
Step 4: Add a Layer Mask to the Sky Exposure
 Editing screen showing foreground exposure with lens flare blocked
Put your sky exposure layer on top. Add a white layer mask to it (Layer > Layer Mask > Reveal All). Now you’re going to paint black onto the mask wherever you want the foreground layer underneath to show through. Use a large, soft brush, drop the hardness to zero, and set your opacity somewhere around 50-70% so you can build the transition gradually. The goal is a natural blend across the horizon line, not a hard edge.
Editing screen showing foreground exposure with lens flare blocked
Put your sky exposure layer on top. Add a white layer mask to it (Layer > Layer Mask > Reveal All). Now you’re going to paint black onto the mask wherever you want the foreground layer underneath to show through. Use a large, soft brush, drop the hardness to zero, and set your opacity somewhere around 50-70% so you can build the transition gradually. The goal is a natural blend across the horizon line, not a hard edge.
If the horizon is relatively straight, a gradient mask (black to transparent, dragged from the bottom up) can do most of the heavy lifting. Then use the brush to clean up any areas where the gradient clipped the wrong thing. Rocks, trees, and anything else that breaks the skyline will need a bit of manual brushwork.
Step 5: Refine the Blend and Check for Halos
 Sky image showing desired exposure and haze effect on hills
Zoom in to 100% and scrub along the blend line. The classic failure mode here is a light halo along the edge of the horizon where the two exposures don’t quite match in tone. If you see it, lower your brush opacity even further and paint back over the transition zone with a mid-grey rather than black. You’re just softening the edge, not fully committing to either layer.
Sky image showing desired exposure and haze effect on hills
Zoom in to 100% and scrub along the blend line. The classic failure mode here is a light halo along the edge of the horizon where the two exposures don’t quite match in tone. If you see it, lower your brush opacity even further and paint back over the transition zone with a mid-grey rather than black. You’re just softening the edge, not fully committing to either layer.
Nigel’s image had a natural haze across the hills, which actually made the blend easier because it gave the two exposures a shared tonal quality at the horizon. If your shots have high-contrast edges at the sky-land boundary, you may need to do some extra dodging and burning to match them up.
Step 6: Flatten and Do Final Adjustments
 Ansel Adams book open showing dodging and burning diagrams
Once you’re happy with the blend, flatten the image and bring it back into Lightroom (or do a final pass in Camera Raw via Filter > Camera Raw Filter) to unify the overall look. This is where you add any final color grading, sharpening, or vignetting that ties the whole image together. The two-layer approach can sometimes leave the image feeling slightly disconnected if the two exposures had very different color temperatures. A subtle warm-to-cool gradient adjustment on the merged image can snap it back into cohesion.
Ansel Adams book open showing dodging and burning diagrams
Once you’re happy with the blend, flatten the image and bring it back into Lightroom (or do a final pass in Camera Raw via Filter > Camera Raw Filter) to unify the overall look. This is where you add any final color grading, sharpening, or vignetting that ties the whole image together. The two-layer approach can sometimes leave the image feeling slightly disconnected if the two exposures had very different color temperatures. A subtle warm-to-cool gradient adjustment on the merged image can snap it back into cohesion.
A Note on Using This for Non-Landscape Work
I’ve started using this same two-shot approach for product and interior work where a window is blowing out. Shoot one frame for the interior, one for the view through the window, blend them in exactly the same way. The technique is the same, just with a window-shaped mask instead of a horizon-shaped one. Same tools, different shape problem. If anything, interior work is easier because you’re usually on a tripod by default and the alignment is perfect from the start.
The bigger lesson here is one I keep coming back to: editing isn’t cheating. Nigel cites Ansel Adams using this as his argument, and it’s a good one. Post-processing is part of the craft, always has been. The field work sets you up. The desk work finishes the job.
If you want to watch Nigel walk through his actual export and his specific brush settings in Lightroom and Photoshop, Watch the full tutorial on YouTube. His approach to the haze and the light in that particular image is worth seeing with the actual before-and-after on screen.
Comments
Leave a Comment