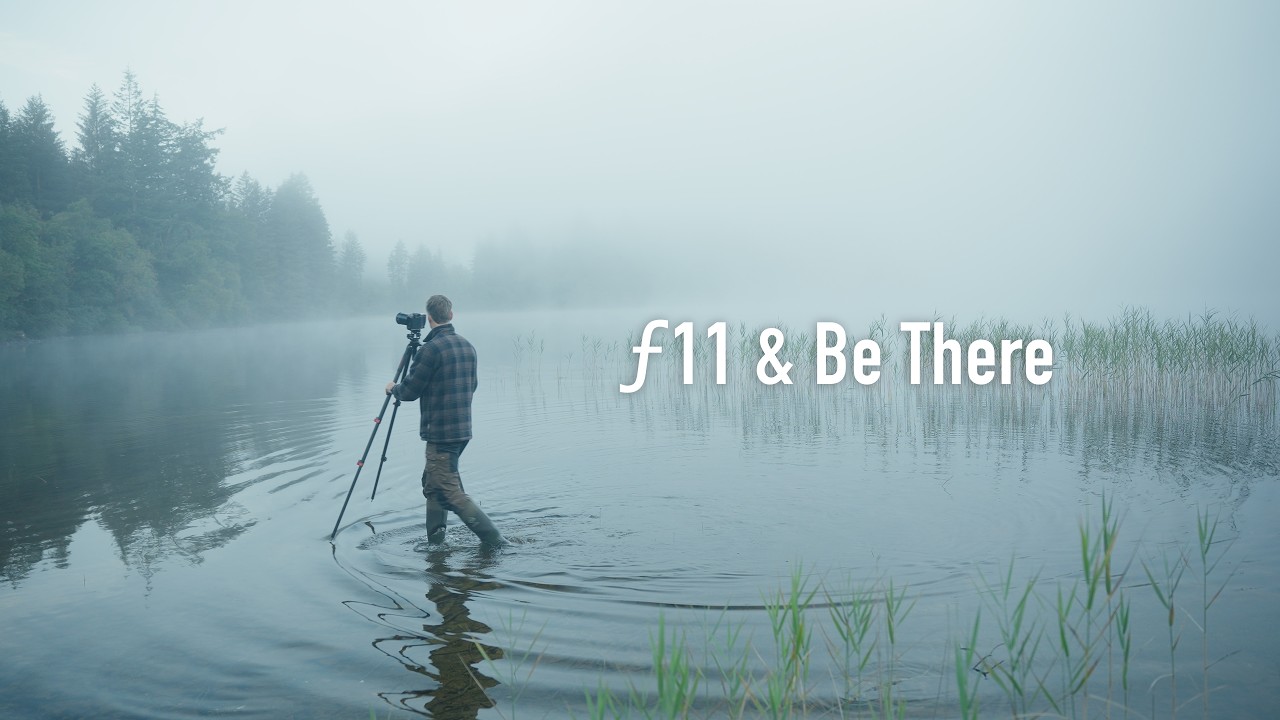
There’s a moment every photographer knows. You’ve hiked to the spot, the scene is gorgeous, and then the wind picks up and kills any hope of a mirror-flat reflection. You either pack up or you adapt. I’ve packed up. I’ve also stood there like an idiot waiting for calm water that never came. What I hadn’t fully internalized until recently is that adapting isn’t a consolation prize — it’s a legitimate creative decision that the best landscape photographers make constantly, often producing stronger work than the original plan would have.
In this Thomas Heaton tutorial, filmed during a solo van trip through the Trossachs National Park in Scotland, Heaton runs straight into that exact problem. Beautiful high-contrast scene, backlit island, panoramic potential — and a surface chop that makes reflections impossible. Rather than folding, he reaches for a 10-stop ND filter and commits to a long-exposure black and white conversion. Watch the full tutorial on YouTube — but the breakdown below will walk you through the thinking and the technique so you can apply it on your own shoots.
What I love about this approach is that it’s not a workaround. A 10-stop ND filter with a black and white conversion is a classic fine art landscape technique. It’s what Ansel Adams would have done if he’d had access to gear that didn’t require a mule to carry it. When Heaton calls it “the school of fine art landscape photography,” he’s half joking, but only half.
Step 1: Read the Scene Before You Touch the Camera
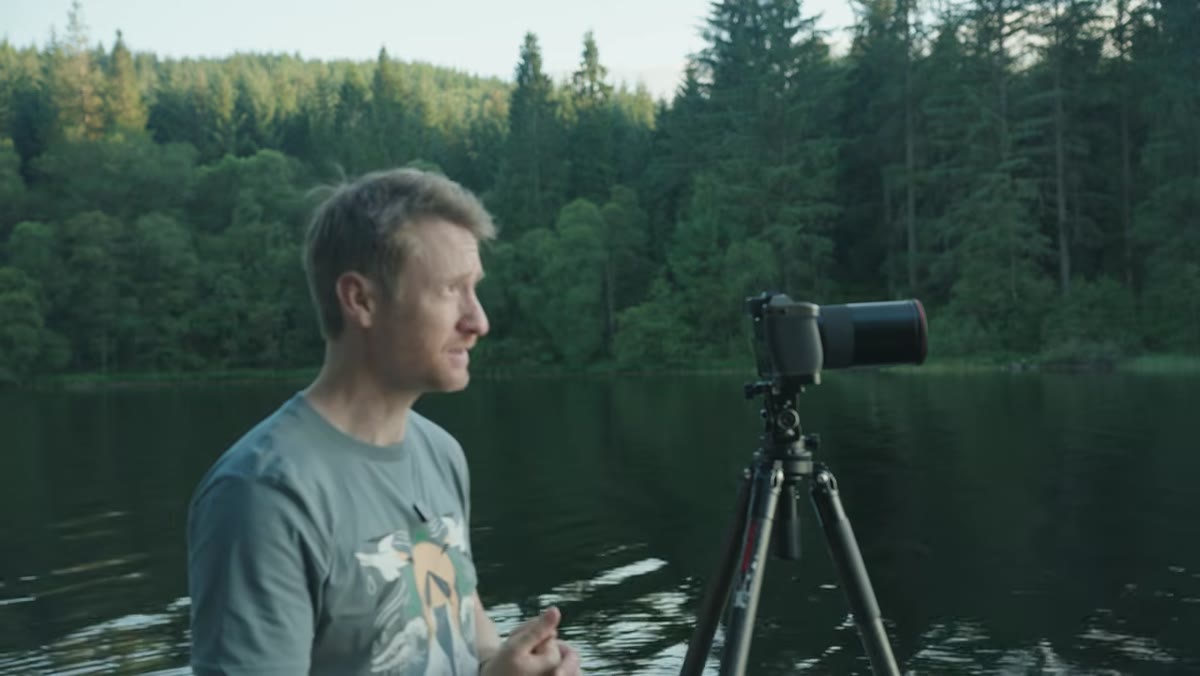
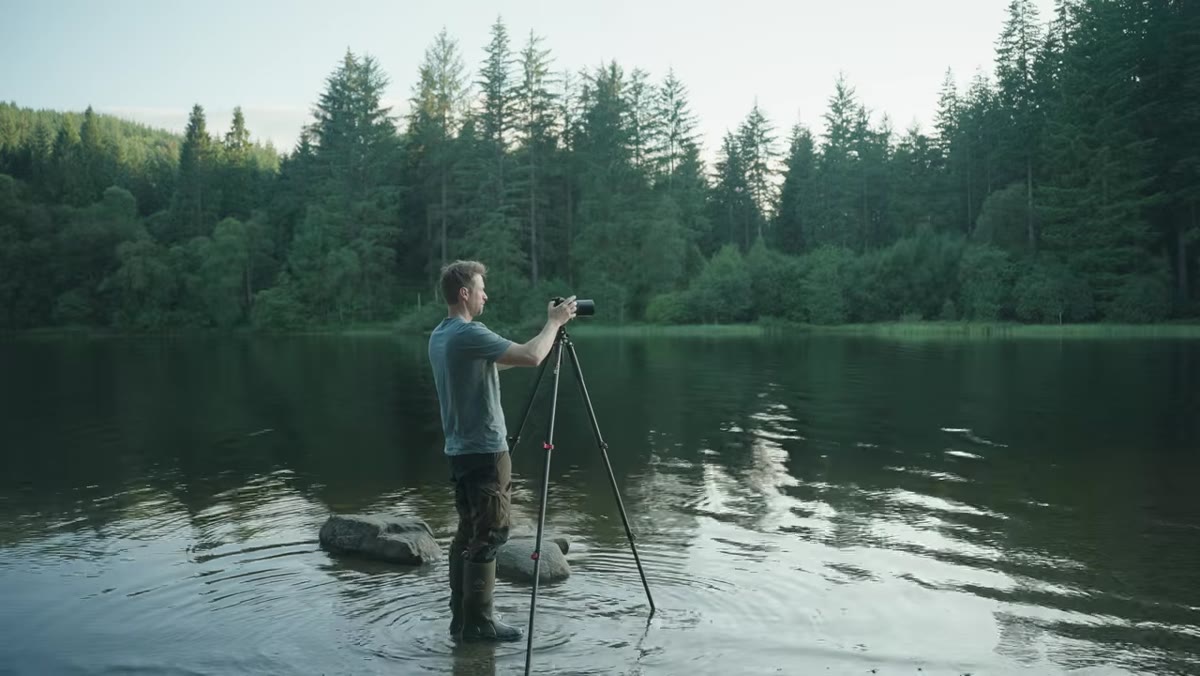 Thomas surveying a high-contrast backlit island scene
Before you pull out any gear, spend a few minutes actually looking at what you’ve got. Heaton arrives at a loch with a backlit island and strong directional light. The contrast between the dark landmass and the bright sky behind it is already essentially monochromatic — there’s no rich color to save here. That observation is the entire justification for everything that follows.
Thomas surveying a high-contrast backlit island scene
Before you pull out any gear, spend a few minutes actually looking at what you’ve got. Heaton arrives at a loch with a backlit island and strong directional light. The contrast between the dark landmass and the bright sky behind it is already essentially monochromatic — there’s no rich color to save here. That observation is the entire justification for everything that follows.
The practical habit here is to ask: if I converted this scene to black and white right now in my head, does it lose anything important? If the answer is no, you’ve already made the creative call. Commit to it before you start second-guessing.
Step 2: Identify Why Long Exposure Is the Fix
 Wind disturbing water surface, broken reflections visible
The wind isn’t dropping. Heaton recognizes this quickly and doesn’t waste golden hour waiting for a miracle. The logic is clean: a long enough shutter speed will average out the surface movement and render the water as a smooth, silky plane — which actually creates a stronger graphic composition than a choppy mid-tone mess would.
Wind disturbing water surface, broken reflections visible
The wind isn’t dropping. Heaton recognizes this quickly and doesn’t waste golden hour waiting for a miracle. The logic is clean: a long enough shutter speed will average out the surface movement and render the water as a smooth, silky plane — which actually creates a stronger graphic composition than a choppy mid-tone mess would.
A 10-stop ND filter drops your exposure by ten full stops. If your base exposure in bright conditions is 1/500s, you’re now looking at roughly 2 seconds. In dimmer late-day light like this, you can push that out to 20-30 seconds easily, which is more than enough to smooth water and blur any cloud movement across the sky.
Step 3: Dial in Your Base Exposure First
 Camera mounted on tripod, settings being adjusted at loch edge
This is the step people skip and then wonder why their long exposures are blown out or muddy. Before you attach the ND filter, get your composition locked on a tripod and meter the scene without the filter. Note your aperture, ISO, and the shutter speed you’d use for a correct exposure.
Camera mounted on tripod, settings being adjusted at loch edge
This is the step people skip and then wonder why their long exposures are blown out or muddy. Before you attach the ND filter, get your composition locked on a tripod and meter the scene without the filter. Note your aperture, ISO, and the shutter speed you’d use for a correct exposure.
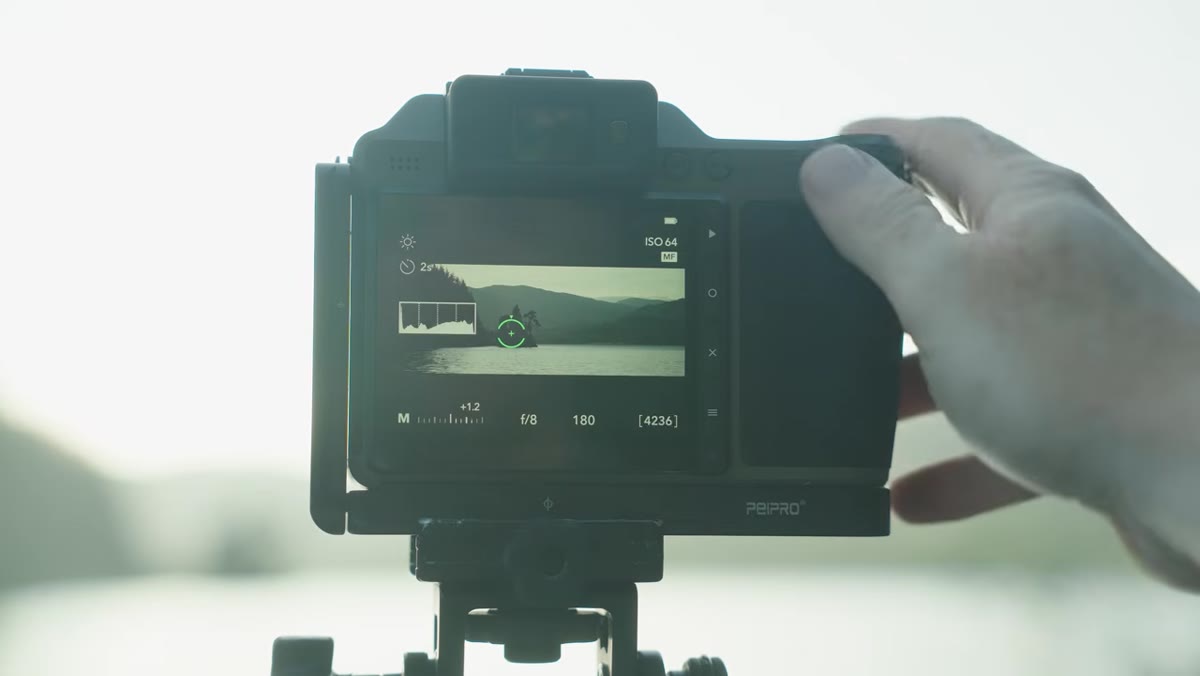
For a scene like this, Heaton lands on a 23-second exposure. To get there manually: take your no-filter shutter speed, then double it ten times (once per stop). There are also free ND calculator apps that do this in seconds if mental math isn’t your thing at golden hour. Keep ISO as low as possible — base ISO on most modern cameras, usually 100 — and use a narrow aperture like f/11 to f/16 for maximum depth of field across the landscape.
Step 4: Attach the 10-Stop Filter and Lock Everything Down
 ND filter being attached to lens at the water’s edge
Once you’ve got your calculated shutter speed, attach the ND filter and use a cable release or your camera’s built-in timer to fire the shutter without touching the camera. Any vibration over a 20-second exposure will show up as blur in the wrong places — specifically the land and any foreground elements you want sharp.
ND filter being attached to lens at the water’s edge
Once you’ve got your calculated shutter speed, attach the ND filter and use a cable release or your camera’s built-in timer to fire the shutter without touching the camera. Any vibration over a 20-second exposure will show up as blur in the wrong places — specifically the land and any foreground elements you want sharp.
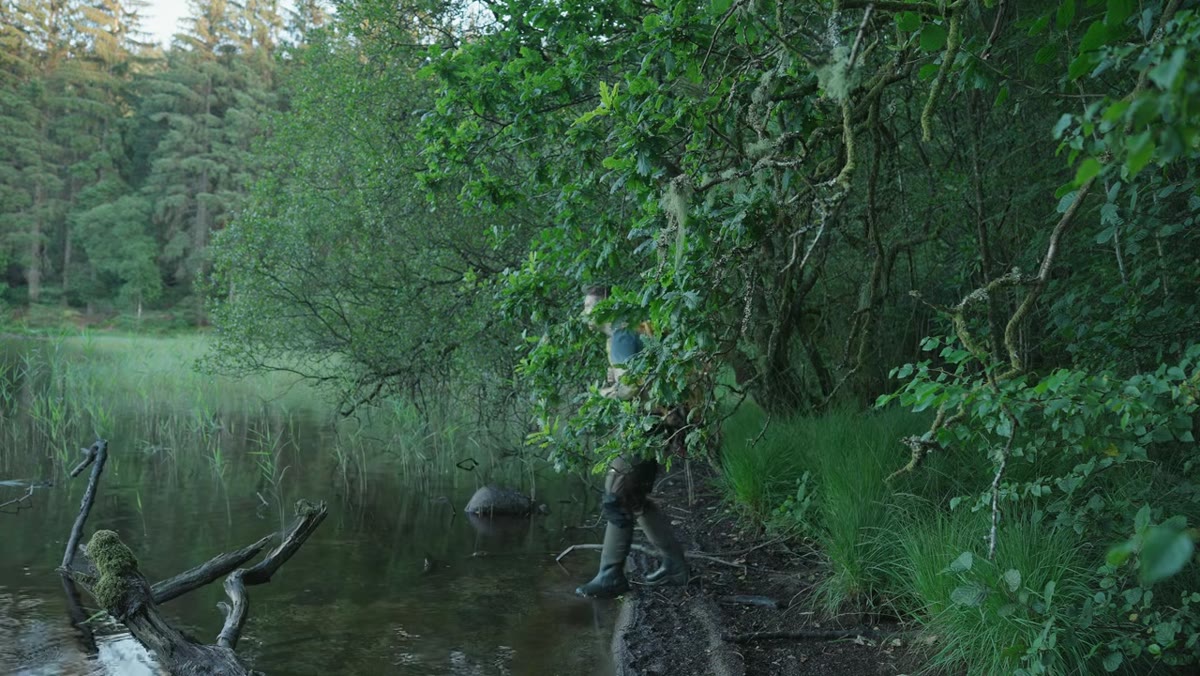
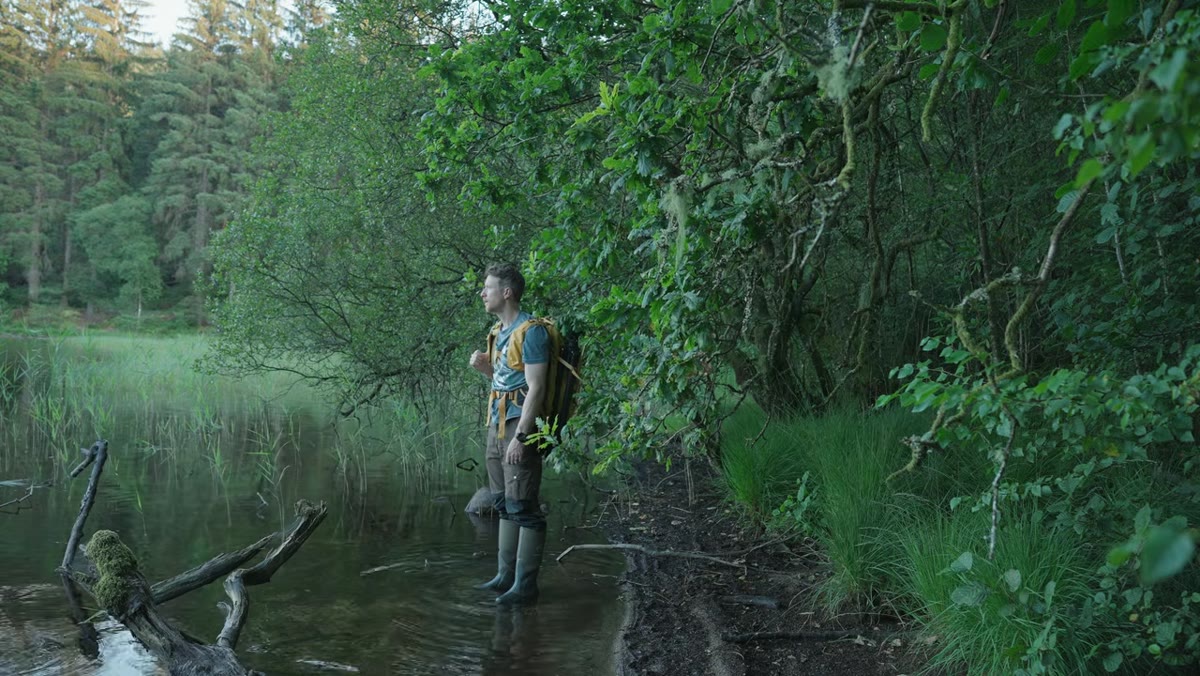
Heaton is working at the water’s edge here, which means he’s also dealing with potential camera shake from soft ground. If you’re on anything other than solid rock or pavement, push your tripod legs deeper, spread them wider, and if your lens has stabilization, turn it off for tripod work. Stabilization systems can actually introduce micro-movement during long static exposures.
Step 5: Shoot the Frame and Evaluate Highlight Clipping
 Camera screen showing long exposure result with bright sky
Check your histogram immediately after the first exposure. A high-contrast backlit scene has a real risk of blowing highlights in the sky, especially if there’s any direct sun in the frame. You want to see your histogram sitting away from the right edge — if it’s clipping, drop your ISO or close the aperture another stop.
Camera screen showing long exposure result with bright sky
Check your histogram immediately after the first exposure. A high-contrast backlit scene has a real risk of blowing highlights in the sky, especially if there’s any direct sun in the frame. You want to see your histogram sitting away from the right edge — if it’s clipping, drop your ISO or close the aperture another stop.
One option Heaton doesn’t explicitly mention here but is worth knowing: you can bracket two or three exposures and blend them in Photoshop later. A slightly underexposed version protects the sky, a correctly exposed version holds the shadow detail, and you blend with a luminosity mask. That’s a whole separate tutorial, but it’s the safety net for scenes with extreme dynamic range.
Step 6: Convert to Black and White in Post
 High contrast monochrome image result being reviewed
The black and white conversion is where the real work happens in editing. Don’t just desaturate. In Lightroom or Camera Raw, use the HSL/B&W panel to control how individual colors convert to grayscale. In a scene like this, dragging the blue luminance down darkens the sky dramatically, which makes clouds pop. Pulling the orange and yellow channels up brightens any warm light hitting the land or water.
High contrast monochrome image result being reviewed
The black and white conversion is where the real work happens in editing. Don’t just desaturate. In Lightroom or Camera Raw, use the HSL/B&W panel to control how individual colors convert to grayscale. In a scene like this, dragging the blue luminance down darkens the sky dramatically, which makes clouds pop. Pulling the orange and yellow channels up brightens any warm light hitting the land or water.
In Photoshop, a Black and White adjustment layer gives you the same per-channel control plus the ability to apply it non-destructively. Add a Curves adjustment layer clipped above it to punch the contrast — drag the shadows down slightly and lift the highlights. The goal is a final image that feels graphic and bold, not flat and grey.
When the Shot You Planned Disappears Before You Can Take It
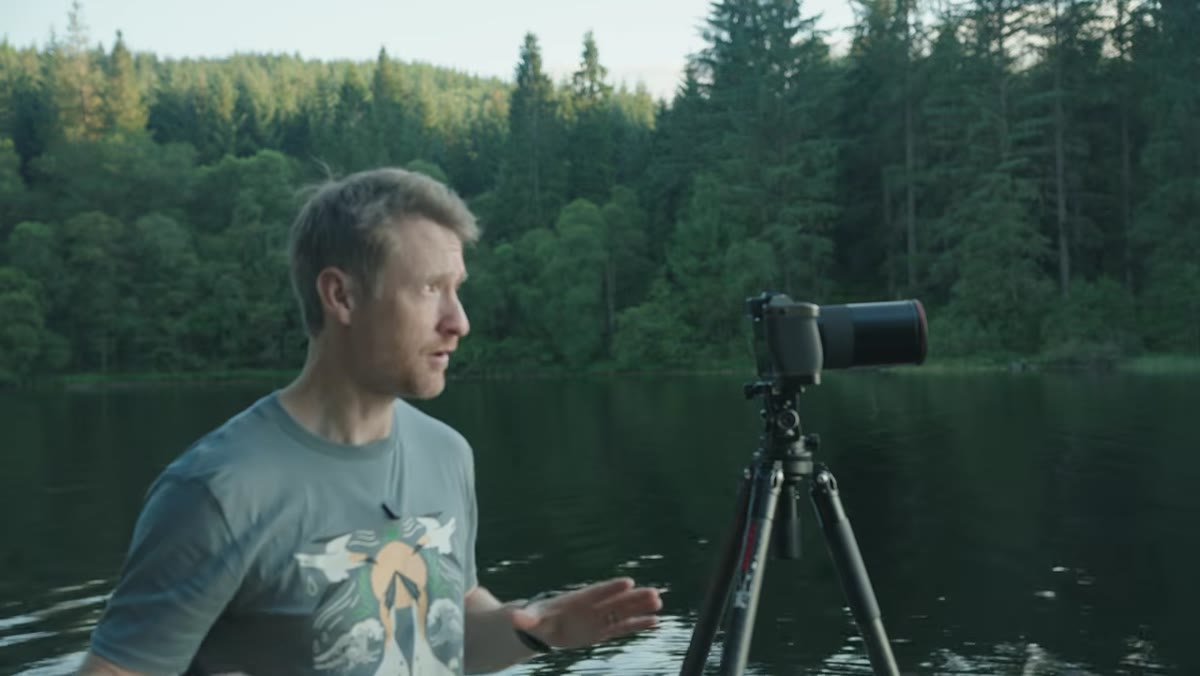
Heaton has a genuinely painful moment in this video where he spots backlit grasses catching golden light at the water’s edge, starts setting up, and the sun drops behind the trees before he fires a single frame. Gone. I’ve had this happen with an entire composite setup I’d spent an afternoon building out, so I felt that one personally.
The honest lesson is that some shots are not yours to take. The light decided. What you can control is your response time and your backup plan. Heaton’s backup was already good: he’d scouted the loch, he had the ND filter in the bag, and he knew the technique. That preparation meant the lost grass shot cost him maybe ten minutes, not the whole evening.
The biggest thing I took from watching Heaton work through this session is that technique is not a fallback — it’s a tool. A 10-stop ND filter and a black and white conversion isn’t what you do when the shoot goes wrong. It’s what you do when the scene calls for it, and part of reading a scene well is knowing which tool fits.
Watch the full tutorial on YouTube to see the final images and Heaton’s field decision-making in real time. The Trossachs light in this one is genuinely something.
Comments
Leave a Comment